
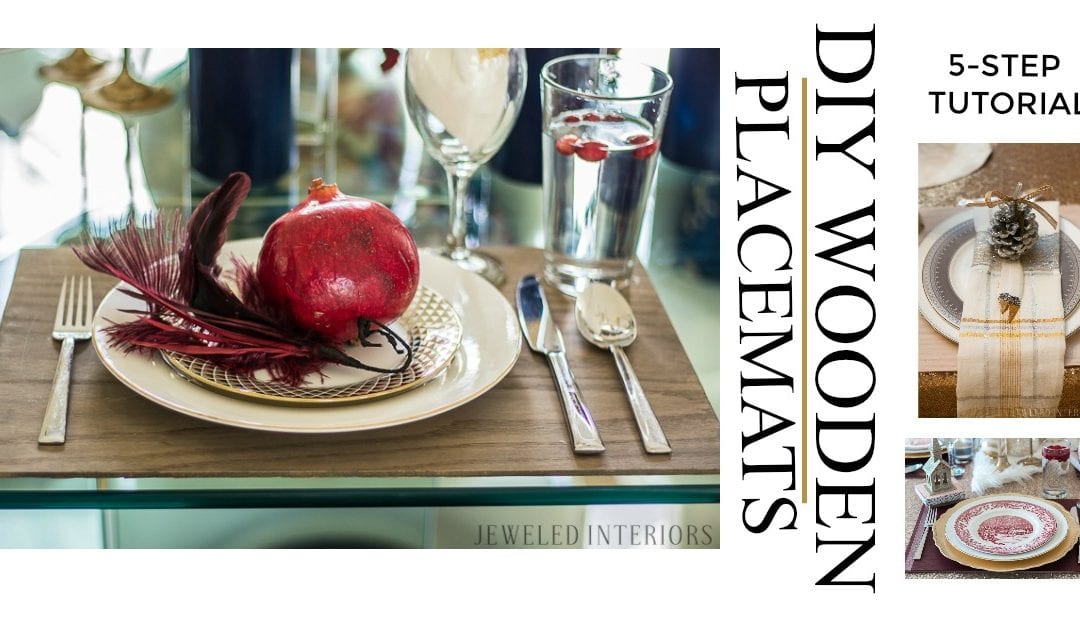
Looking for an inexpensive way to dress up your table? Need a personalized gift to give to a friend or loved one? Use these 4 easy steps to build the wooden placemats of your tablescape dreams.
Step 1: Call Lumber Store
It’s that easy. Call around to your local lumber stores to see if they do custom cutting. My local “mom and pop” lumber yard offered this service for free, though yours may charge a small fee.
It is important to ask the right questions. Plywood sheets usually come in 4×8 ft in a variety of types and finishes. If you plan to stain the wood, remember to ask if there is an option with an “A” side. My placemats were cut from oak A/C or A/B. This means that one side is pretty but the other is not. I opted for 1/8th inch thickness, but a half an inch could be pretty as well…just more expensive and require more sanding.
You could also get creative and ask for other shapes, but I went with the traditional rectangle to keep the time and costs low.
When you call your lumber store remember to ask:
- Do you do custom cuts?
- How much do you charge for cuts?
- Do you have 1/8th in plywood?
- Does one side have a pretty wood grain?
- If the answer to 3 or 4 is “no” what are your other options.

You can see here that I purchased 1/8th in oak with one side that shows a lovely wood grain for my first set of wooden placemats.
Step 2: Measure
One of the greatest parts of this project is that you get to customize the size of these placemats.
Remember to take into account:
1. The size of your table
2. How much flatware and how many glasses you use to entertain
I literally laid out a place setting on each table to determine that I wanted a set of 12 1/2 by 17 1/2 (see below) and another set measuring 18 1/2 by 12 in for my larger table.

Click HERE to see more of this tablescape and these wooden placemats (hint: they are the same as above, but double-sided).
Step 3: Sand
This, by all accounts is my least favorite of all of the steps. A sander MAY be faster, but I chose to sand by hand. I ended up with more than one splinter by the end. Remember to wear work gloves to protect yourself. Splintering, especially on the backside, seems to be a natural occurance. Without the sanding, however, the wooden placemats are extremely rough on the sides and edges.

Click HERE to see more of this tablescape.
Note: IF YOU DO NOT PLAN TO USE A TABLE CLOTH, YOU MAY WANT TO CONSIDER ADDING LITTLE FELT PADS ON THE BOTTOM BEFORE USING ON A NICE WOOD TABLE.
Step 4: Choose your finish
This is where it starts to get fun! The customizable options for your wooden placemats are only limited by your imagination.
Options Include:
1. Stain
2. Paint
3. White wash with water mixed with paint
4. Food safe options, like butcher block wax or conditioner
5. Staining with coffee or tea
6. Monograming in the corner
7. Embelleshing with Washi tape, faux nail head trim, leather, or ribbon
8…..The list could go on forever.
I only have two sets, but you can see that I have painted the backside of one of the sets…Now it is reversible! Two for the price of one!

Step 5: Enjoy!


Want to see more pics from these parties? ClICK BELOW
Rustic Chic Holiday Party
Blush and Burgundy Christmas House themed Party
-xoxo Jewel