
Thanks to Velvet Finishes for allowing me sample this product through their sponsorship.
I find sincere pleasure in most DIY projects, but there is one that I admittedly loath. Raise your hand if you hate stripping furniture! Yeah! I’ve got both arms waving high above my head and I’m doing a little dance. Stripping furniture isn’t rocket science (click HERE for my tutorial), but it’s messy, smelly, and feels a little toxic to me.
I’m excited to tell you about a product that I discovered at the beginning of the year during The Bathroom Primp and Pamper. You may remember a wardrobe that I barely finished stripping, refinishing, and painting RIGHT BEFORE the big reveal? Well, that was my first time using Velvet Finishes, and I loved it! The problem was there just wasn’t enough time to give you a full tutorial. Luckily I had some left over paint and a little campaign dresser dying for a make over.
The Beauty of Velvet Finishes is three fold.
1. You DON’T HAVE TO STRIP! Did you hear me? No paint stripping required!
2. The Color selection is fun and vibrant. Don’t see exactly what you are looking for? No worries, buy a couple of colors and mix them together.
3. The finshes product is nearly immediate (no cure time required) and beautiful.
BEFORE

Yuck, eh? It was time to stop procrastinating and get to work on this project. Stat!
SUPPLIES

Step 1: Remove all hardware

Step 2: Sand all bumpy areas. This dresser was pretty beat up so a bit more sanding was required. Wipe down when complete.

Step 3: Generously spray with Velvet Finishes Ready. I doused the entire piece and then let it dry for about 2 minutes. Then I simply wiped it off.


Step 4: Carefully and evenly apply Colour
Coat 1

Coat 2
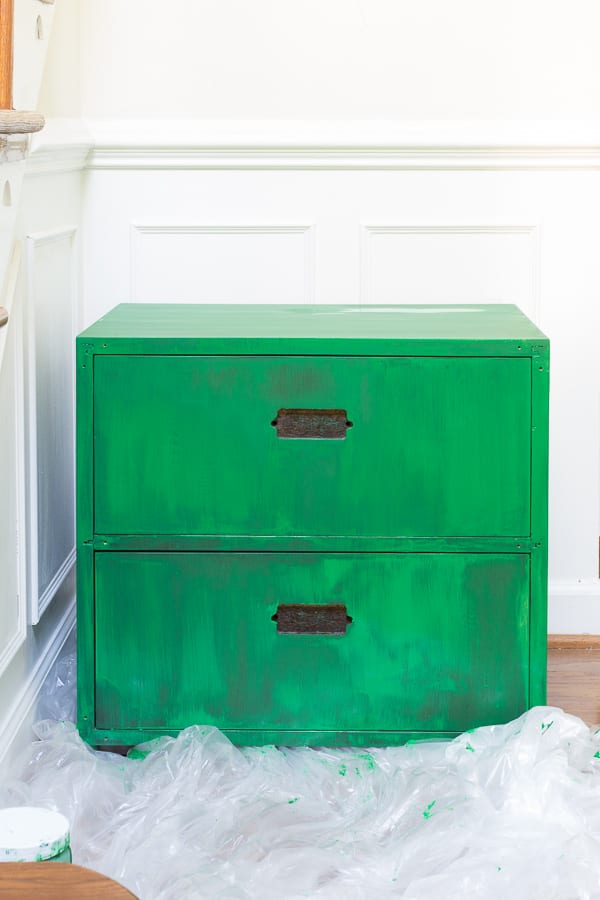
Coat 3

Coat 4

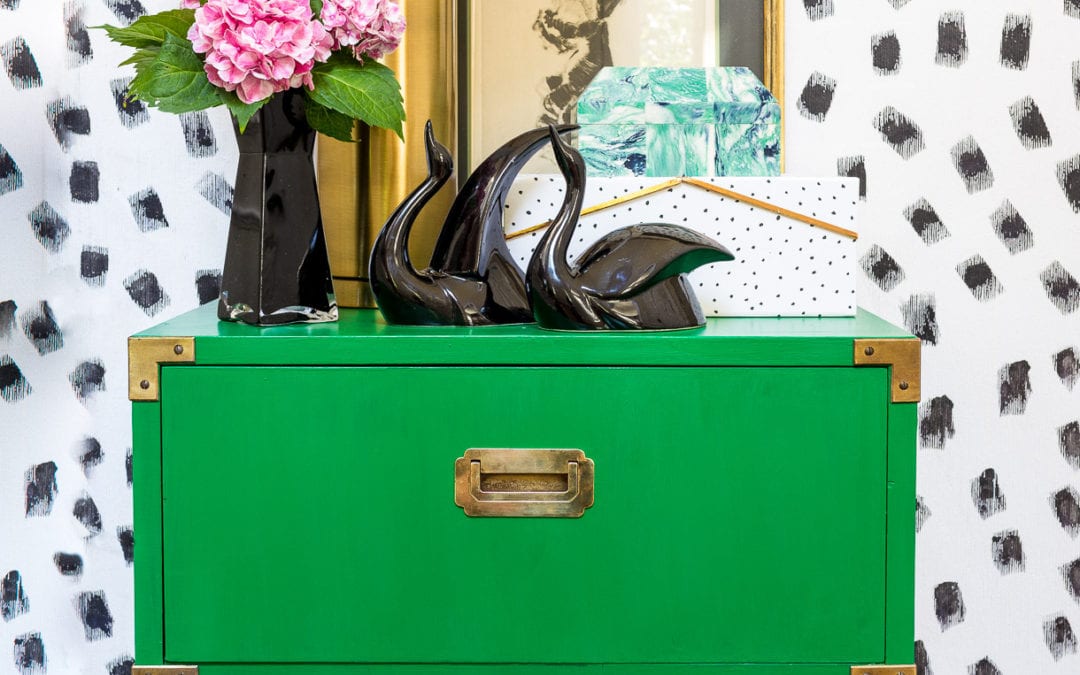
Big Reveal
Before

After

Thank you so very much for joining me on my Velvet Finishes tutorial. If you found this helpful feel free to pin and share the heck out of it. Also, don’t forget to follow me on