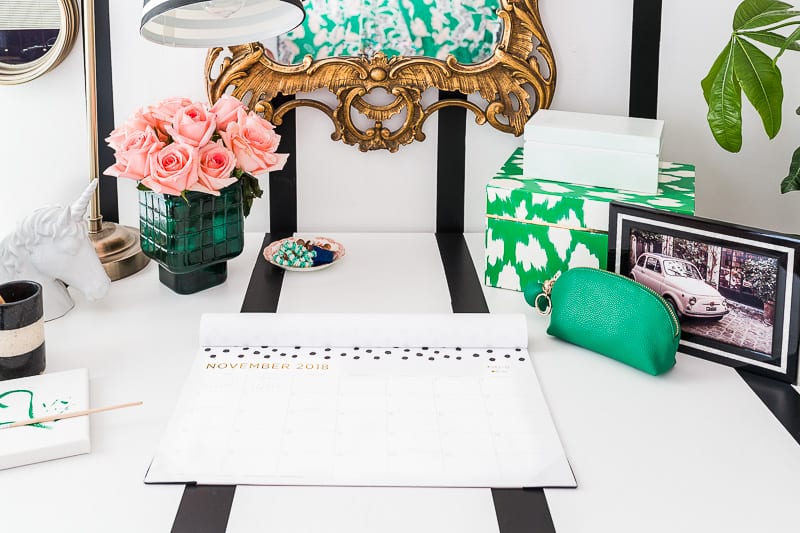
A DIY tutorial describing how to stripe your walls and detailing how to stripe your furniture with Tempaper Mini Stripes
This product was sponsored but the ideas are 100% my own.
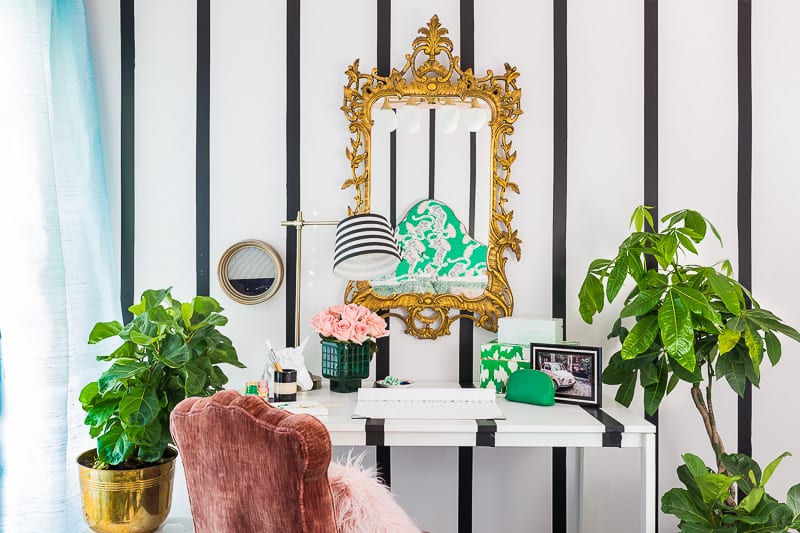
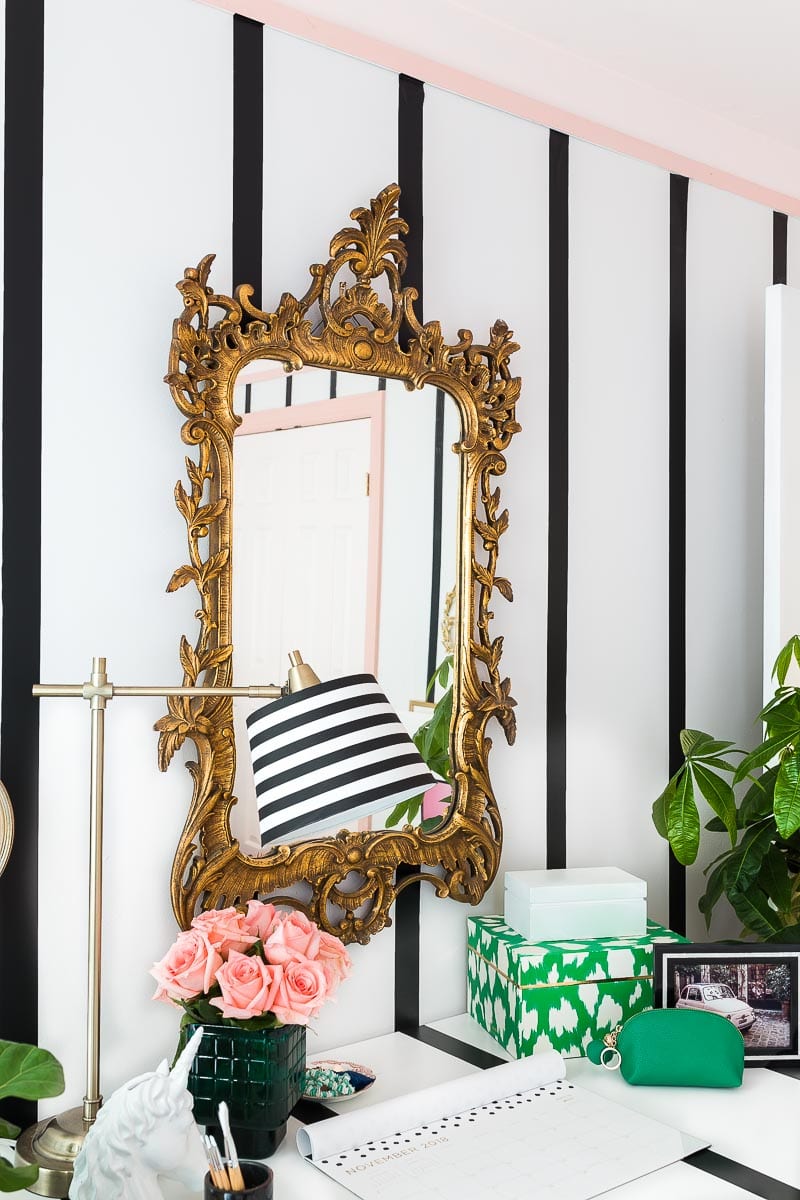
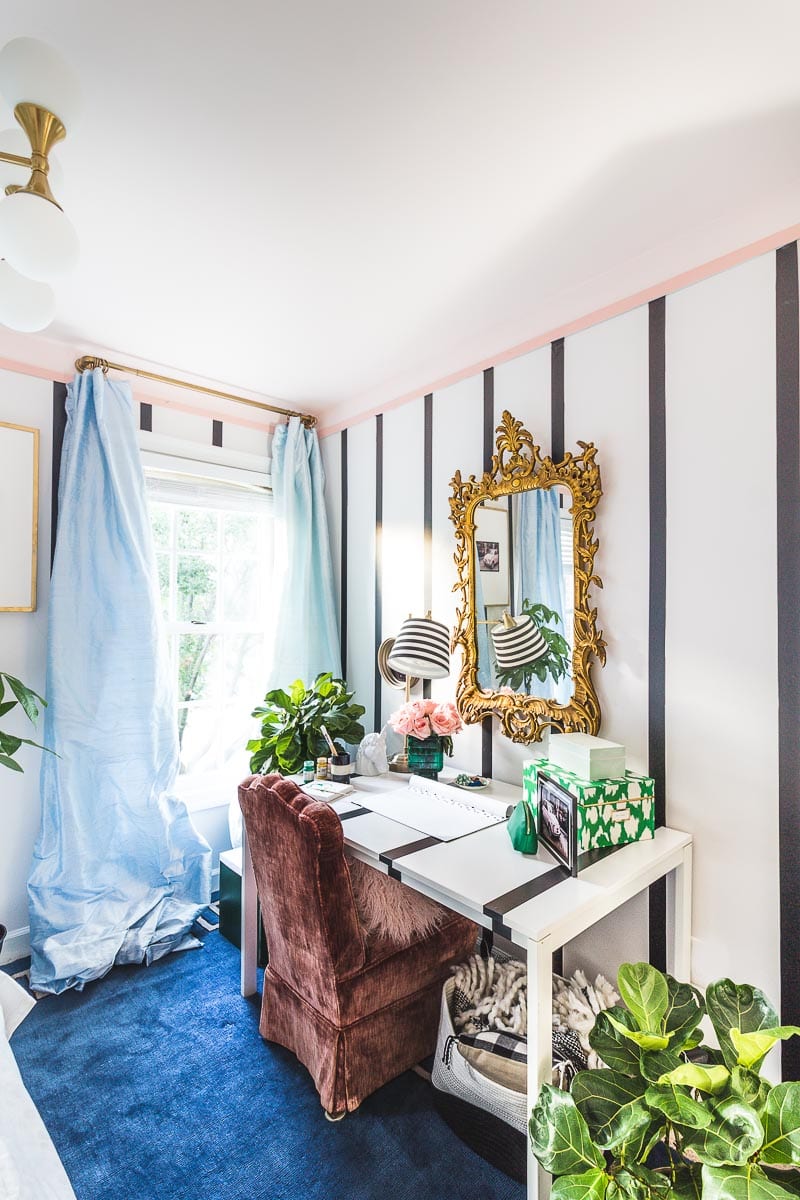
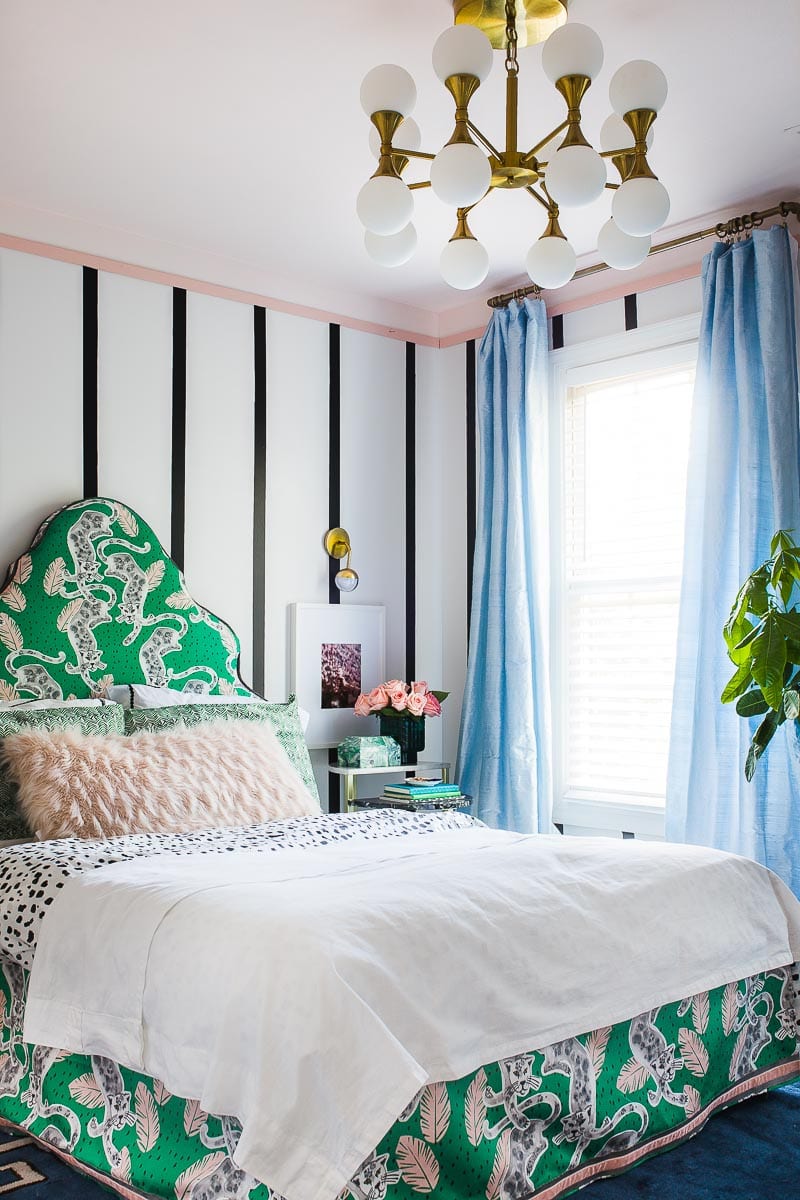
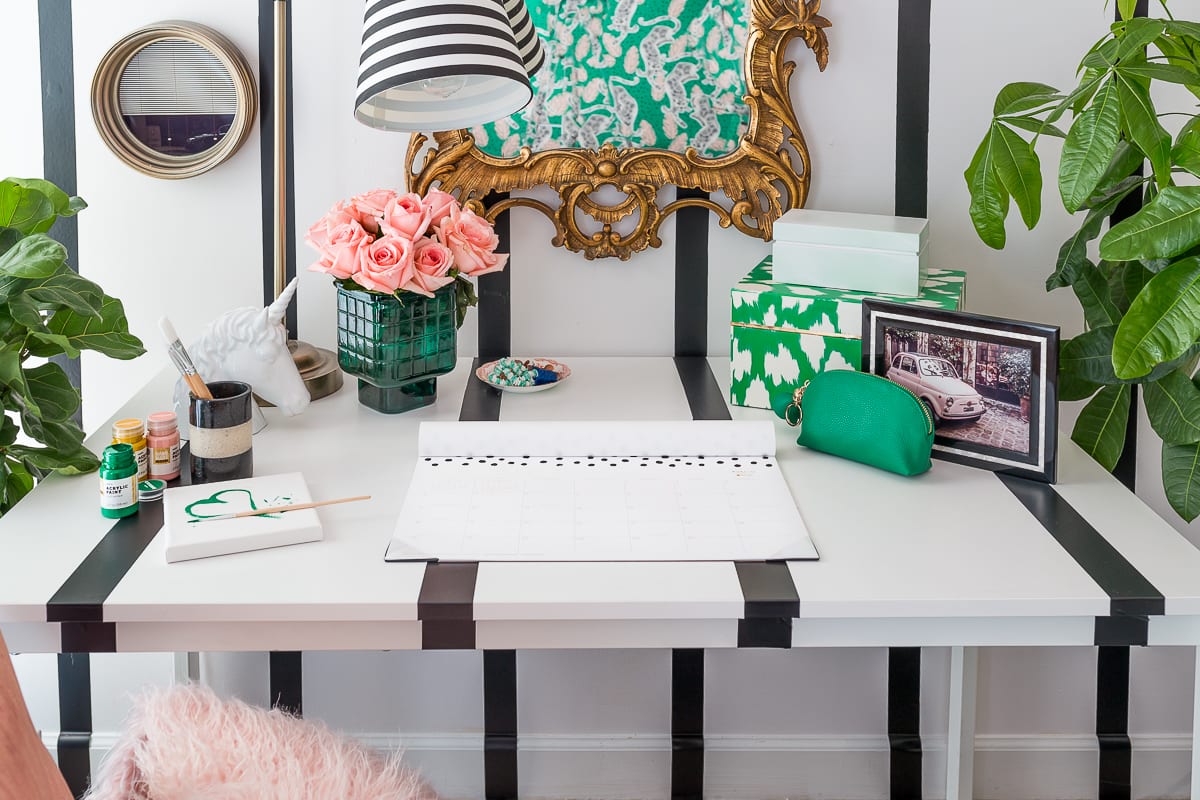
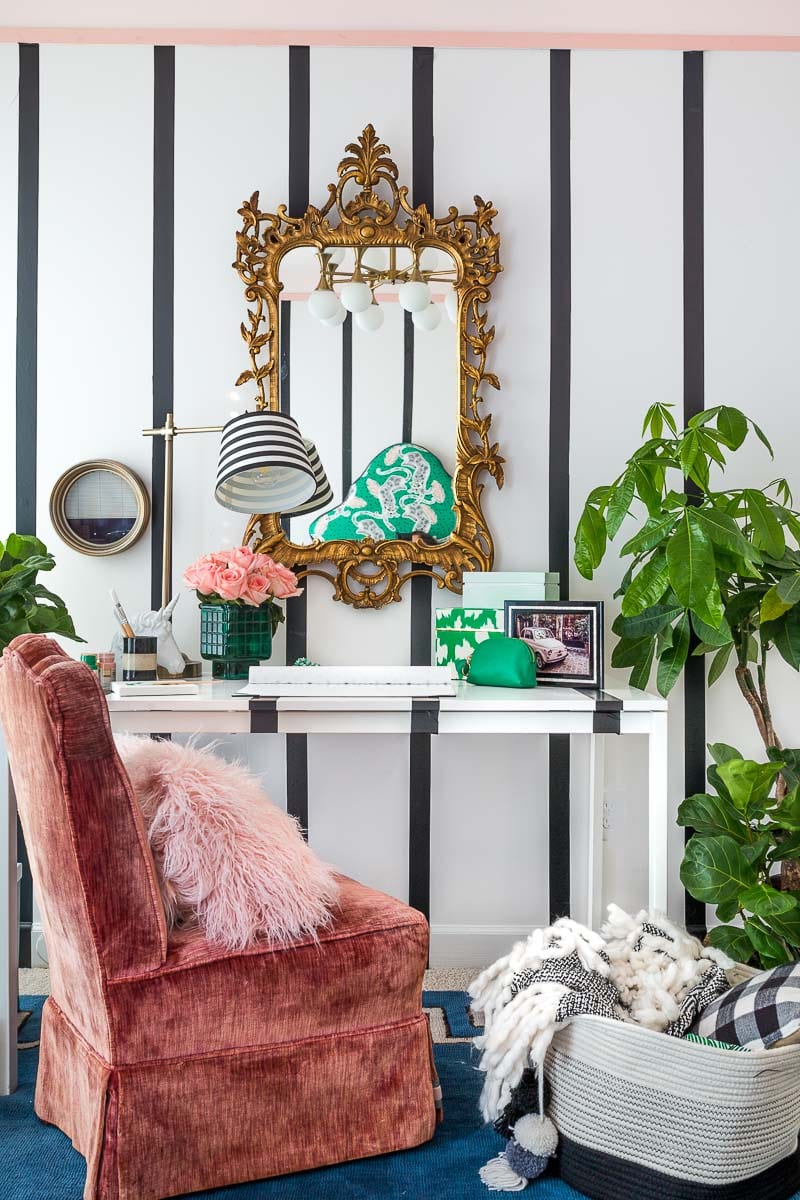
Did you see those stripes on the room reveal for my daughter’s bedroom? Wasn’t it fan-tab-ulous how they extended from the molding to the floor and had the illusion of dripping down the desk along the way.
While this project looks complicated it was actually…dare I say…aasy? Yep! Four simple steps! Four easy steps.
Supply List
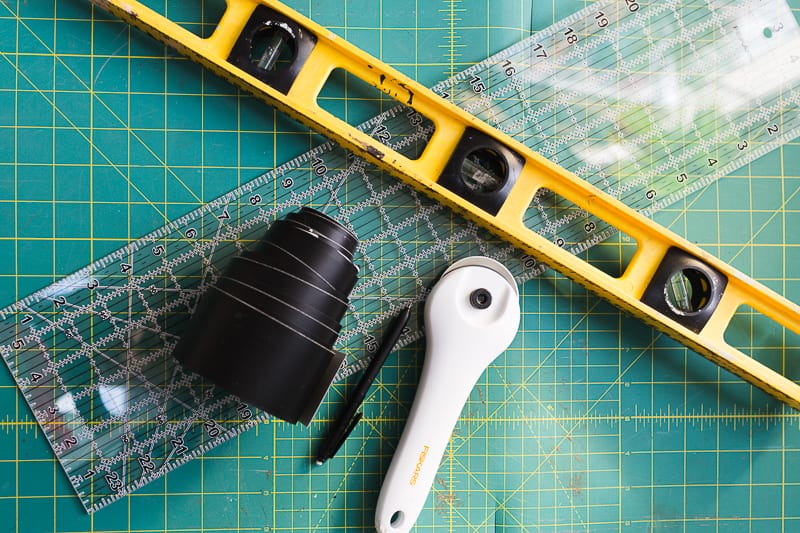
Step 1: Cut the Stripes
Technically speaking, which is something I rarely do, you don’t NEED to do this step. The stripes are 4.1 inches wide and 20 feet long. Depending on the look you are going for, a 4 inch Tempaper Mini Stripe stripe may be perfect. With this room, however, I was aiming for “light, airy, and ethereal”…a lofty goal, I know.
Since a skinnier stripe was the way to go, I had to find a method to cut these bad boys in half.
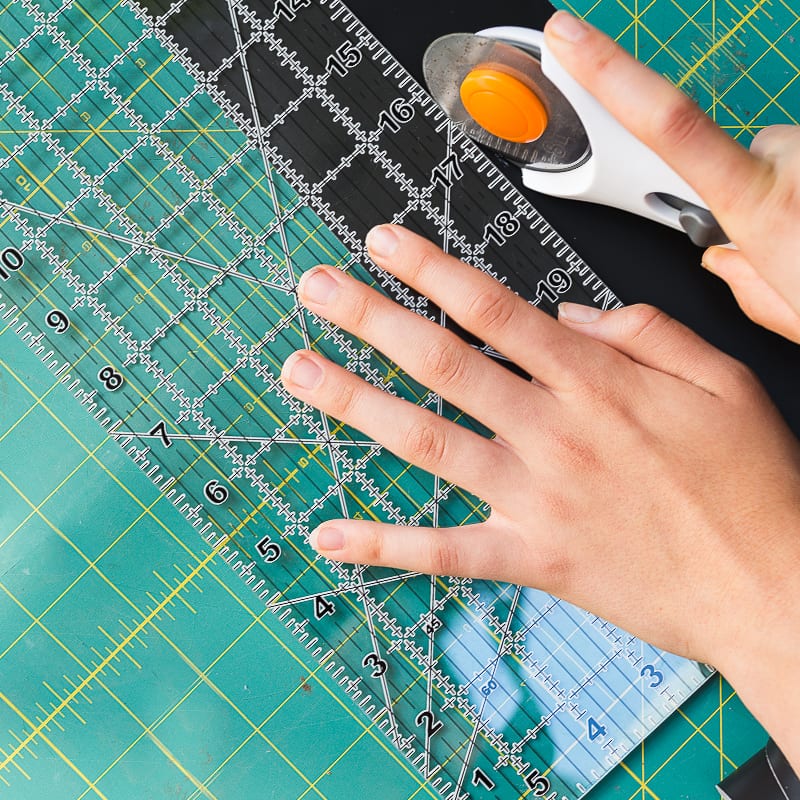
Now, if you have a fancy-smanchy Silhouette machine (or equivalent), then pin a rose on your nose, and go use it ?.
For the rest of us lay folk:
-Pull out your sewing equipment.
-Use your large ruler and line it up just past the 2 inch mark.
-Now use your tool to slice down the middle just like you were cutting fabric.
*I feel the need to add a cautionary warning to this step since my dear friend cut-off half her thumb nail with one of these tools. Apparently you can buy thumb “protection”.
*Also, plan on replacing your rotary blade after this project. It WILL dull your blade, but that’s less expensive than a Silhouette machine. Hear me talkin’?
This step isn’t rocket science (or I wouldn’t be teaching it), but it does take a little time to splice the stripes for the entire room. Maybe an hour? #worthit.
Don’t have sewing tools? You could probably get nearly similar results with a long board, a pencil, ruler, and pair of scissors…I’d plan on more than an hour.
Step 2: Measure the Wall
Determining the distance between the stripes was the hardest part. I ended up going with a 11.5in span between each stripe.
Since a skinnier stripe was the way to go, I had to find a method to cut these bad boys in half.
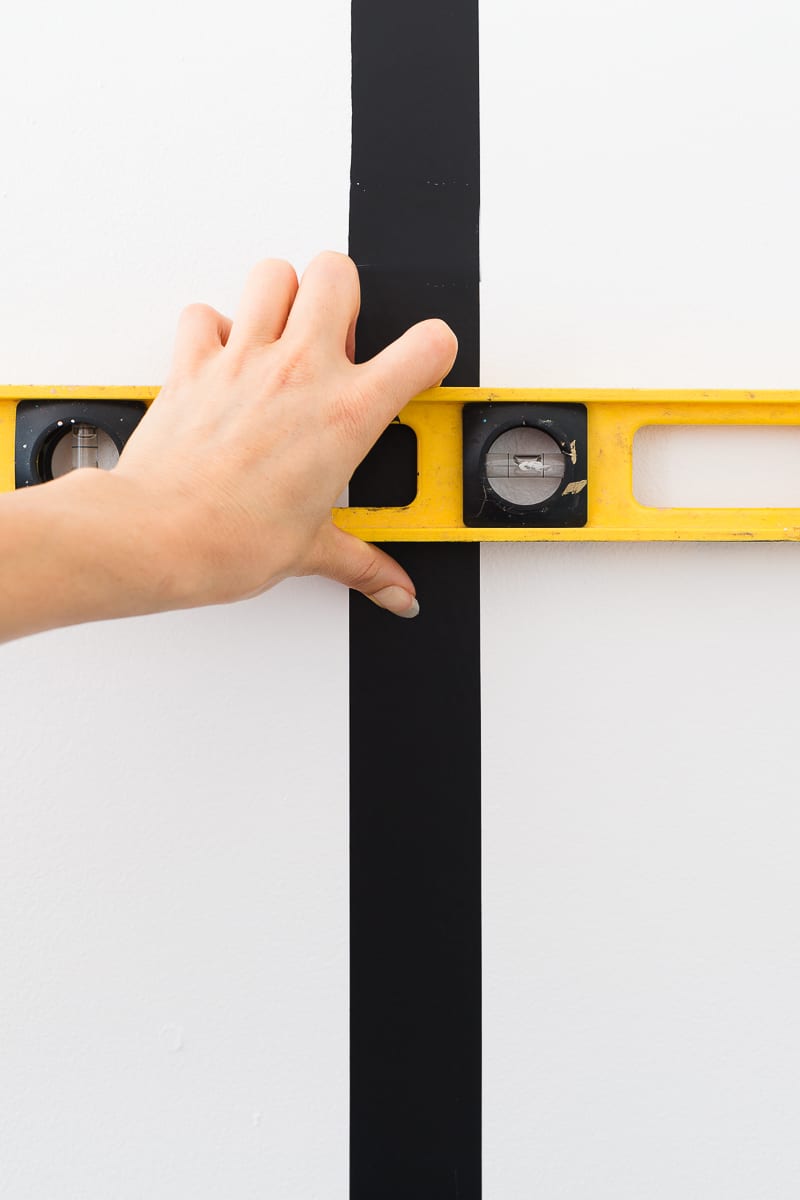
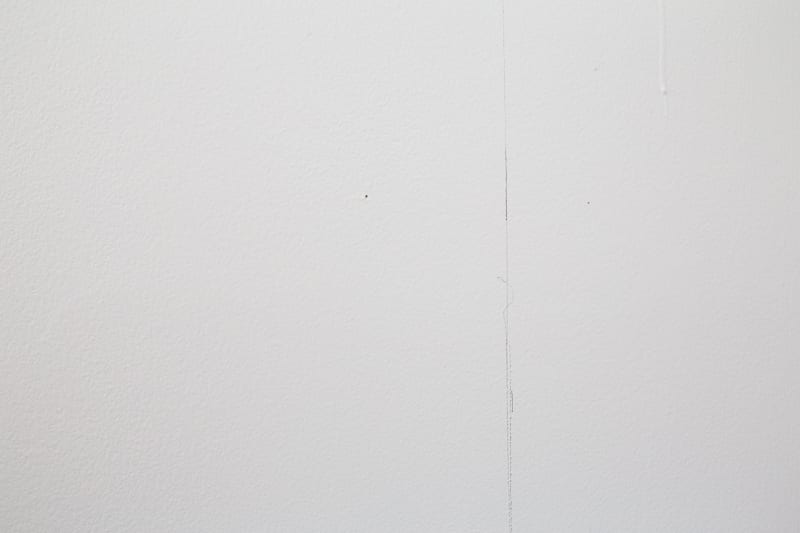
I tried two different methods for this step. One involved using a pencil? and one did not. I opted to use a pencil because the lines ended up straighter and there was enough gloss in my paint to erase the pencil marks eventually. Worse comes to worst i have left over paint.
I would be curious to know if a chalk would work too because it would negate the need to erase.
I used the level vertically to make a plumb line up the wall. I then measured over 13.5 inches horizontally to mark-out subsequent stripes. As I mentioned, I used a pencil, but I would be interested in exploring the option of using chalk.
Step 3: Stick it on
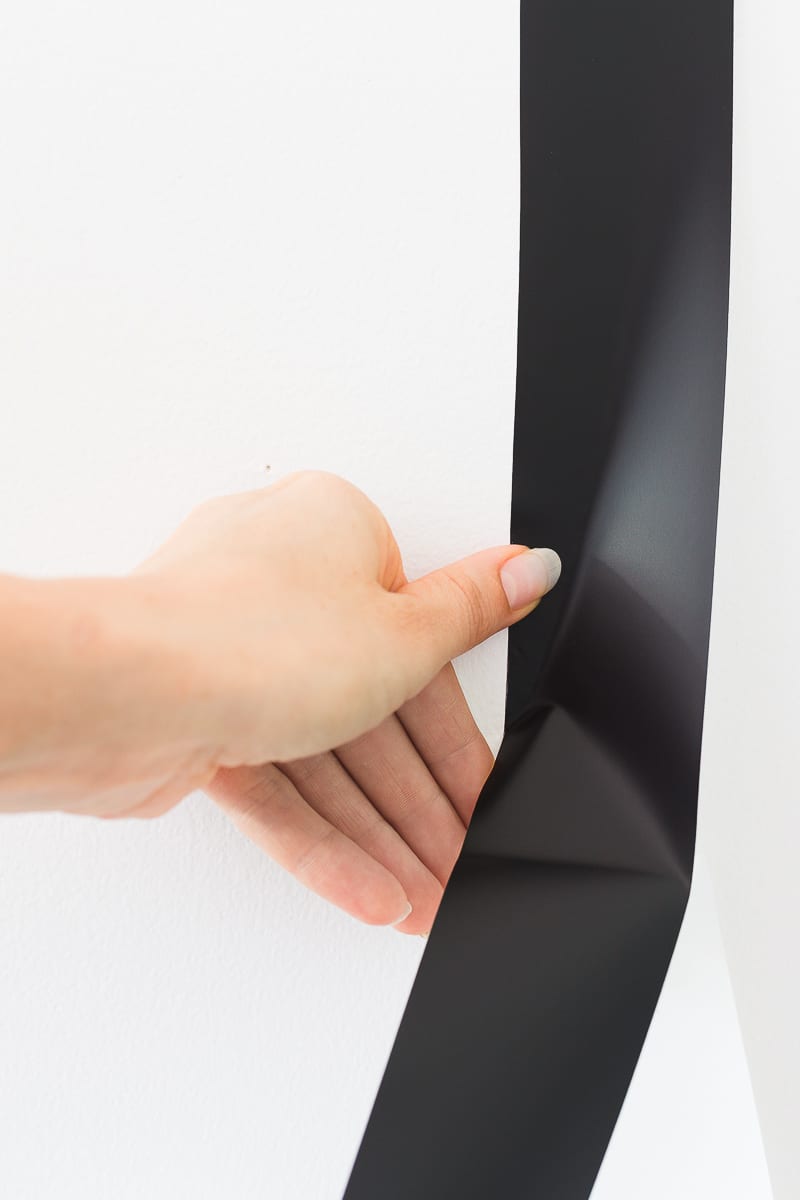
Step 3: Stick It On
Arrange your furniture where you would like it to live in the room. Line up the stripes, measure it, and apply
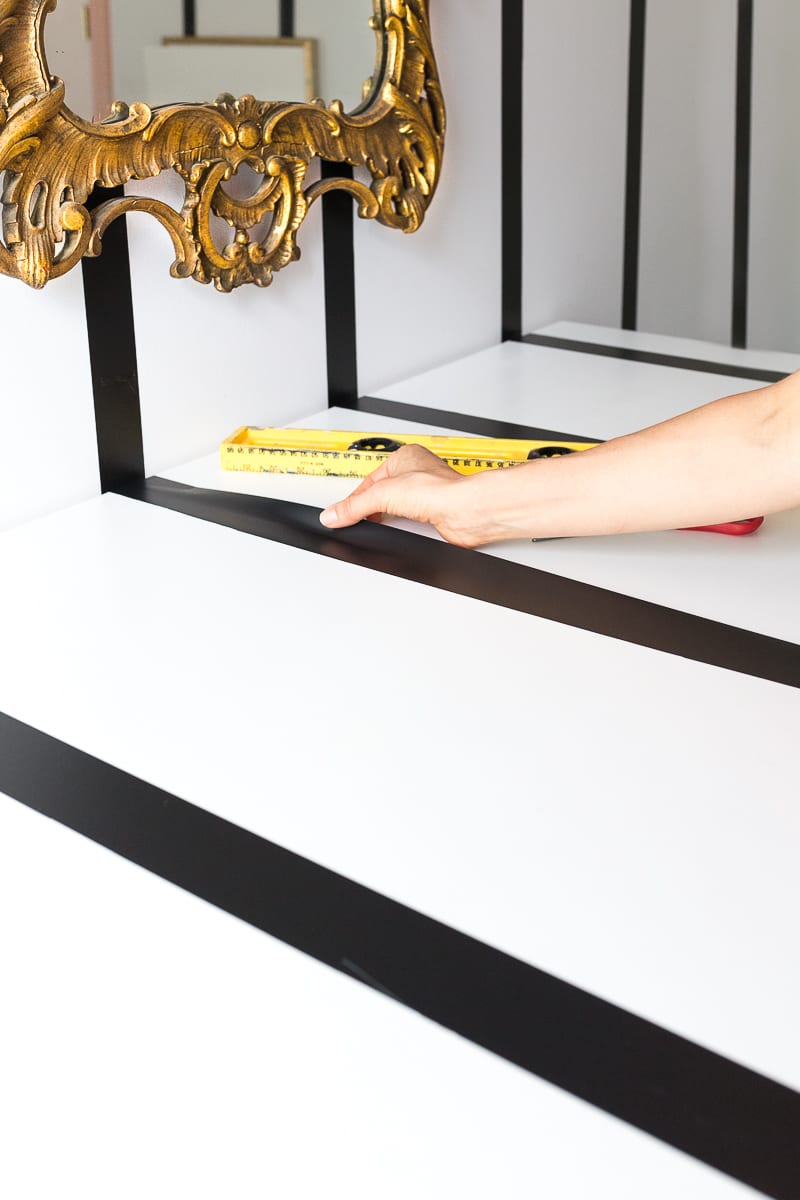
That, or you can just eyeball it ?. I’m not judging either way?.
