Custom Upholstered Piano Bench Tutorial | A DIY tutorial explaining how I transformed an old piano bench into a stylish and custom addition to my One Room Challenge Room
One Room Challenge
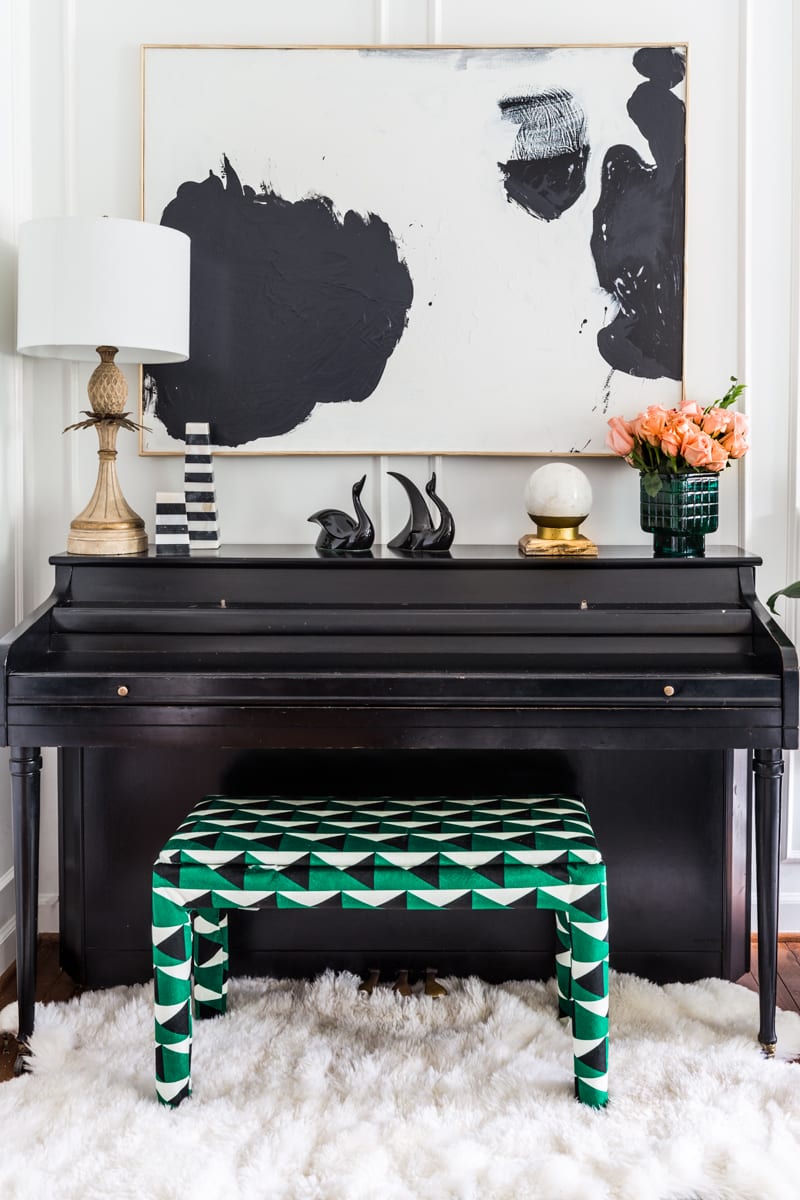
This bench was a small, but statement making, addition to my One Room Challenge reveal. I’ve received some questions about it, so I thought I should give you a quick upholstered piano bench tutorial.
Spoonflower
Note: The fabric in this tutorial was kindly sponsored by Spoonflower.
One of the questions I’ve been asked is where to buy this sweet fabric. Well, let me tell you. I worked with David Reynoso (IG: @designreynoso), and he came up with the spectacular design. I had contemplated using it on a bed, but it just fit too perfectly with the black and white keys of the paino. Don’t you think?
I printed it out on Celosia Velvet, one of a long list of fabric options offered at Spoonflower.com. Spoonflower is my go to site any time I’m looking for unique or completely custom fabric.
Before
Here’s what I started with. It wasn’t horrible, but I wanted to inject a pop of color and bold pattern to that side of the room.
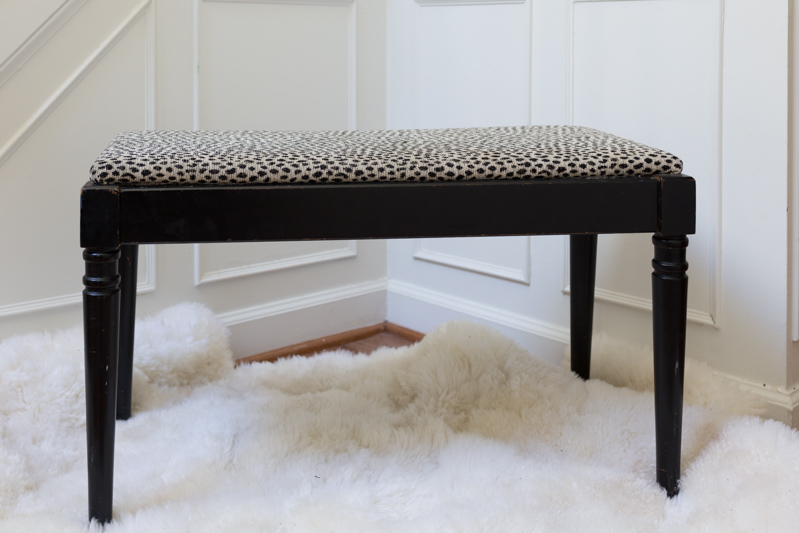
Step 1 | Remove Old Upholstery
I needed to remove the old upholstery so that it didn’t cause binding around the two hinges. I used a staple remover to pop out those little suckers.
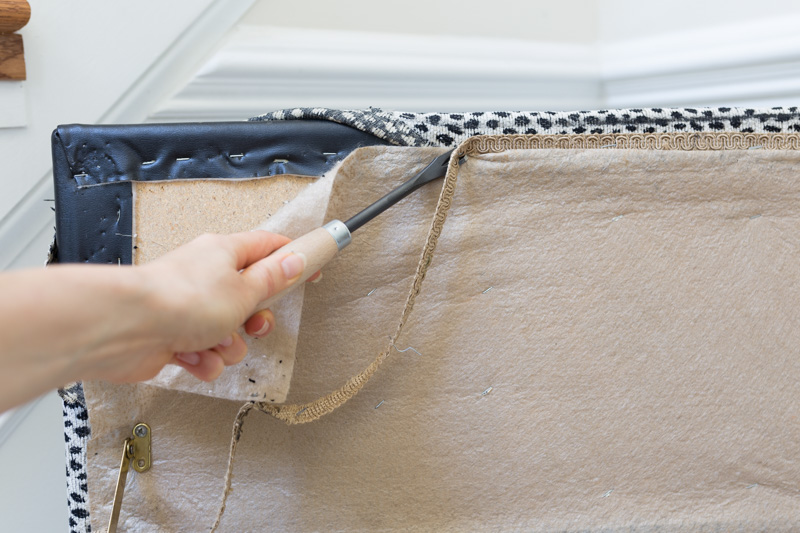
Quickly realized that I needed to remove the entire seat first, I took the screw driver to it. I took special care not to lose the screws.
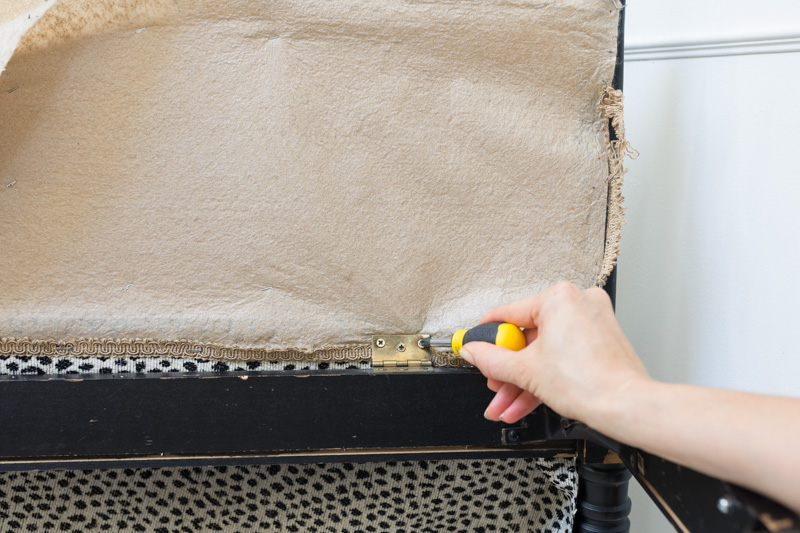
Step 2 | Batting
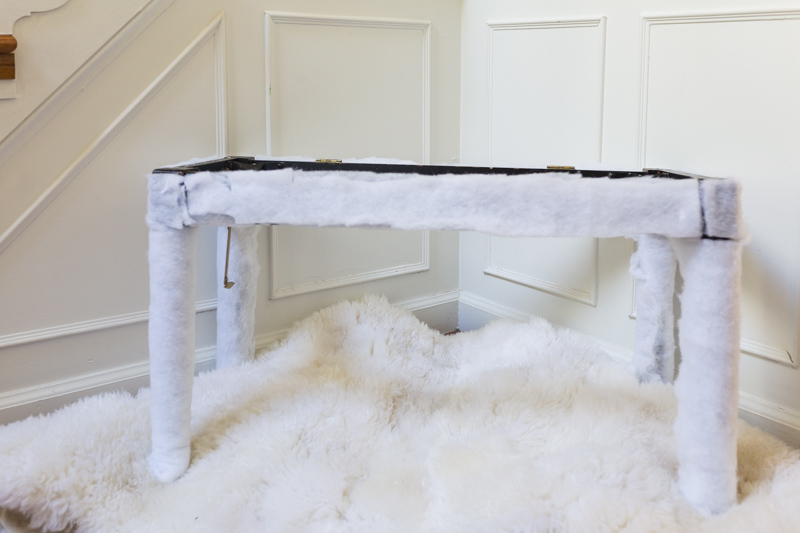
Using simple quilting batting and an upholstery gun, I applied an even layer of batting to the entire bench.
Step 3 | The Seat
Since it was a geometric pattern, it was imperative that lined up the shapes symmetrically and evenly. Since the body needed to match-up with the seat as much as possible, I knew that a crooked seat would lead to a wonky over-all look.
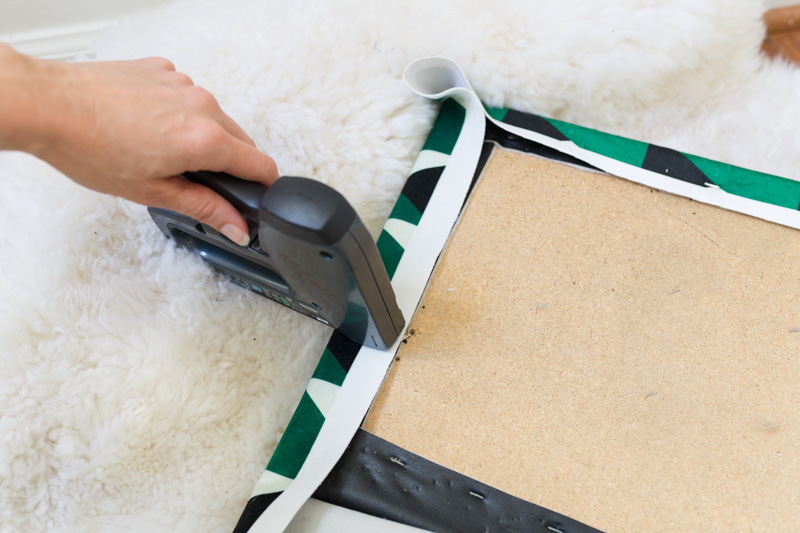
I cut extra fabric in the corners so that the seat would lay as tight to the bench as possible.
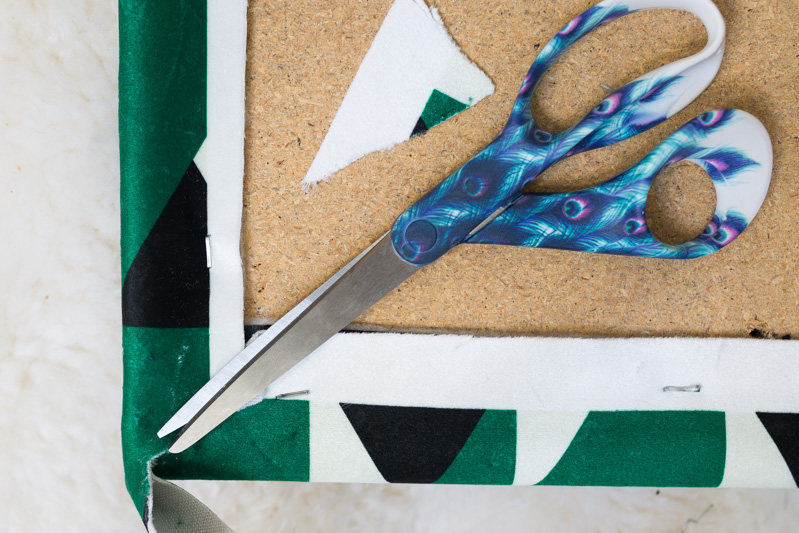
To reattached the bench, I tried to line up the hinges in the old screw holes, but I took special care to ensure that the seat still lined-up evenly on the bench.
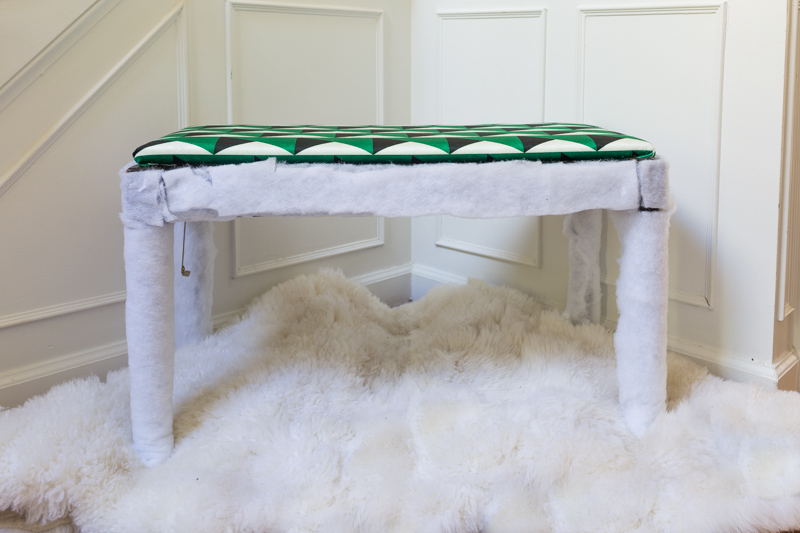
Step 4 | The Body
This part was a tad trickier. I picked one long side and did my best to match up the pattern with the seat and then stapled everything into place.
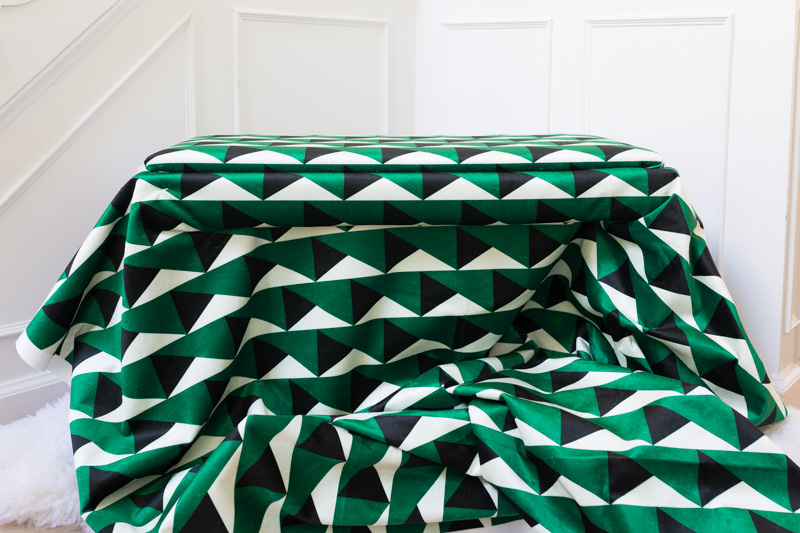
I trimmed out the center section, leaving enough fabric to wrap around the legs as needed.
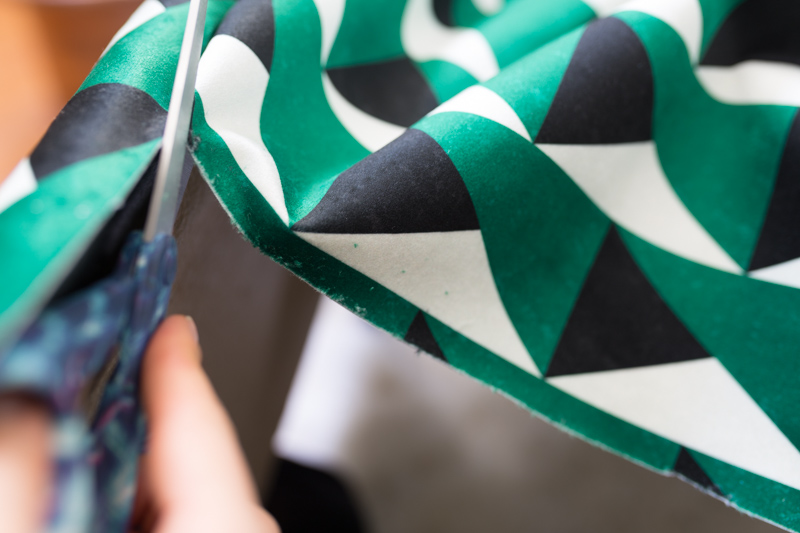
I then repeated on the other long side and then the two short sides. Not all of the sides lined-up, but I did my best to make it work, focusing on the parts that would be seen the most.
Bench Reveal
After the fabric has been stapled (or optionally hand sewn) down the legs, and stapled under the feet, I set it it’s new place of prominence…My One Room Challenge living room.
Thanks for joining me on this upholstered piano bench tutorial.

Questions? Comments? I would love to hear from you. Please feel free to leave me a message below.
-xoxo Jewel



I watched on your instastories and followed the ORC. This was one of my favorite pieces!!! My piano bench isn’t upholstered at all and I have no confidence nor experience in that but I admire how you changed the entire look of your piano by doing this! Someday I won’t be intimidated by Spoonflower!!! I love your choice of fabric but I’m sure I wouldn’t have been able to know how great it would look without help?
Thank you so much Gwen! That is incredibly kind of you to say! At the onset, I wasn’t entirely sure how it would turn out either ?. I just jumped in with both feet and really loved how it turned out. #risktaker ???
Hello! Can you tell us where your art above the piano is from? Thank you!
Hi Michelle
I painted it myself. Sorry that isn’t very helpful for sourcing purposes :). It wasn’t that hard to do though.
Then I framed it out with unfinished trim. Good luck!
Hi Jewel,
I love, love, love your style! So, since the fabric was custom at spoonflower, does that mean it is not available for purchase? Was hoping they might offer custom designs for those of us less creative folks ?. If not, are there any other fabrics you would recommend in the same color way and style?
Hi Elizabeth! Totally available to EVERYONE! Woot Woot! That just means that you can ask the designer to change the size and color if you want. IT IS GAME CHANGING!