
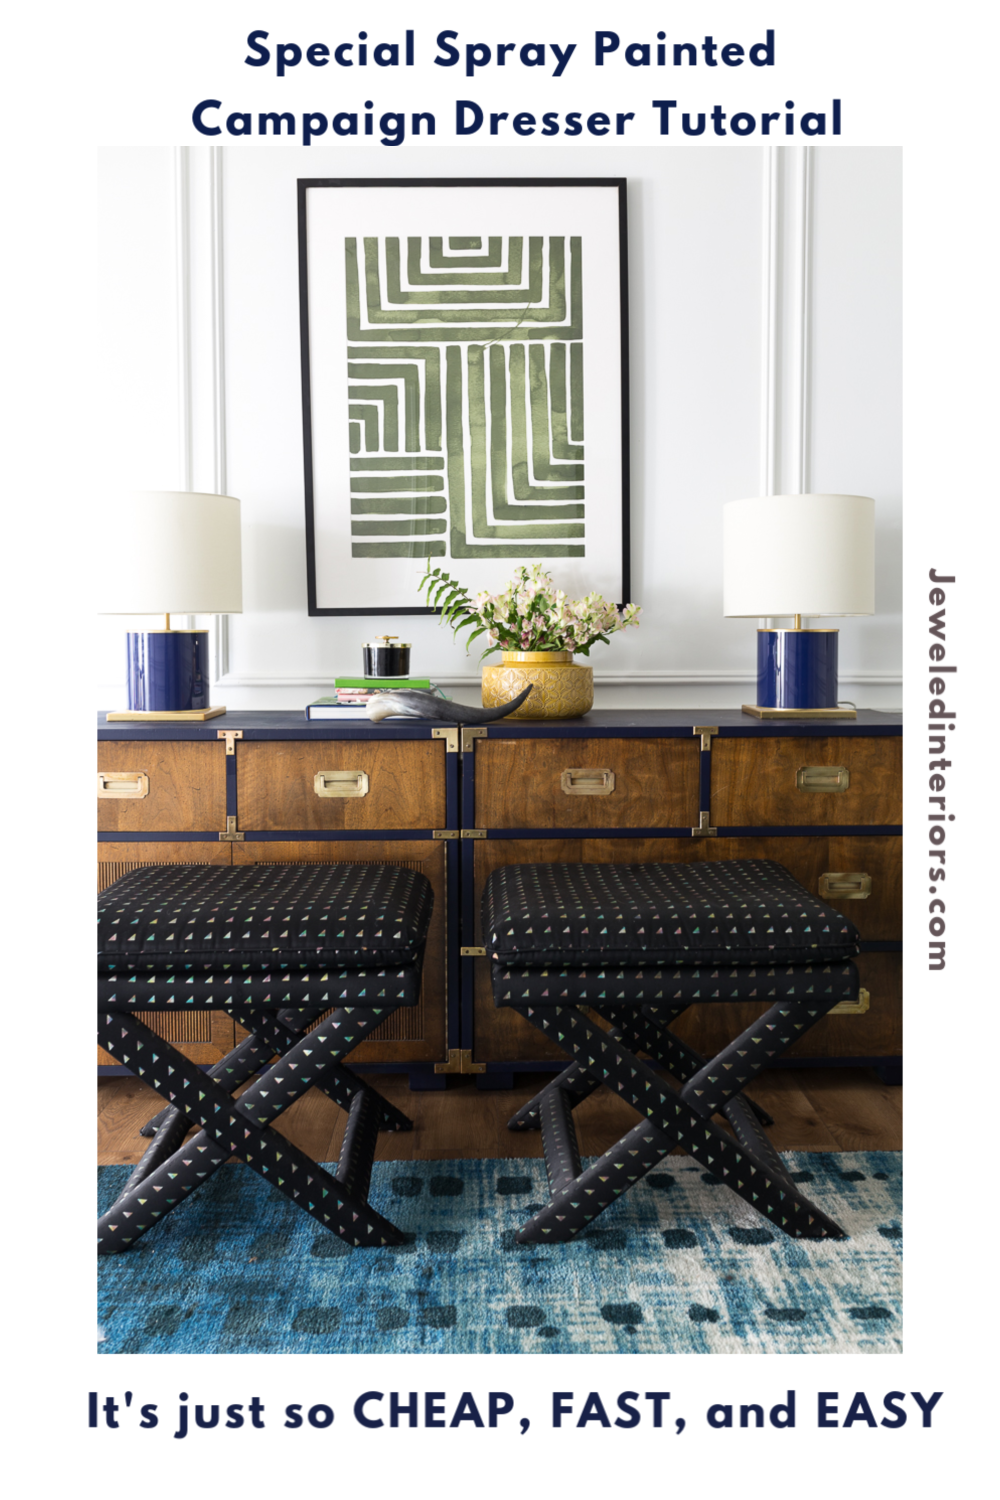
Spray Painted Campaign Dresser Tutorial- Fast, Easy, Beautiful
I’ve been working hard on our basement. Check out how I quickly nailed this spray painted campaign dresser tutorial using a few basic steps and high quality Plutonium Spray Paint.
Note: The Spray Paint was gifted but it worked great and the ideas are 100 percent my own.

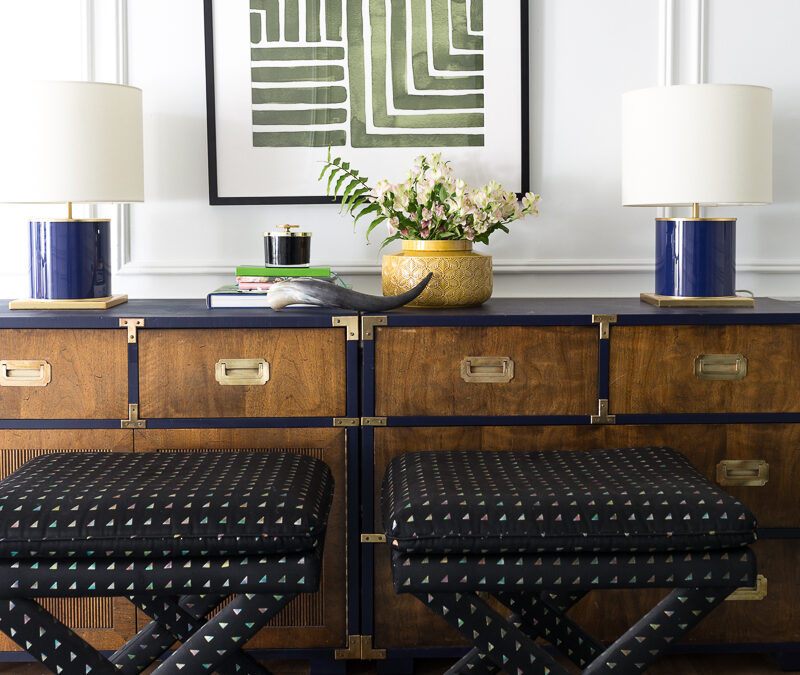
You are going to love this navy blue painted campaign dresser!


It is amazing what a can of spray paint can do!
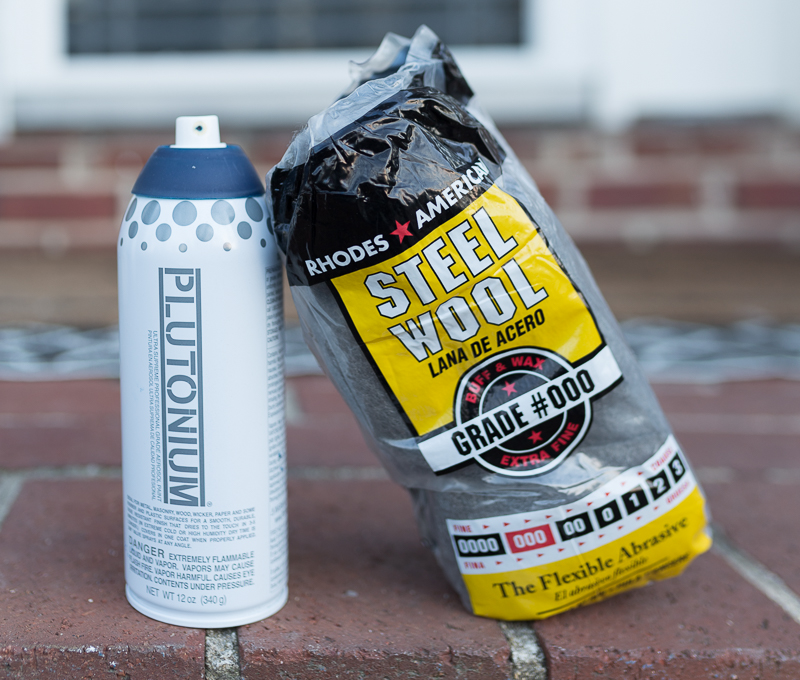
Painted Campaign Dresser Tutorial: Supplies

High Quality Spray Paint- I recommend Plutonium Paint
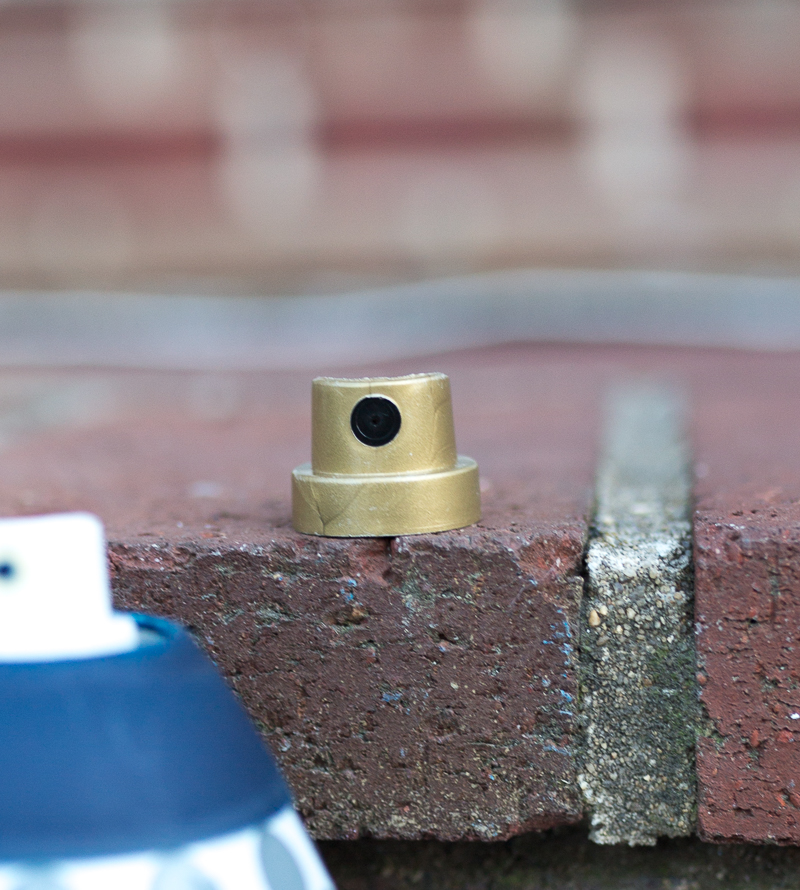
Special wide angle spray tip
Fine steel wool
Face mask
Not Pictured:
Screw Driver
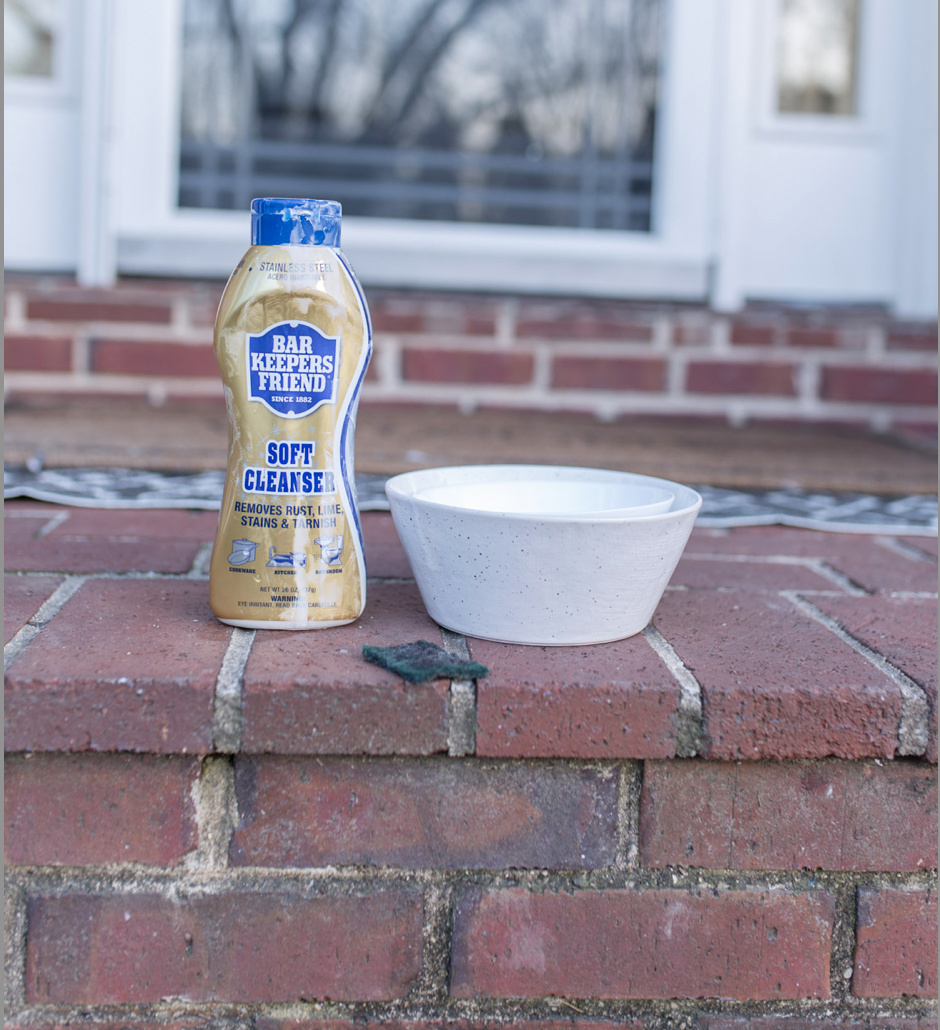
Brasso or Bar Keeper’s Friend
Green soft scouring pad
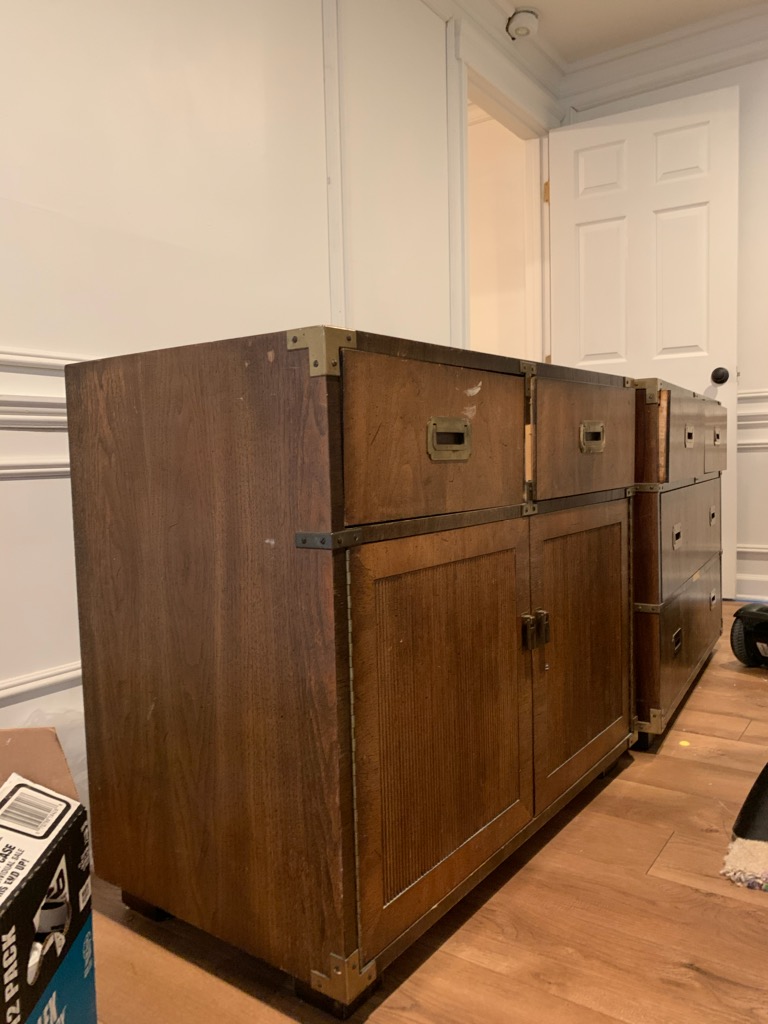
Spray Painted Campaign Dresser Tutorial : Step 1
Use a screw driver to remove the brass campaign pieces, and then soak them for 6 hours in a bowl full of Bar Keepers Friend and water. Make sure that the pieces are completely submerged. At the end of the time, wear gloves and use the green scouring pad to remove the rest of the grime.
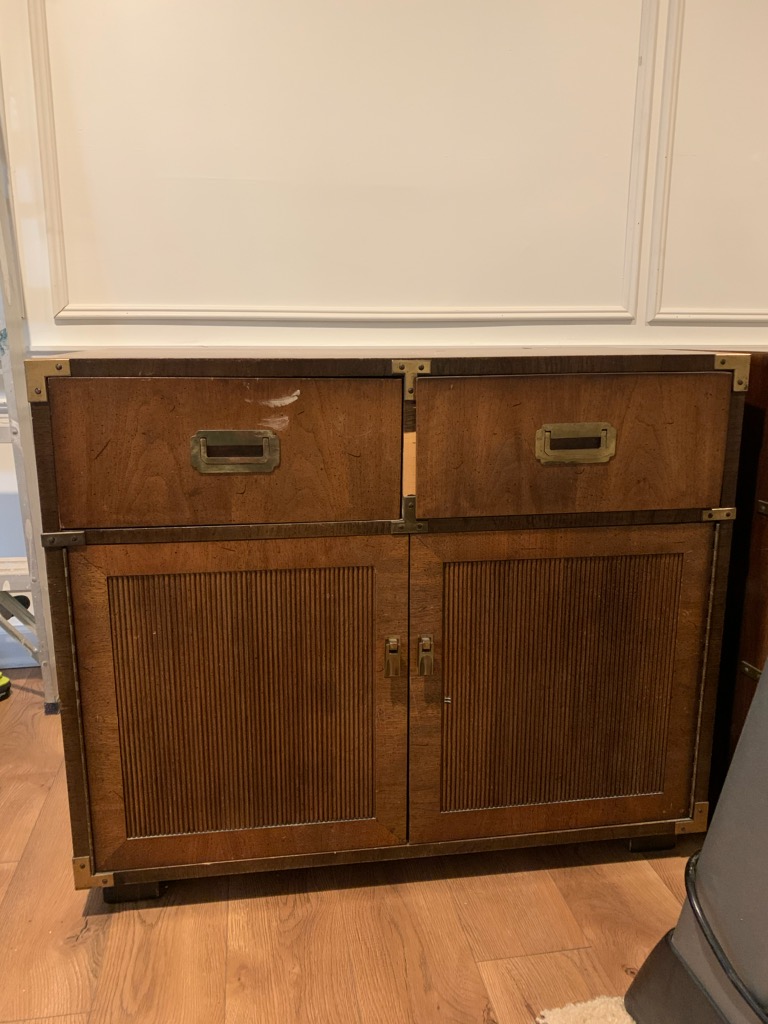
Spray Painted Campaign Dresser Tutorial : Step 2
Lightly sand the varnish
Using a fine sand paper or steel wool key up the varnish by rubbing all over the surface. Be sure to wipe down the piece when done.
Painted Campaign Dresser Tutorial : Step 3
Degloss the piece with a deglosser of your choice. I prefer this Ready product from Velvet Finishes. Follow the directions on the bottle or box.

Spray Painted Campaign Dresser Tutorial : Step 4
I wouldn’t recommend using a cheap spray paint for this project. Spray paint the dresser using the high quality product of your choice. I have really fallen in love with the fast drying time, no drips, and beautiful satin finish of this Plutonium Spray paint.
One thing I found very useful with the product is their widest angle tip. I first tried it with the normal tip and the coverage wasn’t quite as even. After switching tips I was very impressed. It took less work and left an even, factory-finish result.
Painted Campaign Dresser Tutorial : Step 4
Optional: You can spray a top coat for a glossier finish and extra protection.
Once dry (about three to five minutes for Plutonium Paint) the brass campaign pieces can be added back on the dresser.
Truly, it was just that easy. Scrubbing the brass and screwing the and unscrewing the campaingn pieces were the only time consuming elements of this project. I’m thrilled with how it turned out, and the Submarine Blue looks so pretty with the raw wood drawer fronts. Whenever I find a color that is a good fit, Plutonium might just be my new first choice paint for small DIY projects.
PIN ME FOR LATER

Jewel!
This is incredible!
??????
Thank you for sharing! It looks amazing ?!
Looks great! I saw something on Baltimore Facebook marketplace that is not a me,
but I think screams you. It is an Art Deco Burl eight sided stool.
I need to check this spray paint out!
It’s truly a wonderful piece now! Have you ever used their clear gloss to get a glossy finish on any other projects? If so were you happy with the results?
Thanks Emily!
I haven’t yet, but I do have some that I have been meaning to try. Maybe that gives me an excuse to find something else to spray paint ?
It is really unlike any spray paint in the stores. Kind of like the difference between Farrow and Ball and big box paint. Not that Big box is bad, just a different level of pigments.
Really? I might have to check it out! Thanks for the tip!
Thanks Gladys! You are so kind.
Thanks so much Meryl. Soooo easy!
Me again with another question. Did you sand/steel wool entire piece along with using the velvet finish on entire piece as well? I’ve gone back and really looked, and the wood you did not paint looks so much better in the after pics, and I’m wondering how you treated it. Love this project so much!
Hi again! I only used water to clean the drawer fronts. It still has some scratches and I did buy a product to put on the scratches, but just getting the dirt and dried yogurt up went a long way. Maybe I will use the scratch concealer stuff at some point.
Good luck!
Beautifully Done. It makes it look new and special. The lamps are a good accent, as well.
Thanks so much Austin 😉
I love the blue so much! It looks so perfect with the lamps ?
Thanks so much Ashley!
Jewel, you are exceptional! Thanks for sharing. Love it all!!!
Thanks Ursula!