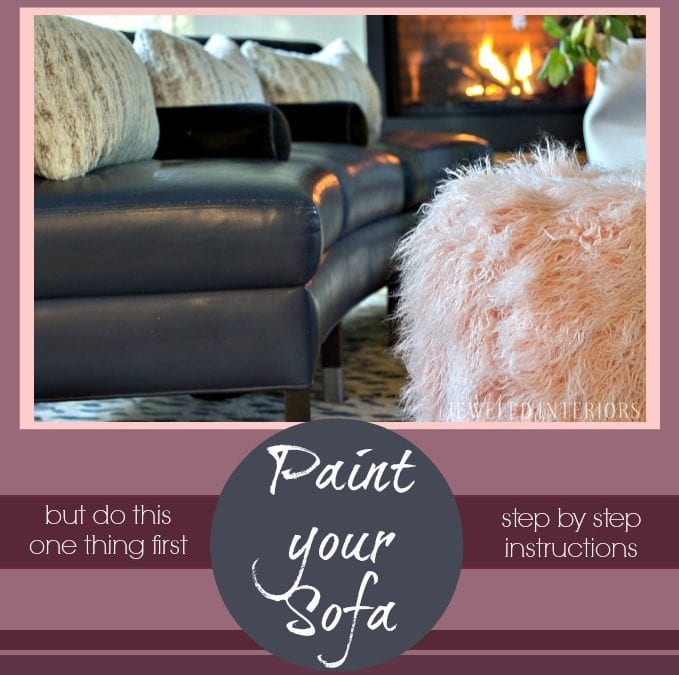
I’m so pumped to tell you about this new and improved addition to a popular leather sofa painting technique. My old battered sofas now look practically brand new…thanks to this trick.
WELCOME TO JEWELED INTERIORS! I am so glad you stopped in. I hope you enjoy your time here and at other ORC sites.
If we haven’t met yet, my name is Jewel and I have a passsion for making the world a prettier place, one room or party at a time. I am a firm believer that high-end looks can be acheived with a little ingenuity and creativity…no small fortune required. It’s a good thing too, because in August we just moved into our 12TH HOUSE! Believe it or not, our family of six only has 8.5 months left to make this rental house a home before we make our next big military move. That’s not a typo friends. 8.5 months.
I’ve been scouring craigslist for (well, a decade really…but specifically for the last 8 months) trying to find pieces that represent my eclectically chic style for this fabulously fun One Room Challenge. Boy have I hit the JACKPOT! Yep, it’s time to put a little “Jewel Polish” on a pair of curved vintage couches!

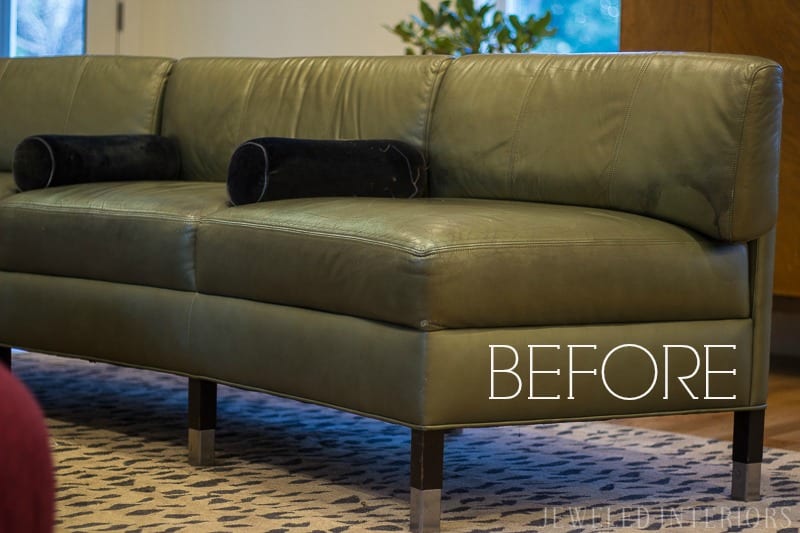
“Before” pics and the backstory
STEP 1: GATHER SUPPLIES
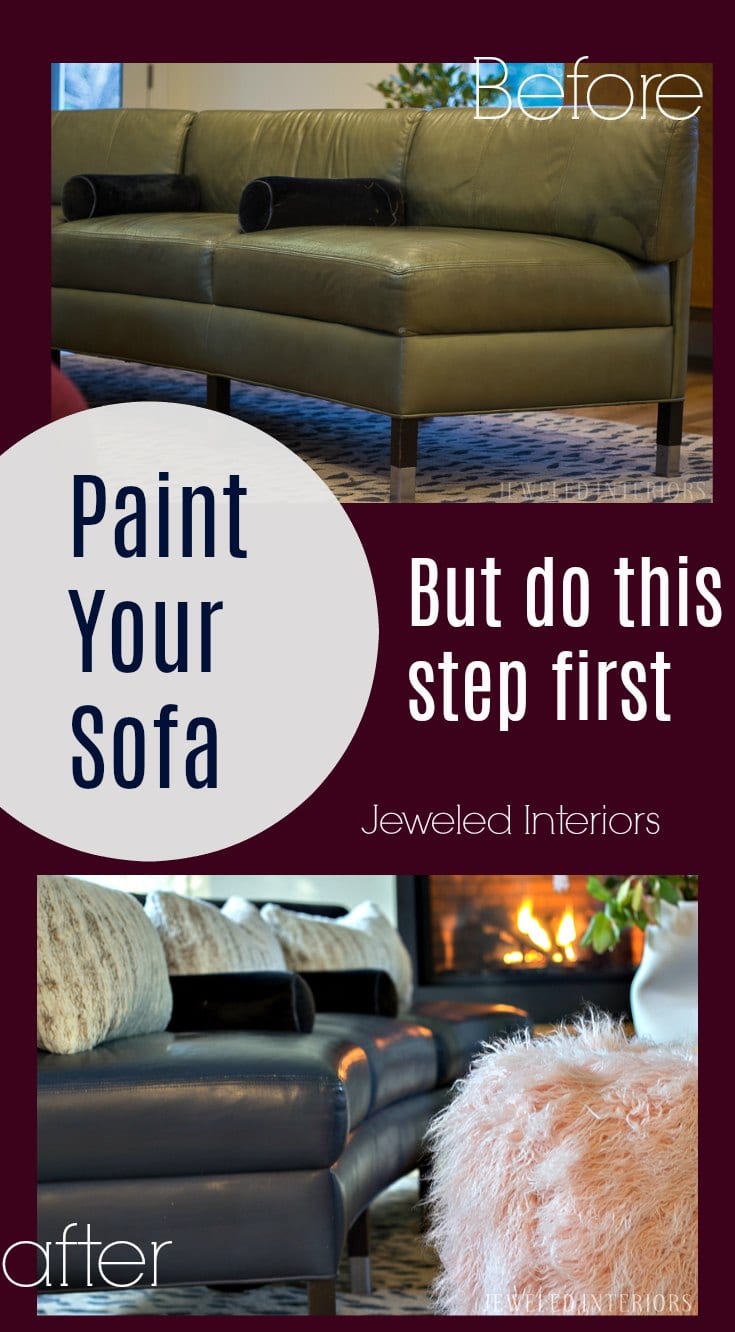
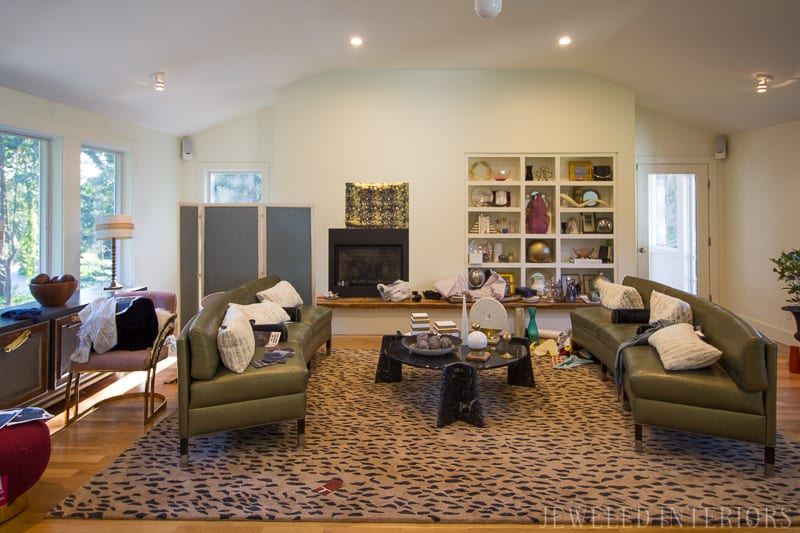
BACK STORY- These couches were as ugly as sin…no, actually uglier. Their metallic olive green leather made them look like victims of a ugly-stick gang attack.
Despite their less than attractive color and beat-up leather, I could see their inner beauty. It was love at first sight when I pulled up these curvy, eight legged, ladies on craigslist. “$100 each for two former Nordstrom dressing room sofas.” I knew I had to make the six hour drive to buy them. I will spare you the details of six people barely being able to cram these heavy couches into my SUV. I will not make you relive driving through rush hour traffic… in pouring rain… on a major freeway… with my hatch wide open… and two sofas dangling out. Let me just tell you, it was epic! However, after all of this hard work my friends and family were completely underwhelmed by my new prized possessions. Today’s post serves as both justification and vindication! To all you nay-sayers… I don’t want to say that I told you so, but well… you know 🙂
BEFORE
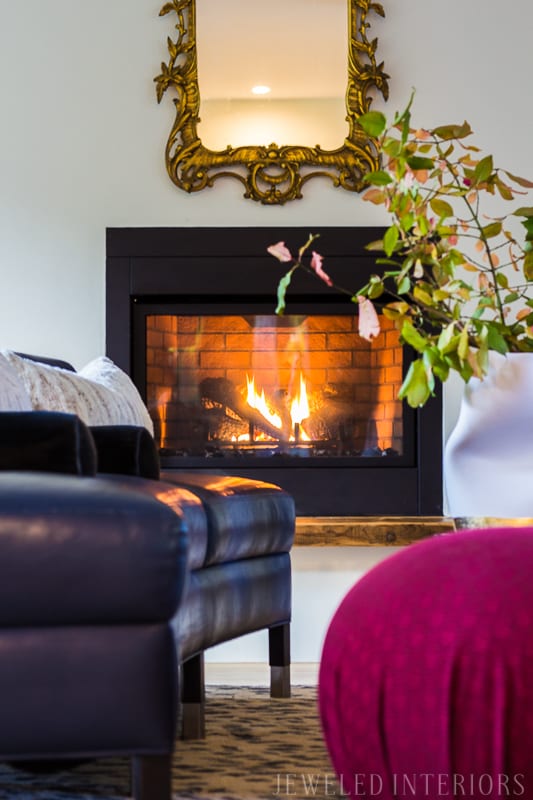
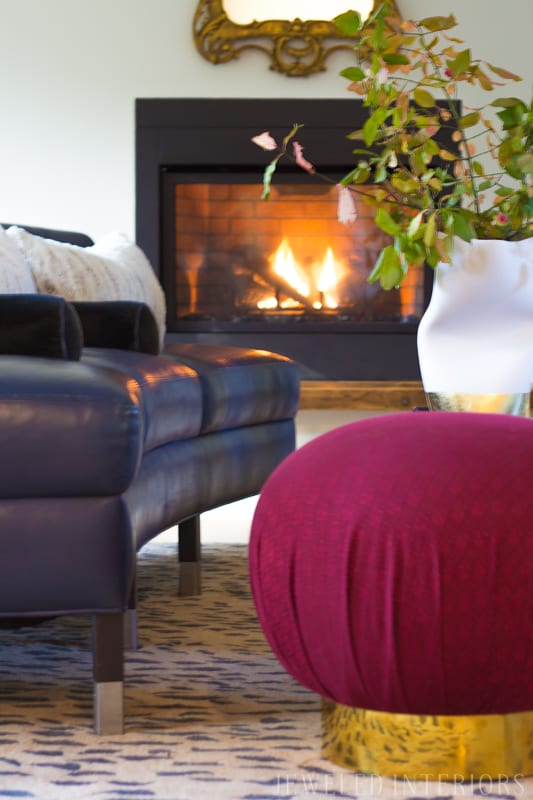
AFTER
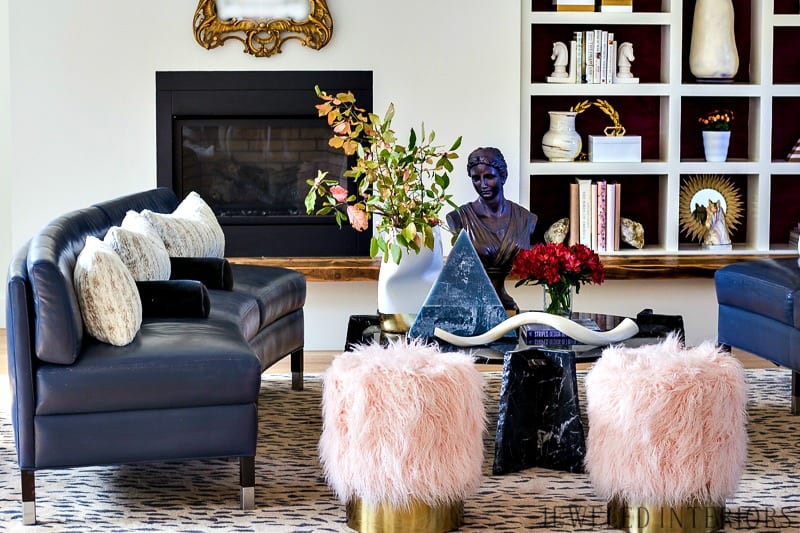
Let me show you the 5 steps it took to transform these beasts into the beauties they are now. HINT: Step 2 is DA BOMB
PAINTING LEATHER FURNITURE
I am infamous for destroying sofas: three to be exact. Let’s just say that fabric paint, Ritz Dye, and wood stain didn’t work for me. THIS technique, however, is my go-to, no-fail, DIY magic show. There are other blog posts out there about painting fabric sofas, but this one is specifically designed for painting leather and leather-like pieces of furniture. It is important to note that this technique works best when your selected piece lacks nail head or button-tufted details. While it can still be done, your finished product may not look so convincingly brand-new.
Finally, I receive no money for this post. No ads, sponsorships, or affiliated links. I just really believe in what I’m about to tell you. With that, let the fun begin!
STEP 1: GATHER SUPPLIES
Supply list:
- Leather or leather-like furniture
- Drop cloths, rubber gloves, and ventilation mask
- Large foam brushes (4-6 per sofa)
- For leather in poor condition: Sherwin Williams Extreme Bond Primer (optionally, you can have it tinted)
- Paint color of your choice intensified 150-200% (Your paint store will know what this means) but it compensates for adding Plaster of Paris
- Plaster of Paris
- Minwax Paste Finishing Wax (natural colored)
- Old, soft, disposable rags
- Toothpick
STEP 2: PREP WORK
Once you have procured your leather furniture by any legal means neccessary and have properly protected your home and yourself then it’s time to get to work. Using fine grit sandpaper, “key” the surface. This is simply a fancy term for lightly sanding anything you plan to paint.
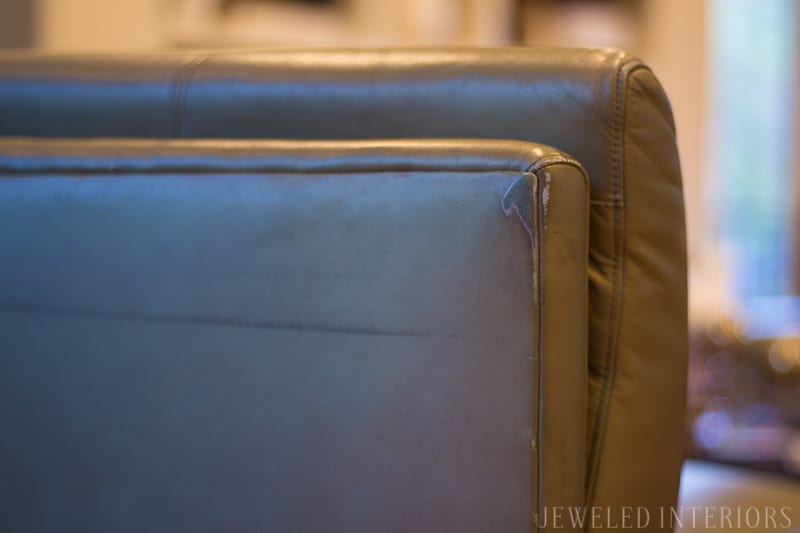
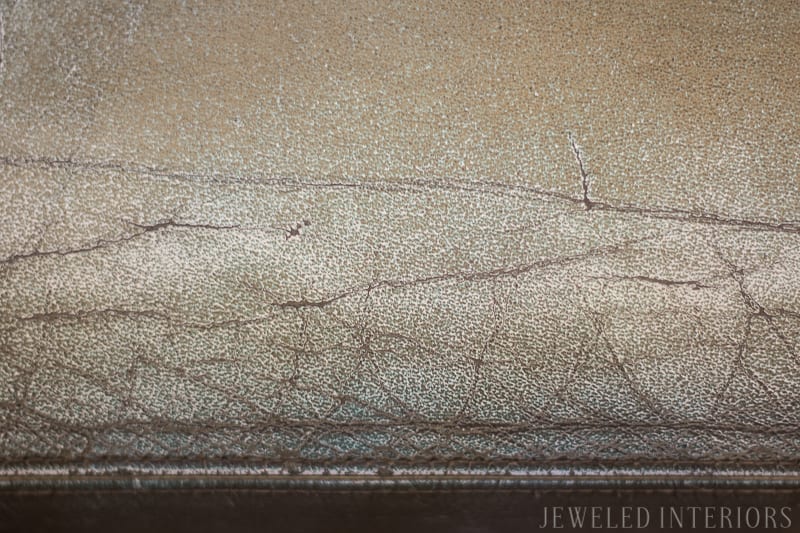
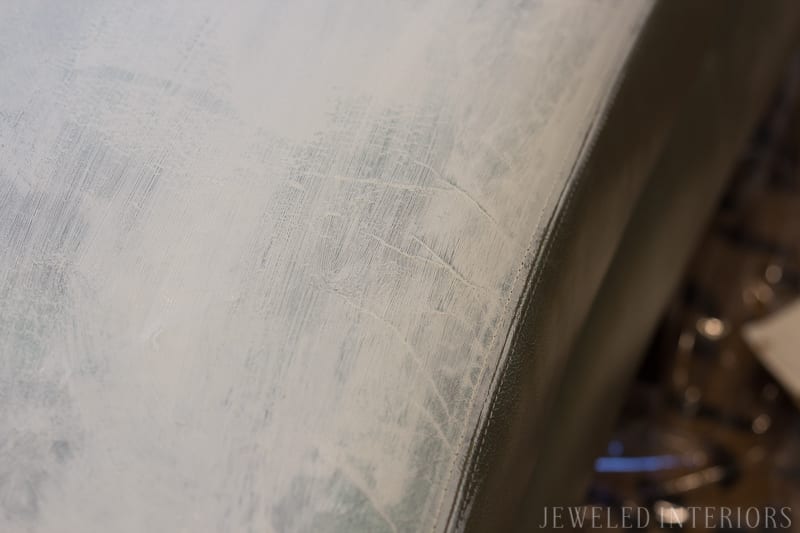
You can see in the pictures that my sofas were in particularly poor condition. Those wrinkles were DEEP and in desperate need of the equivilent to sofa Botox. I gave special attention to these “problem areas.” As hard as I tried to sand, however, the wrinkles and creases remained…if you are feeling my pain, don’t stress. Eventually Step Three will help.
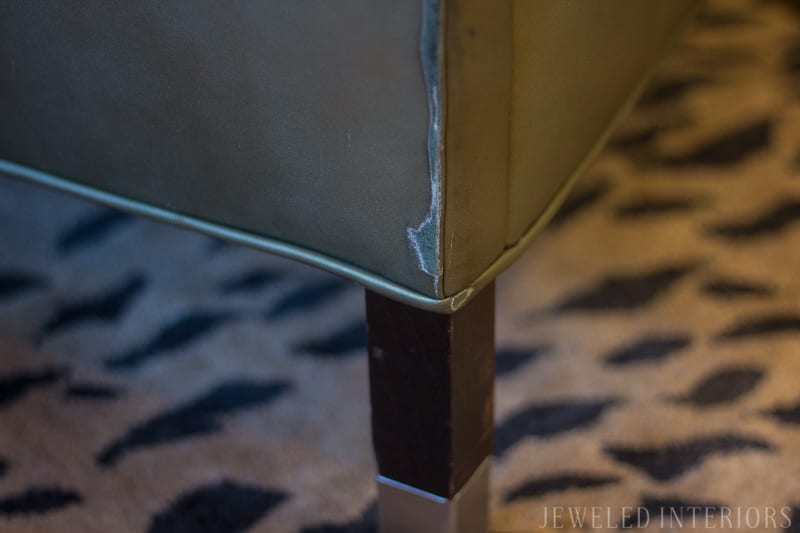
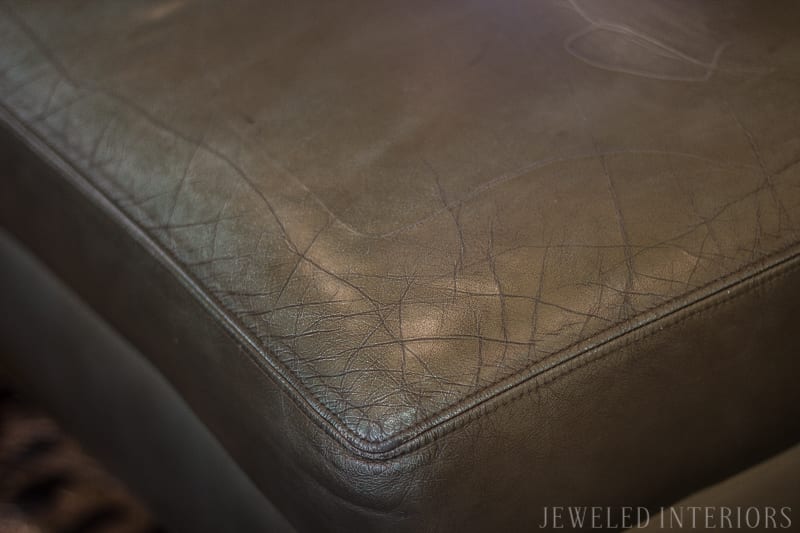
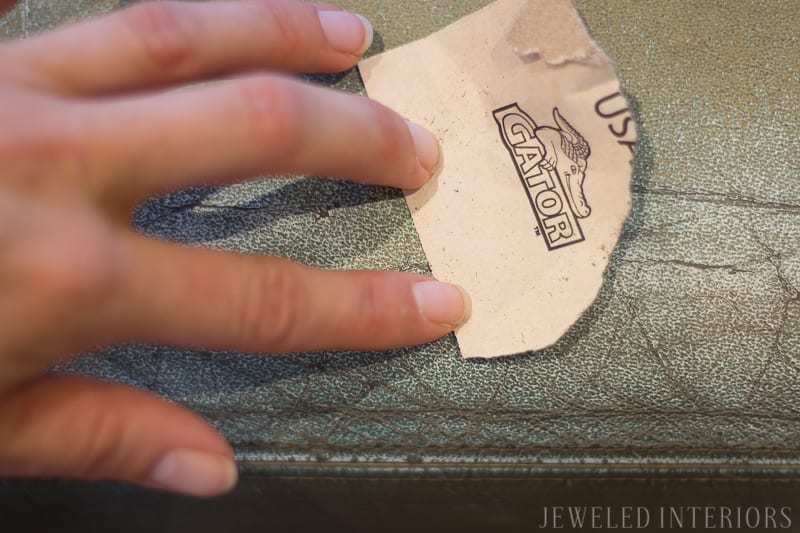
Once your furniture piece has been thoroughly “keyed” remember to wipe it down with a damp cloth and wait for it dry.
Also, tape off any areas that you don’t want painted (AKA-the legs).
STEP 3: PRIME
It is this next step that I am most excited to reveal!!! While chillin’ at Sherwin Williams one lovely afternoon I struck-up a conversation with the friendly “paint barista.” I was describing my sofas and lamenting about their wrinkly condition. She mentioned that SW had a primer designed to smooth over rough surfaces. This product is also touted for its flexibility. BINGO! Just what I need! Besides, what did I have to lose but $200 in ugly sofas?
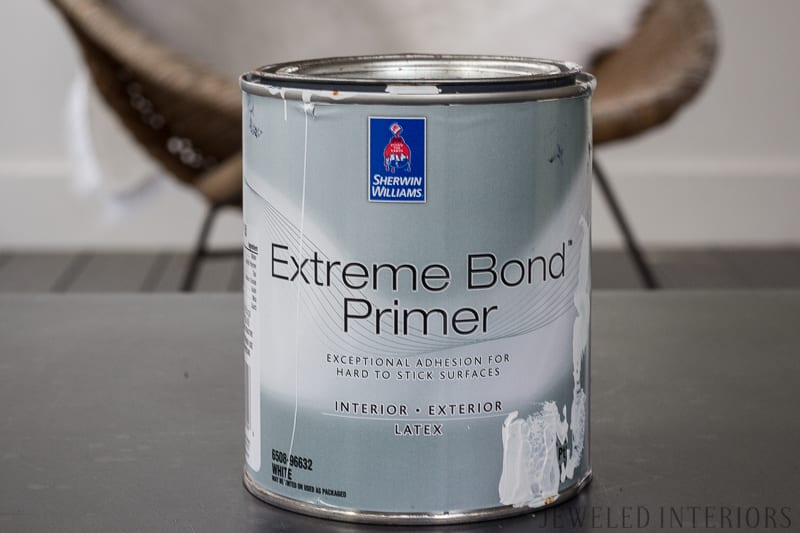
Sure enough, this primer works like a champ! I can’t tell you how beautifully it smoothed over the rough patches. Now, did I prime every inch of leather? Absolutely not! I only reinforced the damaged and “high traffic areas.”
To “prime” the areas in good condition I simply adjusted my chalk paint recipe. Keep in mind that the more Plaster of Paris, the more adhesive the paint becomes.
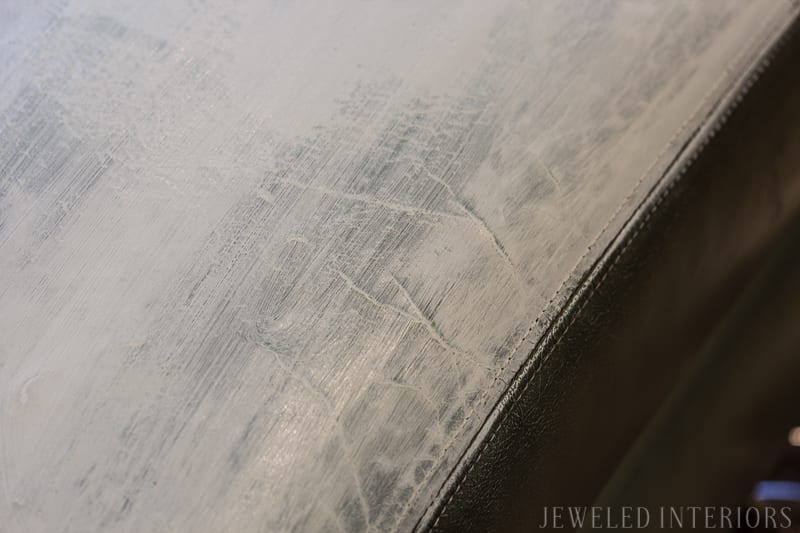
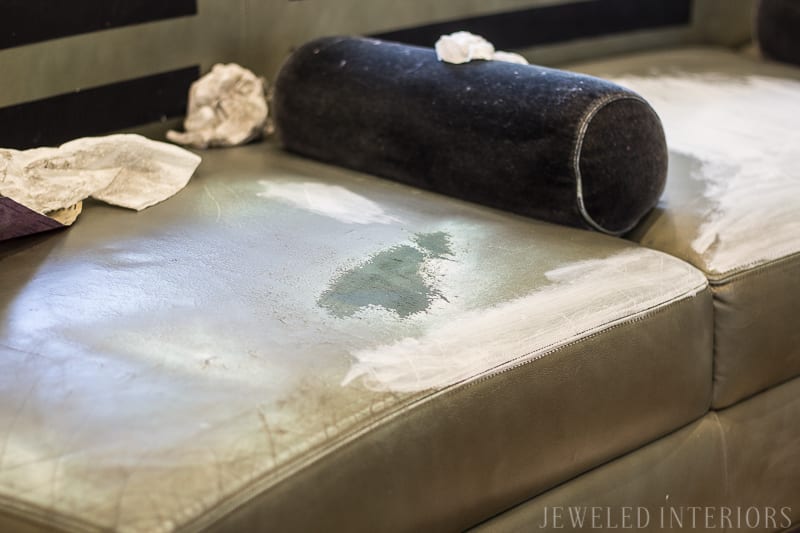
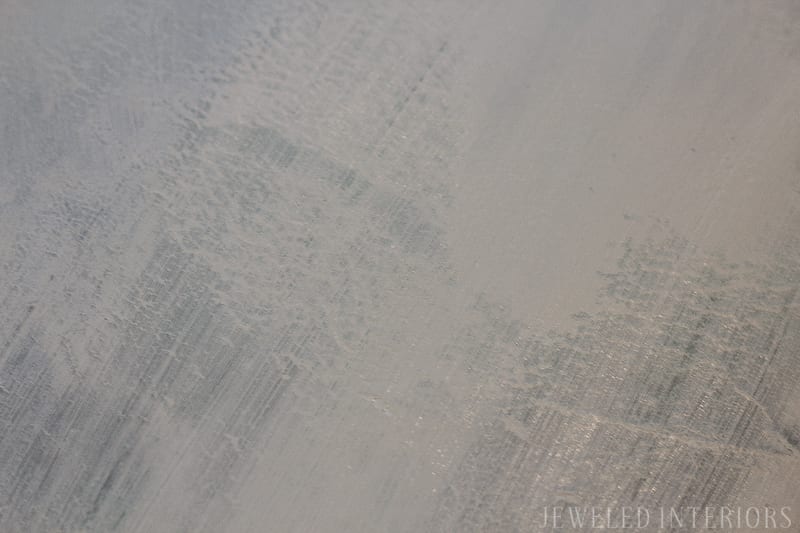
STEP 4: PAINT
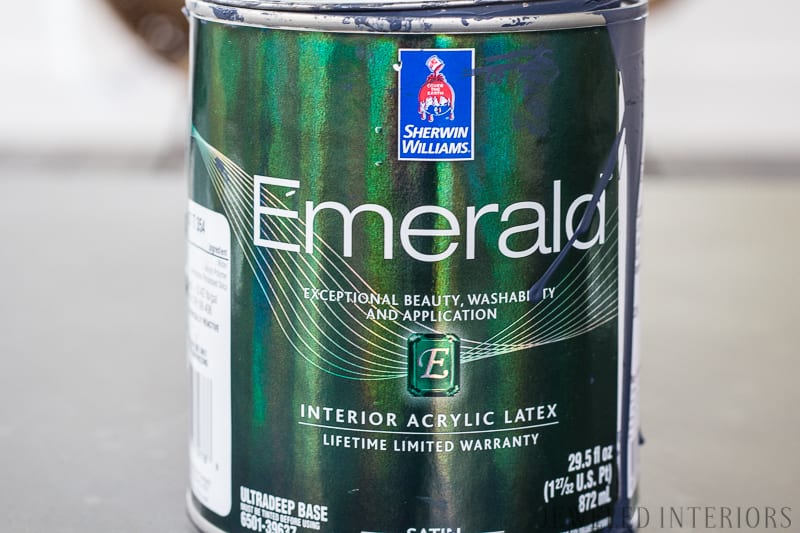
“What color did I use” you ask? I picked up Hale Navy intensified to 150%, but if I were to do it again I may have gone to 175-200%. Traditionally flat paint is used in chalk paint recipes, but I opted for satin this time around. I don’t know that it made a difference??? but I’m thrilled with the result.
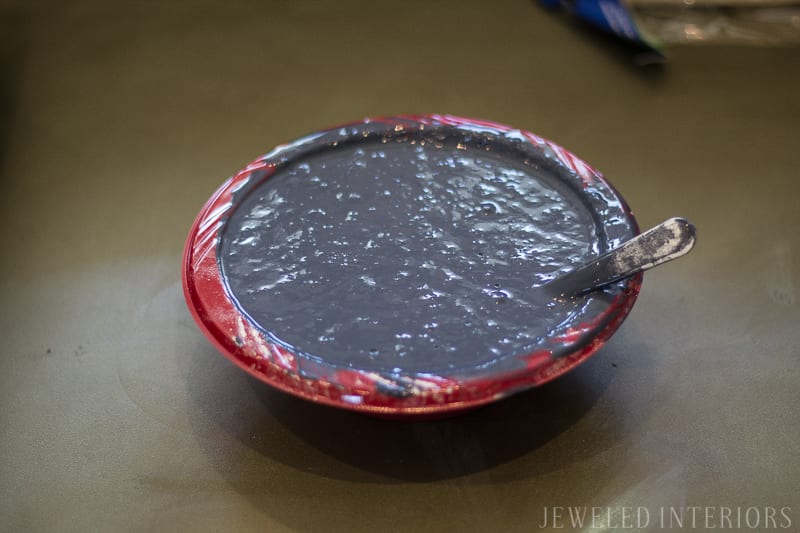
There are a variety of chalk paint recipies on Pinterest. Most of them will say to add less Plaster of Paris than I am going to recommend. This, however, is what worked for me- especially on the first coat.
LEATHER FURNITURE CHALK PAINT RECIPE
1/2 cup latex paint (I measure with disposable applesauce cups)
3 tablespoons Plater of Paris
In other words, roughly
2-2.5 Parts Latex Paint to 1 Part Plaster of Paris
add water as needed
Break up any Plaster of Paris clumps before combining and then mix the stuffin’s out the concoction. The last thing you want is clumps on your sofa. If it is feeling too thick or grainy then add water. The second and/or third coats can be a little runnier.
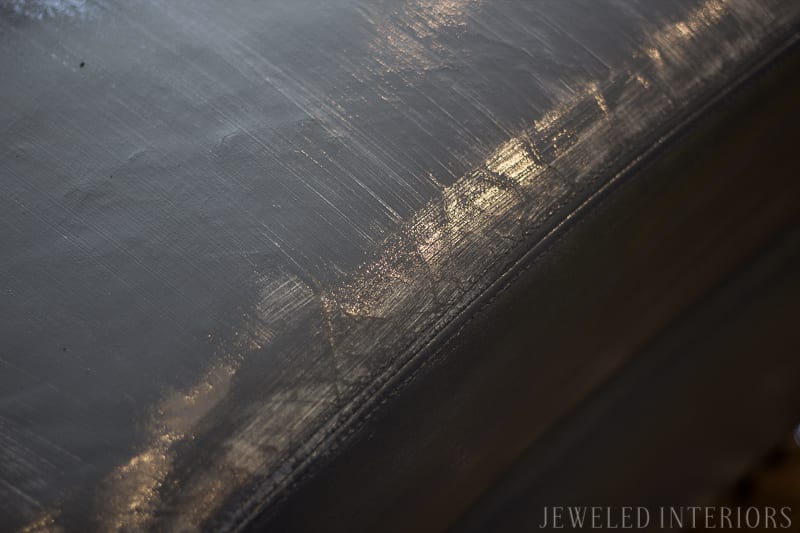
Chalk Paint Pointers
- The recipe is more of a suggestion rather than a rule. If you want your paint concoction to function as a primer then keep it thick with Plaster of Paris. Subsequent coats go on a little smoother with a little less Plaster of Paris in the ratio.
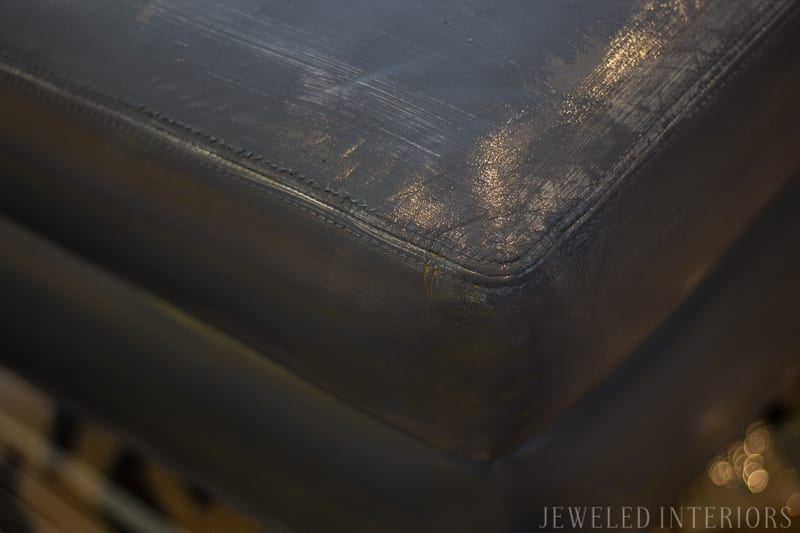
- Like painting wood furniture, you ideally want to paint the same direction with each stroke. You can see above where I broke this rule. It is noticeable.
- While you could use a traditional bristle brush, I prefer a foam brush. This allows me to rub and smooth vs simply paint. As an added bonus, I get to throw those bad-boys away when I’m done. I hate to wash brushes.
- The trick to fooling your guests into thinking you’ve purchased brand new sofas is to keep extra paint OUT of the seams, folds, and tufting. I recommend that you use a toothpick, or at very least your fingernail, to scrape the seams after each coat of primer or paint.
- It is better to do two or three light coats than one super-heavy coat. I promise!
- Lightly sand between coats with the finest sandpaper you can find.
- The number of coats depends on the original color of the sofa, the color you are choosing to paint it, and whether or not you tinted your primer. This particular project took 2-3 coats after the primer. Each coat went pretty quickly…maybe 45 mins per sofa.
- Like any paint project, remember to cover your bowl of paint in Saran Wrap between coats. I have had paint last up to at least a week that way.
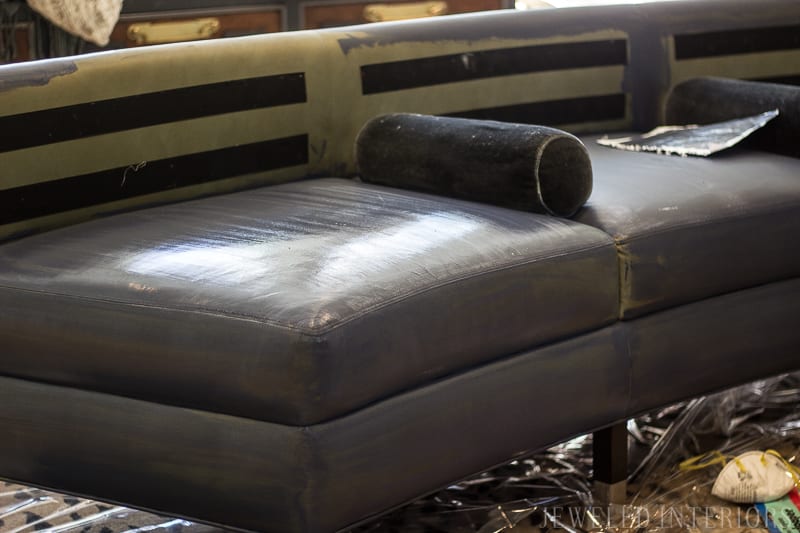
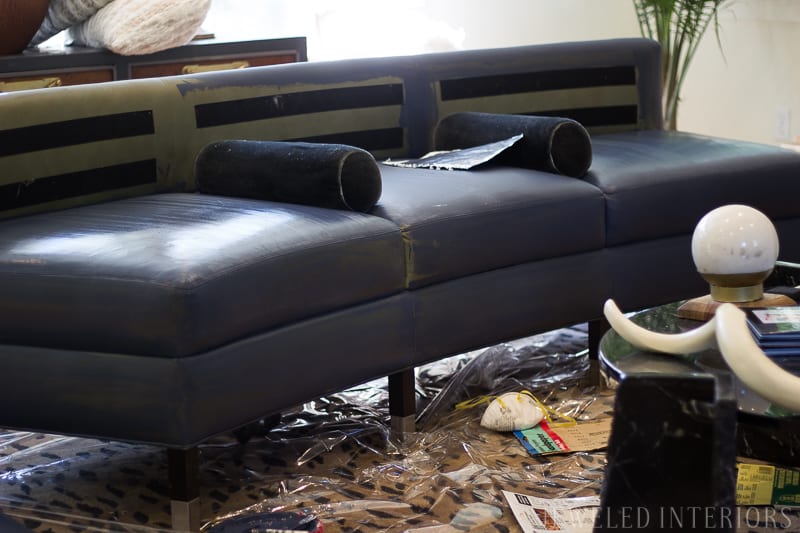
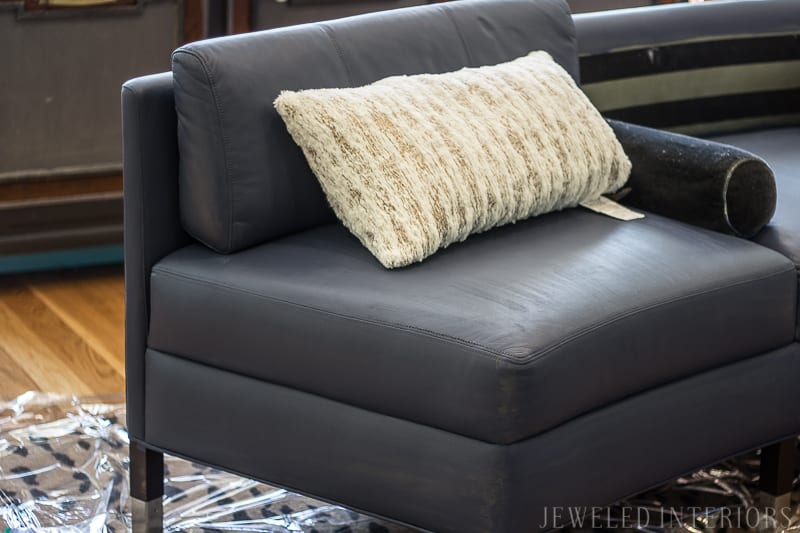
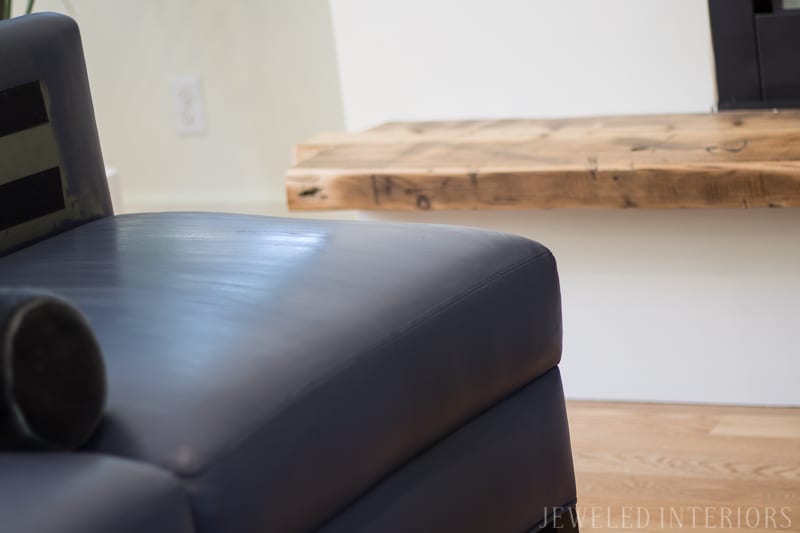
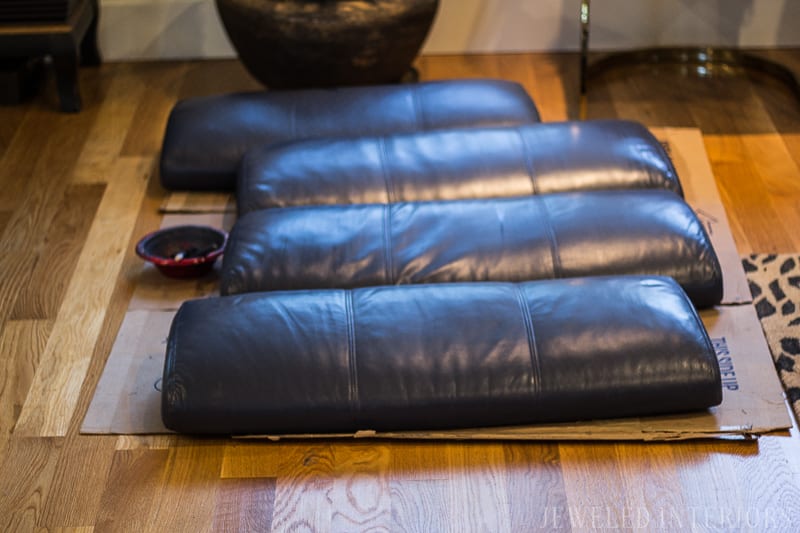
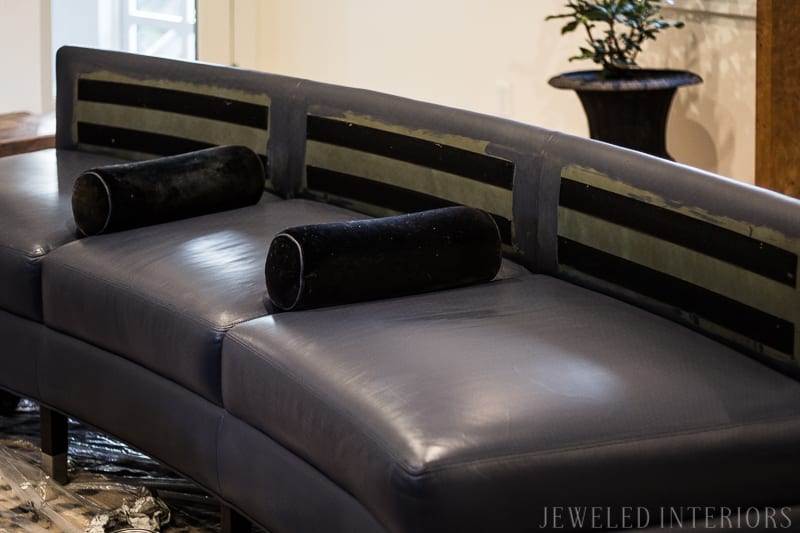
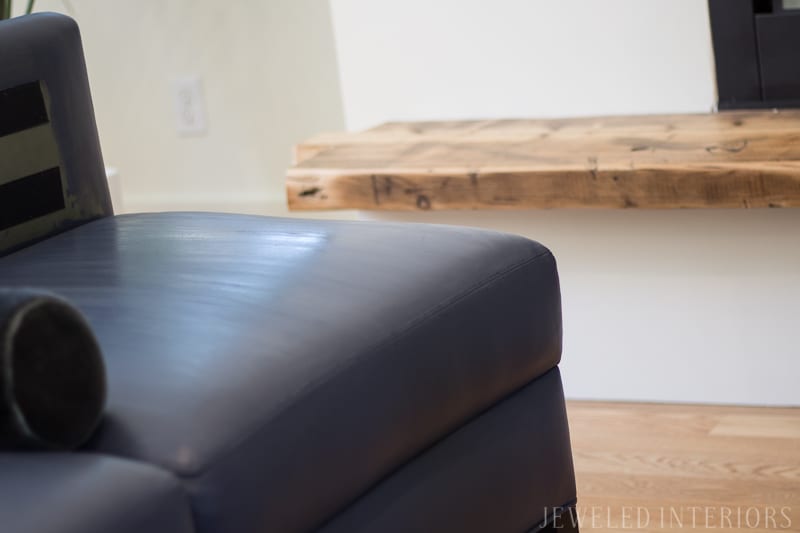
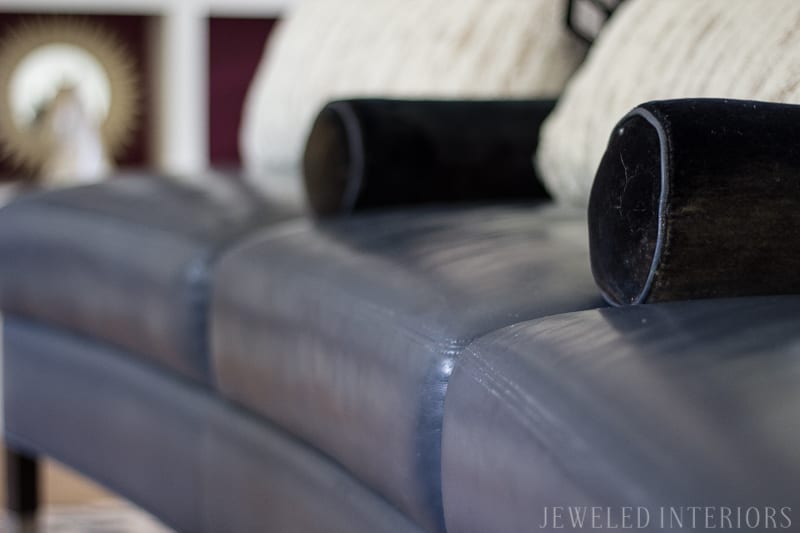
You can see in each of these photos that the paint is still wet. Once your final coat is dry it will feel VERY matte and almost chalkboard-like. Remember to sand, scrape-off, and touch-up any glops, gunk, or bumps. Time to seal and protect your hard work.
STEP 5: WAX
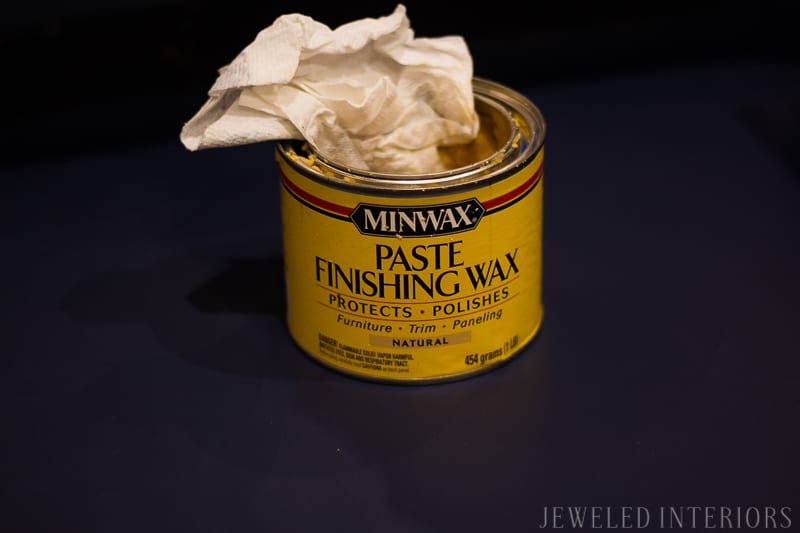
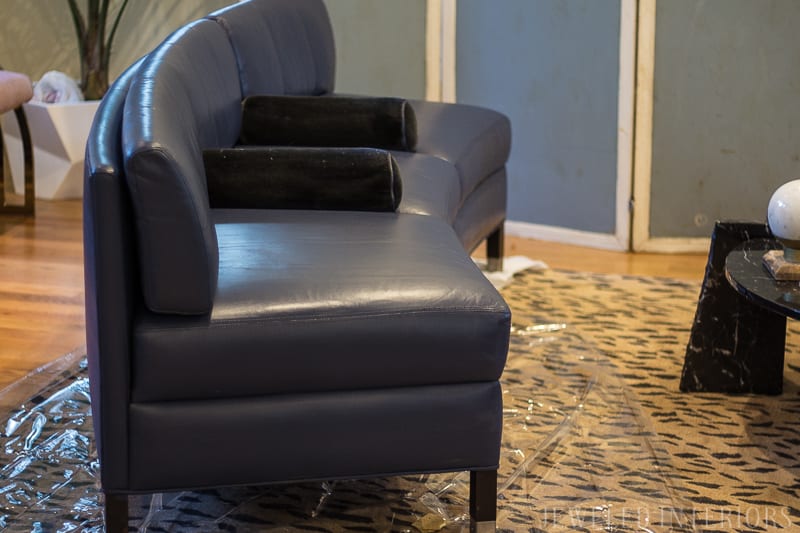
The waxing goes pretty quickly. Simply scoop out about 1/4-1/3 cup wax onto your rag. Warm it up by smooshing it around with your gloves. Then go to town, applying it away from the seams and working your way out. It’s those dang seams that will get you if you aren’t careful. Make sure to cover all seams and binds sparingly. If you accidently apply too much try to wipe them off BEFORE they dry. If you don’t, you will end up with white in your stitching.
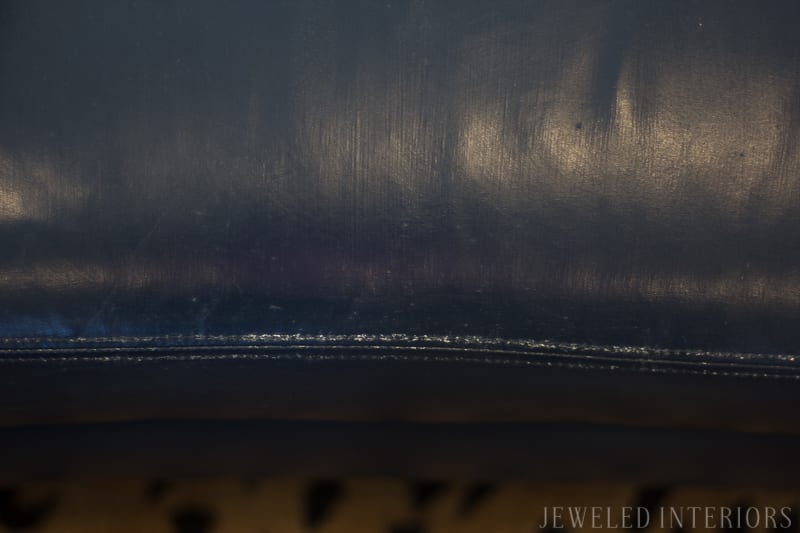
Simply follow the directions on the can. I prefer two coats of wax applied in a circular motion. Finish by buffing to perfection.
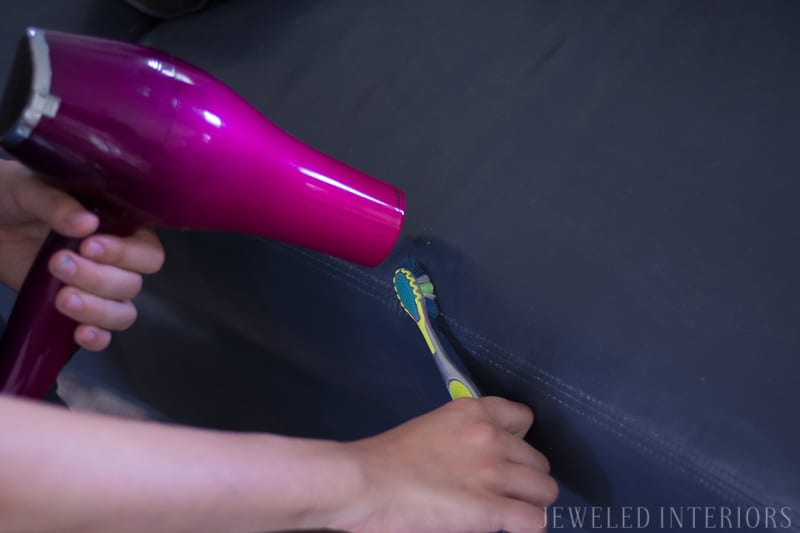
If you do end-up with wax in your seams you can try this hair dryer trick. Put the dryer on medium or high heat. Using an old toothbrush and your finger nail try to brush and scrape the white areas.
While this does work, I am not certain that it is the best thing for your furniture. I would recommend attempting to wipe the wax out BEFORE it dries in the first place. Use this as a last resort.
STEP 5: ENJOY!!!
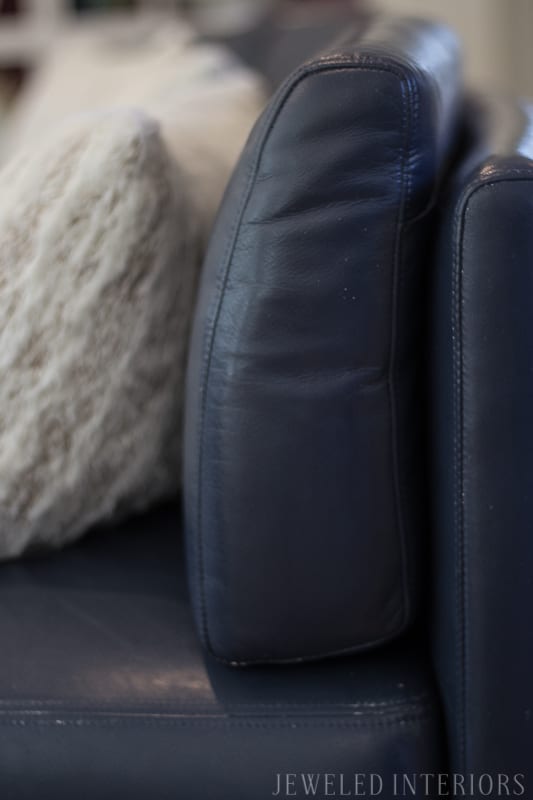
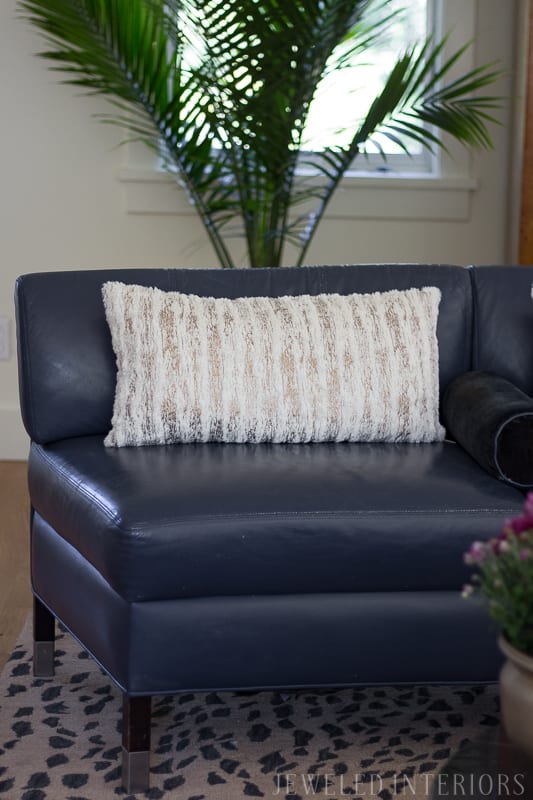
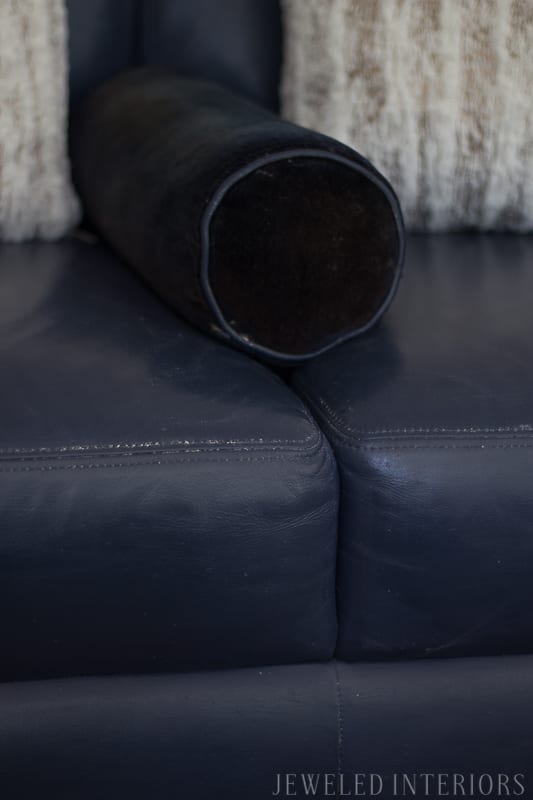
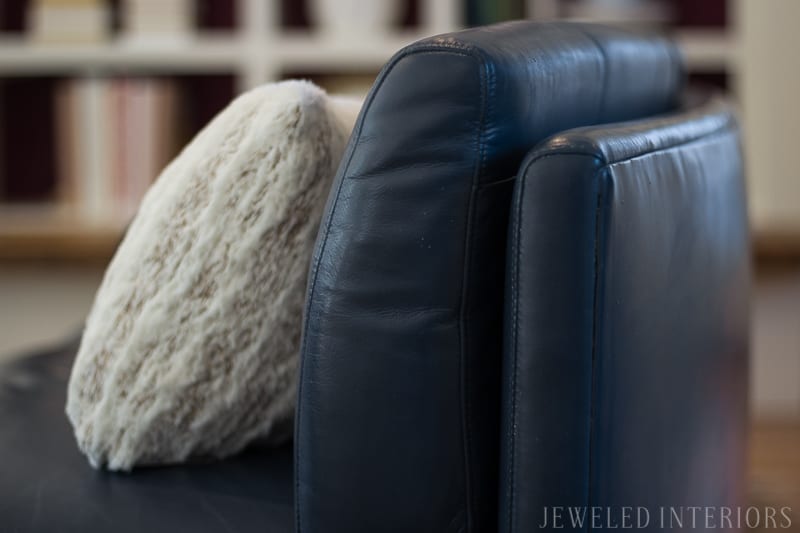
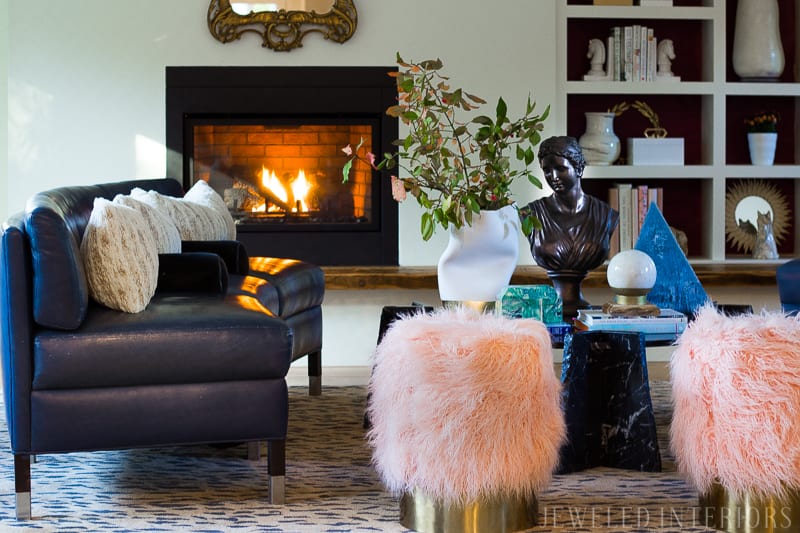
I am totally CRUSHIN’ on these “new’ sofas! My guests would never know that I painted them, except that it’s the very first thing I mention as anyone enters the room 🙂 I left the back of one of the detachable pillows the original green so that I could show-off the difference. What can I say, I’m a sucker for a good “before and after.” 🙂
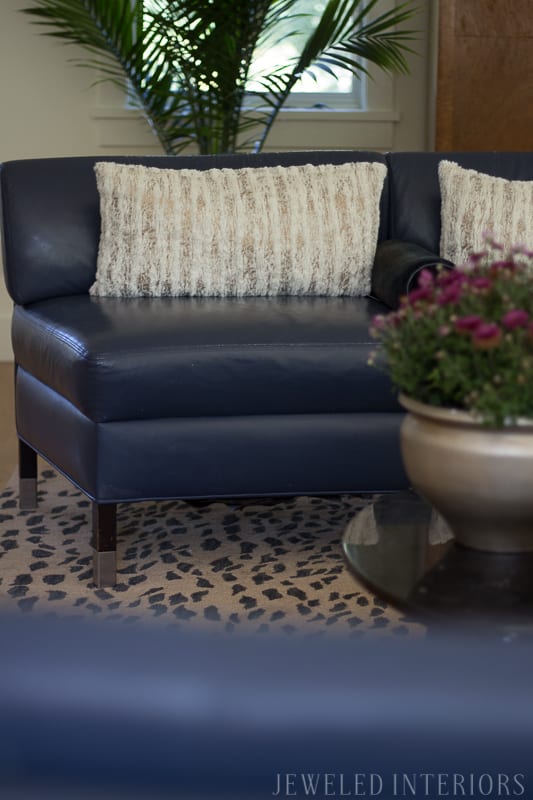
STEP 4: WAX
I hope you enjoyed Week 3 of my One Room Challenge transformation. Feel free to “Pin” to your heart’s content by hovering over the image. Want more DIY tips to make your room “oh-so-polished” on “oh-so-little ca$h”? Feel free to follow me on Facebook, Pinterest, or Instagram. Did you miss last week’s post? Click here for the room game plan.
Huge thanks and high fives to Linda from Calling it Home! Each Spring and Fall she orchestrates this friendly one room design challenge. Don’t forget to head over to her page to check out the great ideas from other bloggers.

I can’t wait for next week friends! Check back to see how to see how the rest of this “blushingly romantic” great room is coming together.
Let's be Friends



I definitely pinned this, thank you for so many helpful tips to paint leather!
Oh yeah Deb! I can’t wait to hear you use it!
Amazing transformation, and such a cool project! Now I NEED to find some leather couches to paint 😉
Thanks Beth! I am honestly shocked at how well they turned out. Please let me know how it works for you!!!
I love love love this! Two questions: does this work on any type of leather or only the smooth kind? And how well does it hold up? Do you think it could handle two dogs?
Hi Iris
I have only used it on smooth leather. I think it does make it more prone to cracking eventually. I wouldn’t paint family heirloom, but if you are looking for a quick fix that will likely last a couple of years this might be a good choice for you.
This is such a great tutorial! Very detailed and easy to follow. I have two worn red leather side chairs that are fixing to be beautiful cream colored side chairs thanks to you!
Thanks Nola! It might dry them out eventually, but if they are chairs that need a refresh any way, then you have nothing to lose!