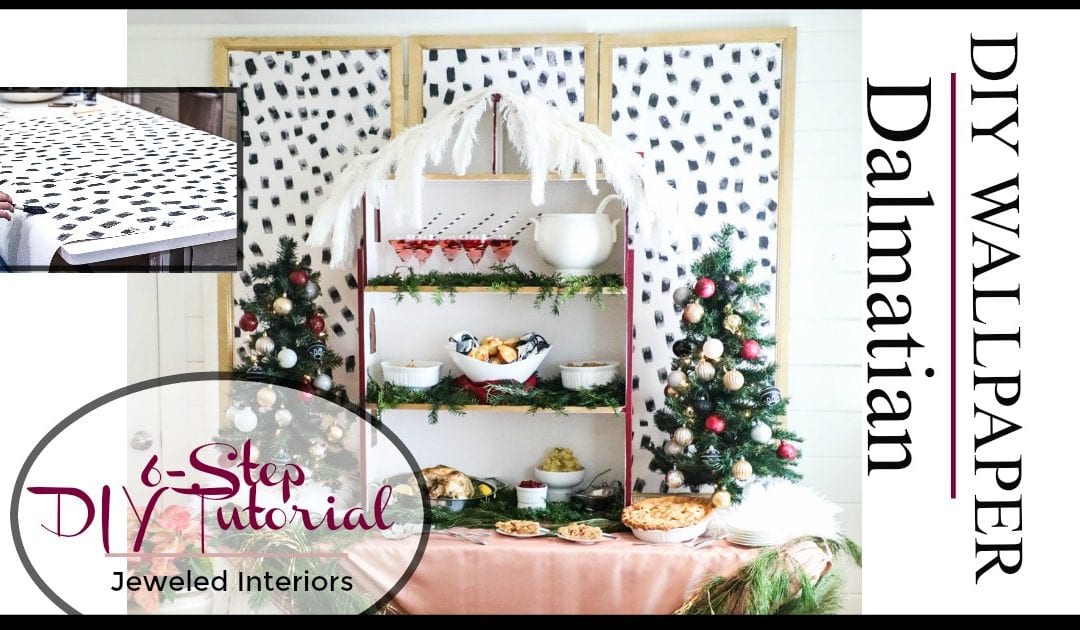
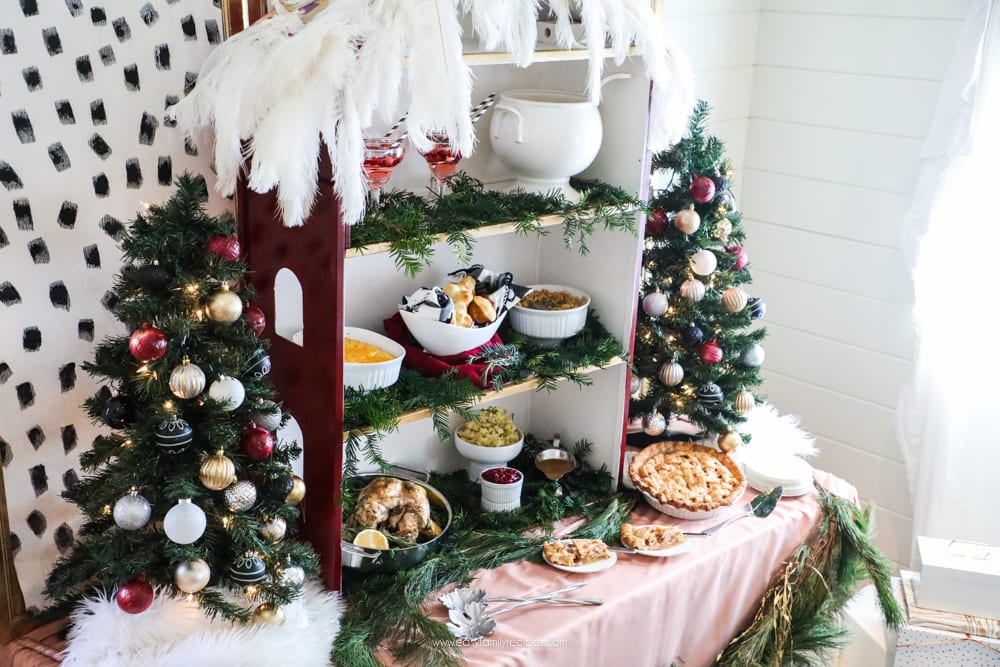
Looking for an inexpensive, removable, and customizable way to wallpaper your walls or a backdrop for a party? I’m excited to show you how I DIY’ed this dalmatian wallpaper in a snap!
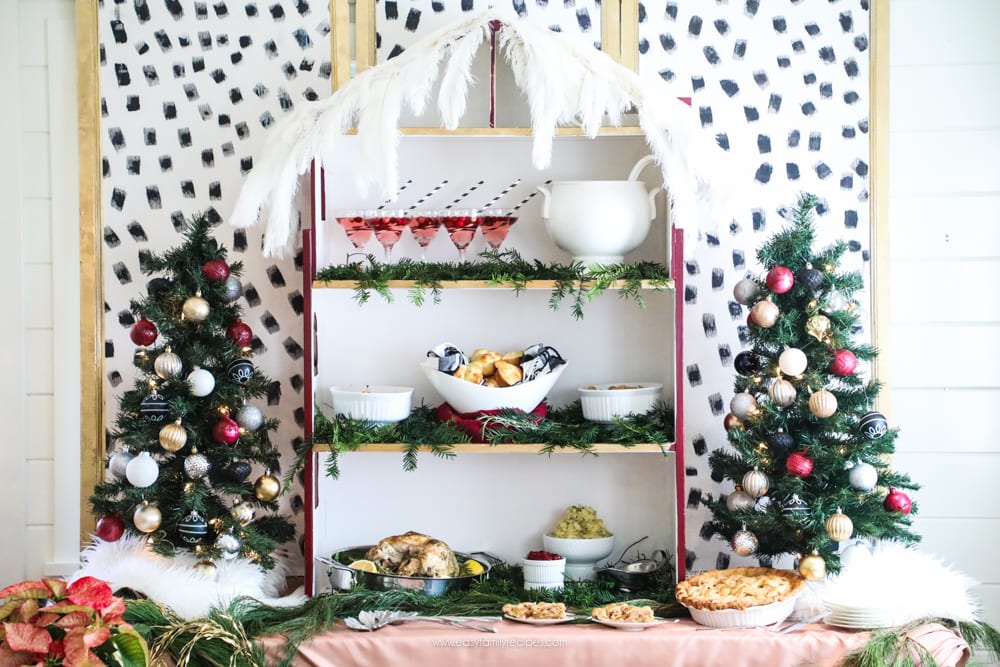
Hello! I’m Jewel and I love to come up with creative and thrifty ideas to make our homes and parties fabulous. I would like to give a huge shout out to anyone joining me from the pinningmama.com or easyfamilyrecipes.com. We had so much fun throwing this holiday party together and can’t wait to spin you up on the in’s and out’s of how we made it happen. So let’s get started with this Dalmatian print Wallpaper tutorial!
1. BUY IT!
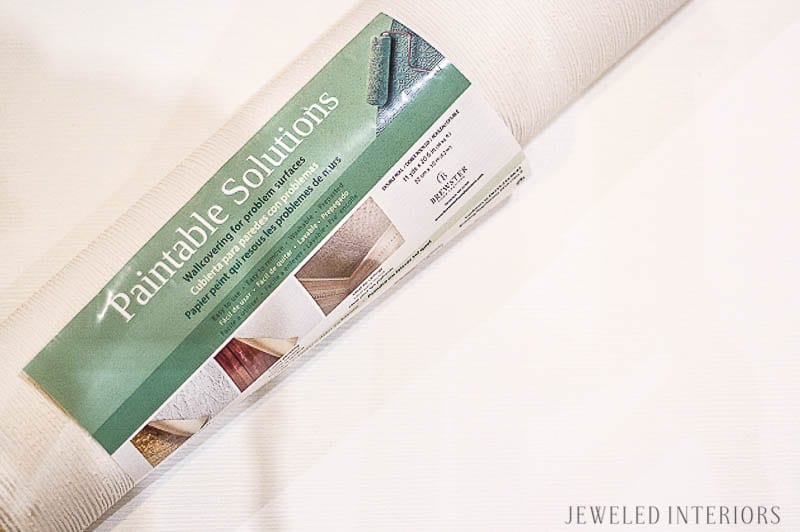
There are several paintable wallpapers out there, but I went with Brewster Strati Stria. I see that Home Depot has something similar for less money. Either way, I wanted a product that was paintable, prepasted, and easily removable. These both fit the bill for my Dalmatian wallpaper.
2. Cut it!
In addition to being less expensive, removable, and customizable, there is less waste to DIY wallpaper. Normally you have to line up patterns before cutting traditional wallpaper, but not so with this proccess. In fact, unlike using traditional wallpaper, I recommend measuring and cutting BEFORE painting the front or wetting the back.
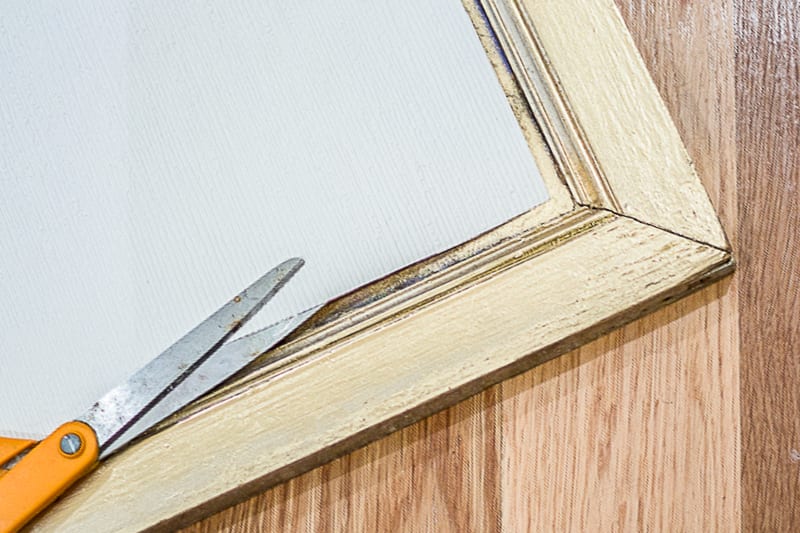
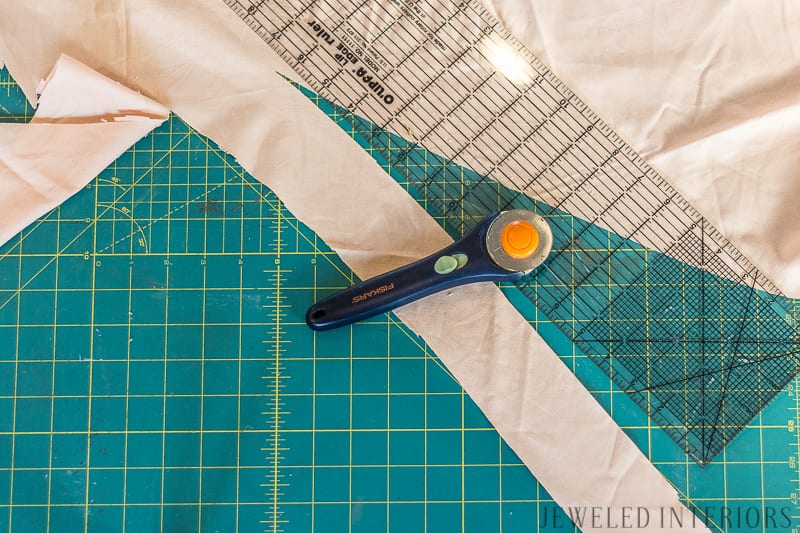
While I used scissors for this simple project, I have read that a rotary fabric cutter and mat are also effective tools.
3. Lay it!
Since you will be painting the pattern directly onto the wallpaper, I recommend laying out the entire wall’s worth of paper at once, or at least in sections. Placing paper under the seams, and perhaps attaching with a small piece of tape to the back will ensure that your papers stay together while painting.
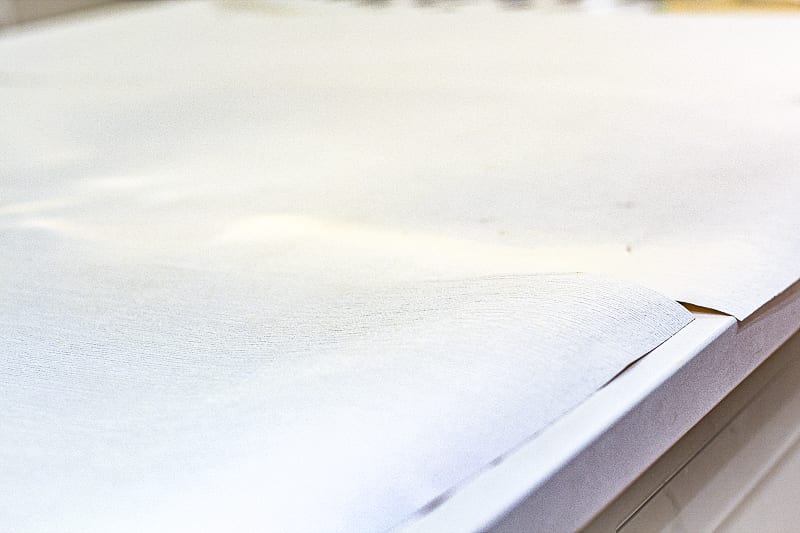
Also, devise a system for keeping track of each sheet’s order and top and bottom. This may be as simple as making notes on the back with pencil. You will thank me later for this.
4. Paint it!
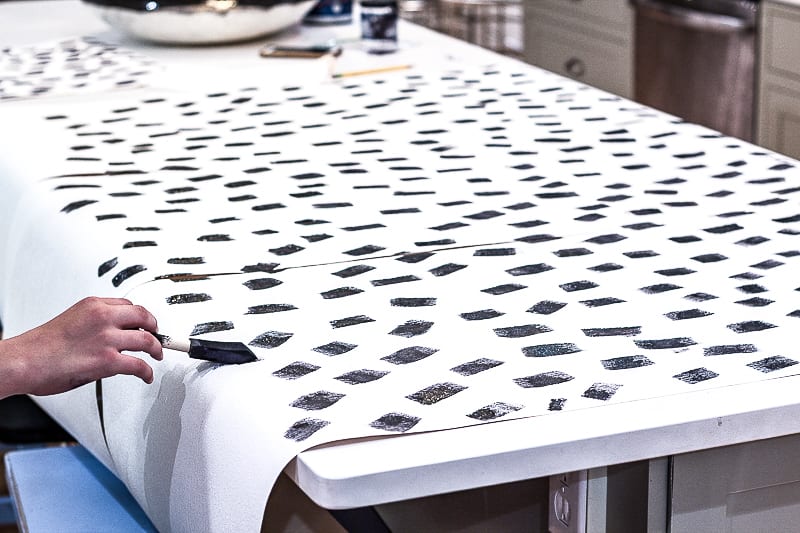
This is where the project gets fun! Truthfully, you could paint any pattern your heart desires, but this tutorial will focus on painting a dalmatain print. I used a foam brush and black craft paint, though I think most any paint would work. The beauty of this type of paper is that the linear fading on the edges of each spot.
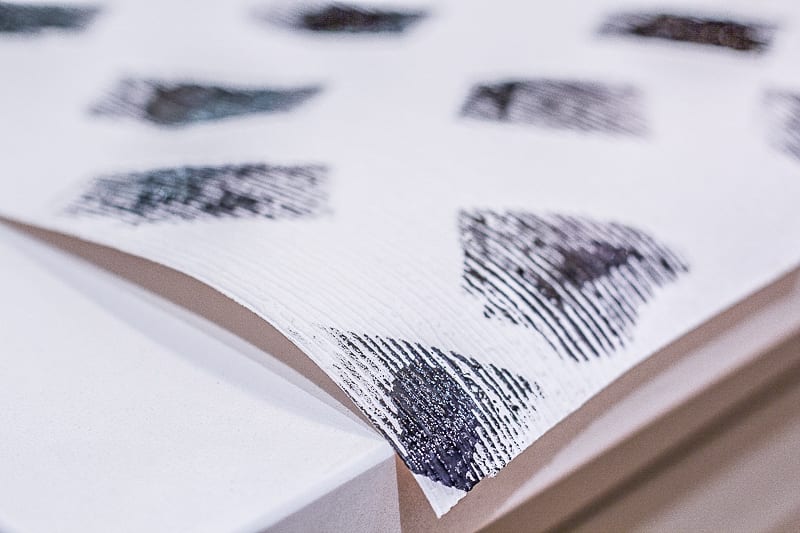
To form each dot I simply dipped my foam brush in paint, pushed down on a section of wallpaper and then lightly pushed the foam brush back and forth. I was nervous that my pattern wouldn’t look uniform throughout, however, this didn’t seem to be an issue. In fact, I didn’t measure between any of the dots, but rather eyeballed. The trick I learned is that I needed to change the angle of the foam brush slightly with each spot.
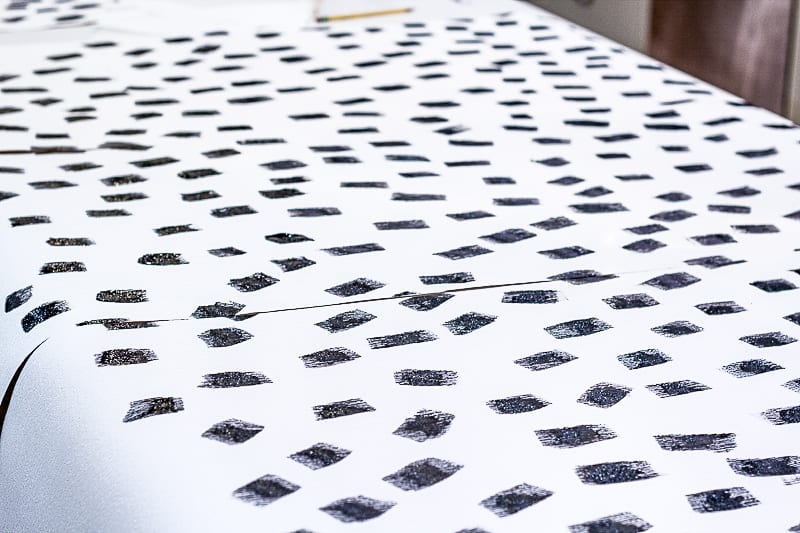
You can see in the photo above that the spots were lined up when I painted them, but then shifted as I moved down. This would be more important if I were hanging the paper on a continious wall, and a piece of tape on the backside would be help with this issue.
ALLOW PAINT TO DRY COMPLETELY!
5. Wet it!
Per directions from BREWSTER WALLCOVERING’S WEBSITE:
WET AND “BOOK” THE STRIP
Fill a water tray 2/3 full with water at room temperature. Roll the cut strip from bottom to top, paste side out. You should not see the pattern. Submerge the rolled strip into the water tray. Soak for the amount of time recommended in the manufacturer’s hanging instructions, usually 30 seconds*. Holding the top of the sheet, slowly lift and unroll the paper onto a work table, making sure the paste is completely wet. Fold the strip Gently fold both ends, paste side in, towards the center of the strip, without creasing the folds. This is known as “booking”*. You should see the pattern. Let the strip rest for the amount of time recommended in the manufacturer’s hanging instructions, usually about 2-5 minutes.
NOTE: For hanging small amounts, like I did for this buffet table backdrop, I simply flipped each sheet upside down, used an extremely wet towel and ensured the back was thouroughly wet. I don’t recommend this for wallpaper that needs to hang on a wall.
6. Hang it!
Per directions from BREWSTER WALLCOVERING’S WEBSITE:
TOOLS YOU WILL NEED TO HANG PREPASTED WALLPAPER TO A WALL:
- Water Tray
- Level
- Sponge & bucket of clean water
- Smoothing brush or plastic smoother Tape Measure 4″ – 6″
- Putty knife and or straight edge
- A pencil
- Step stool
- Drop Cloth
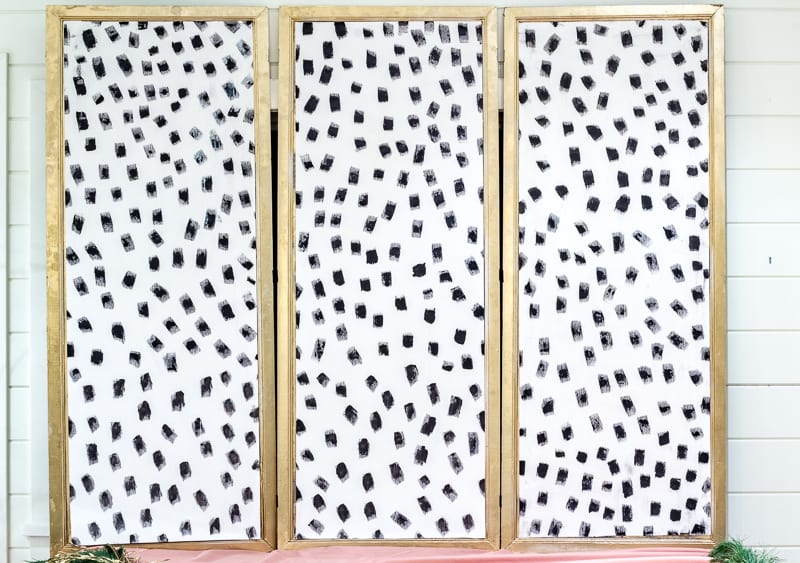
Start on the least conspicuous wall of the room, where you have previously used a level to draw your plumb line. Unfold the top half of the strip and apply to the wall, letting a little bit of the wallpaper overlap the ceiling and adjoining wall. Make sure your pattern is right side up!
Slide the paper into position so it lines up on the plumb line that you created. Using a wallpaper smoothing tool, gently press the strip to the wall. Be careful not to stretch the wallpaper while positioning. Unfold the bottom half and smooth into place. Smooth the entire strip, working diagonally from the top down and from the center outward, forcing out any air pockets. Wash off excess paste with a damp sponge and clean water. Remember always to use clean water. TRIM WALLPAPER Using the 6″ putty knife as a guide, trim the excess paper along the ceiling and baseboard with a sharp razor knife. Always use a sharp knife or blade for every cut and do not to lift your knife when making long cuts. Wash paste off ceiling and baseboards with a wet sponge and clean water. CONTINUE Use the same procedures to cut and apply more wallpaper strips, matching the pattern to the previous strip. Touch the edges tightly together, but don’t overlap the strips. Make a new plumb line on each new wall.
Enjoy!
Thank you for joining me on for the Dalmatian wallpaper tutorial. Please feel free to pin and share to your heart’s content! If you tackle this project I would LOVE to see your results! Please feel free to share it HERE on my Facebook page!
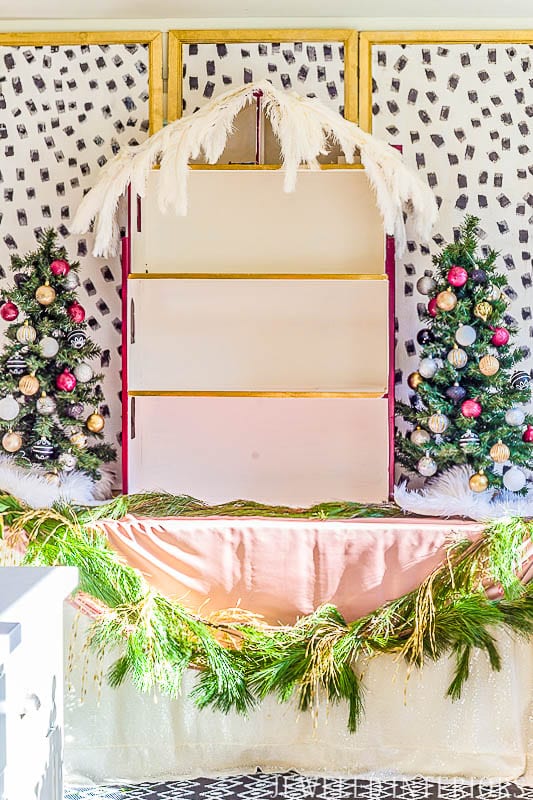
Want step by step instructions on the rest of the assembly proccess? Click HERE my friends!
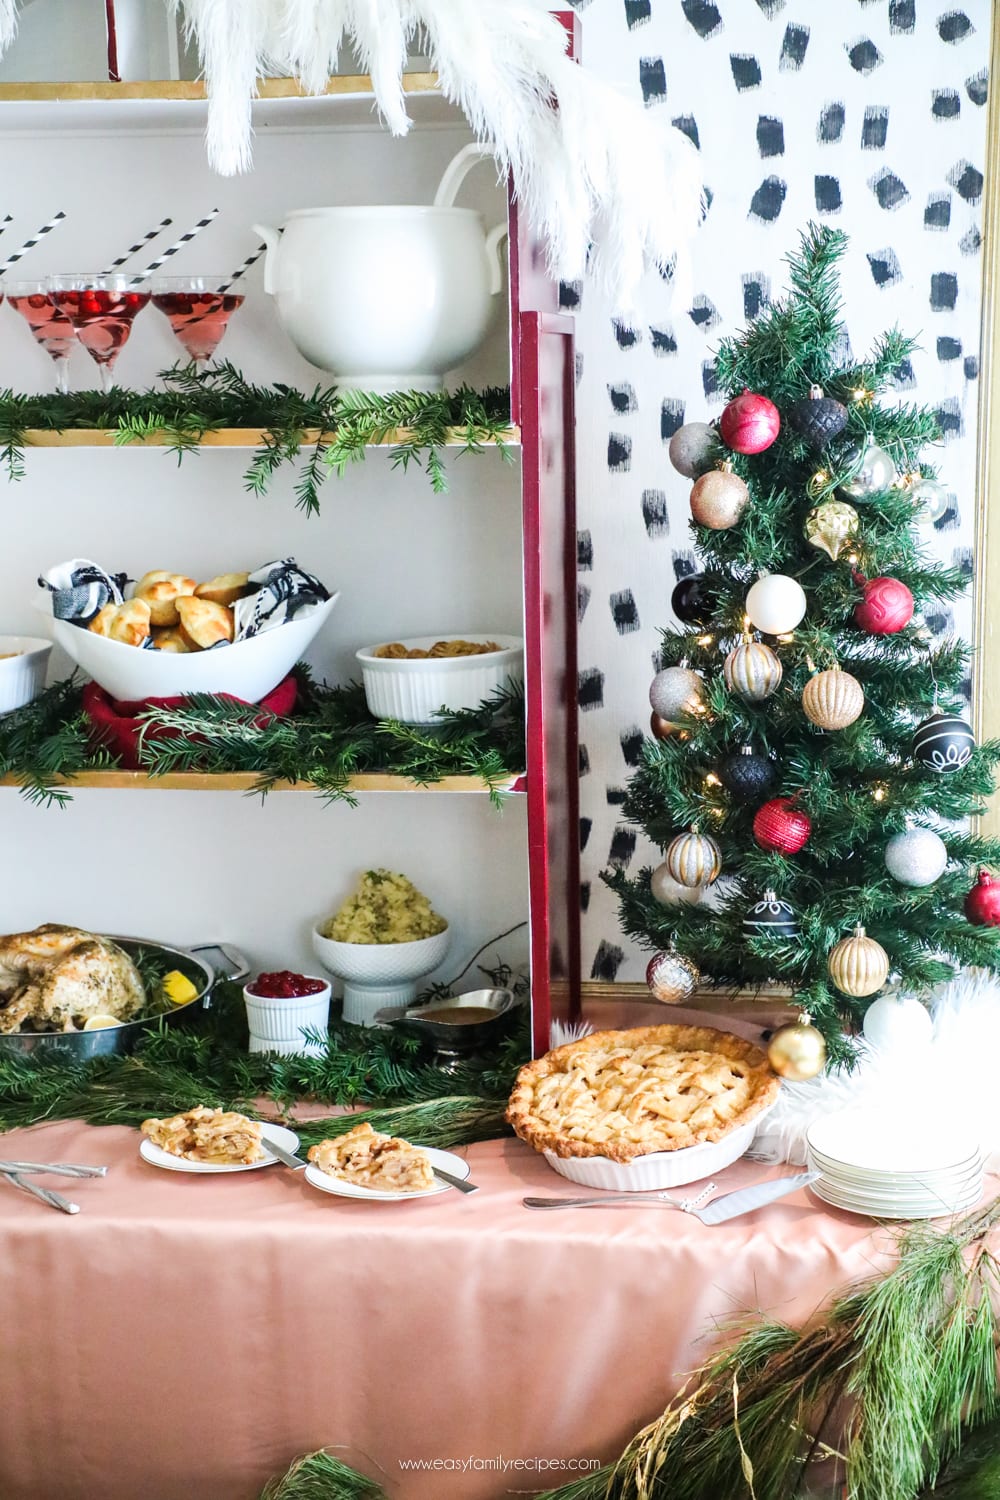
Doesn’t that food look amazinly yummy? Don’t for get to pop on over to easyfamilyrecipes.com and thepinningmama.com to get the deets on all of your favortie holiday meals.

Don’t forget to check out the entire HOLIDAY HOME TOUR.
Want more tutorials?
1. How to set up a buffet table
2. From Barbie House to Christmas House
-xoxo Jewel

