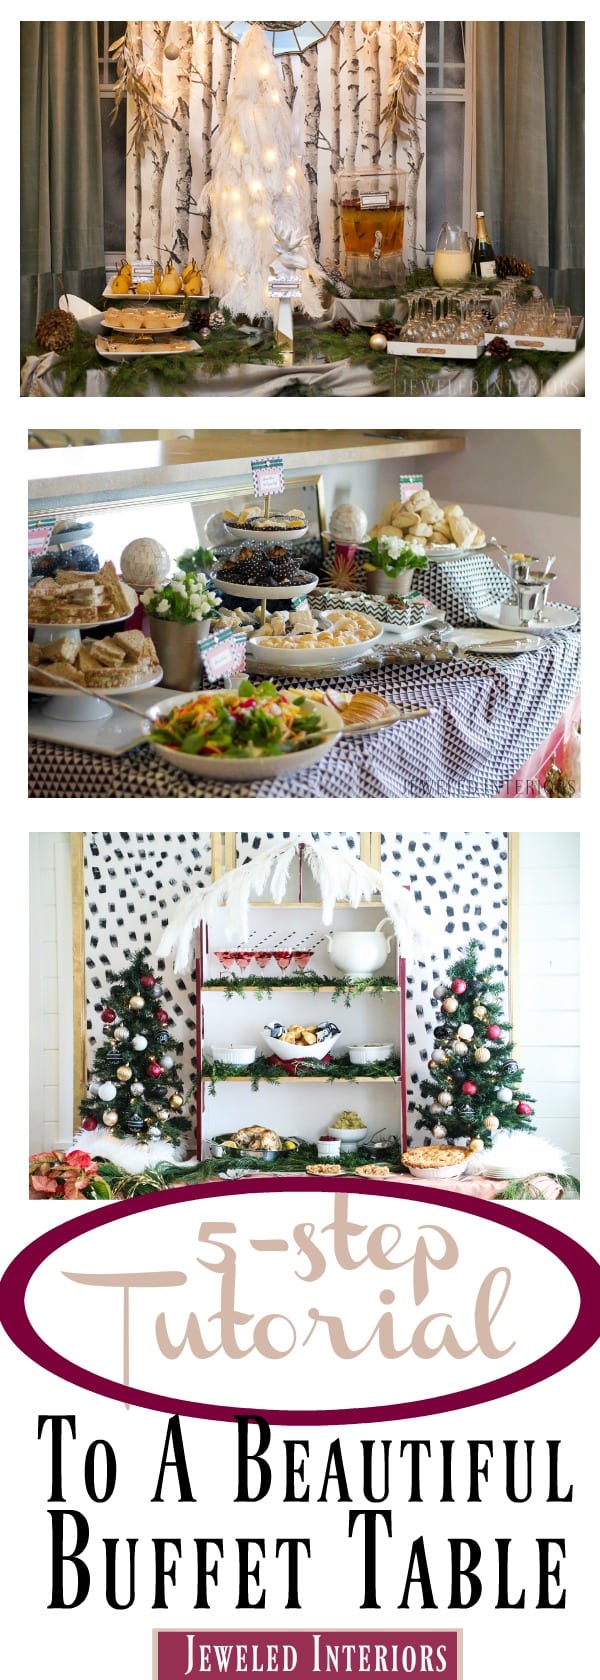
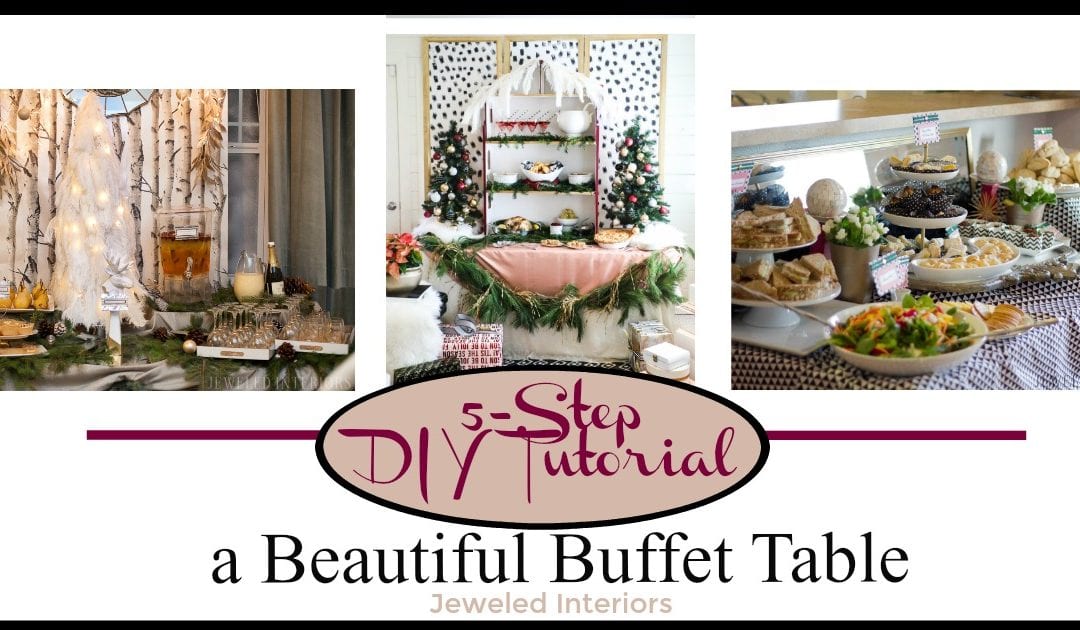
Looking for a unique and striking way to style your buffet table for your next party? Use these 5 steps to add dramatic impact, flair, and functionality to your shindig!
A buffet table is an easy, beautiful, and functional addition to parties and events. In fact, a well styled display table is the perfect way to add style, tie in the theme of your party, and display your beautifully prepared food. However, there is a lot more to a memorable buffet table than plopping some plates on your counter. Let me walk you through a step by step process and reveal secrets along the way!
Looking for more pics from any of these parties? You are in luck my friends!
Blush and Burgundy Christmas House Party
Rustic Chic Holiday Party
Pineapple Party
Autumn Themed Baby shower
Glam Dining Room Reveal
Idaho Themed Potato Bar
1. Design it!
There are five major factors I take into account when designing a buffet table.
- Which room or space will it go in? Ideally the table should be in a location with good flow, easy access, and a statement making presence.
- What is the theme of the event? Whether it be a great gatsby bash or a little girl’s tea party, the buffet table and tablescapes are the perfect places to play-up the theme.
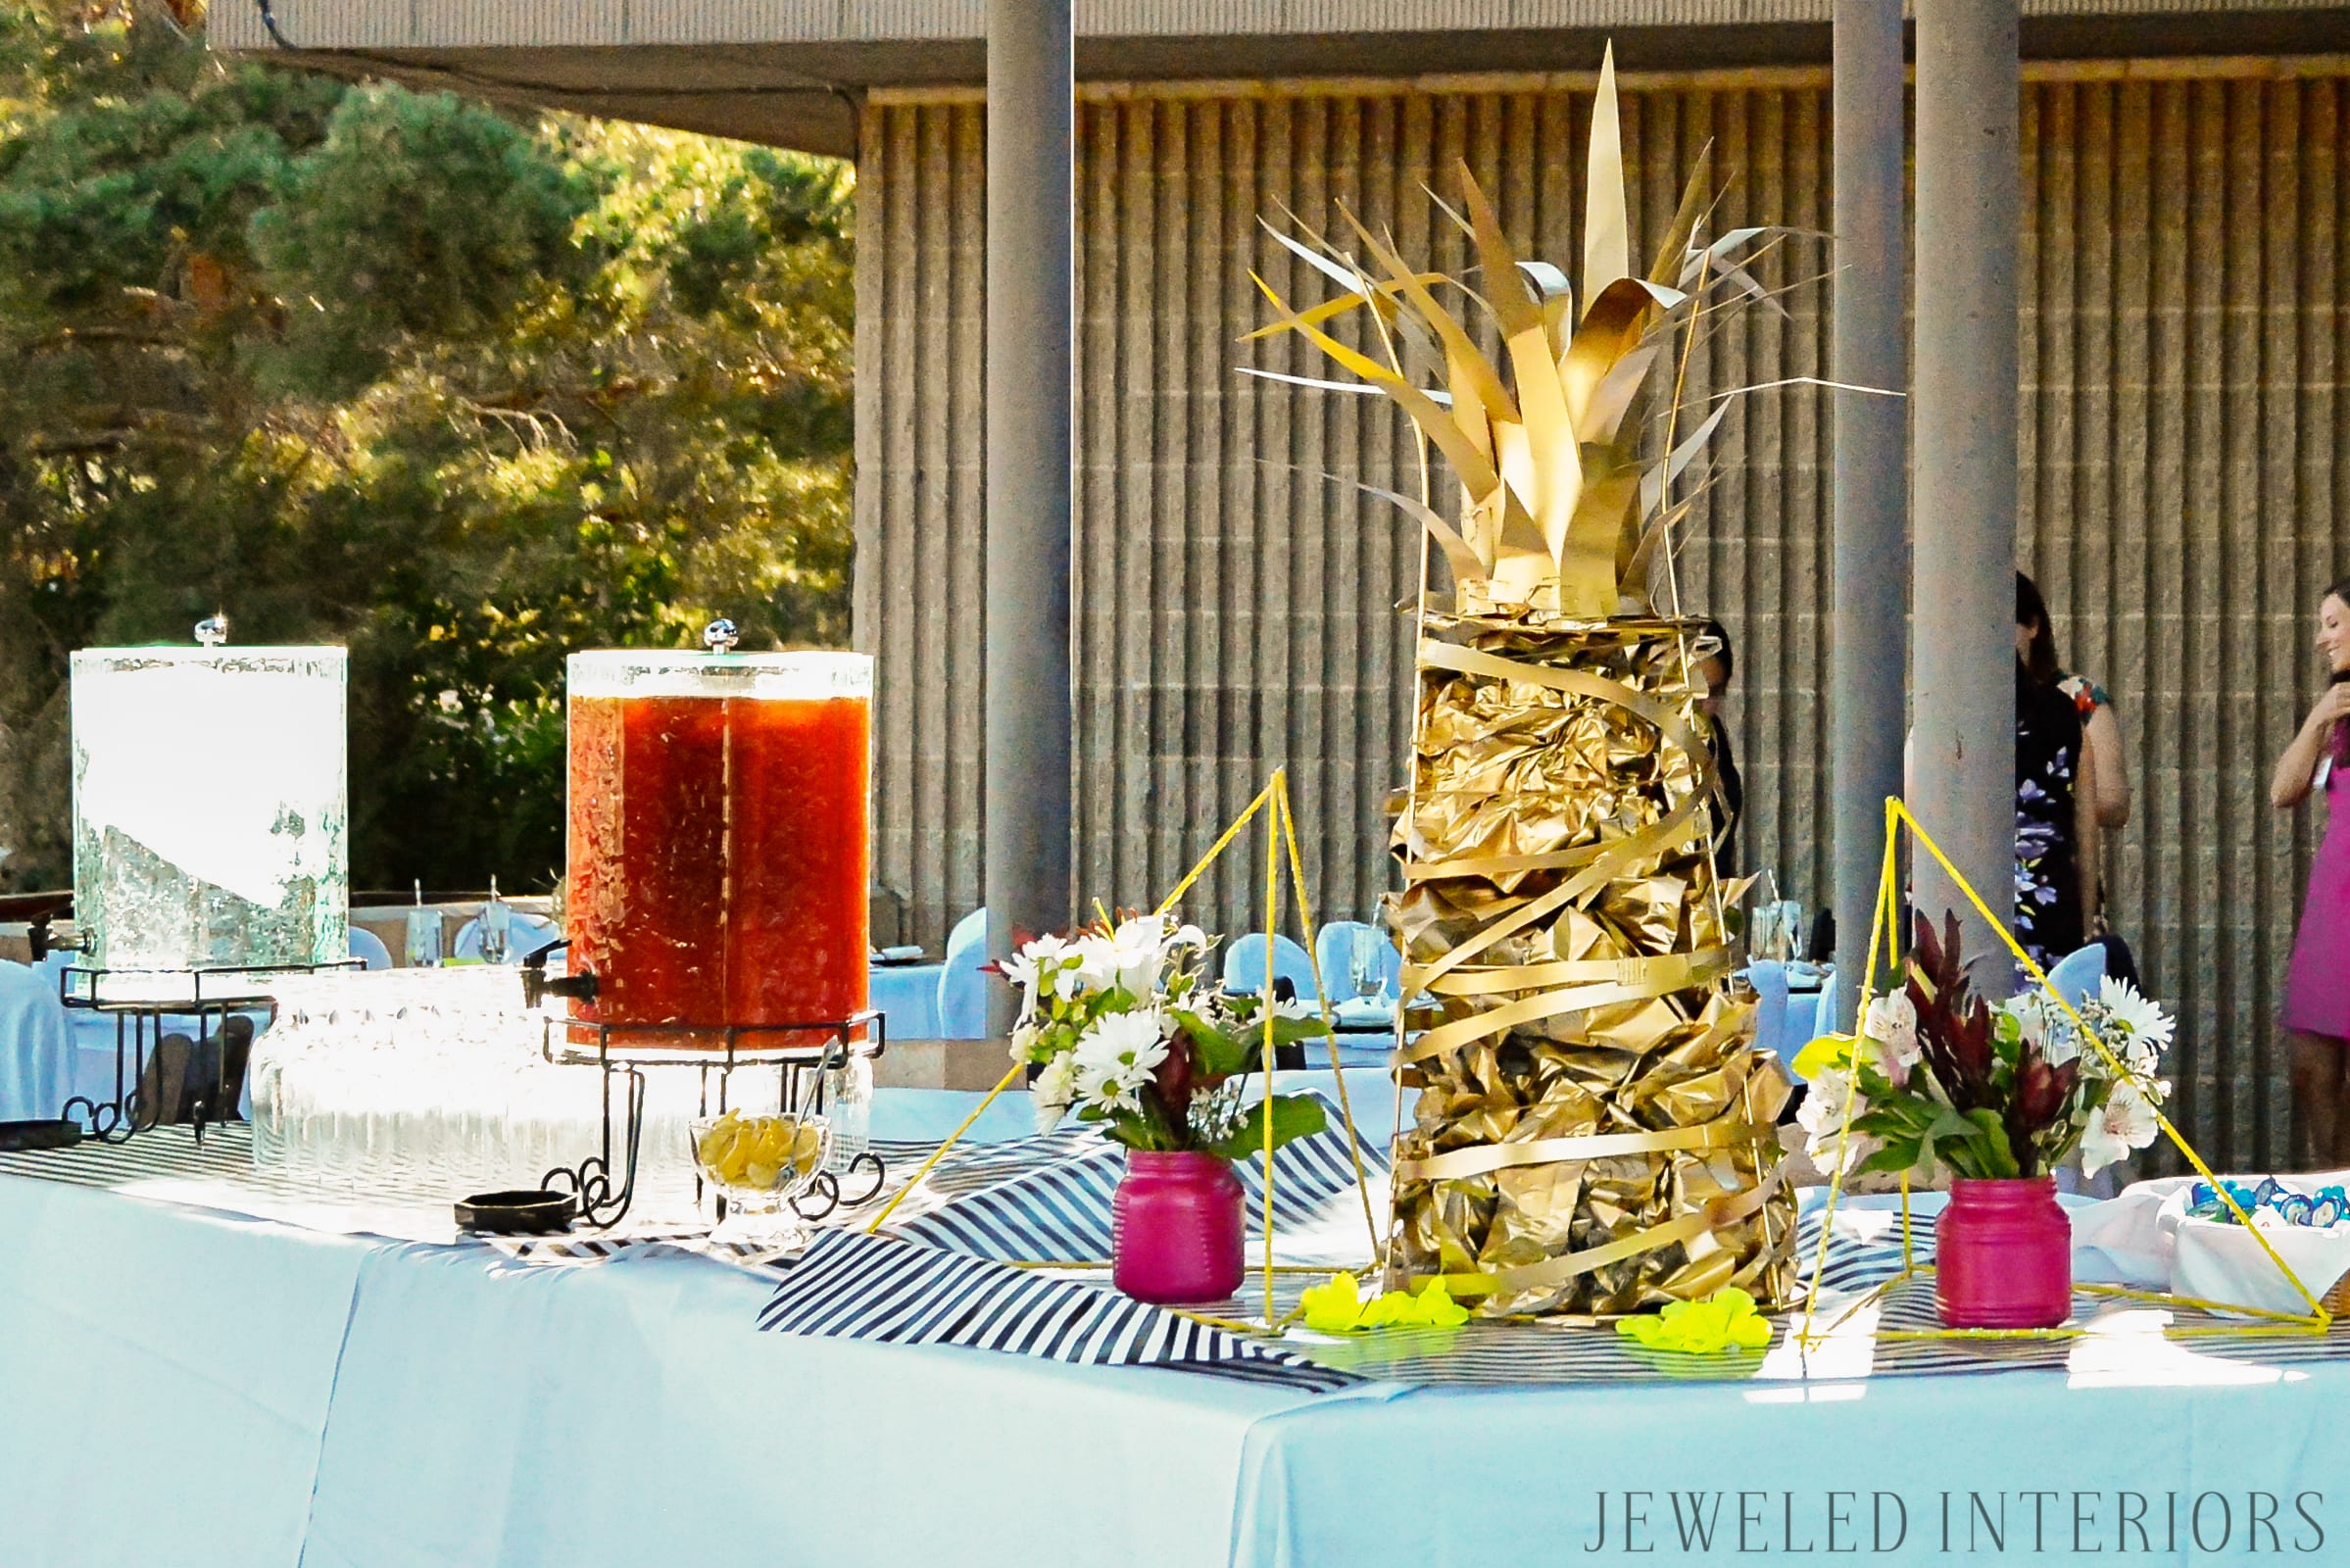
3. What are the colors in the room? Take the color of your curtains, pillow, or rug and work it into your buffet table scheme. This is a detail that is sometimes overlooked, but a few simple tweeks in your design can make your soiree look right at home in your abode or event location.
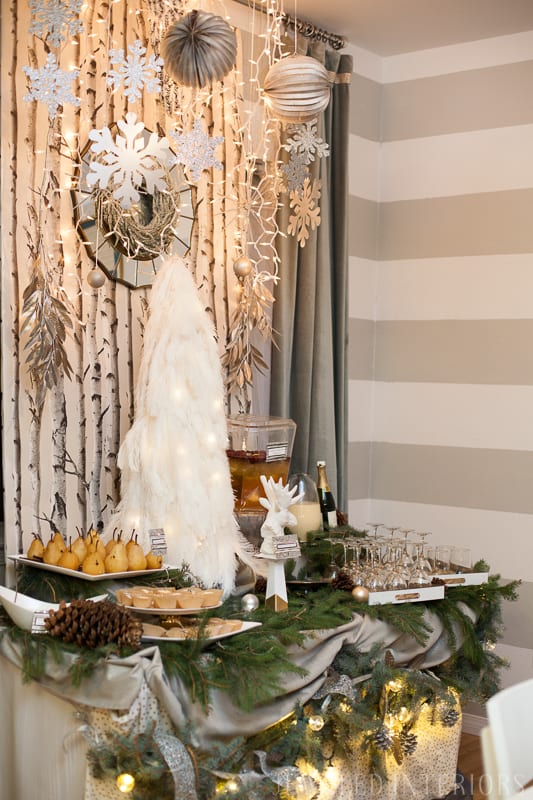
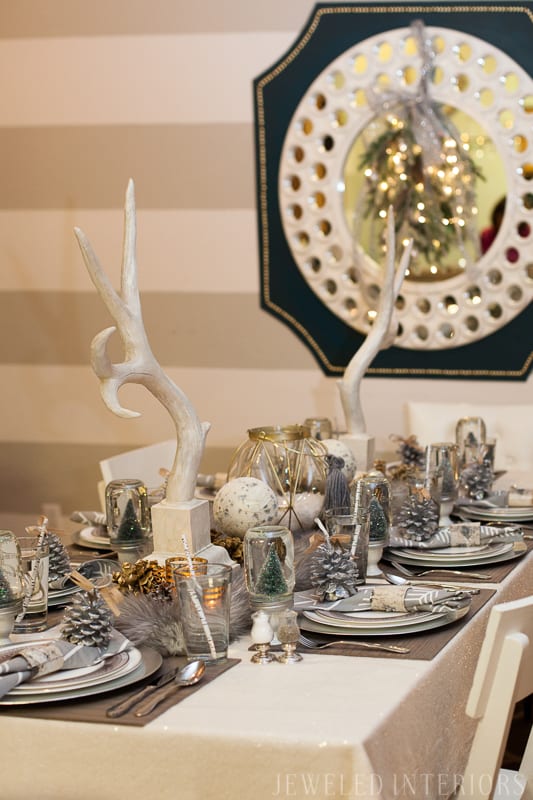
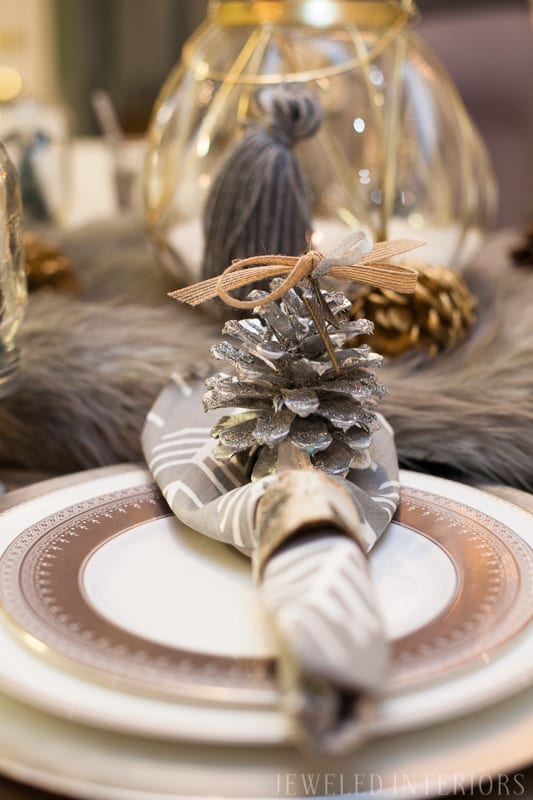
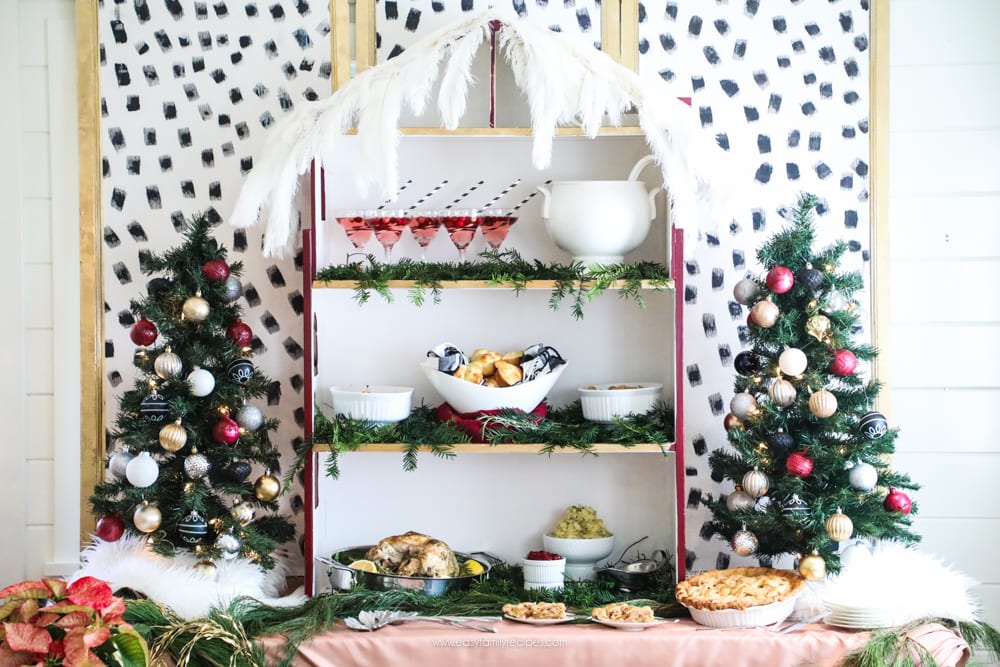
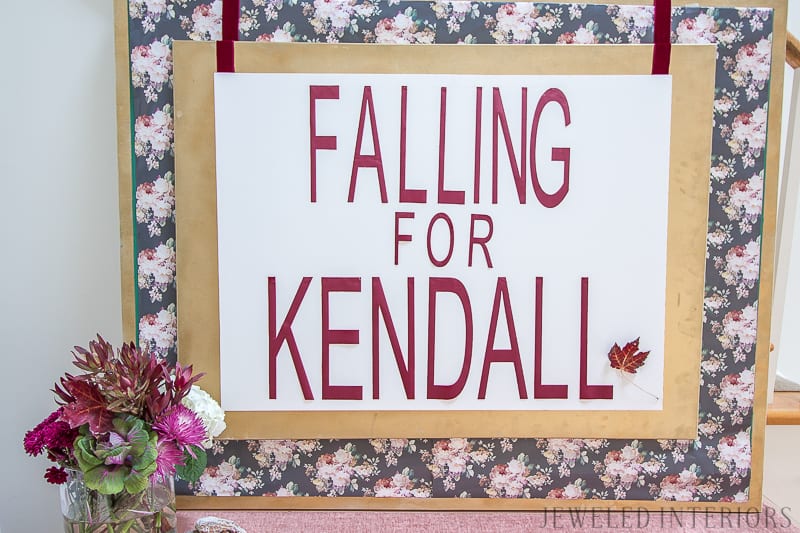
4. Have an attention grabbing design backdrop. Ideally, I like to have something behind the table to give it presence. This could be a sign, painted sheets of plywood or cardboard, or as simple as a piece of art.
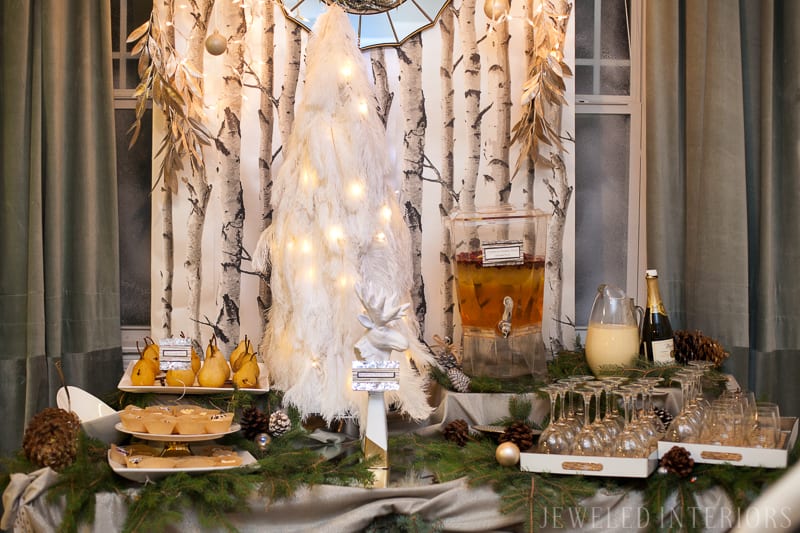
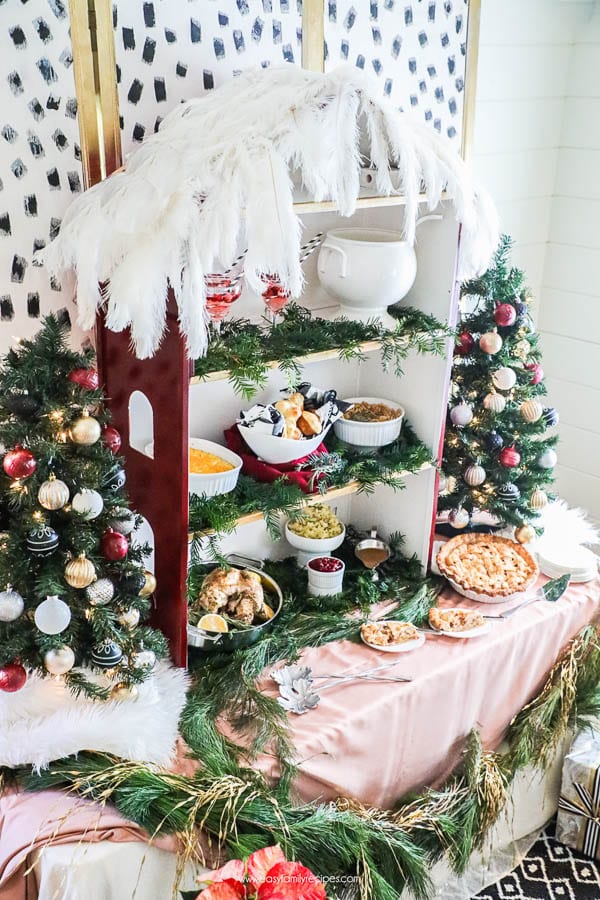
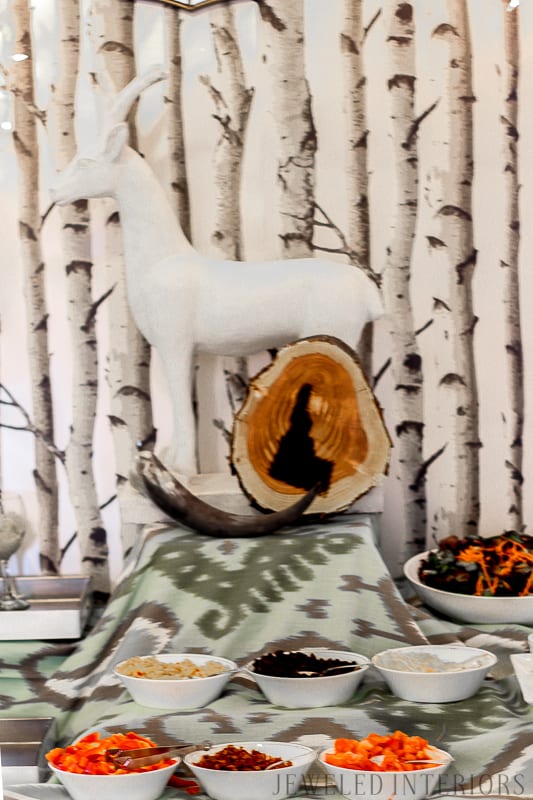
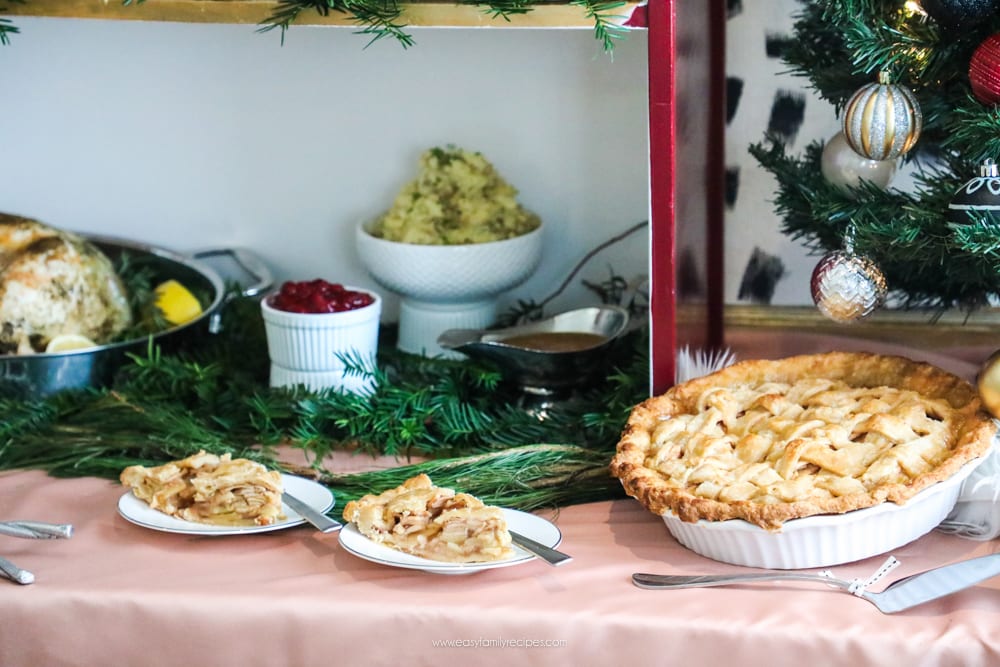
5. Consider a centerpiece. Do you have something on the buffet table to add to the ambiance? The obvious choice is a large bouquet of flowers, but other options include a chocolate fountain, or even a DIY doll house as you see here from a party I designed for the Kimber from the pinningmama.com and easyfamilyrecipes.com or a deer statue I used for a rustic Idaho themed event.
3. Table it!
Now that you’ve come up with a design plan it’s time to start putting it together. I generally like the portability of a card table, but have used a variety of other options.
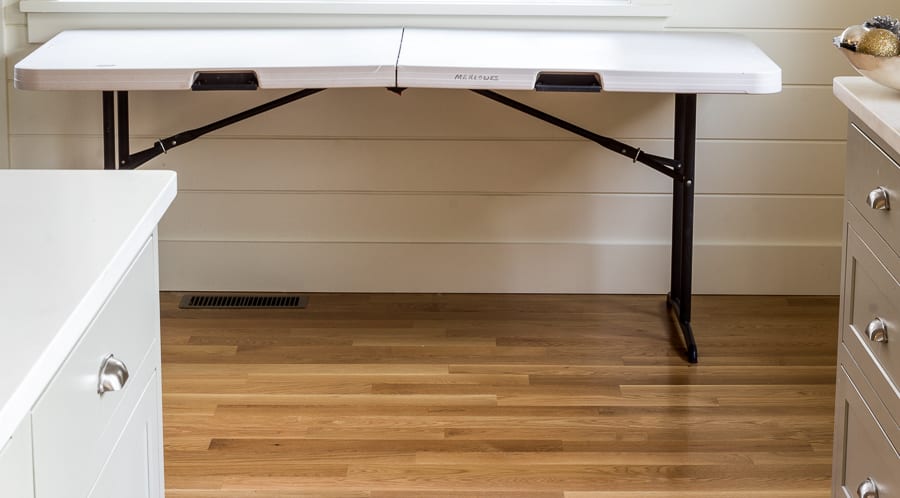
2. Anchor it!
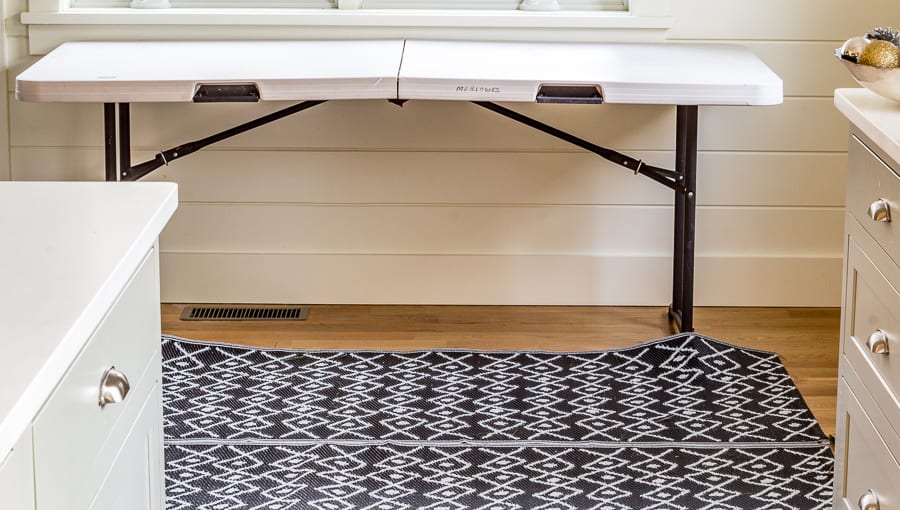
Although quite optional, bonus points go to anyone who anchors the buffet table area with a rug, space permitting. Here I have simply taped together two inexpensive IKEA rugs for this event.
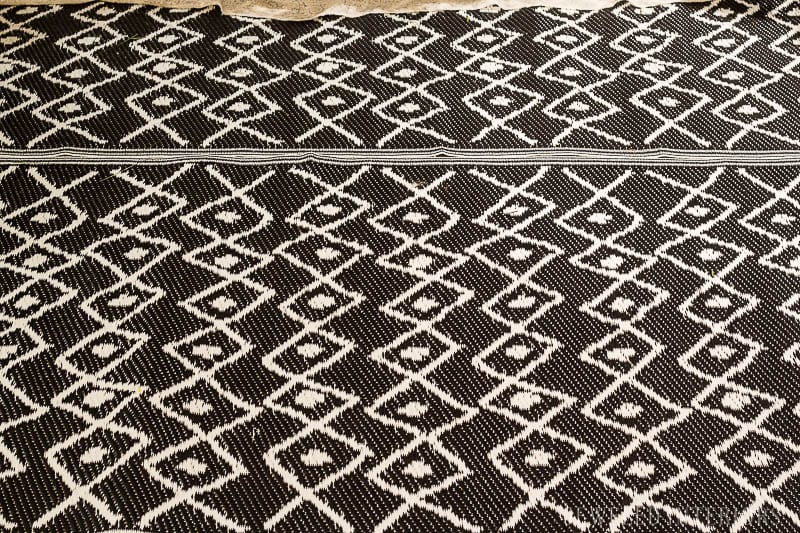
4. Cover it!
When covering your table don’t feel limited to actual table cloths. In fact, I generally layer two to three tablecloths, curtains, or large cuts of fabric to my tables.
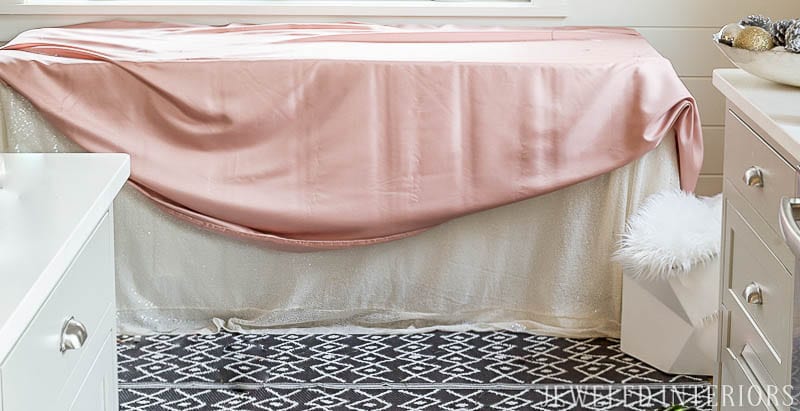
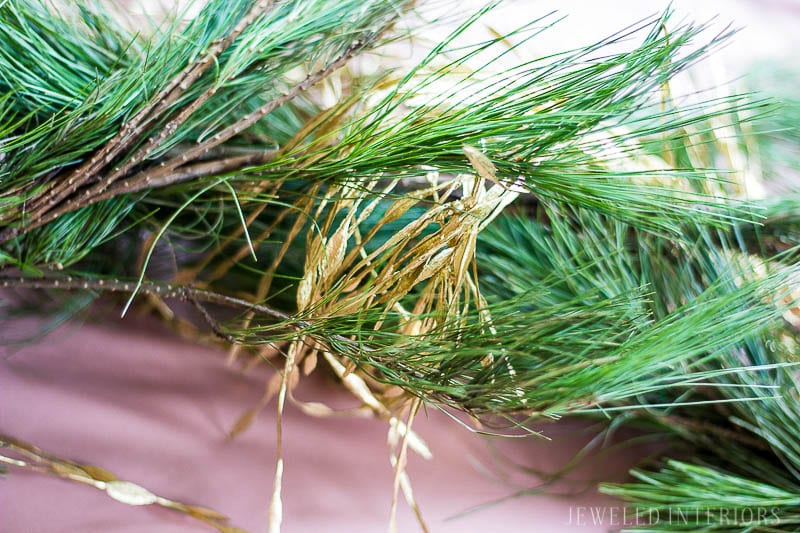
I like to differentiate these layers with a garland, swag, tassel, or ribbon.
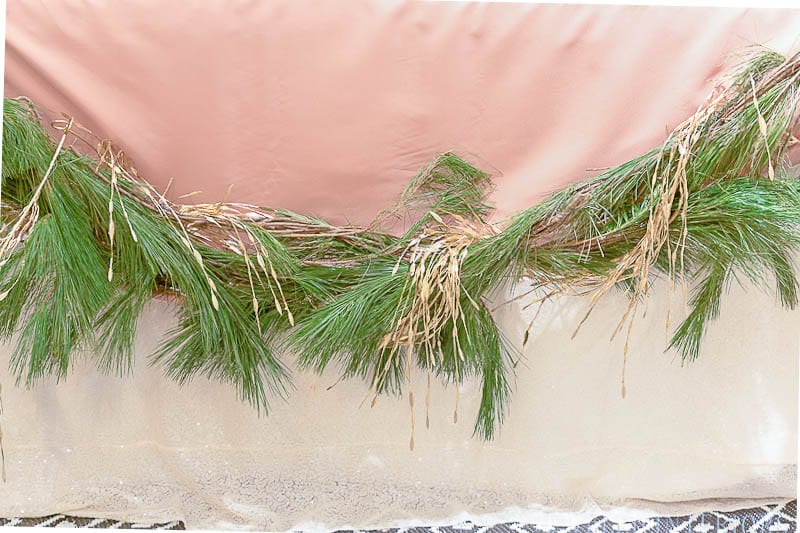
Why not just use one table cloth and call it good you ask? See step 5 my friend.
5. Build it!
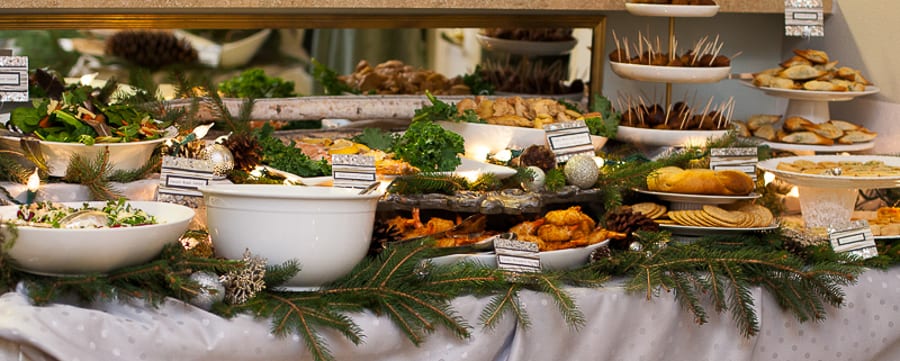
If you have layered your tablecloths then this step is where the magic happens…time to build various layers to your table. If you look at the buffet table below you will notice that the trays are all displayed at different heights. The trick?
Use a combination of old boxes and books under your top tablecloth!
Also, don’t be afraid to place your trays of food on a diagonal.

The use of mirrors under and behind your display gives the illusion of more food!
6. DETAIL IT!
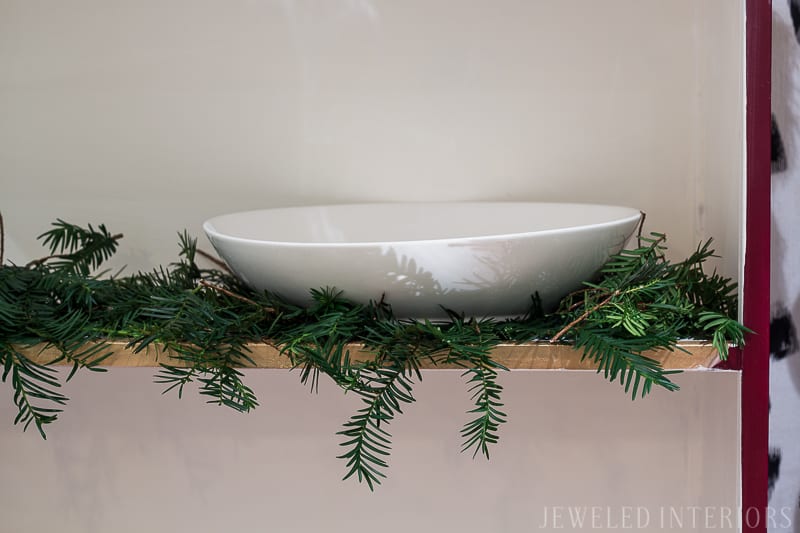
Top things off with a variety of textures like fresh clipped greenery or faux fur. Not only does this add visual interest, it can fill in the holes around the dishes.
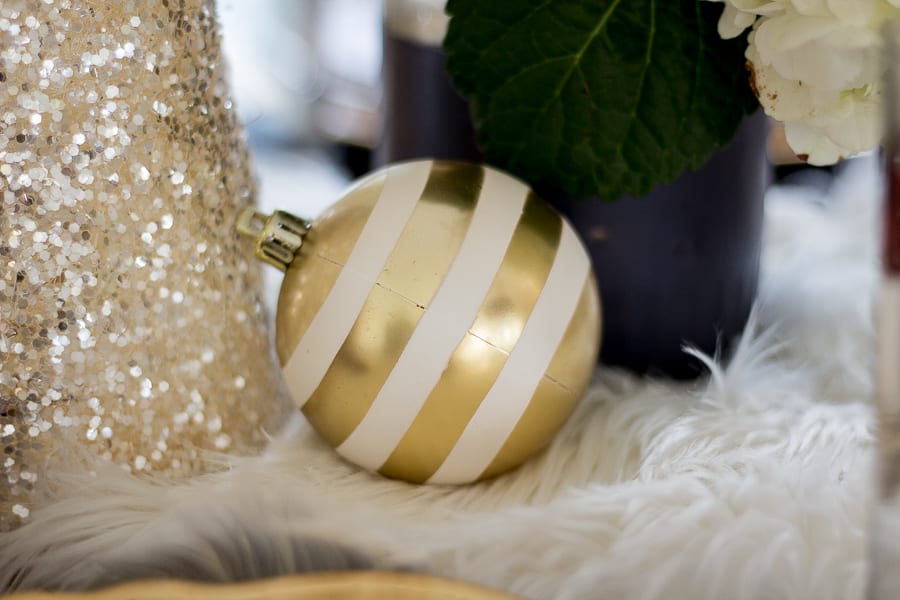
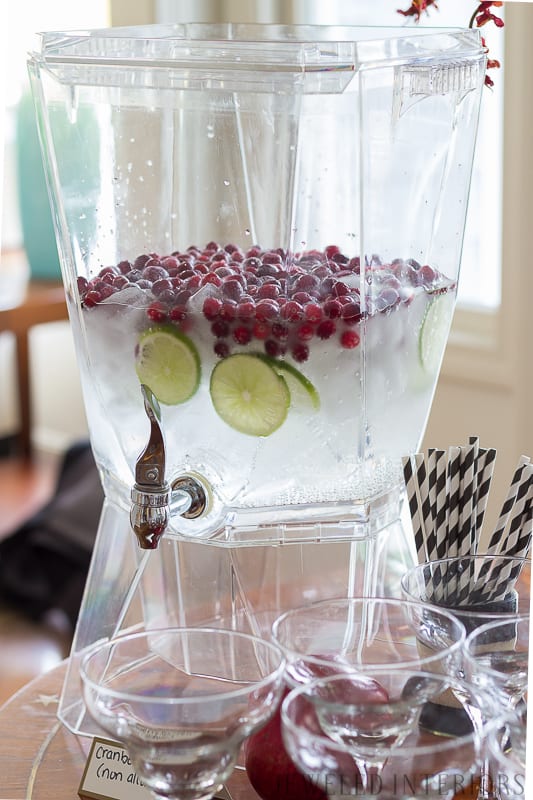
Also, to tie the entire space together add color coordinated food lables, disposible appetizer wrappers, and paper straws.
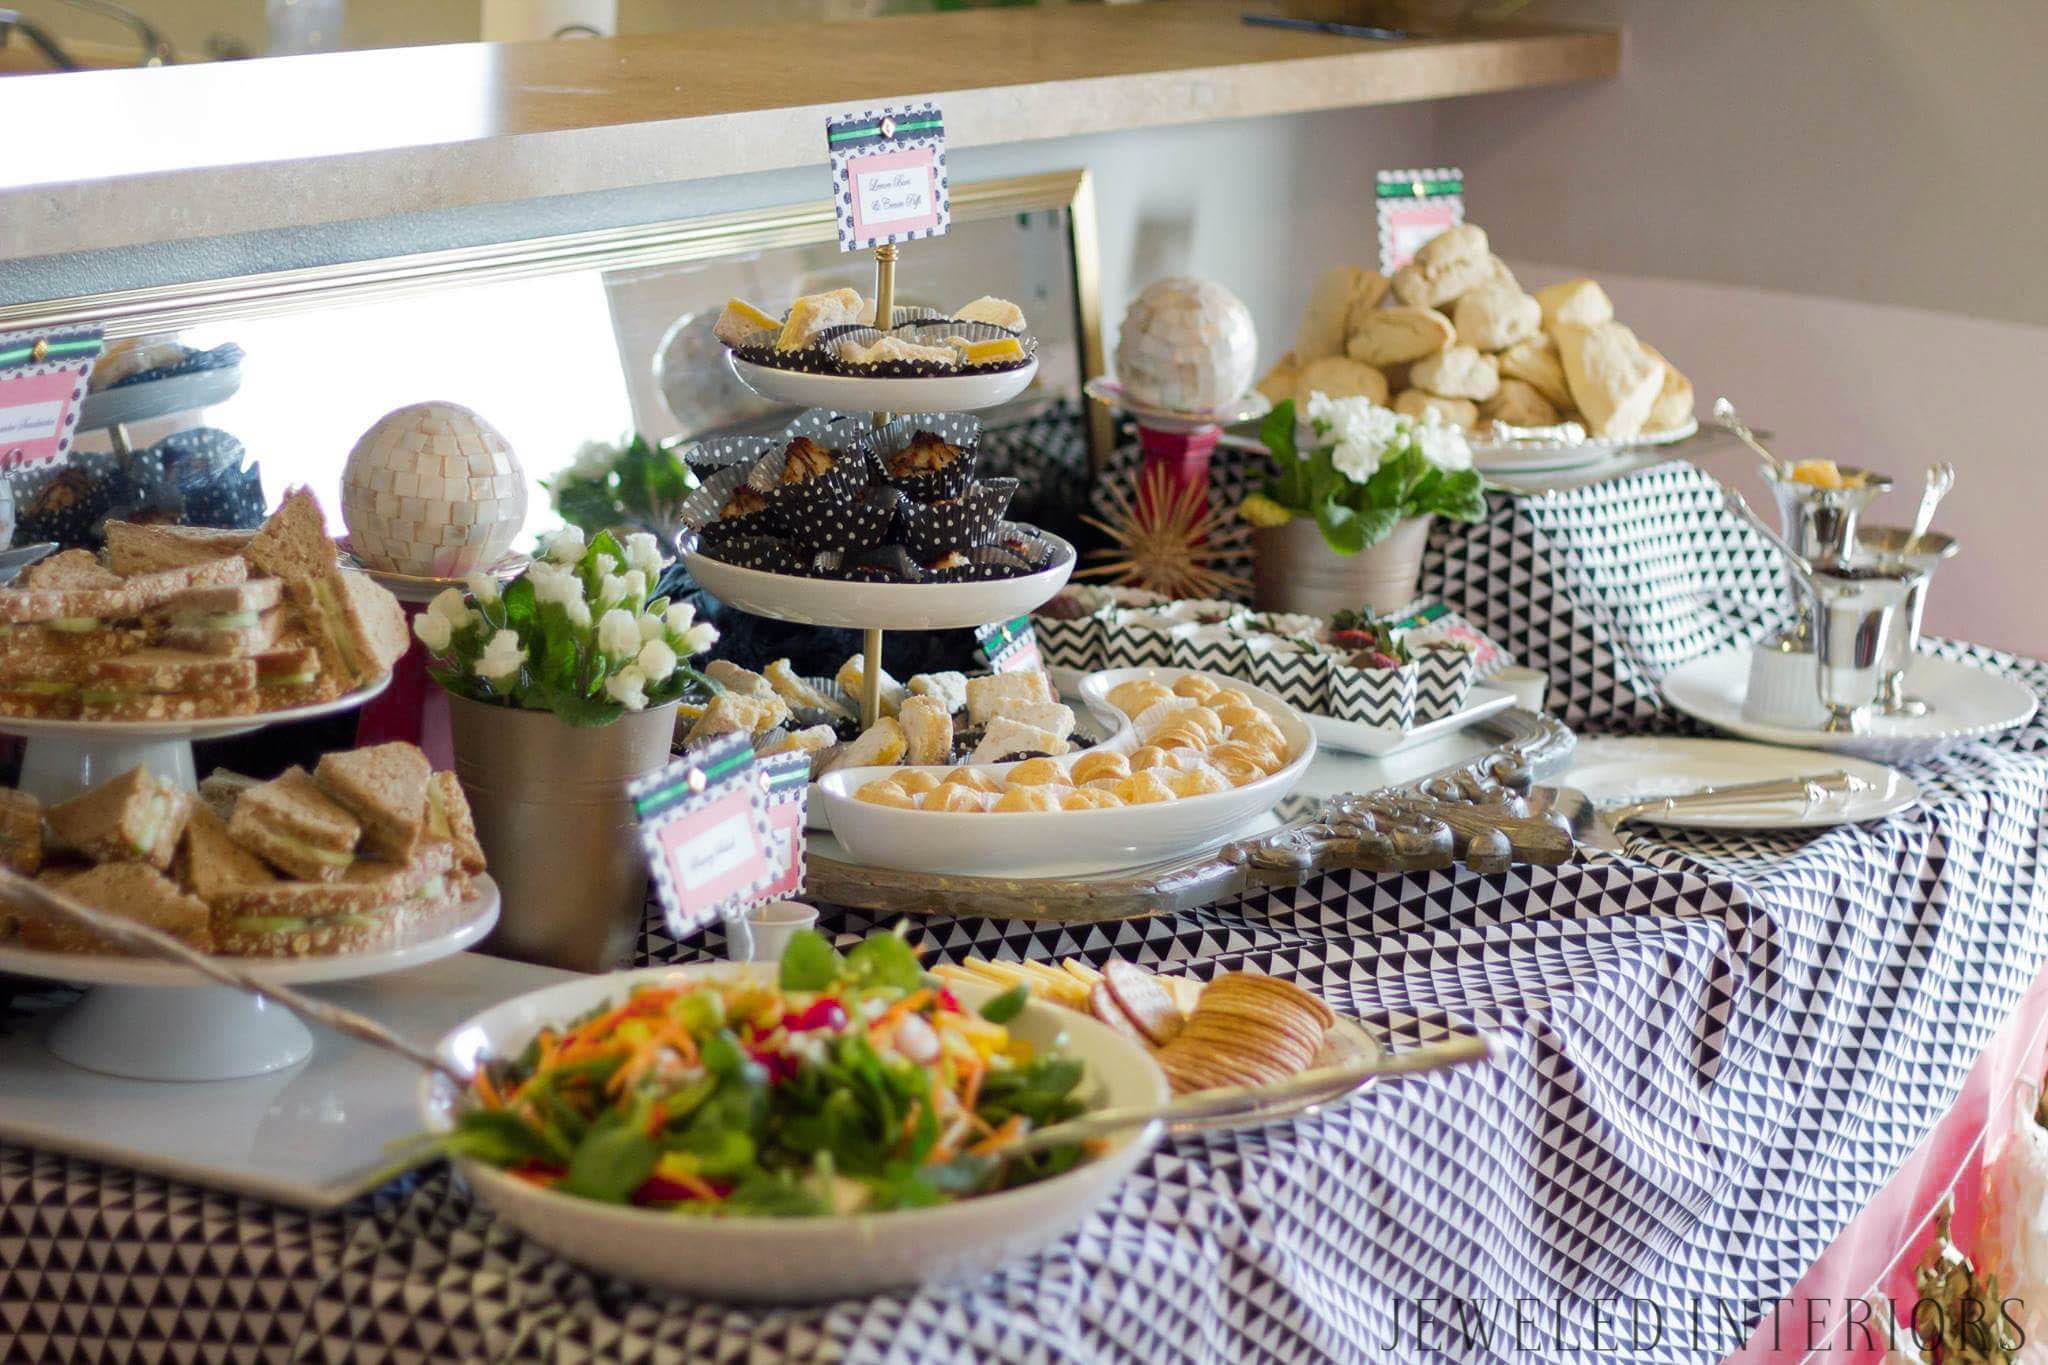
Notice the use of multiple table cloths, boxes, under trays, cake plates stacked on top of each other and mirrors under and behind. Also, check out the coordinated appetizer cups and food lables on the buffet table below. This was a very simple display, but these little touches make a big impact.
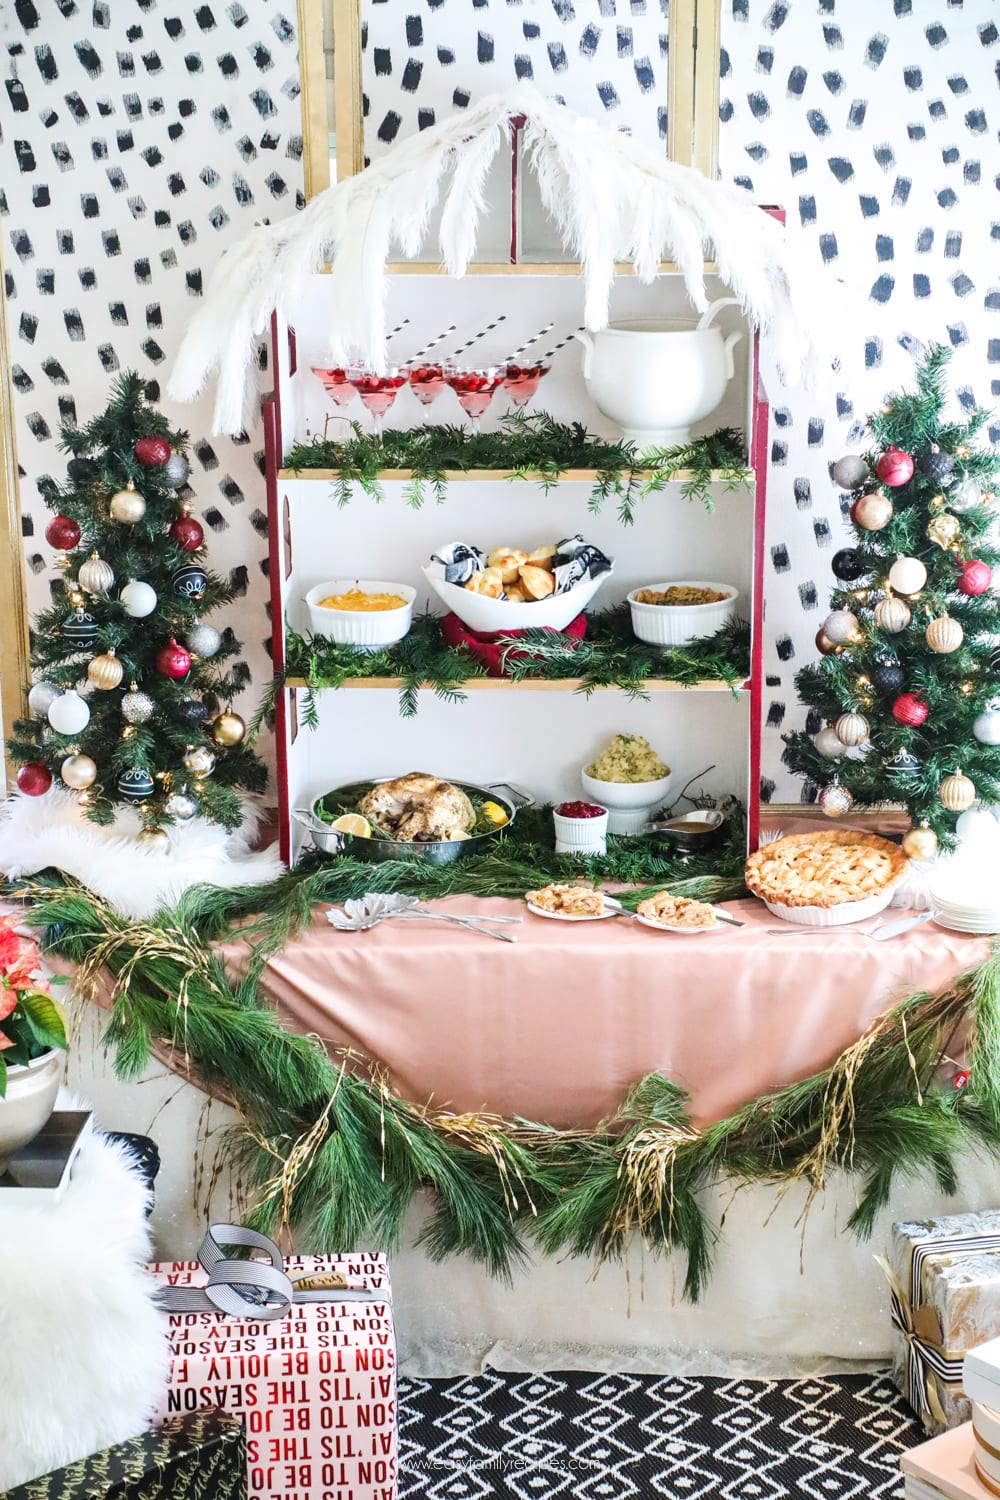
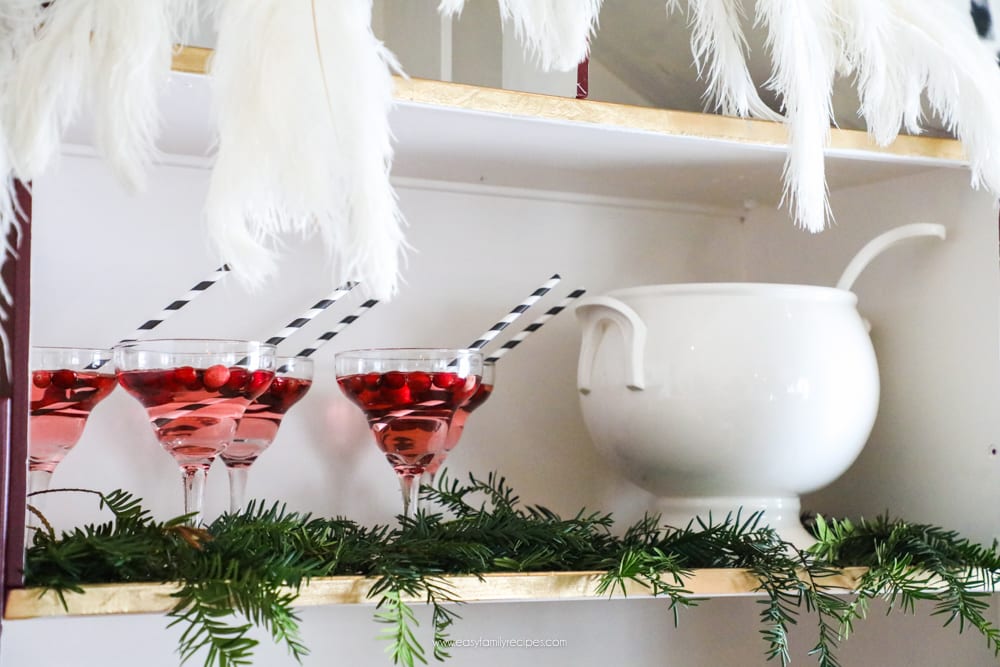
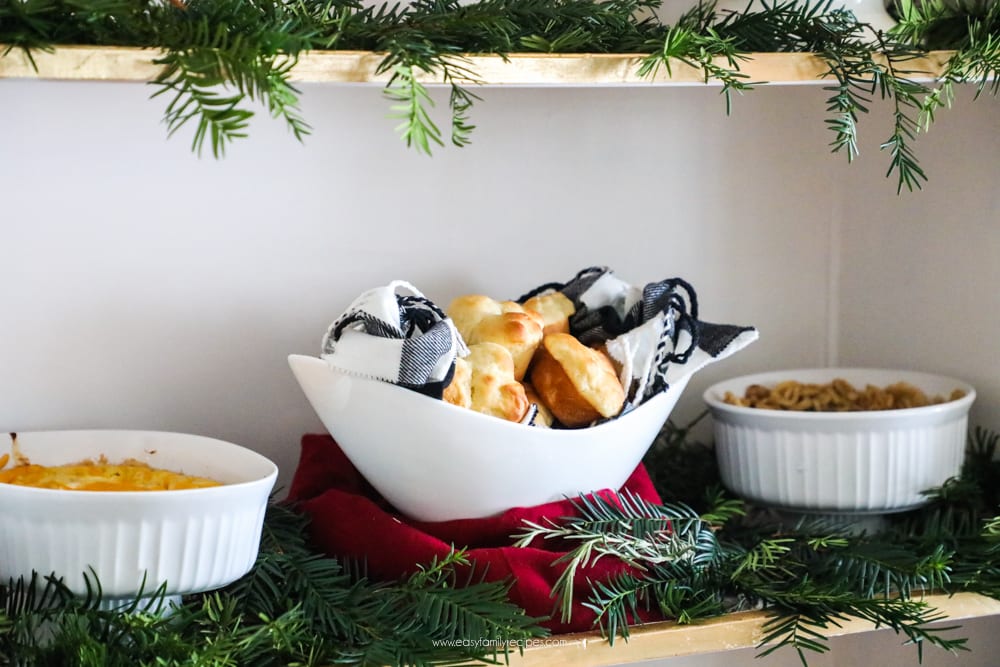
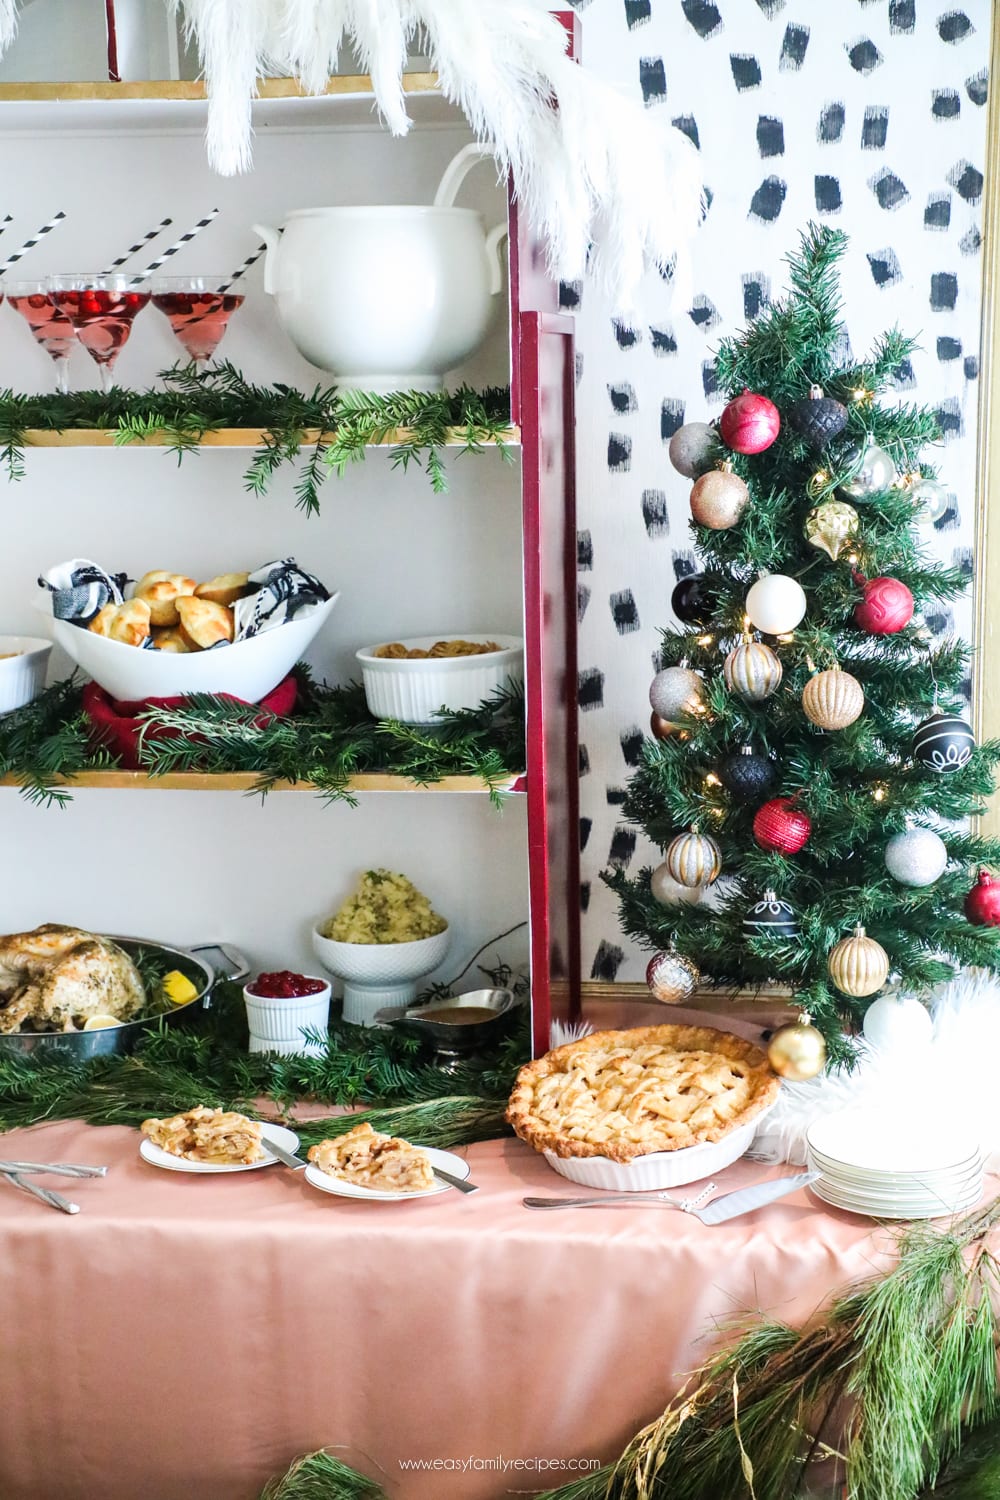
Doesn’t that food look amazing? Don’t forget to pop on over to the easyfamilyrecipes.com and thepinningmama.com to get the deets on all of your favortie holiday meals. Kimber has AMAZING recipes and tricks to make them easily.
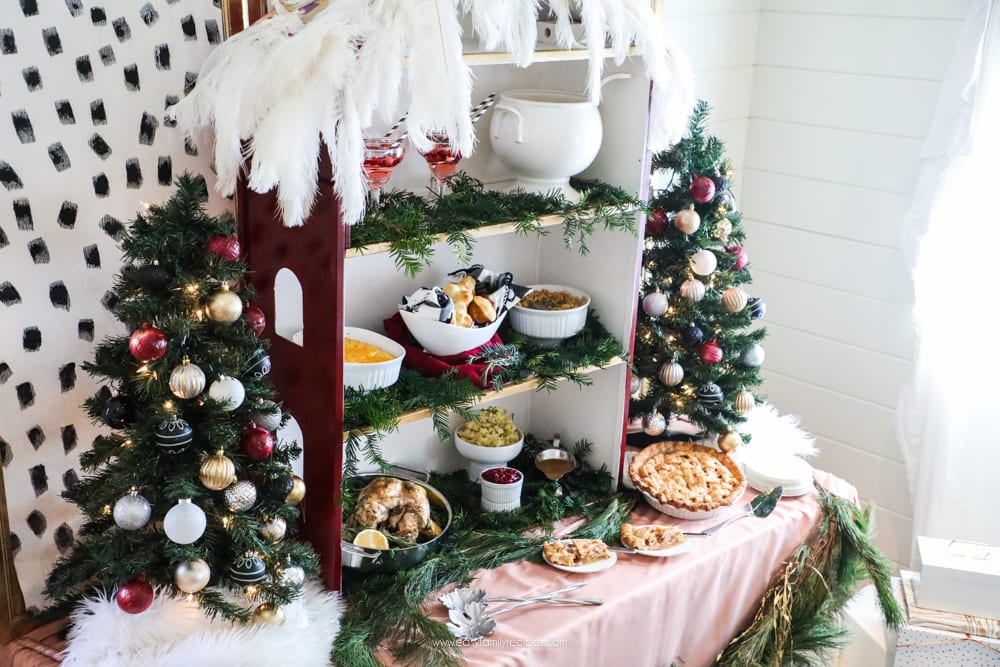
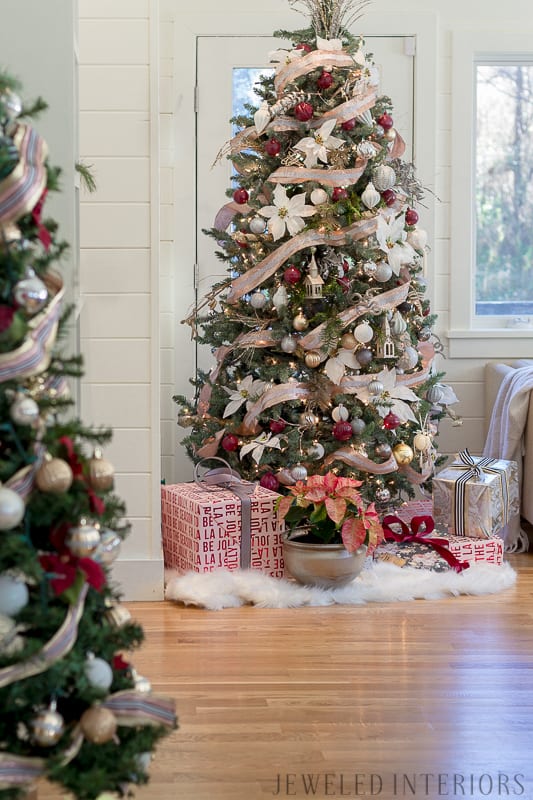
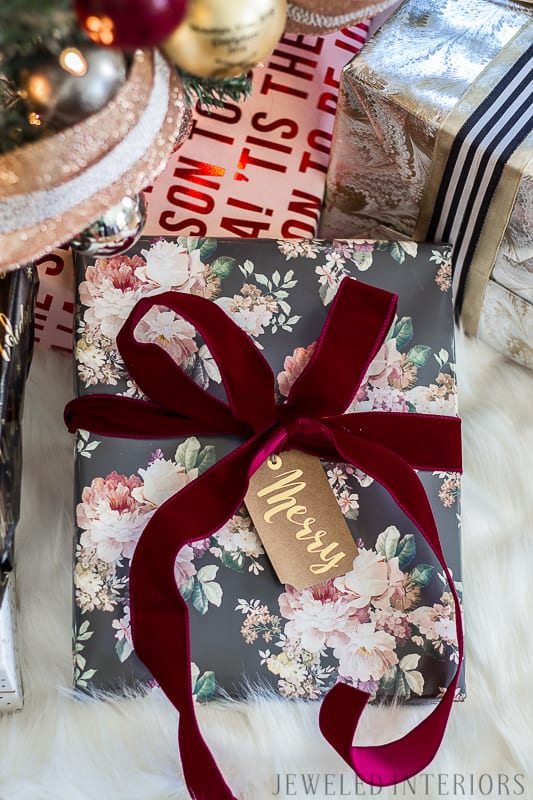
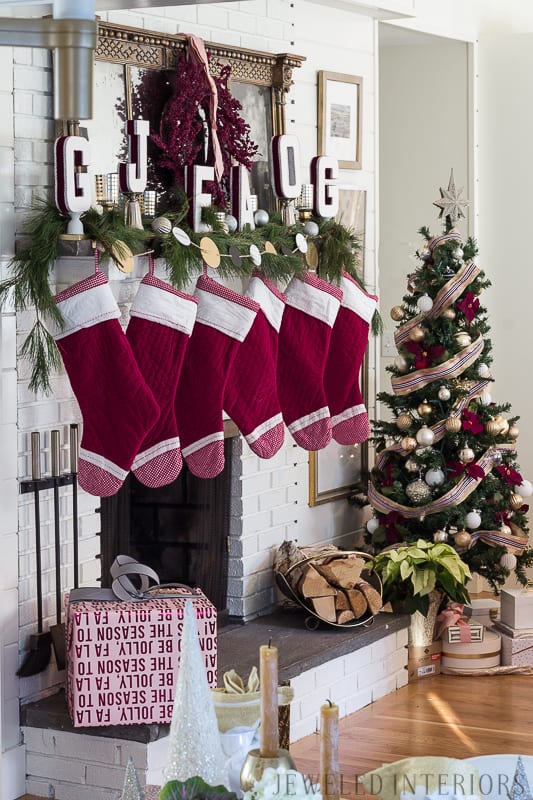

I can’t wait to show you the entire HOLIDAY HOME TOUR.
Also, Check out last year’s Rustic Chic Christmas.
Want more Holiday tutorials?
1. From Barbie House to Christmas House
2. DIY Dalmatian Wallpaper
3. No Cut Wooden Placemats
4. Pinning Mama’s Holiday Menu
-xoxo Jewel
