
A Beginner’s Guide to Chair Upholstery
Welcome to week 2 of the New Year New Room Challenge hosted by Casa Watkins Living? If you missed my post from last week, feel free to go catch up on the game plan and the current state of things. Only one thing has changed since then, but luckily it’s something I’m really excited to share with you! It’s a how to for very basic chair upholstery!

Before Pics
I need to start by telling you a little bit about a special little chair. You see, I picked up this cheeky little number at an auction while we were living in England. It is covered in its original, beautiful ivory, brocade fabric. Someday my children will be allowed to appreciate said fabric. Until they learn not to stand on chairs or use markers and stickers on furniture, however, I plan to keep this little beauty all covered up!
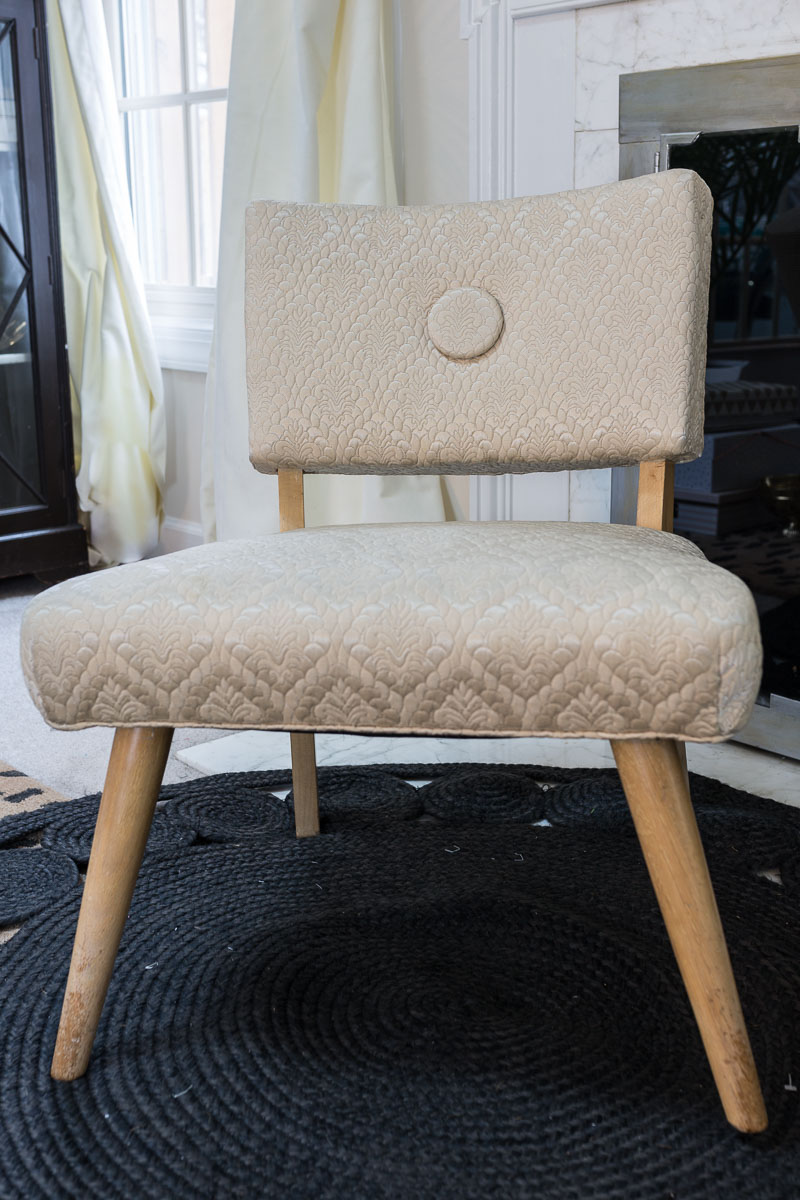
The last time I recovered it was about 9 years ago with the basic chair upholstery skills I had back then. My plan to protect the fabric underneath has worked beautifully, but it is time for a refresh.
Tutorial
This chair upholstery tutorial is designed for the beginner…and by beginner, I mean someone who really hasn’t upholstered ANYTHING before. Moreover, I would recommend these techniques for a chair that doesn’t see much traffic…not your living room sofa. Ya hear me? I know there are more advanced and proper techniques to use, but these are some shortcuts to help you learn on your first project… baby steps, right?
Step 1: Gather It
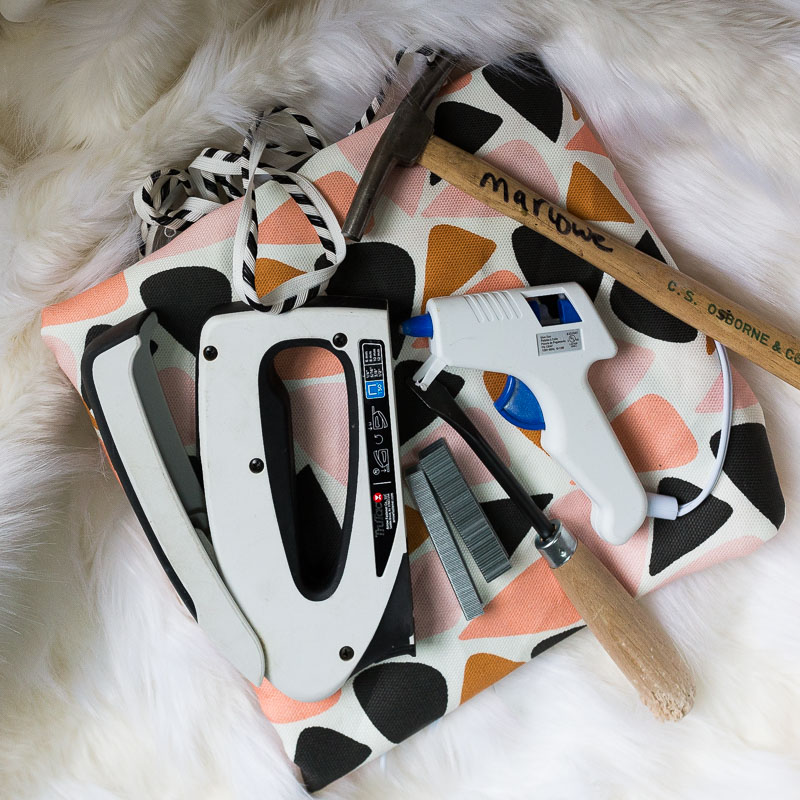
These are the very basic beginner tools, but you will find each of these purchases well worth their small price tags (especially if you ever plan to do more than one upholstery project).
The List
*Fabric- Find your yardage by using a fabric measuring tape (or normal measuring tape if required). Remember that standard upholstery fabric is usually 54 inches wide. Also, consider that a larger repeat may require more fabric than a solid or smaller repeat like the one I used. This only matters if you need to line up seams or match two identical chairs. A pattern also means you should consider the direction the fabric will be going when planning out your yardage.
*Staple Gun- A cheapo old-school one like this works! After a decade I finally broke down and purchased a pneumatic powered gun…but that can come later.
*Staples- A variety of sized is useful. I would either pick up a variety pack or a box of 3/8th and 1/2 in. IMPORTANT: Not all staple guns use the same width staples. To be safe, bring your gun to the hardware store to double check.
*Staple Remover- It looks like a funky screw driver and it’s inexpensive. Just buy it! You will thank me later.
*Hot Glue Gun- Optional
*Upholstery Hammer- Optional
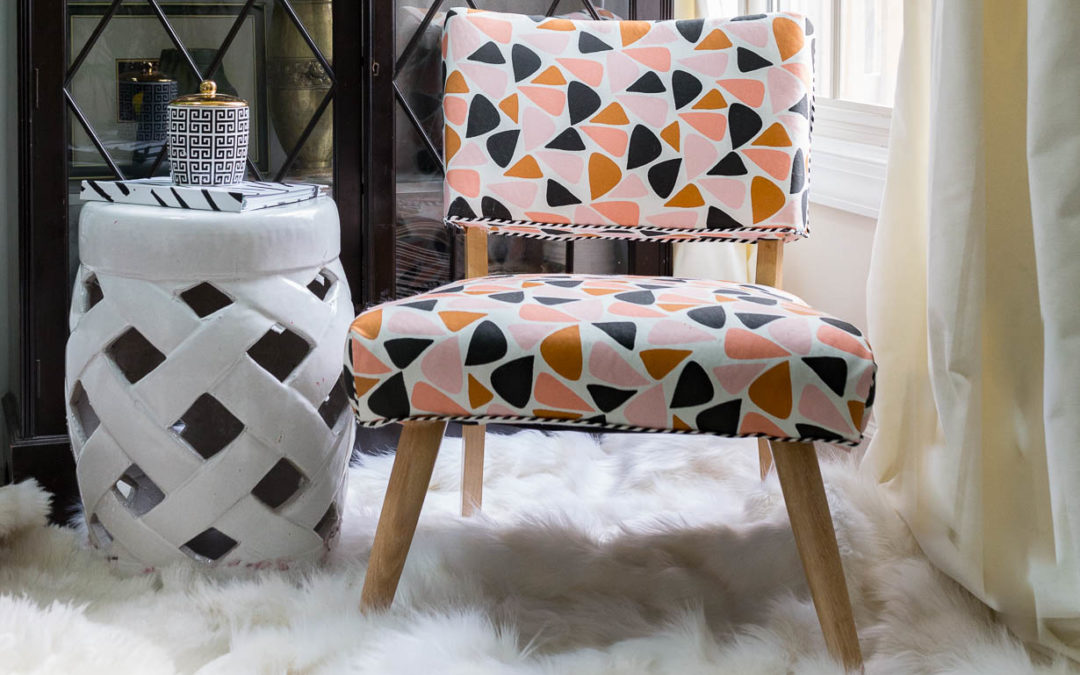
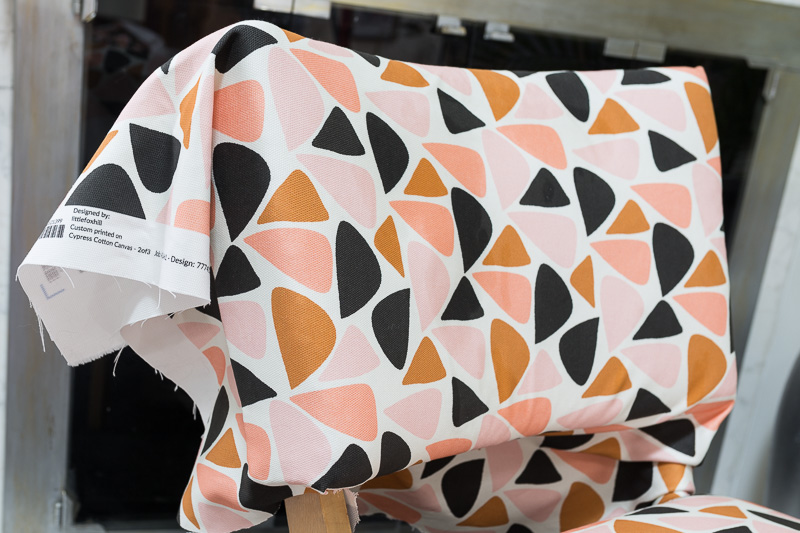
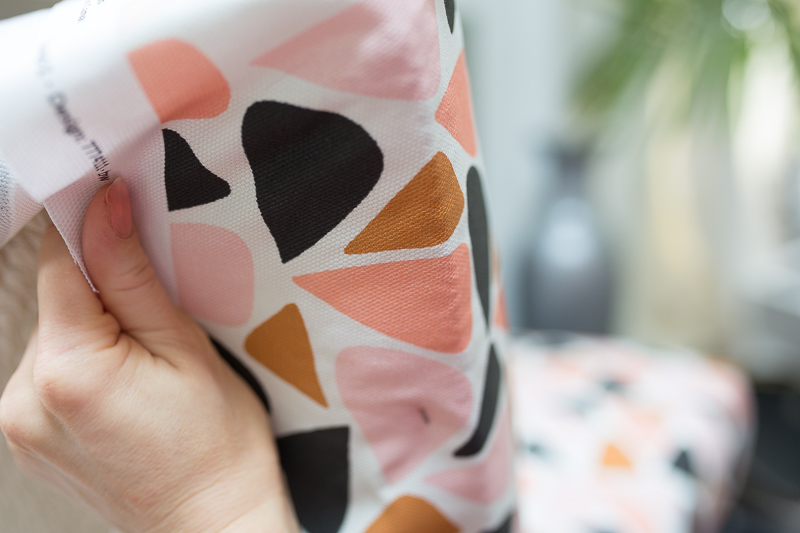
This fabric was sponsored by Spoonflower and I ordered it in Triangle Geo pattern designed by Littlefoxhill. I printed it out in Cypress Cotton Canvas. That’s one thing I love about Spoonflower. Not only do I get to pick the pattern, I can print it out on whatever type of fabric I can imagine!
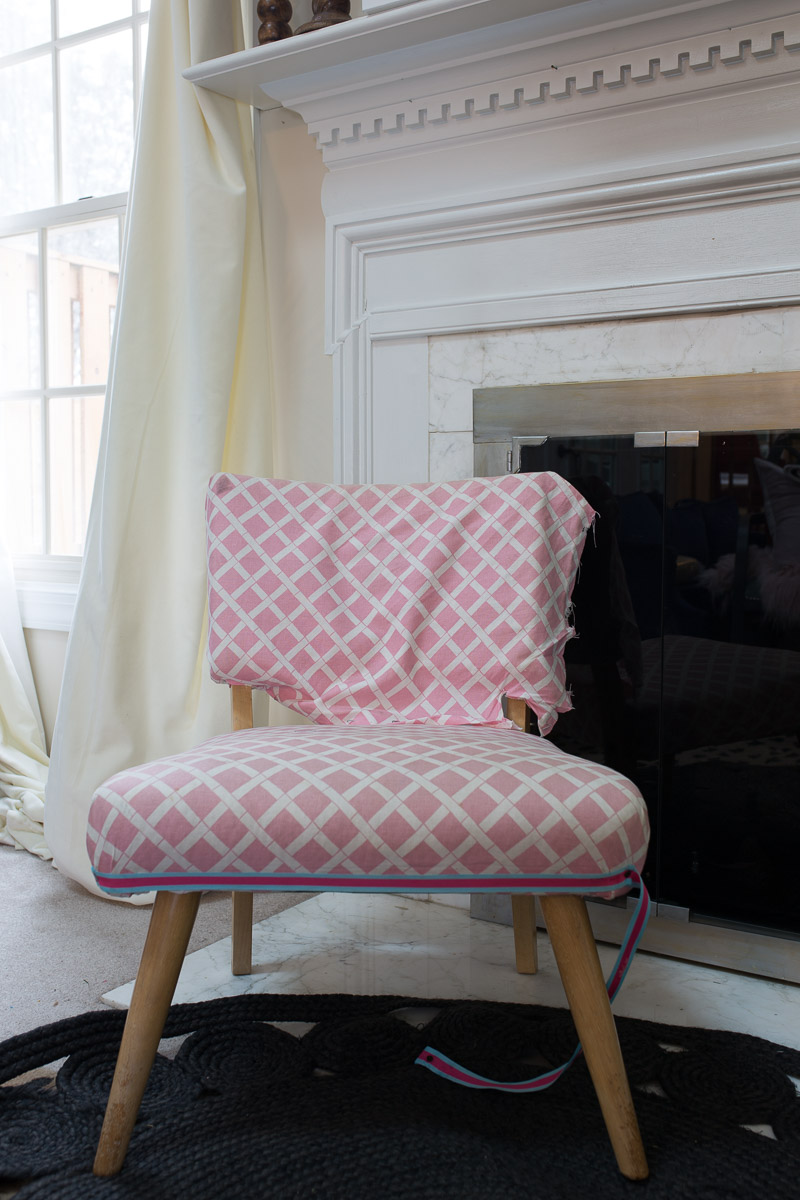
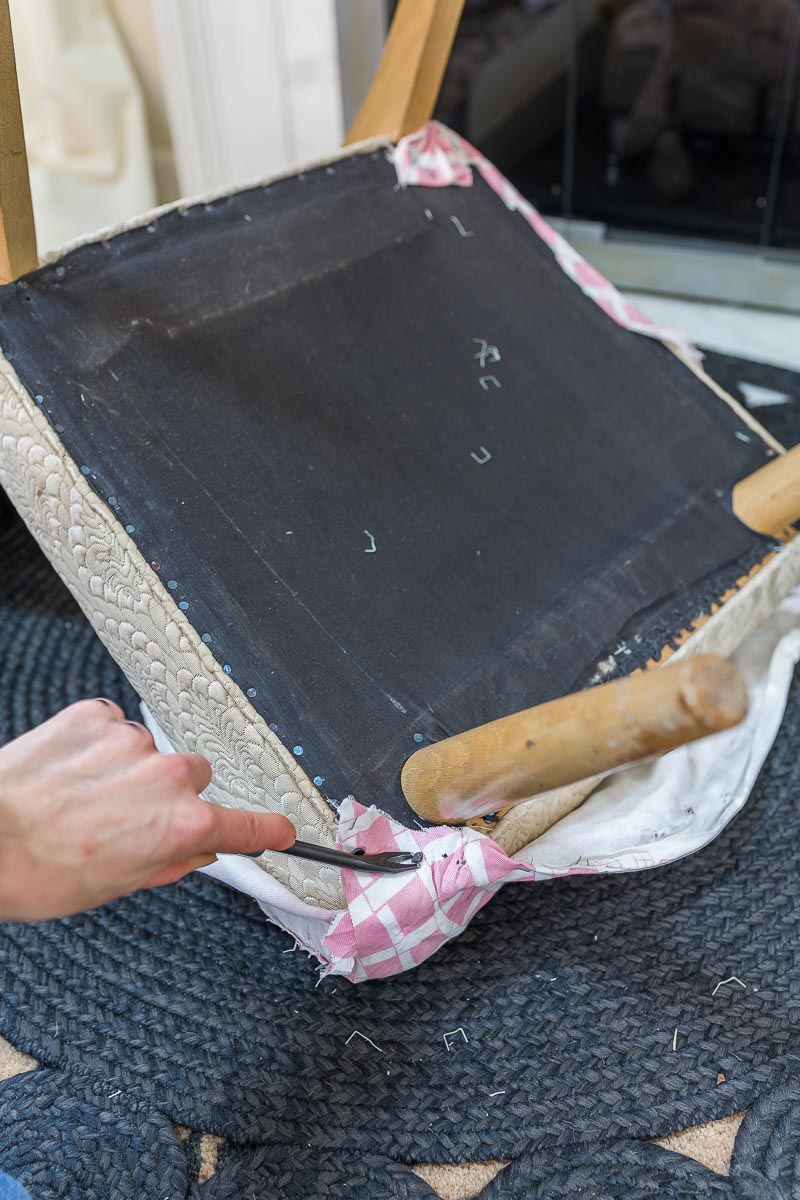
Sometimes you can keep fabric intact and simply cover it. This is basically what I’m doing with the brocade layer. The pink cotton, however, simply had to go. I removed the staples and tacks with my staple remover
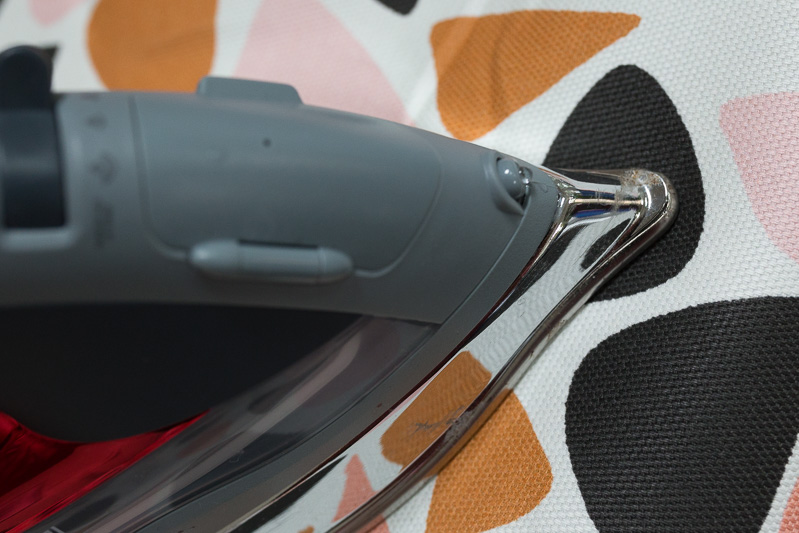
Step 3: Iron It
This step may be optional. Depending on your fabric type and how wrinkly it is, you may be able to simply stretch out minor wrinkles as you start to upholster.
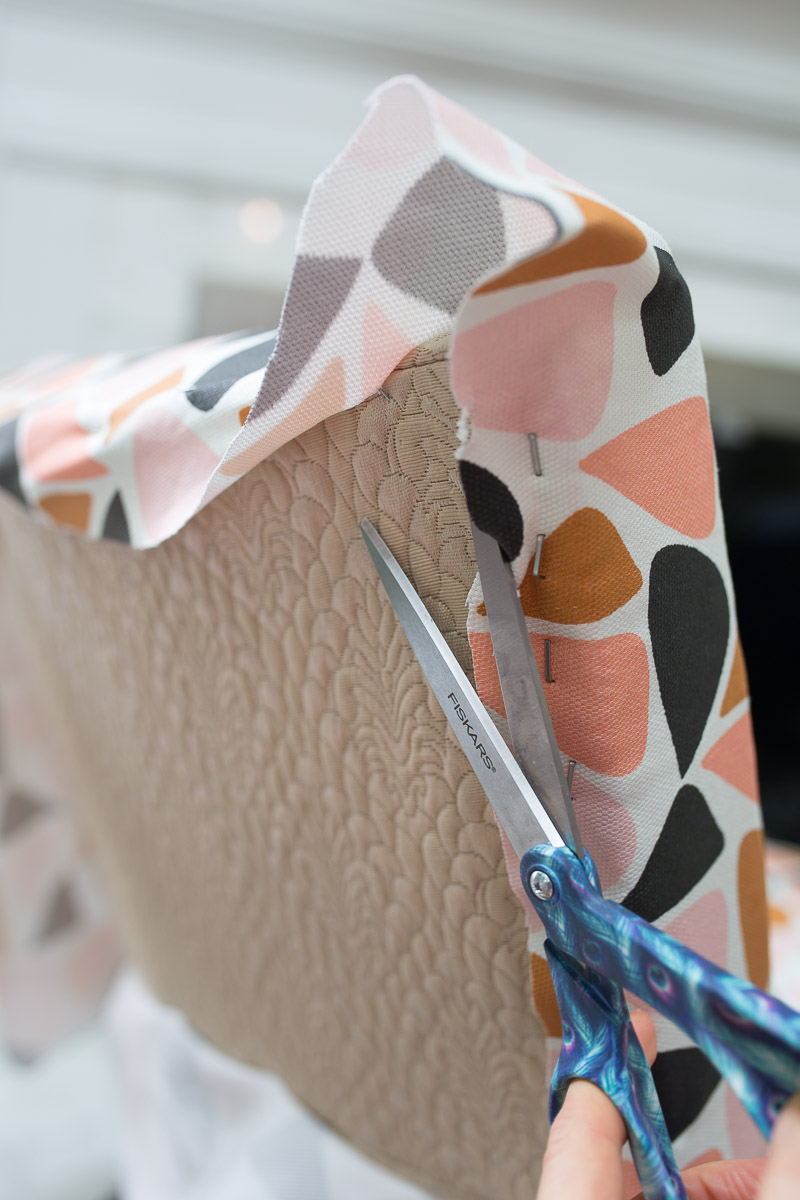
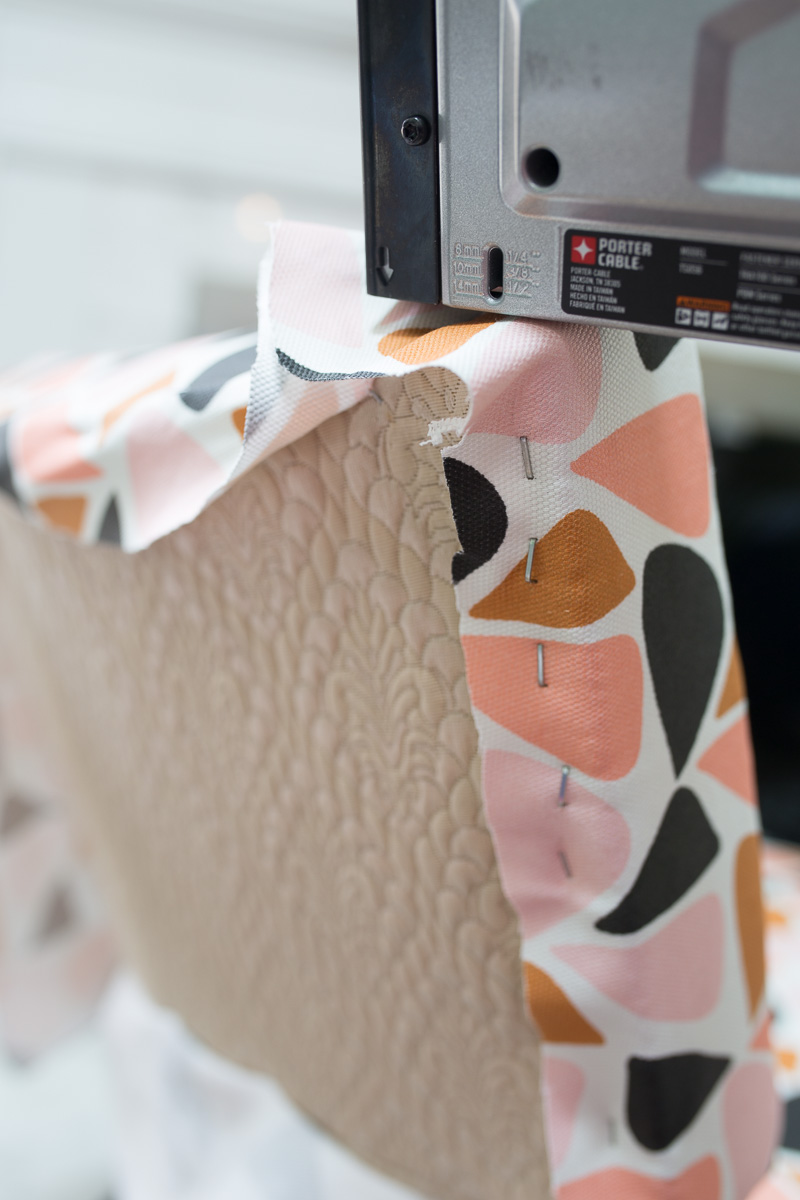
Lay the fabric over the chair and trim off the major excess. Then pay special attention to getting it perfectly straight horizontally and vertically. Sink a few staples on each of the four sides to hold your straightened fabric in place. Finally, starting, in the center of the top and working out, sink a few staples. Switch to the bottom and sink a few staples. Switch to each of the sides and sink a few staples. Now repeat this pattern. All the while, make sure to check the straightness of your fabric with each step.
It is important to pull the fabric tight each time you staple. Also, smooth out wrinkles as you go. It is very common to have to remove and reposition staples. Don’t get frustrated! That’s just all part of the process. Redoing it five times is normal and will be worth it in the end.
Trim up the excess because any extra fabric means lumps and bumps underneath.
Step 6: Corner It
Mastering the corner is a major step in learning basic chair upholstery skills. Let me break it down for you! YOU’VE GOT THIS!
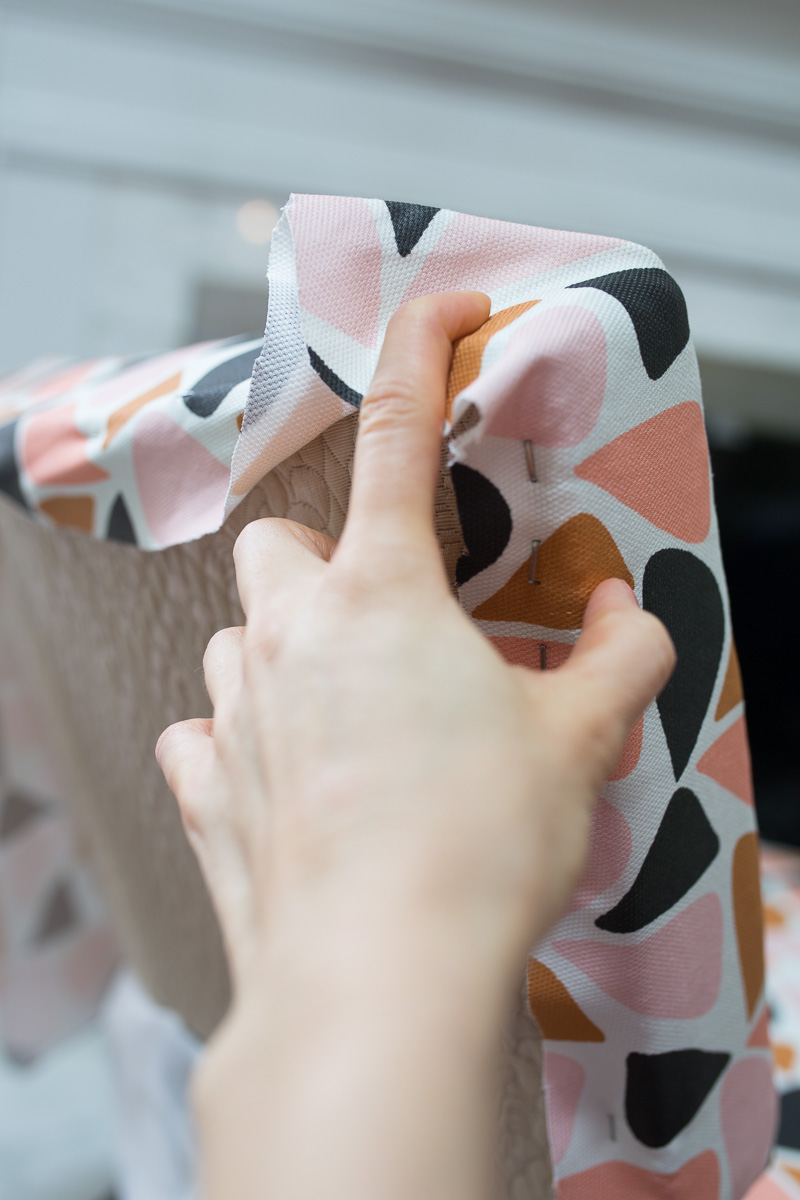
Figure out if you want the corner to be on the top or on the side and smooth the fabric in that direction. Think of it as wrapping the corner of a present with wrappig paper.
Smooth it tight and sink a few staples while still holding it in place. Trim excess fabric.

Pull the flap back over the staples and secure it below with a few more staples.
Step 7: Embellish It
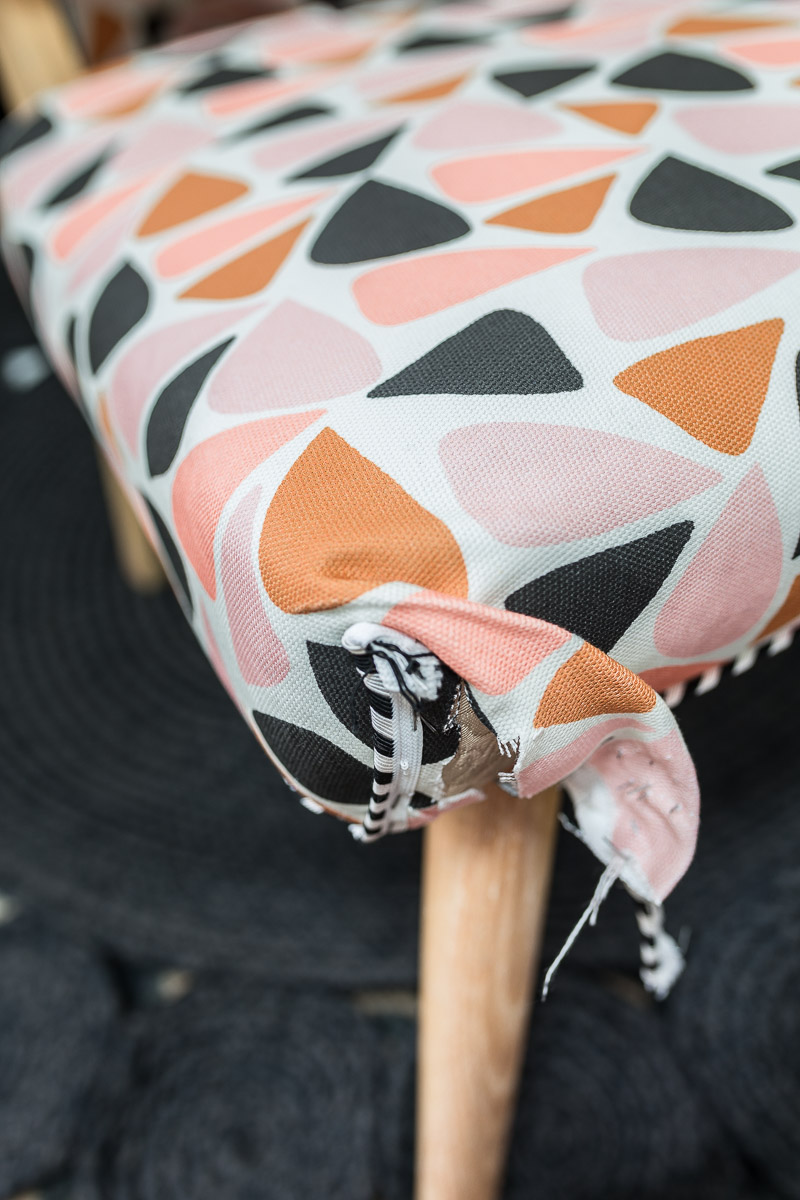
Now for the fun part! You can either attach pre sewn trim or gimp, or even make your own welt in matching or contrasting fabric. Staple it discretely to give your project a finished look!
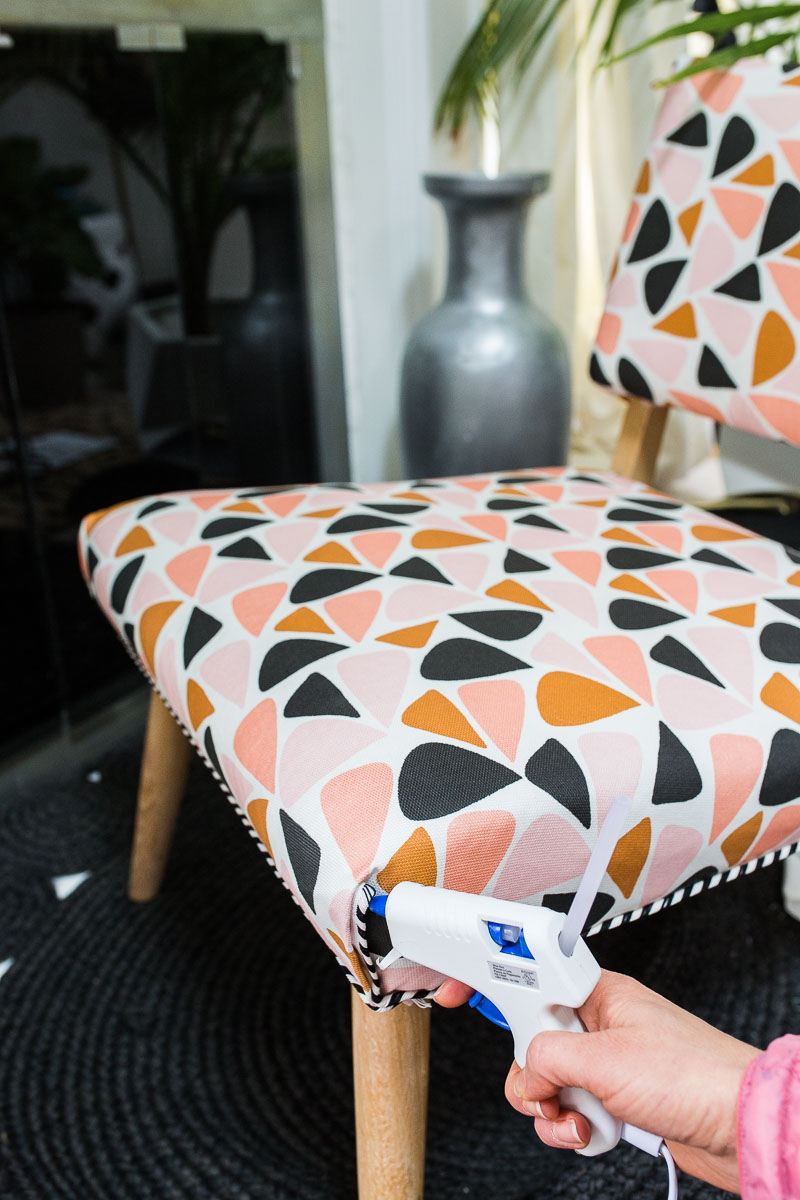
Step 8: Glue It
A little hot glue is the secret to a beginner upholster’s success 🙂 The glue smooths the seams and gives a little extra cohesion. Someday you can learn to other tricks, but for now, this will help you achieve a polished look.
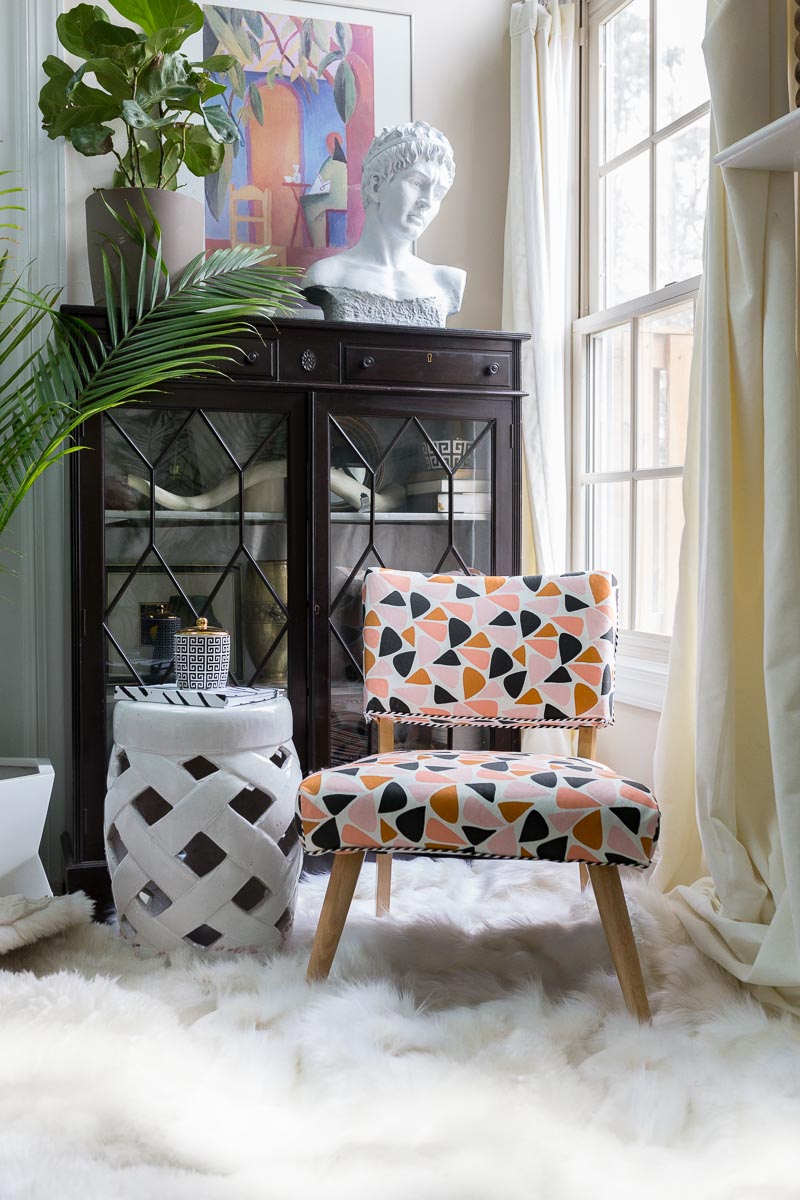
Standing ovation my freind! You did it! You nailed your first upholstery project! I’m so proud! Now take a picture and send me your final results so that I can brag about your awesomeness!!!


This is pretty much the same process I follow- your tutorial will be so helpful for newbies! 🙂
Thanks Monica! Yes! No crazy Upholstery strips or webbing in this one. Not intended to be used for a sectional reupholstery job ?
It looks great!! Love recovering chairs! NEW LIFE
Jewel this is fabulous! I love the new look and the fabric is stunning! Great upgrade.
Yep! That’s how I do it! 😉 Loving the fabric and trim choice.
Wow!! She’s a beauty!! And that trim is the absolute perfect finishing touch! I can’t wait to see more 🙂
Thanks so much Rachael! We are almost there!