
I couldn’t be more excited about our new entryway make-over, but there is one element and design technique that I really want to highlight. Check out how I used Milton and King (Sponsored) Simplemente Puntos to overcome three design “issues” in our home.
3 REASONS
#1: Hide My Wonky Ceiling
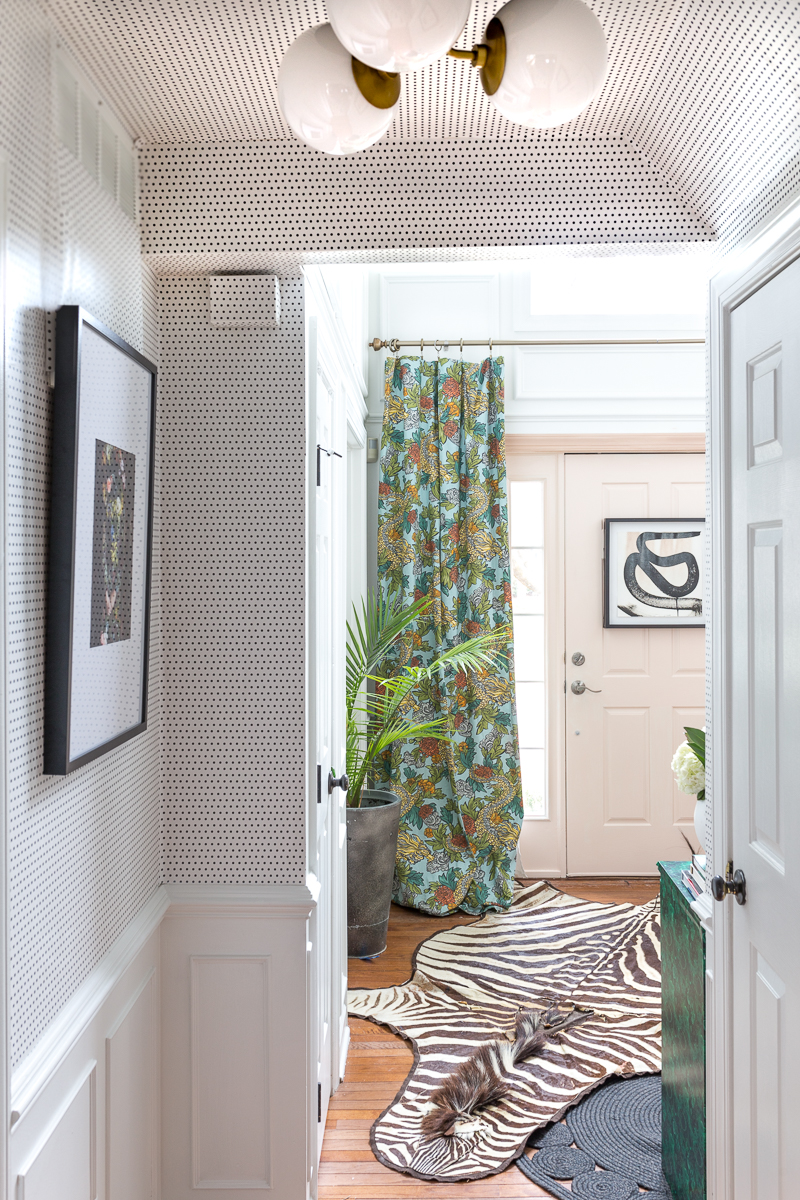
In the little passageway between our two story entry and our kitchen is funky. More specifically, the ceilings are funky. The left side has an extra angle but the right side is set at a normal 90 degrees
While I’m not 100 percent certain the cause for the extra asymmetrical angle in this pass through area, I suppose there must be a terribly important beam or pipe that hides behind that little piece of drywall. Let me assure you this, however, it made the light fixture look off center. My suggestion to the builder would have been to give the other side of the wall a similar A-symmetrical angle. The result would have been a tray ceiling effect. As it is however, it’s just plain wonky. See what I mean?


If you ever find yourself with walls and ceilings that are just plain weird, you have a few options. One could be to highlight it, and the second could be to disguise the feature. In my case I wanted to go with option 2. This could have been achieved by painting the walls and ceiling the same color, but I wanted MORE!
Why paint when you can wallpaper baby? Here’s the trick of it though. Said wallpaper needed a small enough repeat that I could easily match seams, despite the “weirdness” going on in this space. For the most part I was able to line up the Simplimente Puntos wallpaper pattern horizontally and vertically. This couldn’t have been accomplished with just a busy pattern or large repeat. YES, it did take me more than a hot second to accomplish the task, but it was well worth the extra effort.


#2 Create Visual Interest
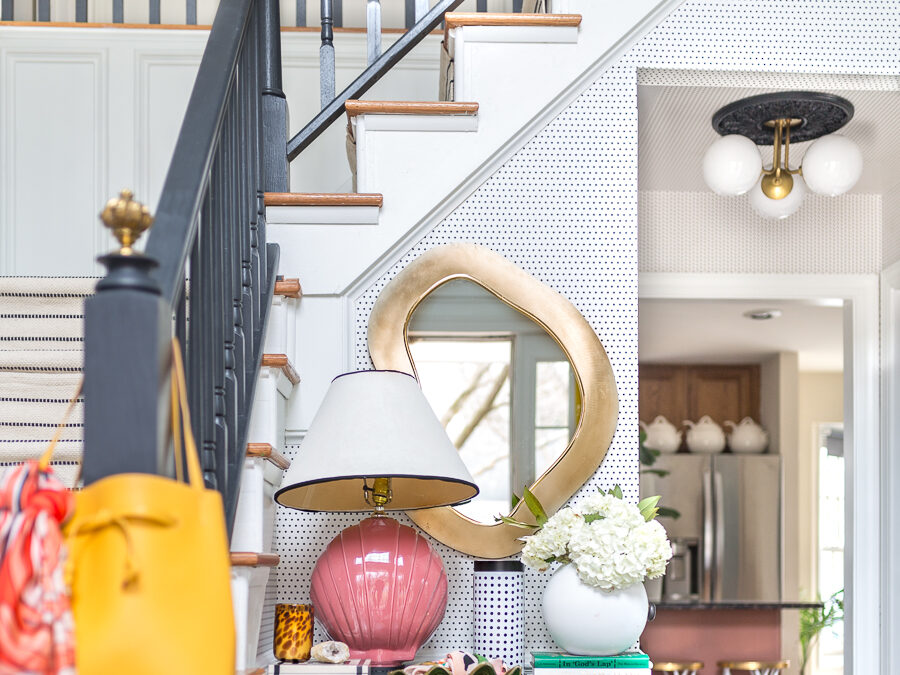
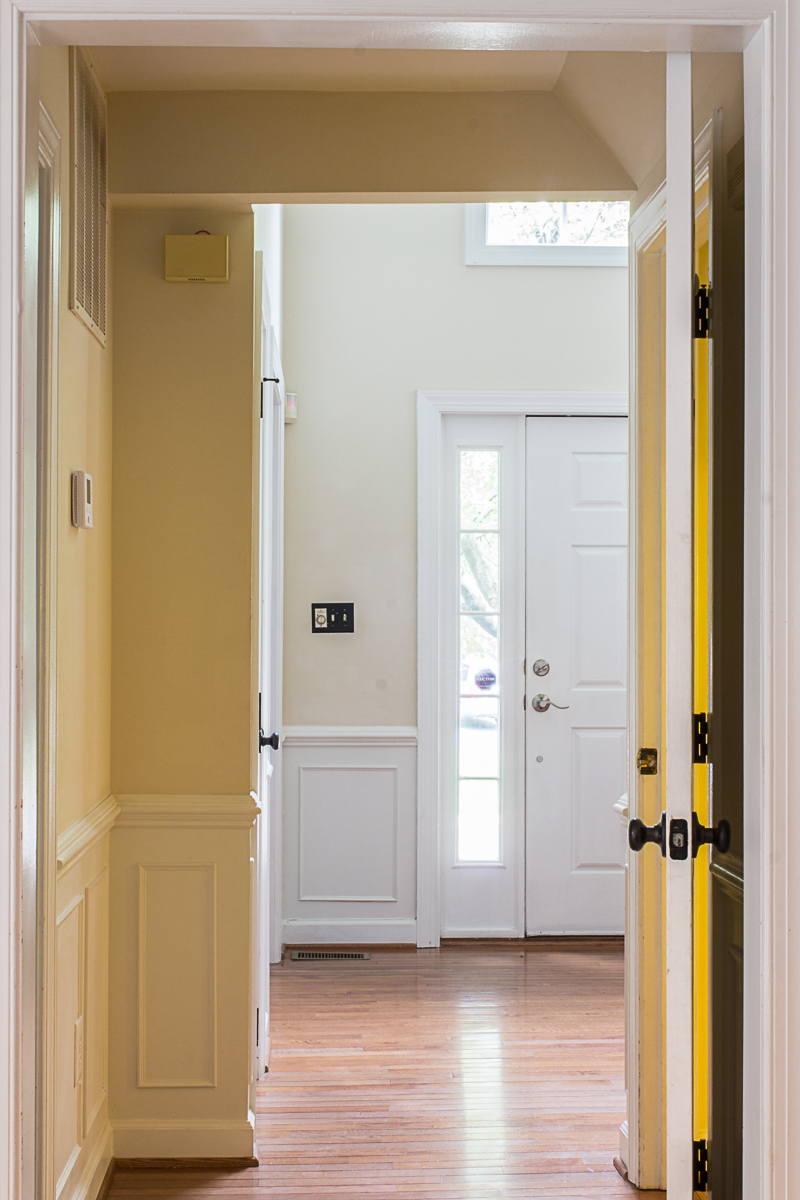
You can see from the before pics that there wasn’t too much of anything visual interesting going on here. My goal was to create a “moment” in both the little passthrough space and on the wall you see immediately as you walk in.
BEFORE

AFTER


I’d say that Simplemente Puntos wallpaper definately added the vusual interest I was looking for.
BEFORE
#2: Maintain Flow
Some of you who follow me on Instagram (thank you for that BTW), initially indicated that this wallpaper didn’t seem very “Jeweled Interiors”. I completely understand what you mean. I’m known for bold colors and maximalist designs. Remember my dining room wallpaper? That gorgeous wallpaper was also Milton and King, and I loved it so much that this was my starting point for selecting wallpaper for this space.
This time, however, I wanted to add punches of color to the ACCESSORIES and not to the WALLS. I needed this little “moment” to still flow with the rest of the entryway and the eventually the kitchen. A bold and colorful wallpaper here would break it all up and disrupt the continuity, but Simplemente Puntos wallpaper was a perfect choice!

AFTER

What do you think? Much more visually interesting, right?
For anyone intrigued by the idea of “paste the wall” wallpaper, I will give you a very brief tutorial to get you started.

Supplies I Used
Two rolls of Simplimente Puntos wallpaper from Milton and King
Wallpaper Size
Roman Ultra Clear Strippable Wallpaper Paste
Small foam Roller
Exacto Knife
Scissors
Level

This is not a complete tutorial, but I wanted to give you the jest of the scope.
– I sized my walls and waited an hour or two for it to dry
-Then I cut strips of wallpaper a few inches longer than my half wall
-I used a level to draw a straight line on the wall.
-Dipping my foam roller into the paste, I applied an even coat over the section I was about to cover
NOTE: In areas where I put too much, the paste yellowed the wallpaper ever so slightly. Don’t over do it!
-Then I used my wallpaper brush to smooth everything out. This could be done with hands, but the brush was nice.
-I repeated and move to the next section, ensuring the at the dots match up and that your edge remains level.
NOTE: The ceiling is a bit trickier and is much easier to hang with two people.
ALSO: Don’t freak out it you don’t get it right the first time. Just pull down that section, reapply a new layer of paste to the wall and try again.
YOU’VE GOT THIS!

Thanks so much for joining me on this tutorial. Good luck installing Milton and King’s Simplimente Puntos into your home. I’m certain it will be lovely.


Excellent work! And now you’ve got me intrigued… how did you change the dated stained wood on the stairs to paint? I have the same light pine stain in my house and want them gone!
Hi Sarah! I used a primer (Kilz) and then Velvet Finishes paint series. Actually, right before sealing it I repainted it the paint from the trim work (Chantilly Lace BM) so that it all matched. I had it primed painted for 6 months before sealing and carpeting and it held up surprisingly well.