Striped Closet | Frog Tape Challenge
As I gear up for a new year, I am looking forward, exploring, and dabbling in new color trends for 2022. I have seen new hue combinations and they are getting me all sorts of excited. I’m thrilled to be partnering with Frog Tape® to help showcase their five predicted trends for 2022. To highlight a snippet of what might be on the horizon, and I am applying these concepts in a small striped closet.
With the help of Taniya Nayak, HGTV designer and Frog Tape® spokesperson, Frog Tape® has categorized these 2022 trends into themes: Embrace, Rise, Gather, Revive, and Shine. For further information about each of these design concepts and color pallets you can read more HERE.
I am happy to be assigned the theme “Rise” by Frog Tape® . This word evokes images of fresh starts, new mornings, energy, and optimism. Included in this mood are the colors yellow, and green. I LOVE yellow, green, and fresh starts! Let’s do this! I have added my own twist by punching some hot pink/purple into the scene.
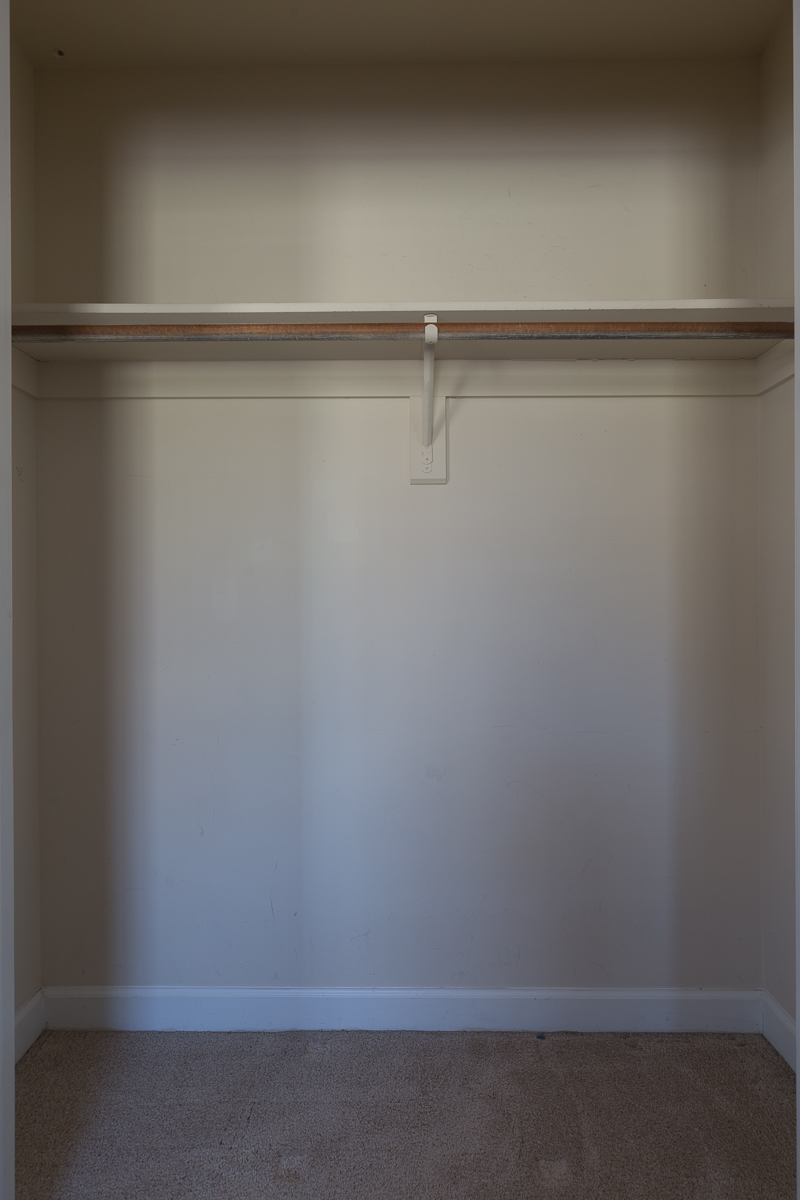
Before Striped Closets
May I present to you a very basic, non-descript closet. This felt like a safe place to try something a little punchy.
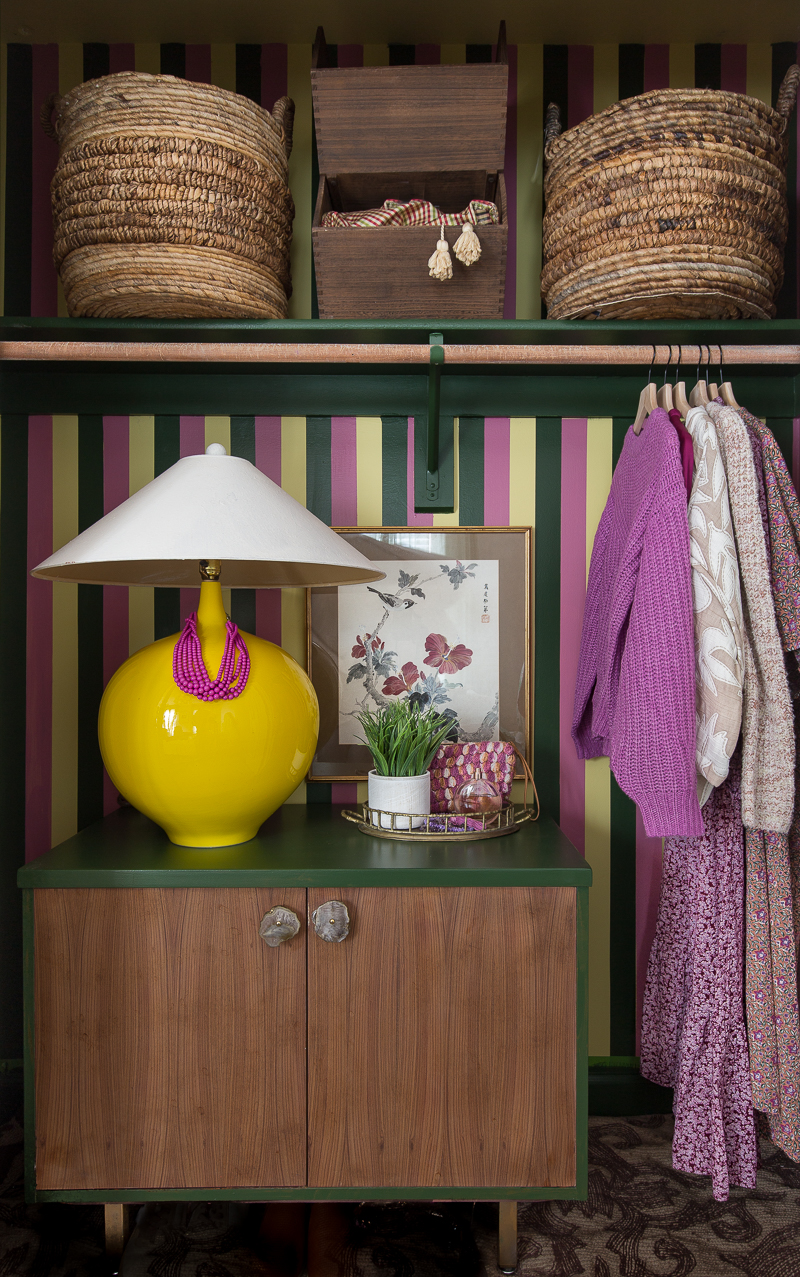
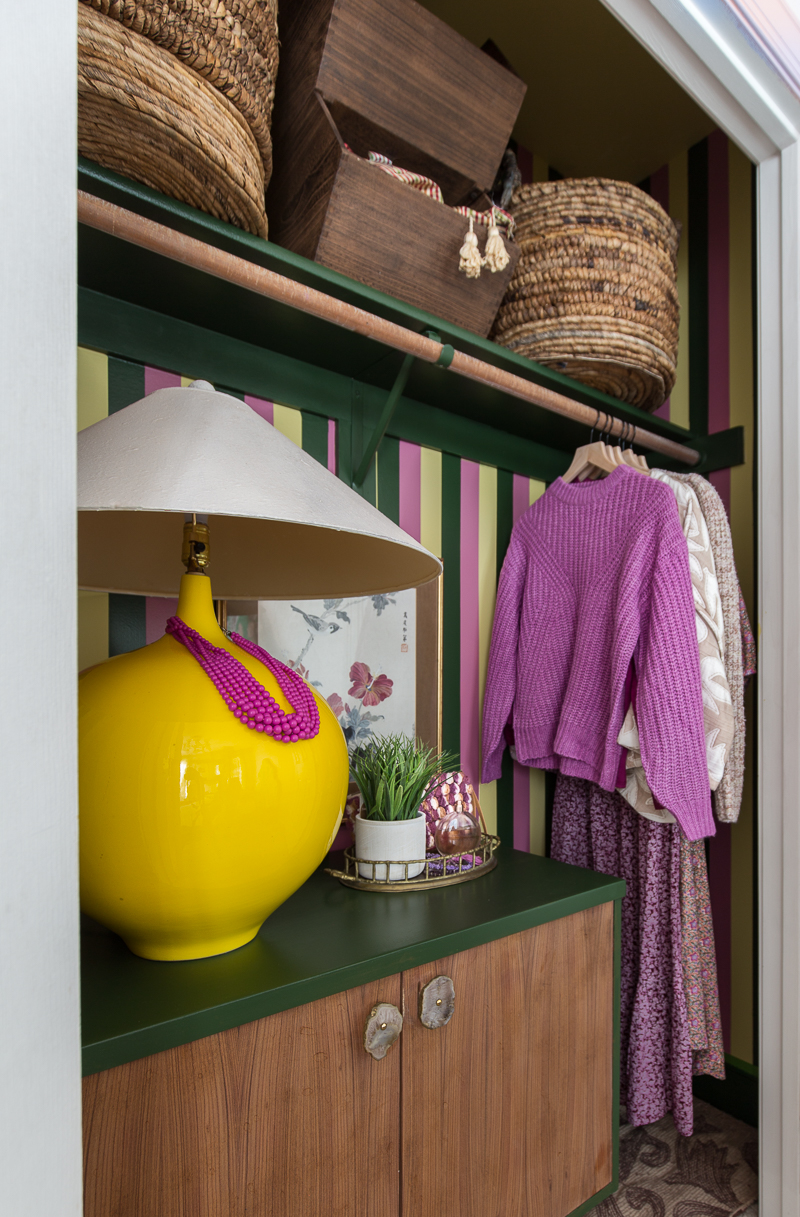
After Striped Closet
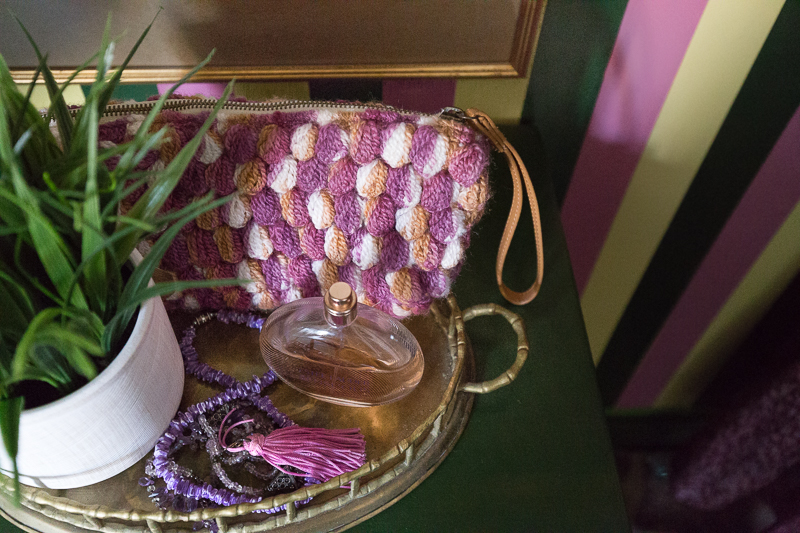
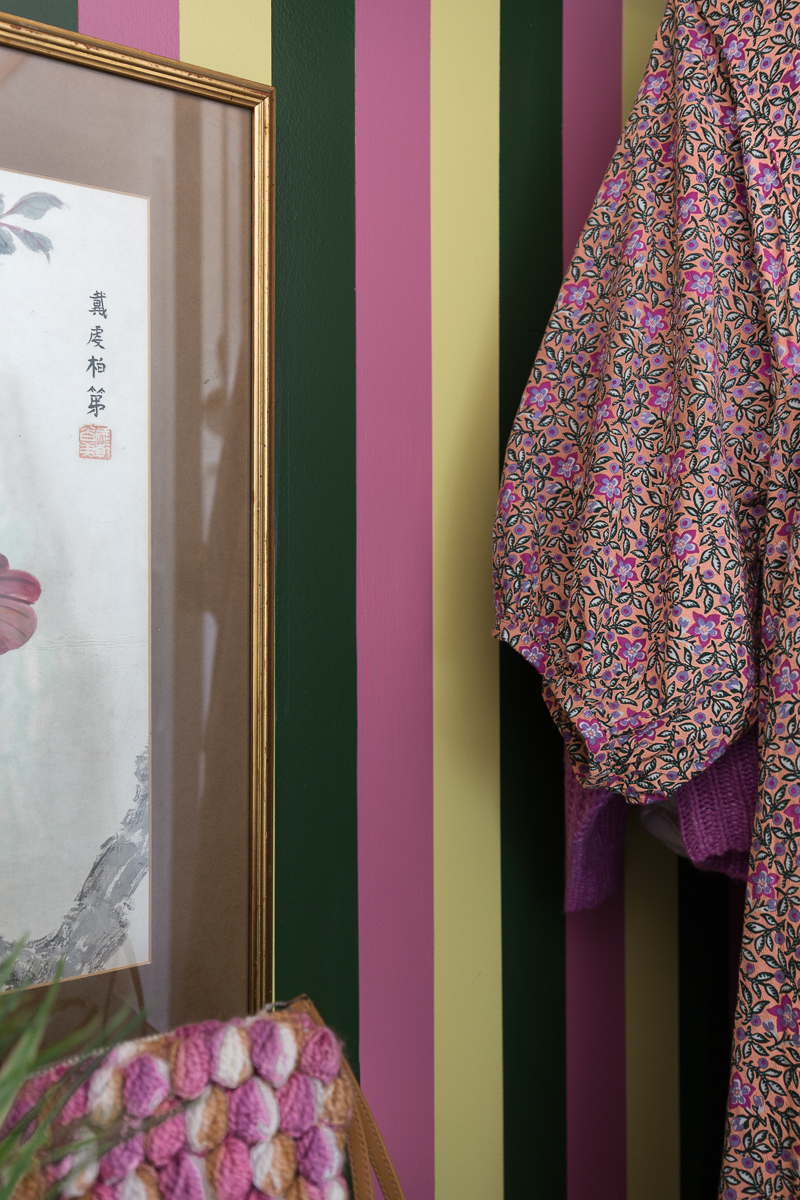
I’m excited to show you the difference that paint, Frog Tape®, a few basic supplies, and fun styling can do to a striped closet space.
Striped Closet Supplies
Striped Closet Supply List
Frog Tape® Muti Surface- Green
Frog Tape® Delicate Surface-Yellow
Roller/tray
2 in Brush (1 or more)
Sand paper
Pencil/eraser
Long Level
Striped Closet | Step 1
Paint Base Coat
Using my lightest color and my roller brush, I painted a base coat all over the area that I wanted striped. I applied two coats for proper coverage.
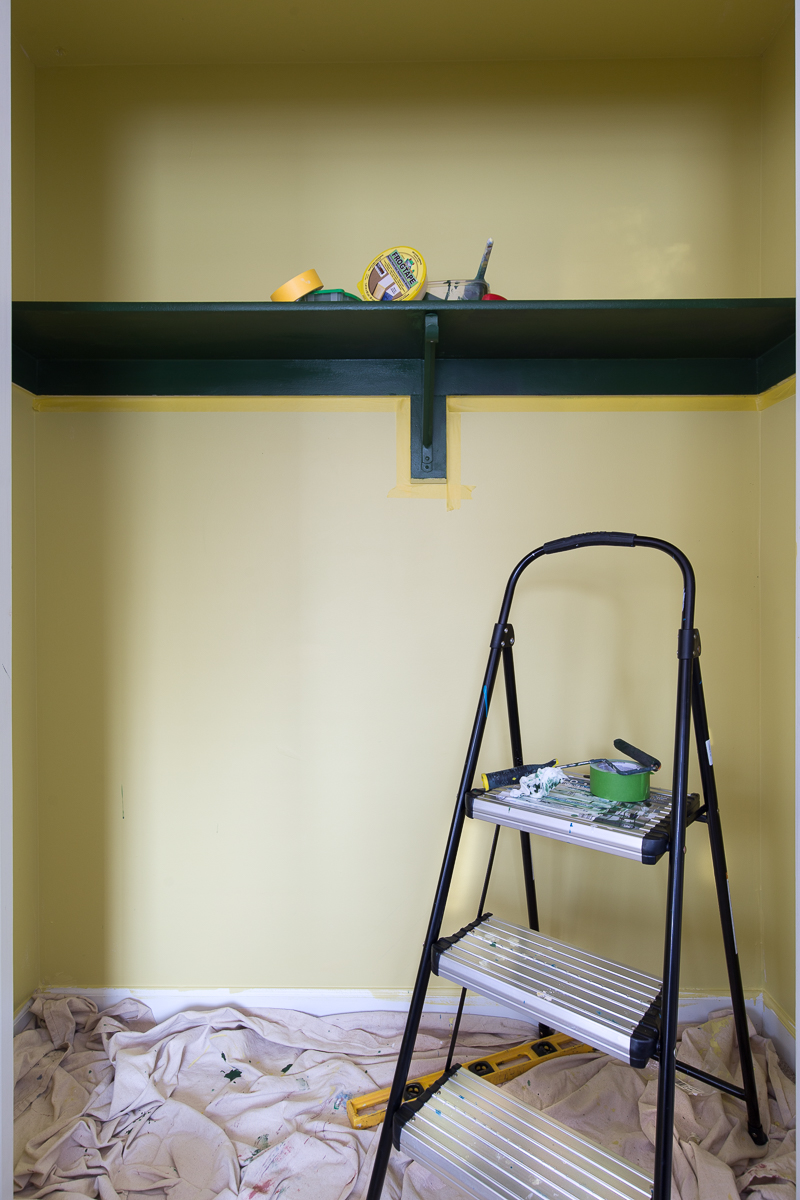
I also painted the shelf as the next step, though this could have been done after the stripes.
Closet Stripes | Step 2
Draw Stripes
To keep it easy, I used the width of my level as the width of the stripes. I found the center of my closet (or at least the center of the anchor post on my closet) and drew a line straight down from the center point. Then, I built out my stripes, being very careful to check for level every step of the way.

Closet Stripes | Step 3
Apply Frog Tape®,
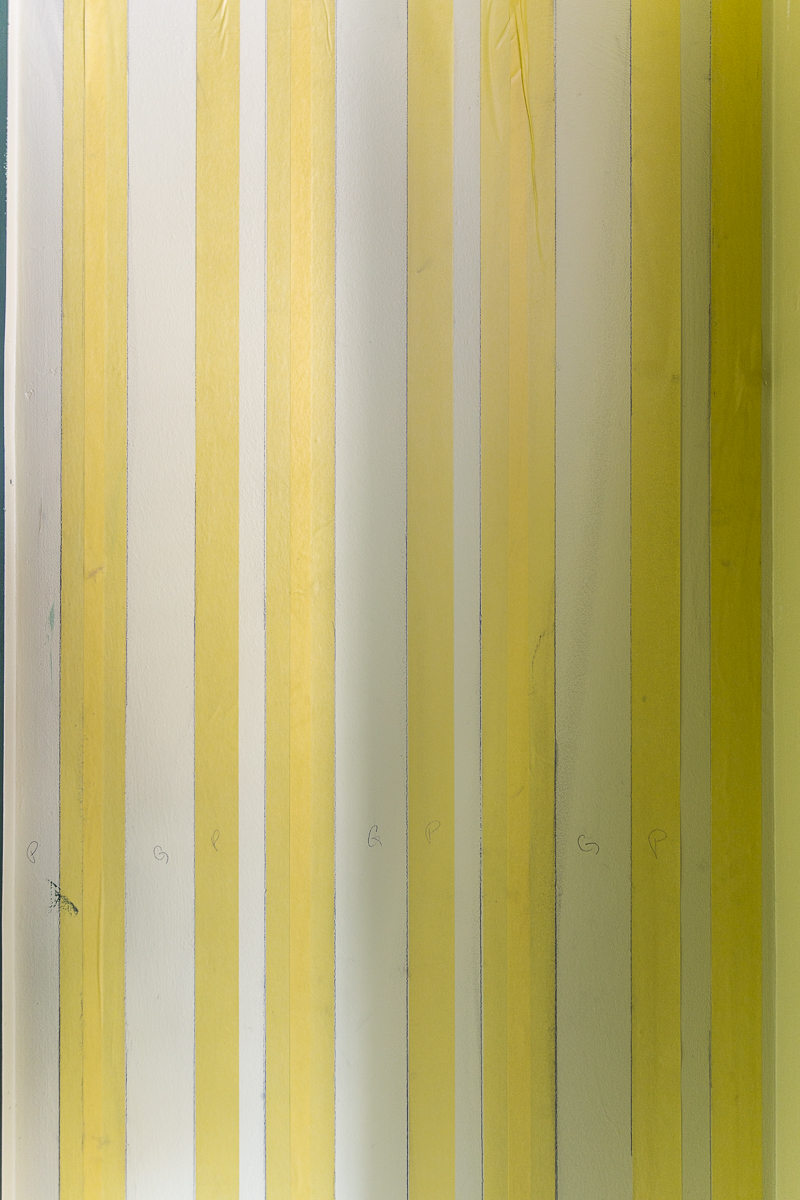
You can see in the image below that I wrote my pattern on each of the stripes. “G”, “P”, and blank space (repeated) represented the order Green, Purple, and Yellow.
Since I wanted the yellow to remain untouched, my first step was to carefully tape off each yellow stripe.
I used the yellow, more delicate, Frog Tape®, for this step because the yellow paint hadn’t had time to dry yet.
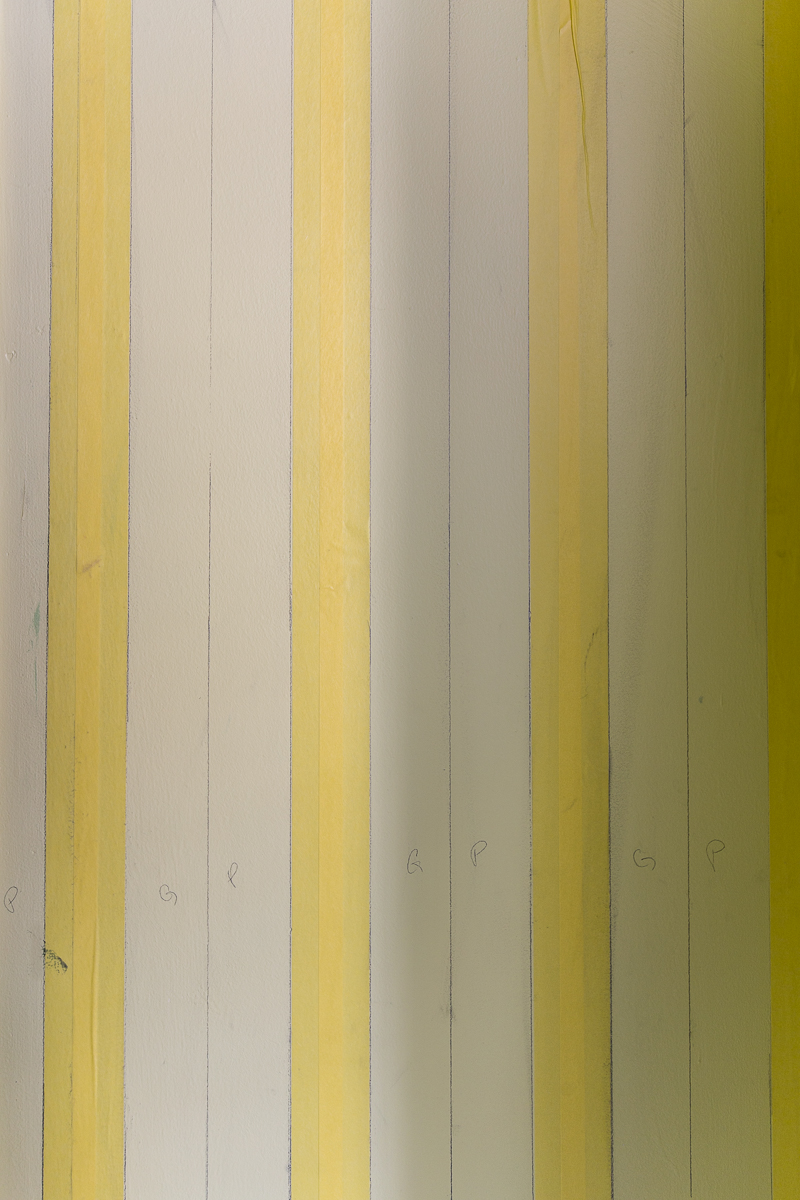
Next, I taped off the other edge of the green stripe.
Striped Closet | Paint 1st Color
Ok, there are two options at this point, and I tried both.
Option 1: For the very crispest of lines, I painted over the desired stripe area in YELLOW first. Then, after that coat dried, I painting it green. This created an impenetrable seal and resulted in ZERO color bleed. It also meant more time, paint, and effort. I also had to do light sanding before painting the pink stripe.
As an experiment, I skipped this step on the small side walls. The result was still almost perfect, exect in a one or two places where I forgot to firmly smooth the tape seam with my finger first.
So either option works. It may depend on where you want to apply the stripes and how visible (read perfect) they need to be.
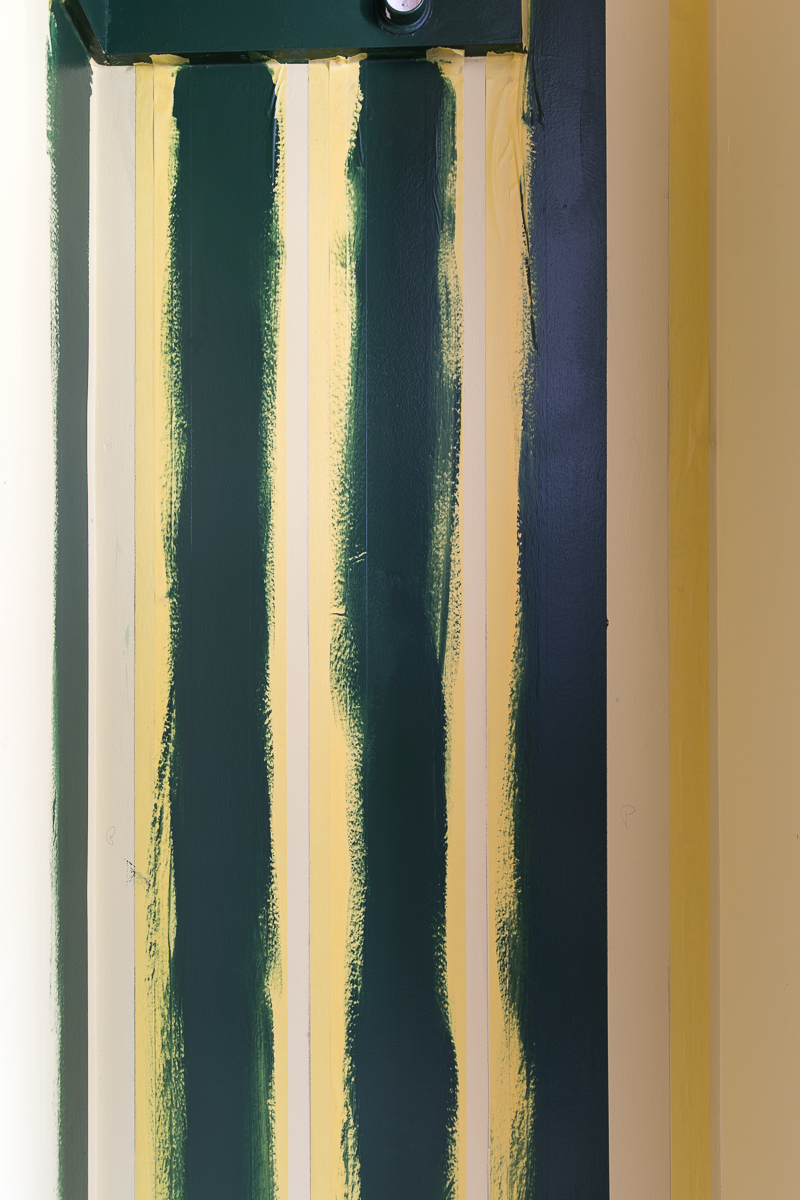
It took around 2 coats of each additional color, so don’t forget to factor that into your paint amount.
Striped Closet | Paint 2nd Color
While still slightly tacky, I removed the tape to the right of the green stripe. Once the green had dried well enough, I used YELLOW Frog Tape to protect the green and establish the line for the pink stripe.
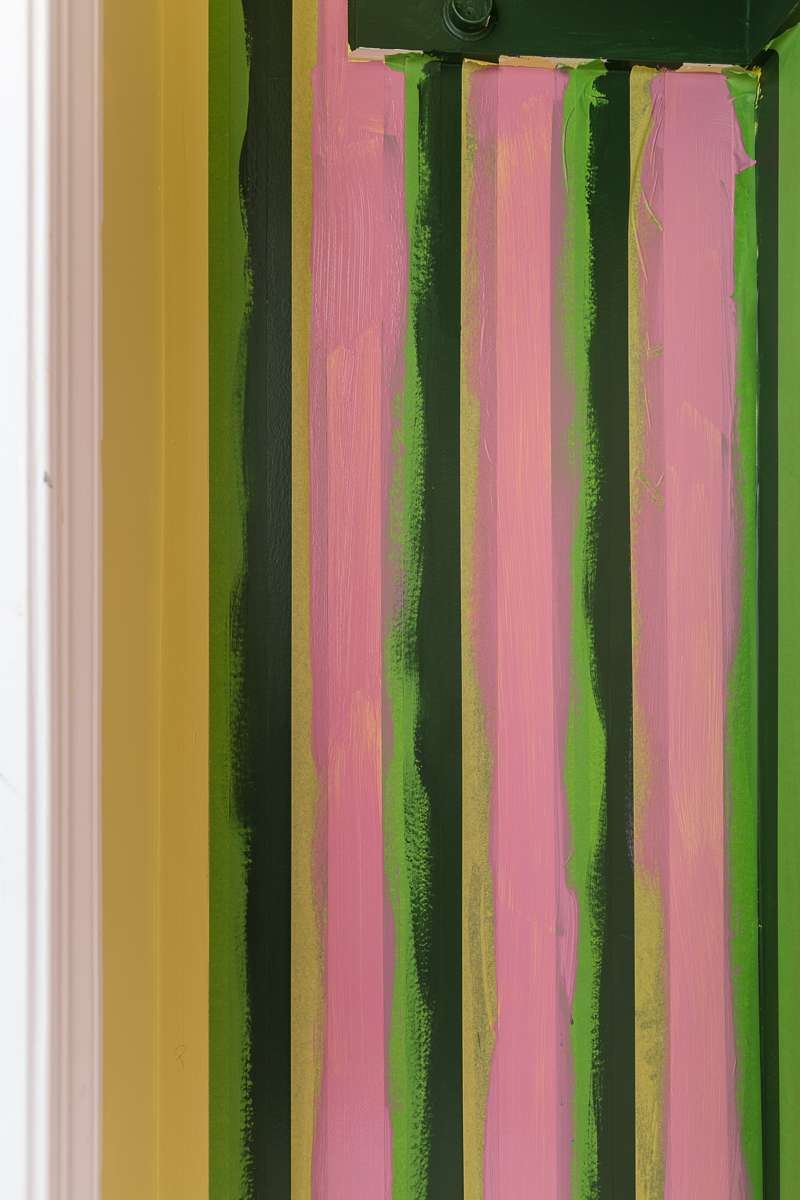
Once the second coat of pink dried, I was able to remove all of the Frog Tape® in one very satisfying session.
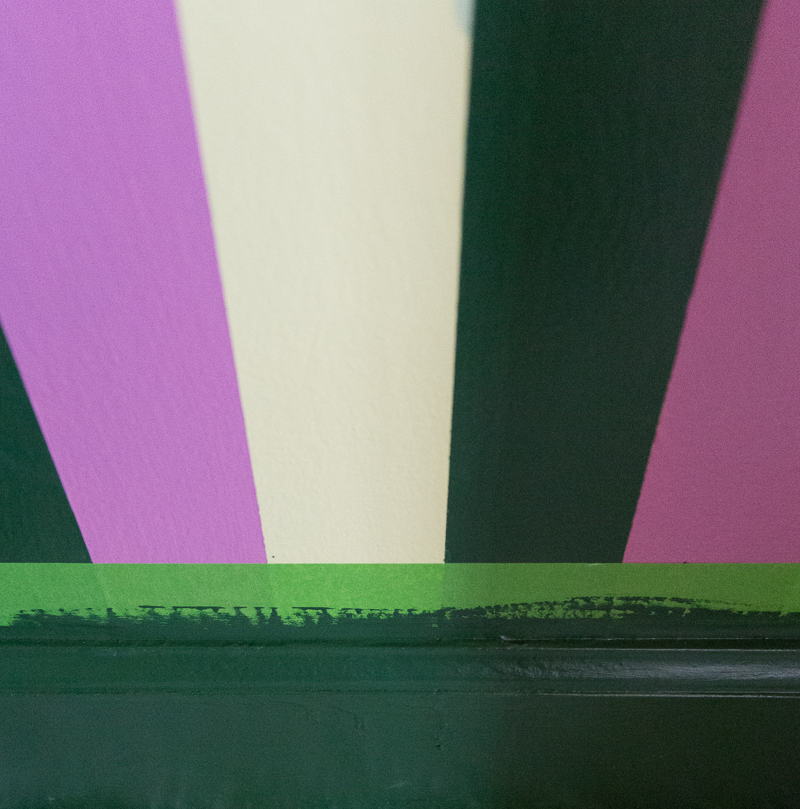
Then I went back and taped/painted the baseboards, and any touch ups.
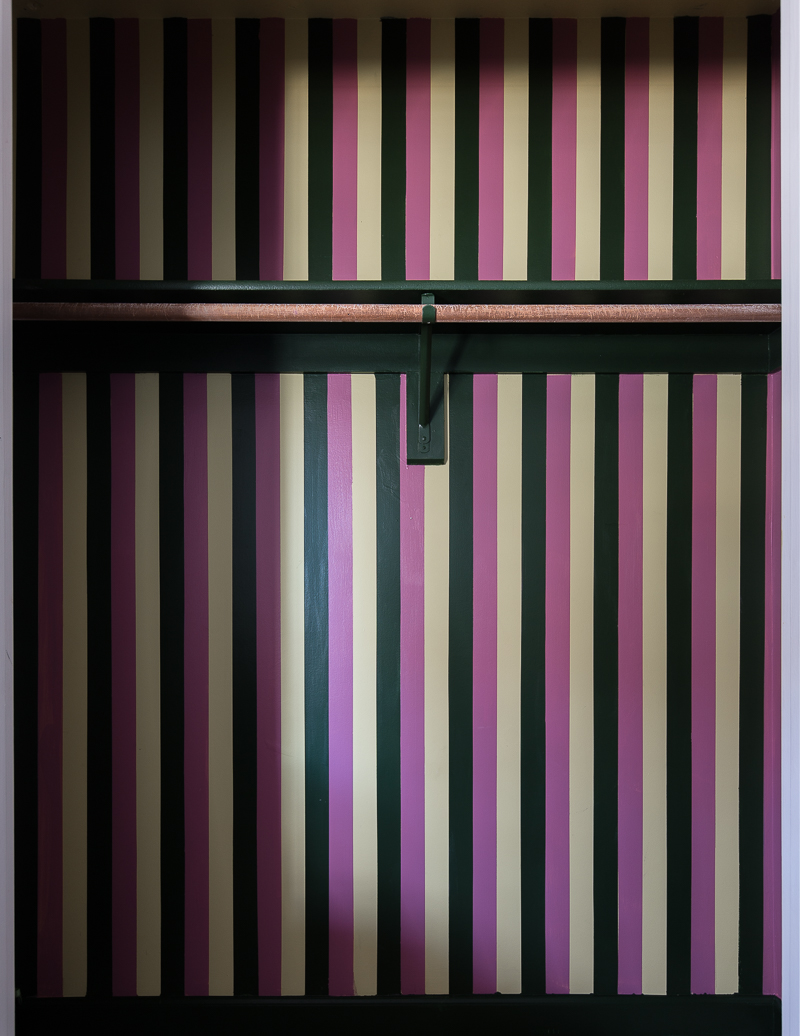
Styling Tips
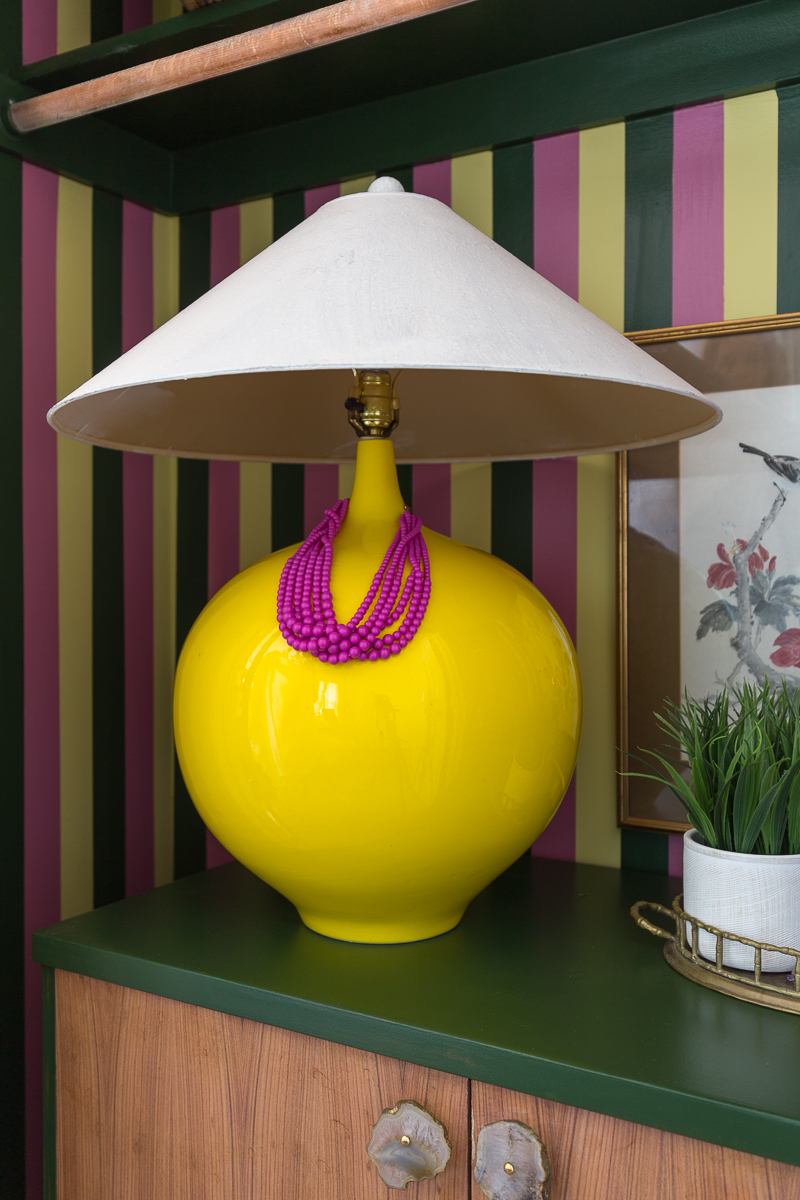
I wanted to take a moment to show how I styled this closet with color trends for 2022. You may have read my recent High Point Market Post, but blacks and grays are on their way out and brown is the new neutral. This warm color, in combination with nubby baskets, vintage art and a gorgeous vintage lamp help add sophistication to an admittedly youthful color scheme. I predict that we will see pops of Y2K colors this year, but a trick to incorporating them without looking like a 14 year old, is to pair them with rich wood tones, warm neutrals, and pieces with age and soul.
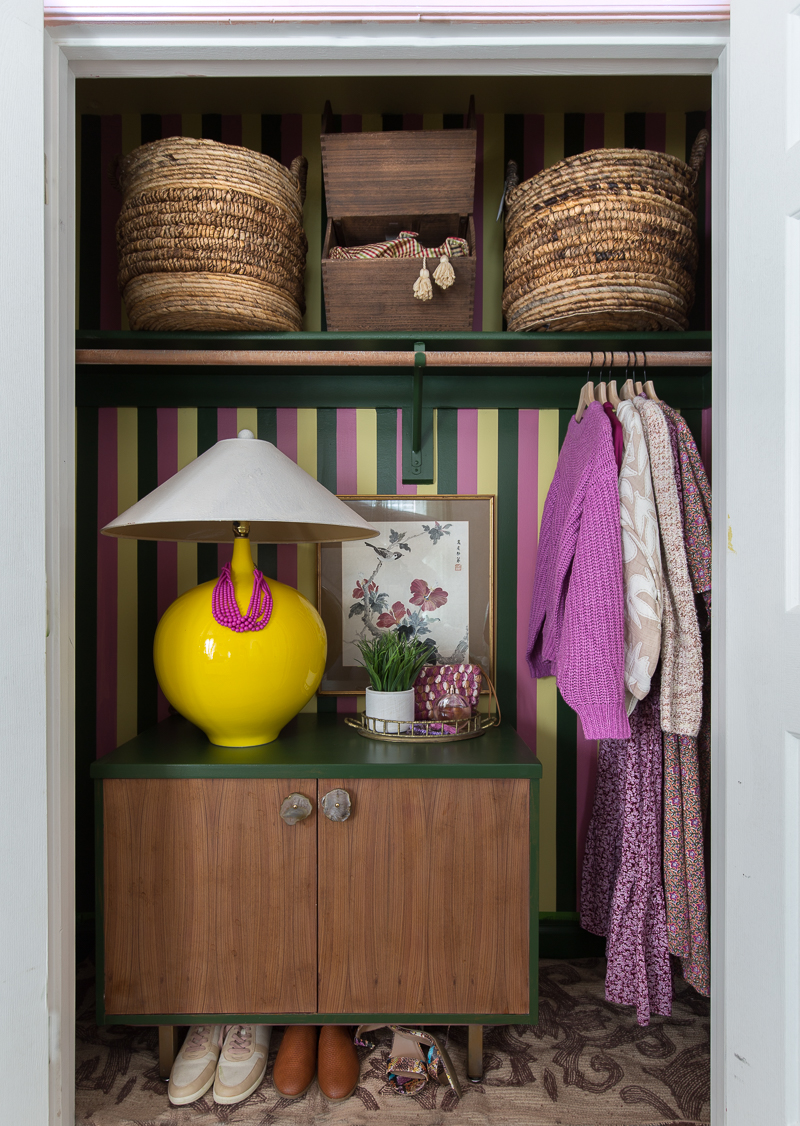
Thanks so much for joining me on this tutorial.

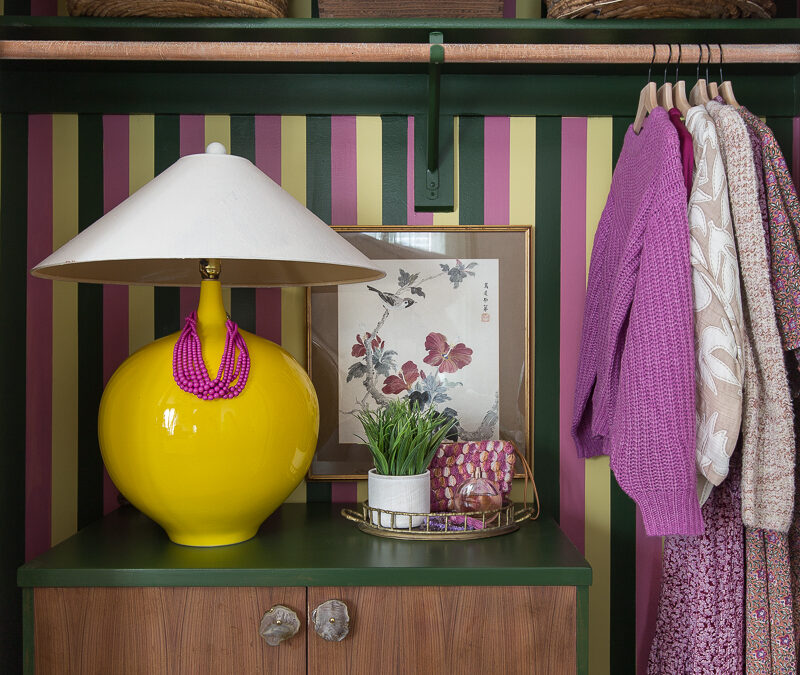


I’d love to know what these paint colors are! Its beautiful.
Hi! I used Farrow and Ball colors, but I’m not remembering which at the moment. Sorry!