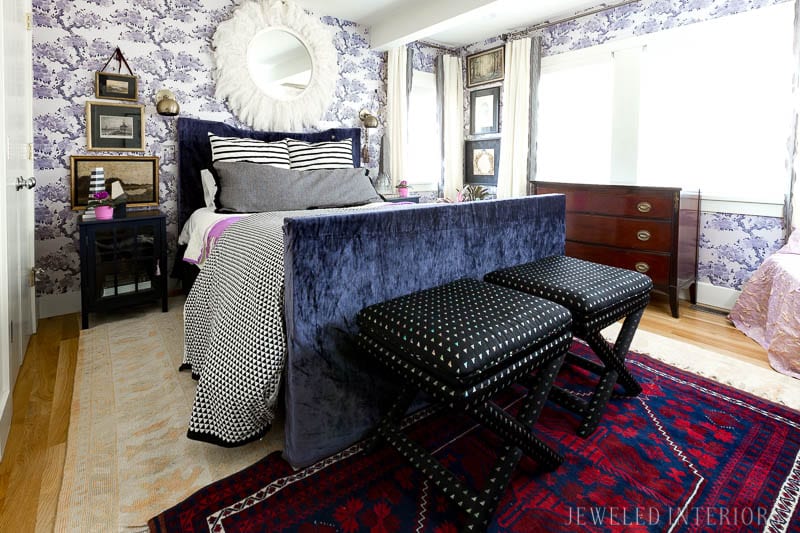
It’s DONE! After 6 months of living in this awesome rental I finally feel like the master bedroom is a reflection of my personal style. With a limited budget, a busy sewing machine, and some serious elbow grease this space looks pretty amazing (if I do say so myself :). Come Check it out and tell me what you think!
BEFORE
This is the bedroom as it looked the day we moved in this last August. Not bad, I know. It is basically a brand new home (the owner striped an old 70’s split-level to the bones and started from scratch). The paint, finishes, hardwood floors, and sconces were all very much appreciated us, the renters
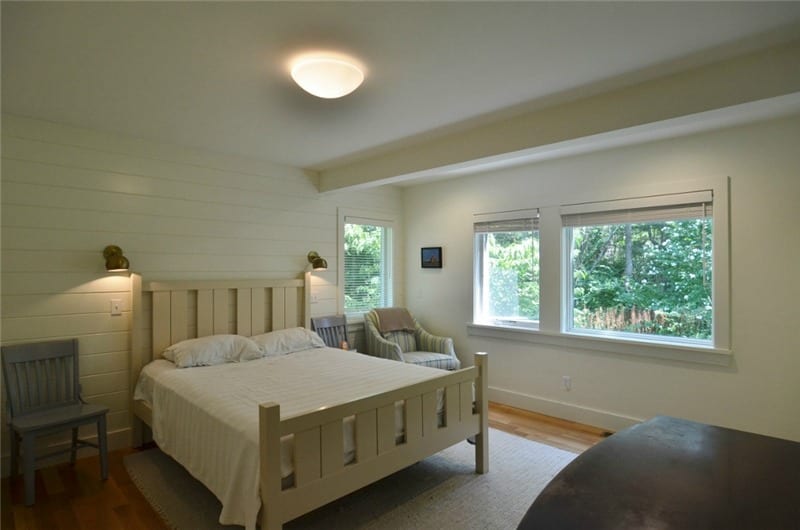
For personal security reasons, please contact me directly for the source of this image.
It’s not that there was anything wrong with this room, it’s just that I wanted it to be a reflection of my style. It was time to apply a little “Jewel Polish” to the space. CLICK HERE to see the the progress shots and the various looks the room has had over the last 6 months.
AFTER
Ta-Da!
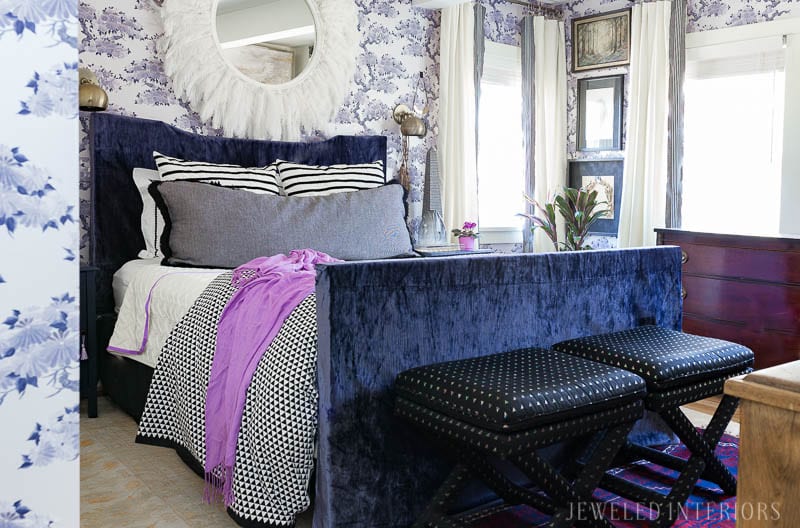
I’d like to give a huge thanks to Tempaper Wallcoverings for sponsoring the removable wallpaper in this post. I am a BIG fan and the opinions are 100% my own!
Wallpaper
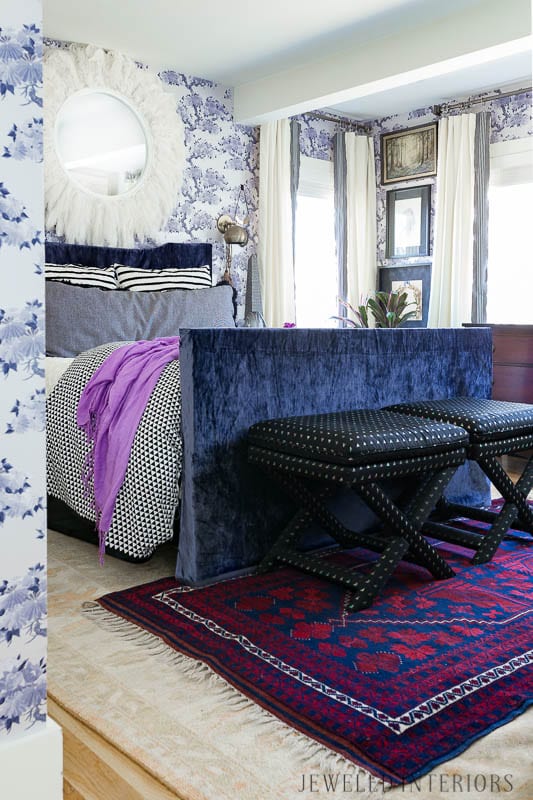
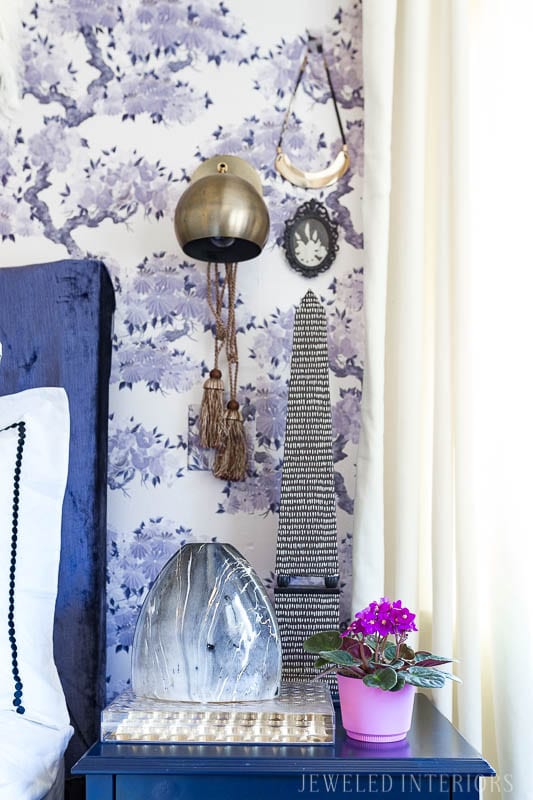
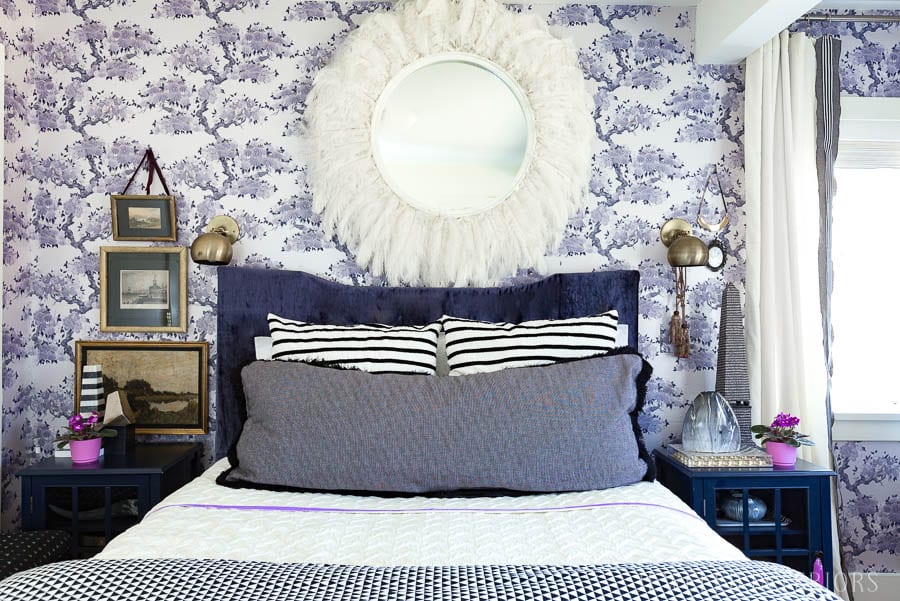
The most obvious difference in the room was the addition of Tempaper Removable Wallpaper. After using this product in my tween girls’ bedroom last month I knew exactly the wallpaper brand I needed to cover the shiplap in our master bedroom. I narrowed my selection down to my three favorites and did a happy dance the day the two rolls of Kimono Silk Tempaper arrived on my doorstep.
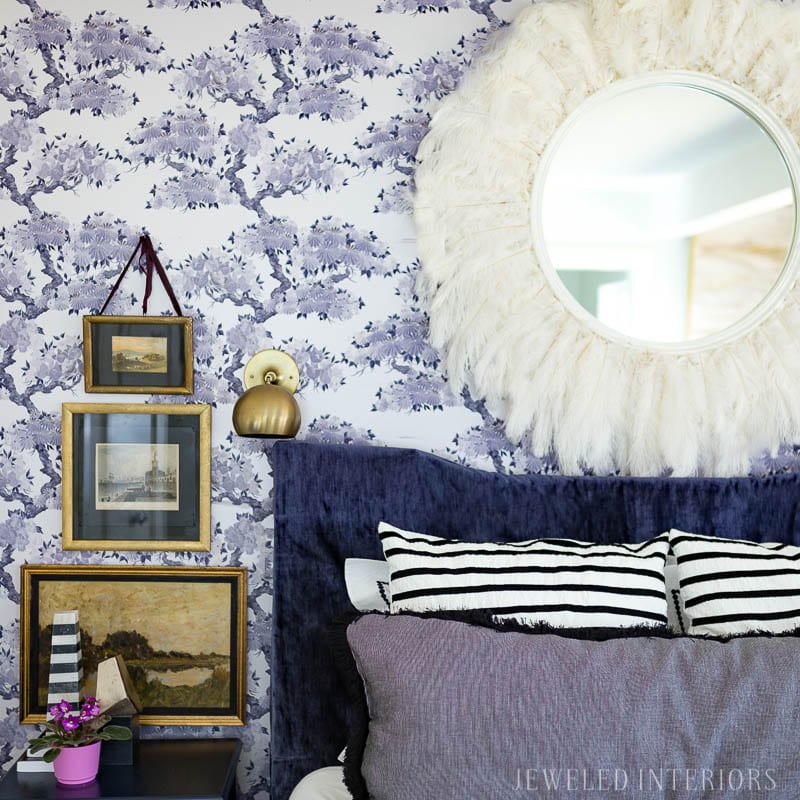
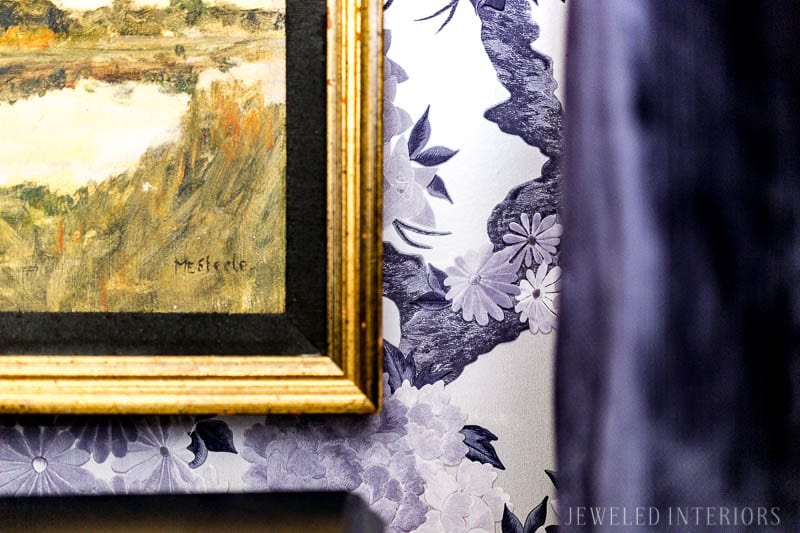
Here are some of the things I love about this Tempaper selection:
- It is easy to install (I will say that it is even easier to hang on flat walls than it is on shiplap ? 🙂 See HERE for installation tips
- It is completely removable (perfect for a 10 month rental!)
- It is repositionable. There was no pressure for me to get it right on the first attempt. I could just unstick the giant vinyl sticker and try again.
- This pattern is a classic choice and it made for a “grown-up” version of my tween girls’ bedroom.
- With one afternoon/evening’s worth of work I had I added instant personality to the space.
- It has a sheen, but it’s not overpoweringly shiny. In fact, I only notice the sheen at night when the sconces are shining on the wallpaper.
- It has a purple undertone, but it isn’t PURPLE (though Ultra Violet IS the color of the year :). In fact, I will say that it is a little less purple in real life than it is in a few of my photographs.
- It just feels fancy. Nuff said 🙂
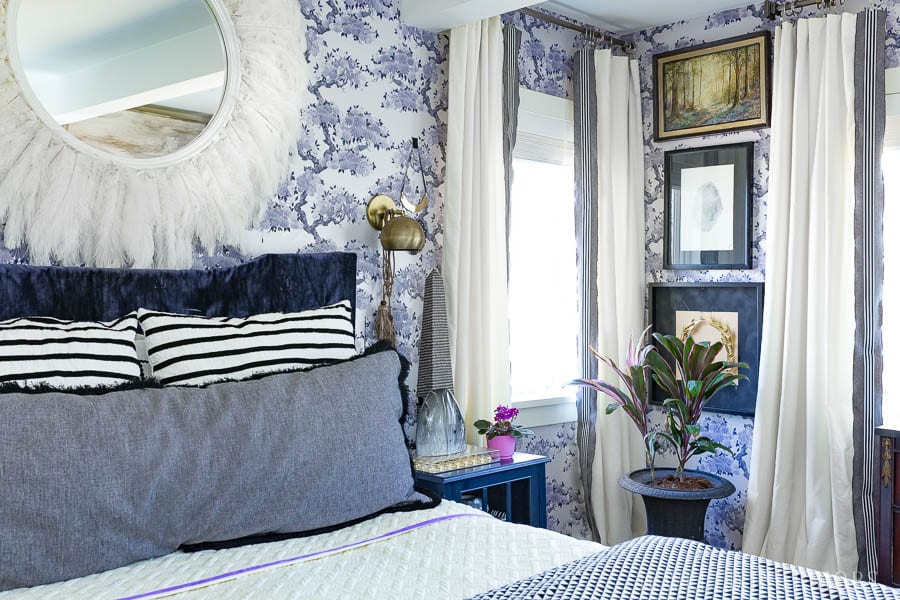
Vintage Art
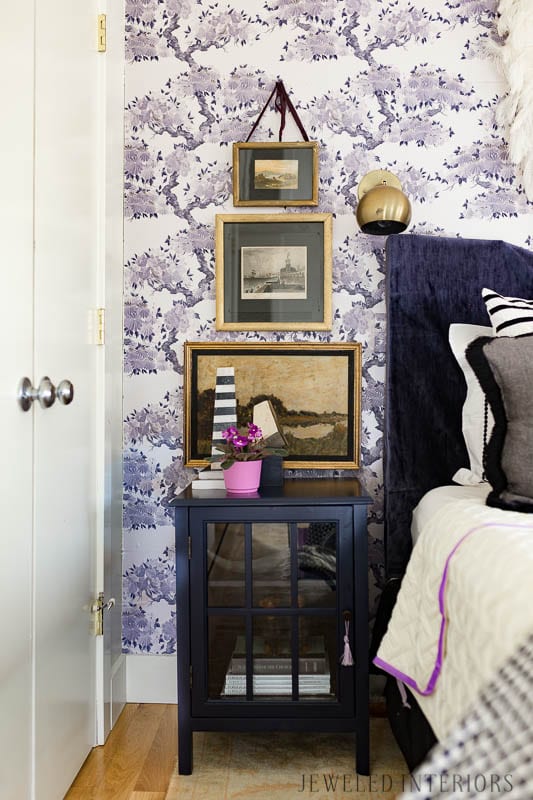
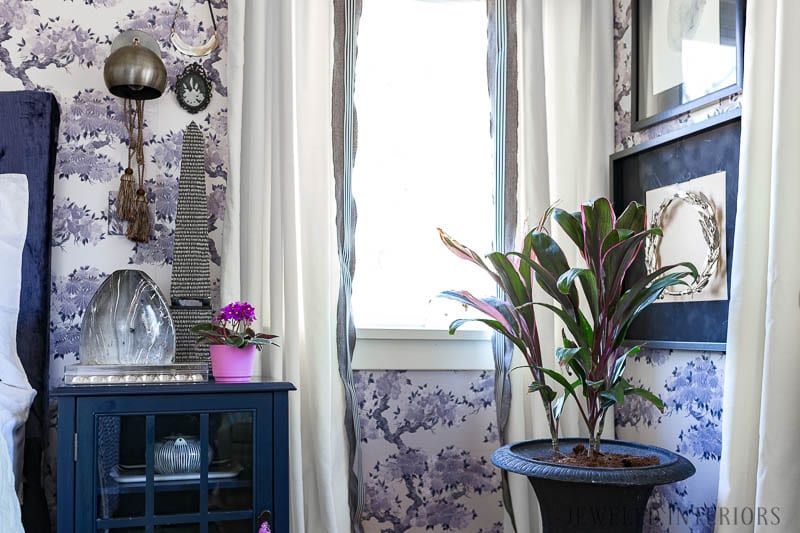
I might have a thing for old art. If you asked my movers they would tell you that I had over 40 boxes of art/mirrors last summer. If you ask my husband he might bring up the fact that we have multiple piles of art and frames shoved in the guest bedroom. If you ask me, well…I would argue that it’s pretty and I have photographic evidence that I’m correct 🙂
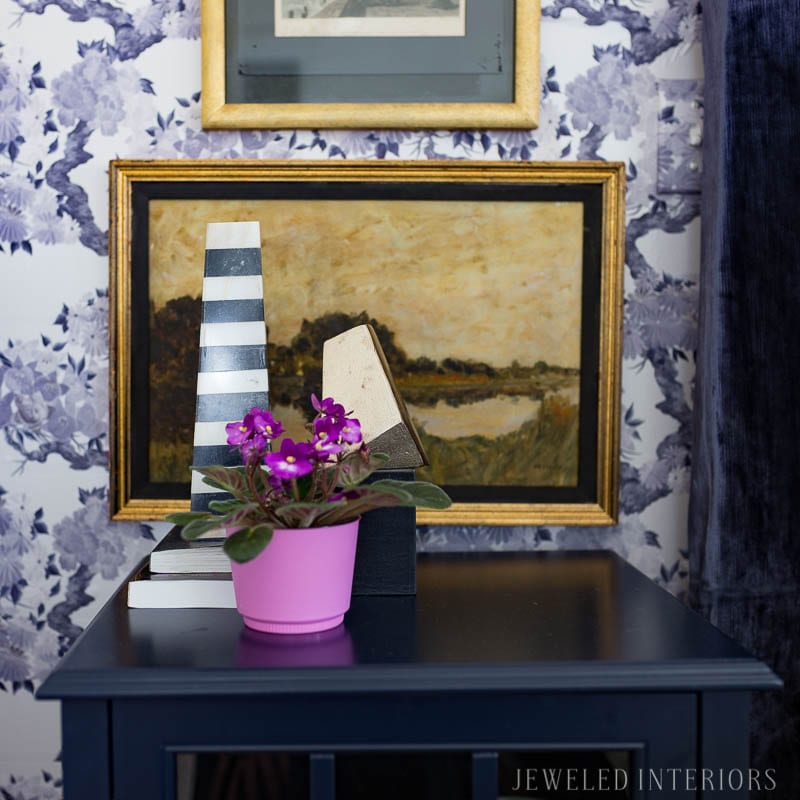
Sometimes I buy art at thrift stores but the majority of my collection was gathered during our assignment to England. I would scour the “boot sales” and auctions for the perfect pieces at the perfect prices.

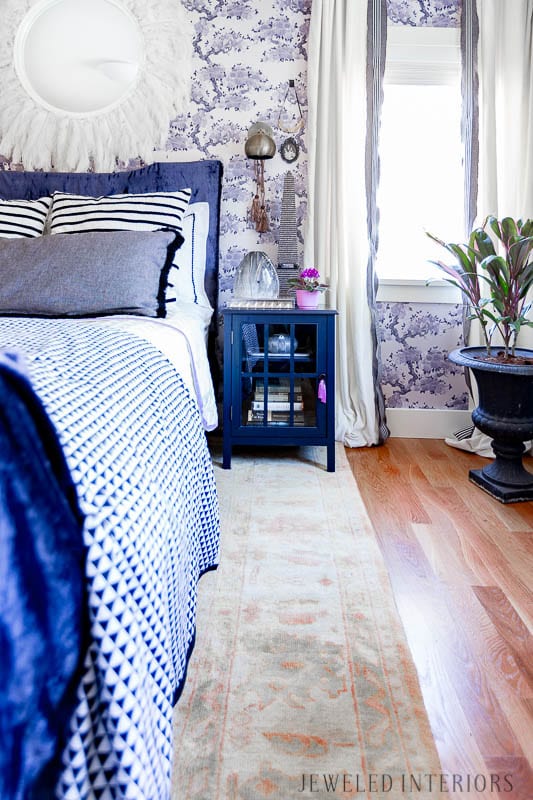
These tchotches were collected at thrift stores and bought off of Craigslist over the years. We won’t ask my movers how many boxes of tchotches I had during our last move ?.
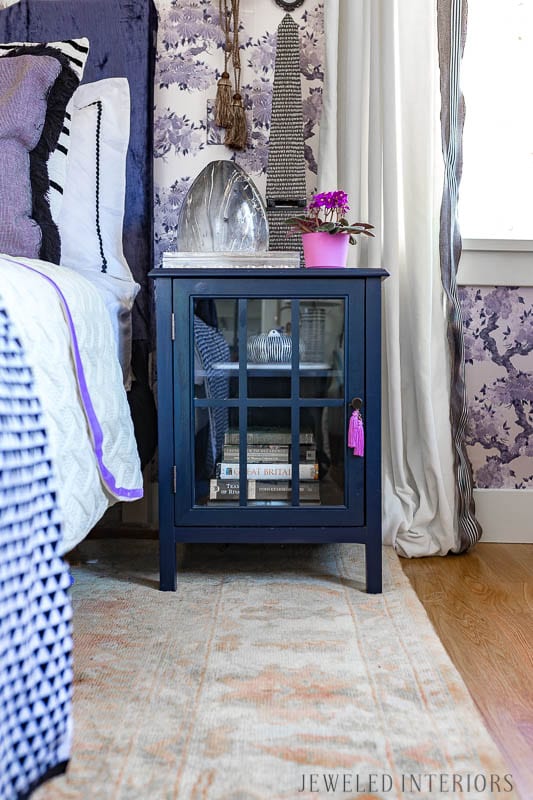
Bedding
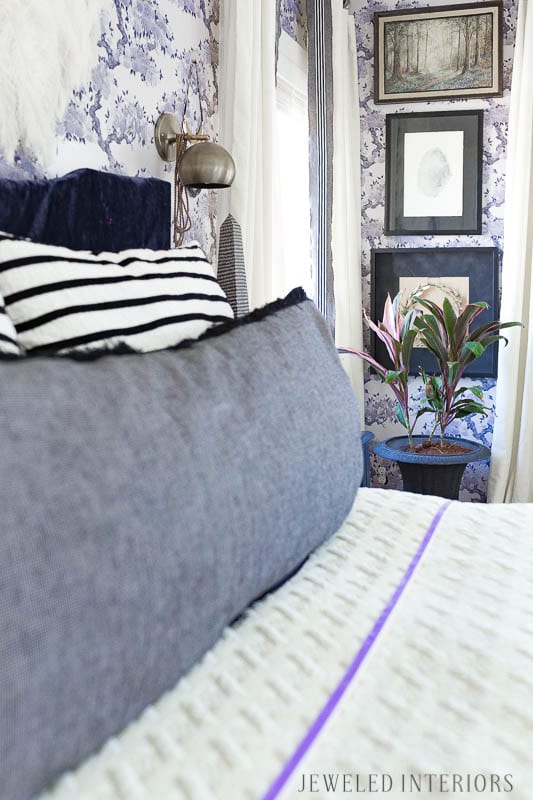
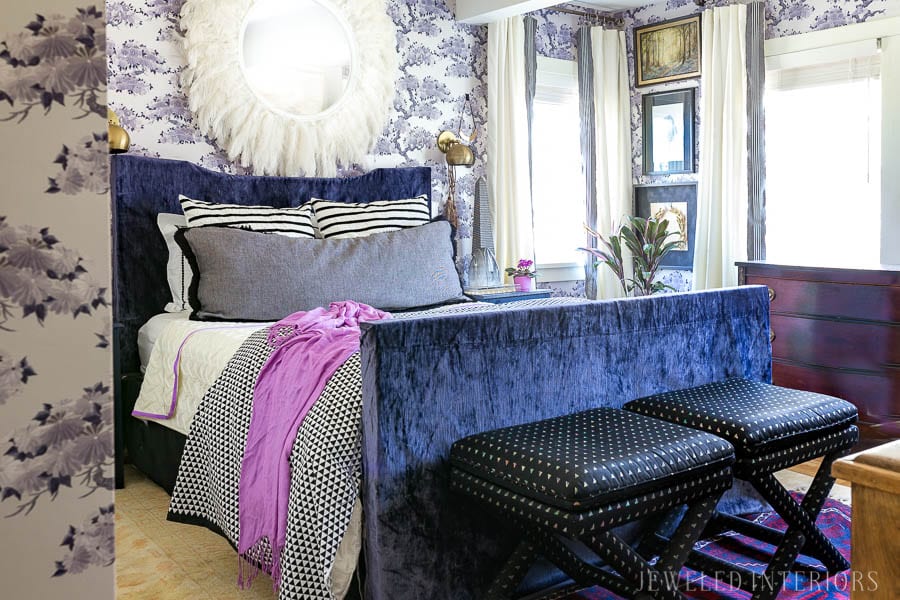
Here’s the deal. Floral wallpaper and long drapes can feel a little formal. Now don’t get me wrong…I LOVE formal. It’s just that there is a fine line between formal and stuffy. To keep the room fresh and youthful I opted to throw in some preppy black and white stripes. What do you think? Good choice, eh?
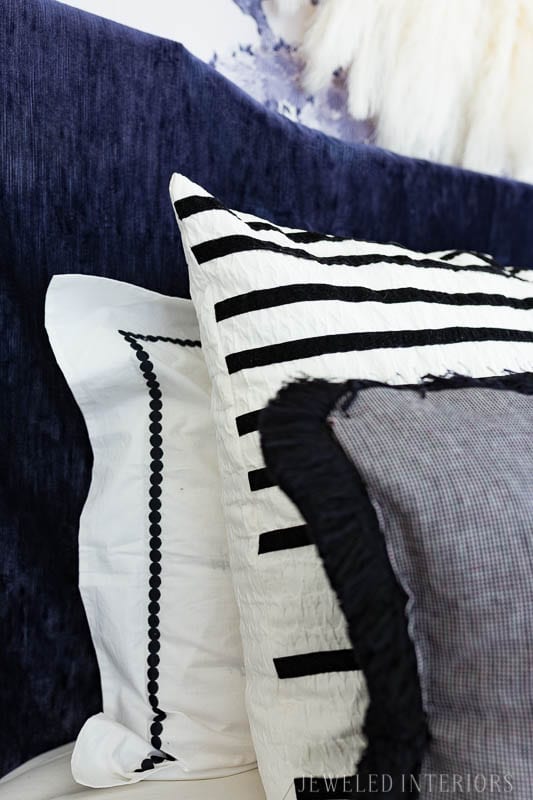
Did I go to the store and buy said black and white bedding? No way! Where is the challenge in that?!? I took pillows I already had and purchased some velvet ribbon from Amazon. After what felt like three days of sewing my guts out, I had perfectly custom $12 pillows.
I sewed the long black pillow with fabric from my stash and trim that I purchased at the fabric store.
Mirror
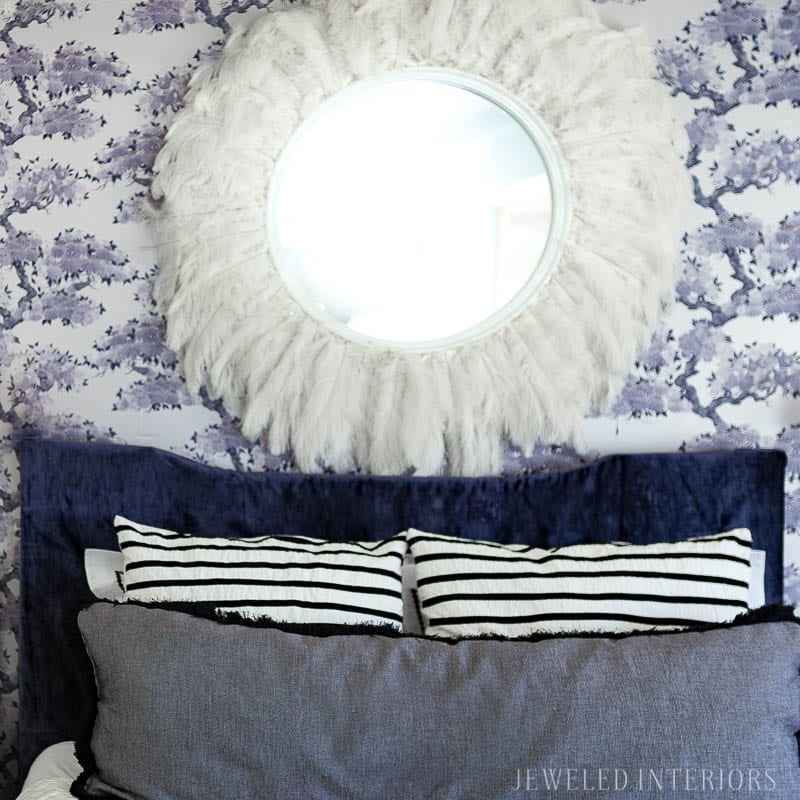
I DIY’ed this mirror by adding ostrich feathers to an old craigslist mirror I bought during our last assignment. I guess my movers would tell you that this is one of my larger 40 art/picture boxes 🙂
I sincerely love the way that it adds a layer of soft texture to the wall. A friend asked me how I planned to dust it…um…maybe with a feather duster? 🙂
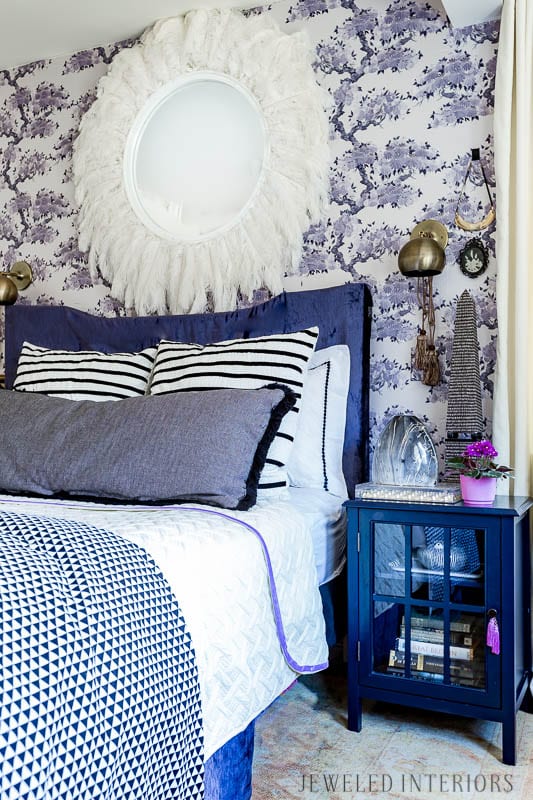
I will write a more detailed post detailing the DIY steps to making this mirror if you would like. It only took about half an hour.
Photography Cred:
Look closely ?. Do you see two crazy catz? Yep. That cute gal is my dear friend Miss Amy Greene (IG handle: @contactamygphotography). She is the award-winning woman behind the camera and she has MAD skills. If you like amazing photography go check her out! You will be blown away!
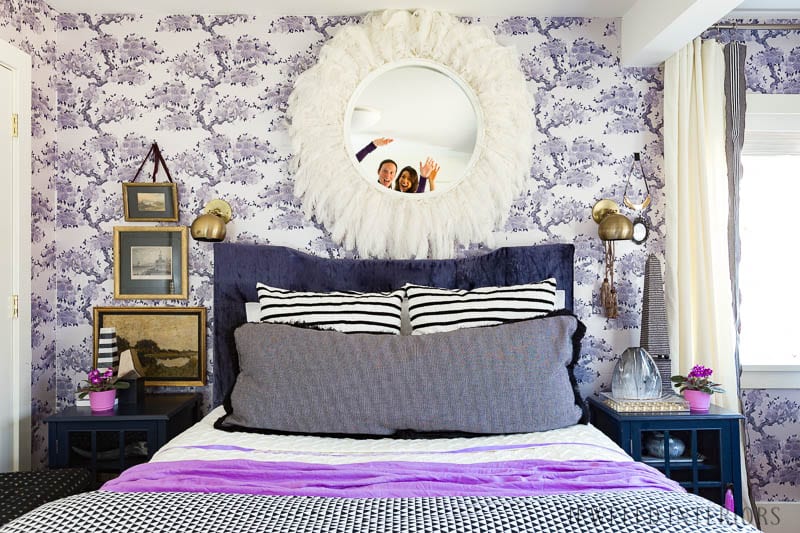
Thanks also to my husband and Kirk and Cynthia Davies for their help on this room. I couldn’t have done it with out you.




Gorgeous bedroom!
Thank you!