MAN ALIVE! These room make-overs are a LOT of WORK, but I’m THRILLED with the results in my eclectic-glam tween bedroom. I can’t wait to show you how it turned out. Prepare yourself for an unexpected mash-up of 1880’s and 1980’s…You have to see it to understand…
Photo Cred to Amy Greene at Amygphotography (IG Handle: @Contactamygphotography).
Some of the products in this post have been sponsored, but the opinions are 100% my own.
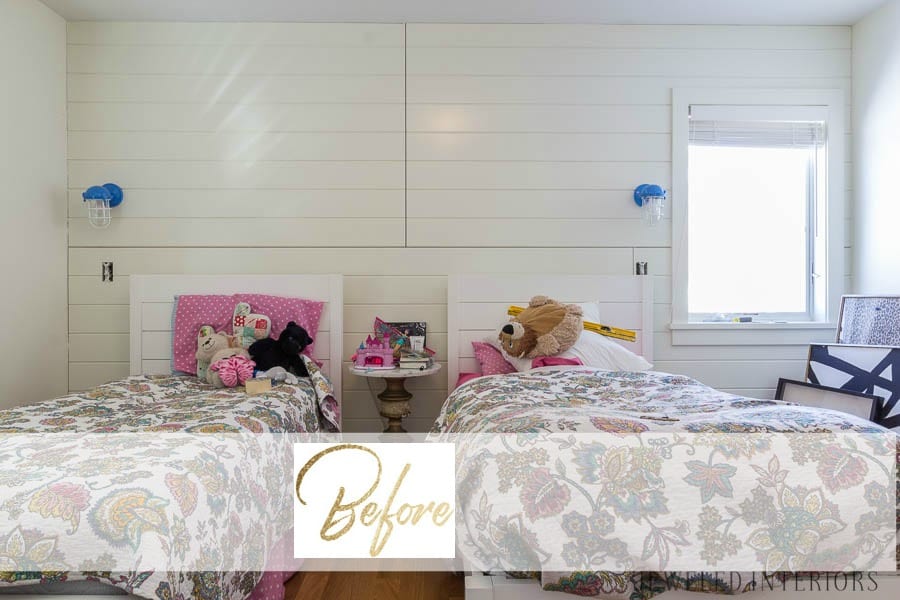
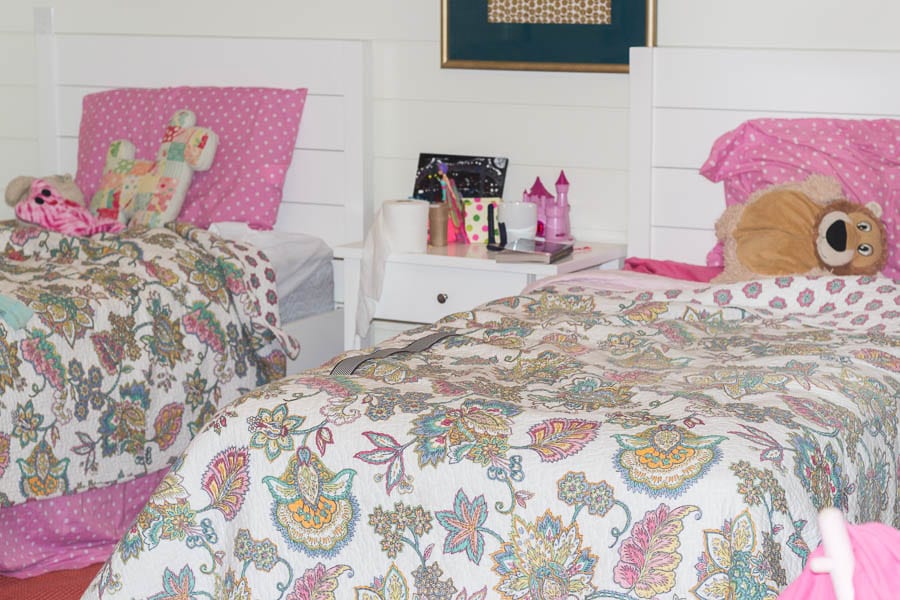
BEFORE
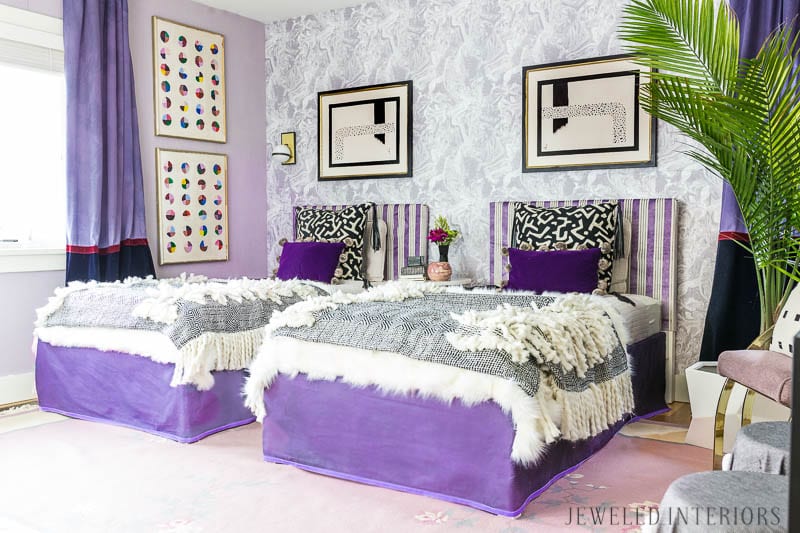
AFTER
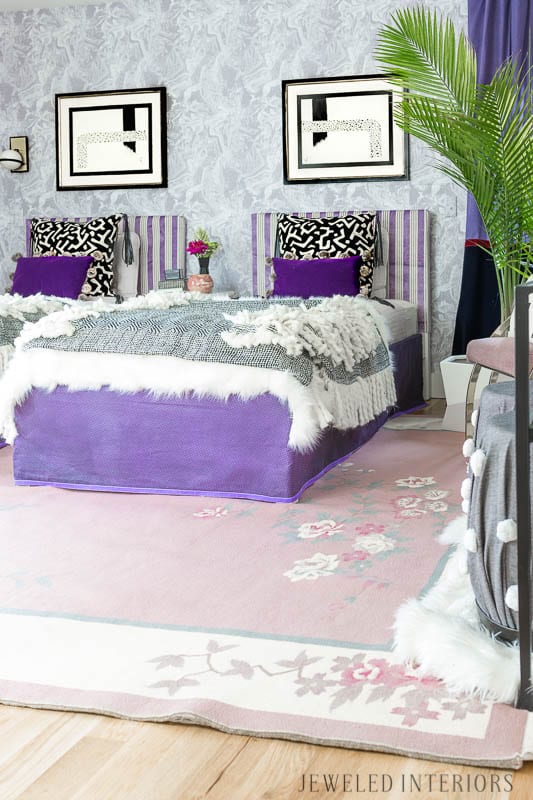
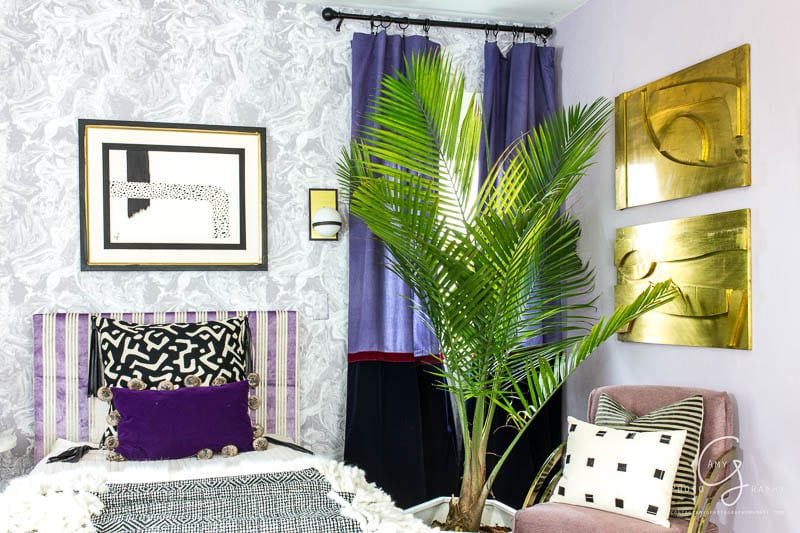
The Deets
Tempaper Wallpaper
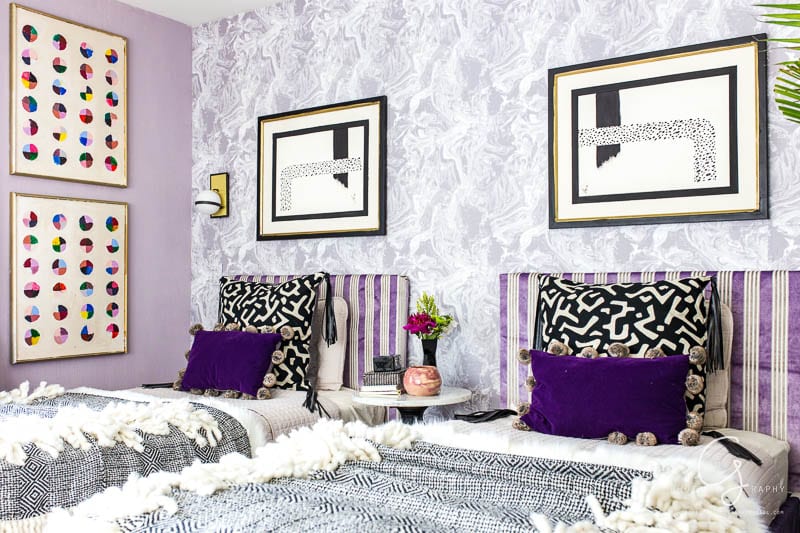
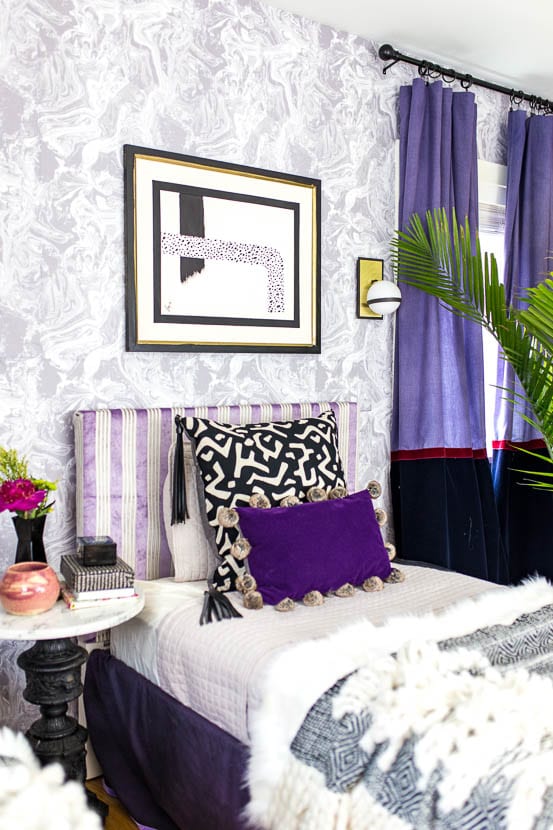
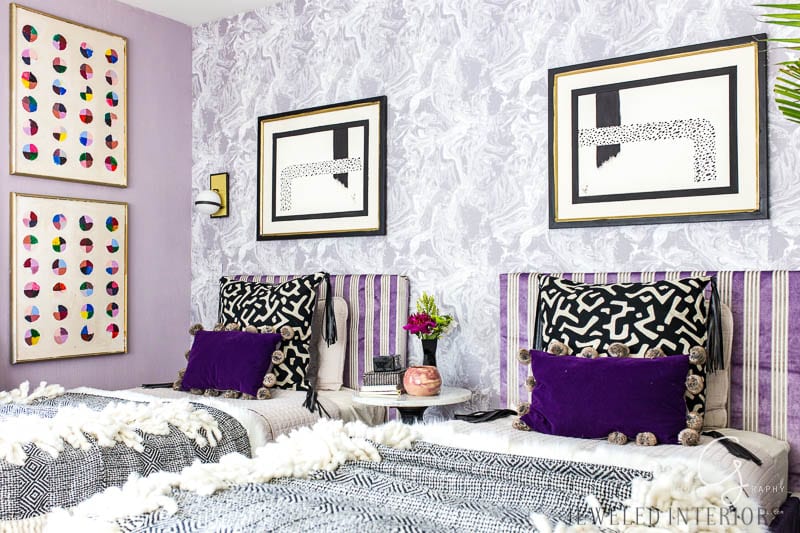
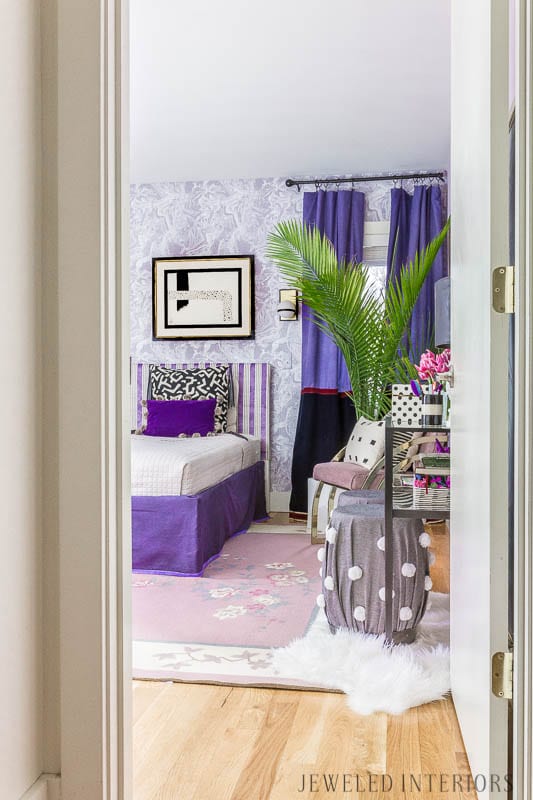
The biggest change in the room was the addition of this Tokyo Tempaper wallpaper in Ash. Not only was it relatively simple to install, it went right over the top of shiplap! Can you even believe it? The best part is that it will come right down when we move in 5 months because it is like a gargantuan piece of matte vinyl. Will I be using this product again? You’d better believe it!
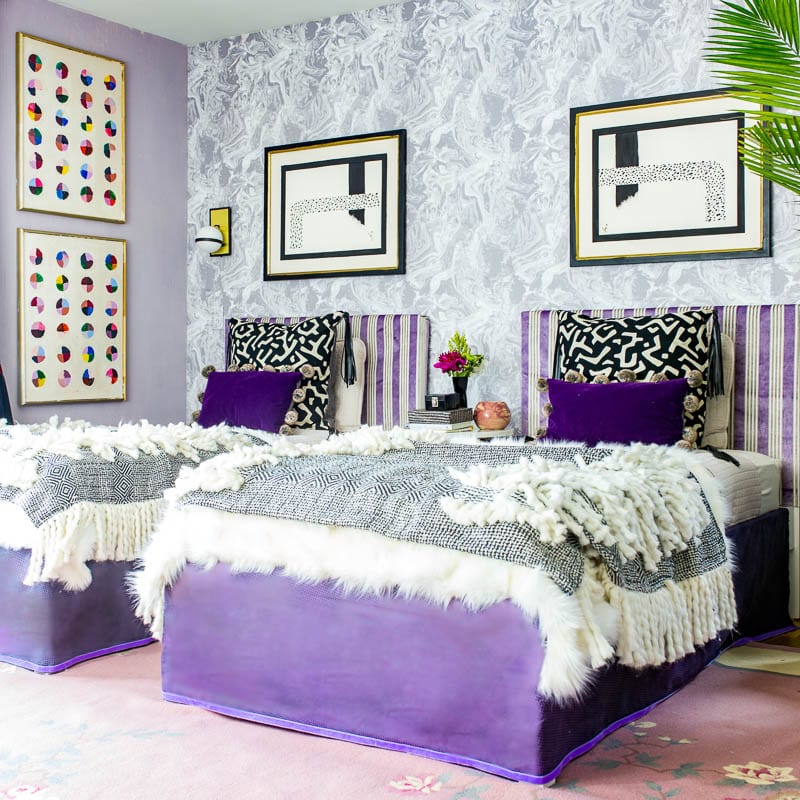
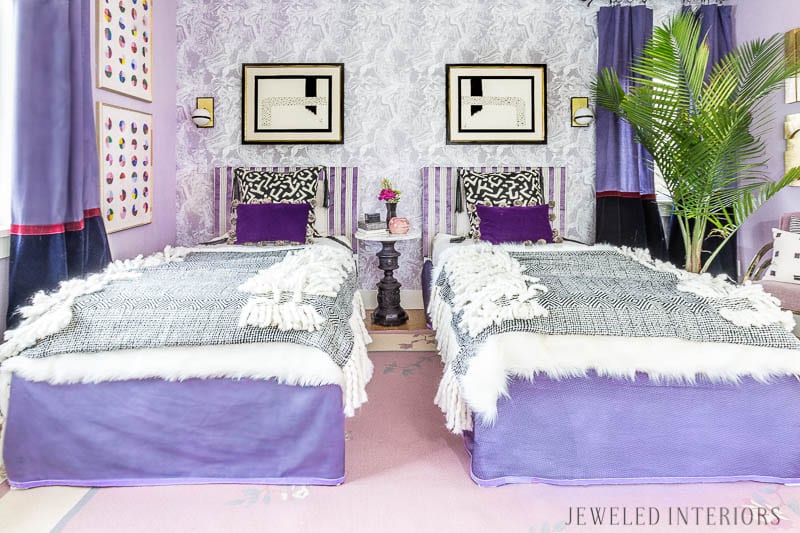
Paintable Wallpaper
You can see HERE that after the installation of Tempaper Wallpaper that the other walls seemed a bit bare. To solve this problem I bought paintable/removable wallpaper from the Home Depot. It was a lot of work to paint AND wallpaper a space, but luckily it only took two rolls to do the rest of the room and the results made it totally worth the extra effort.
The Sconces
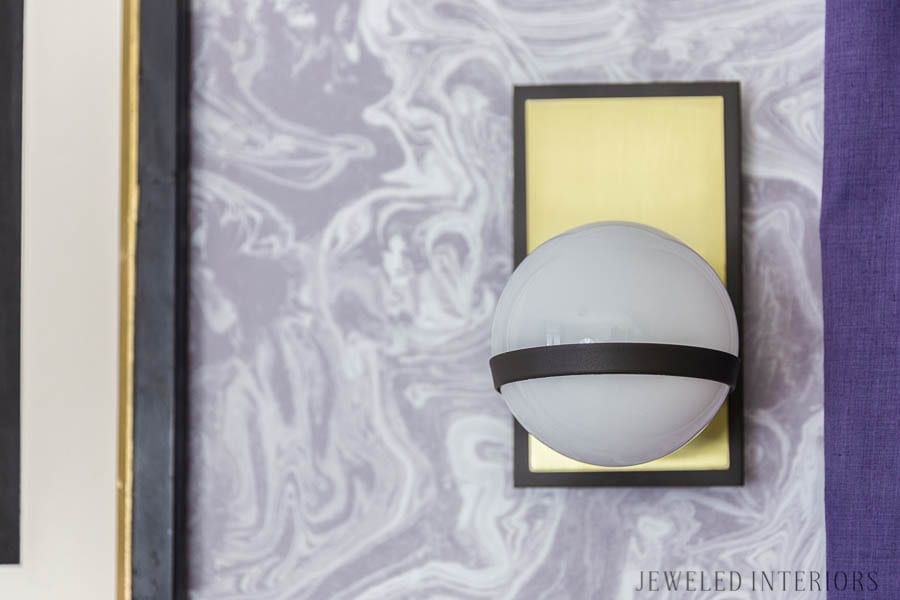
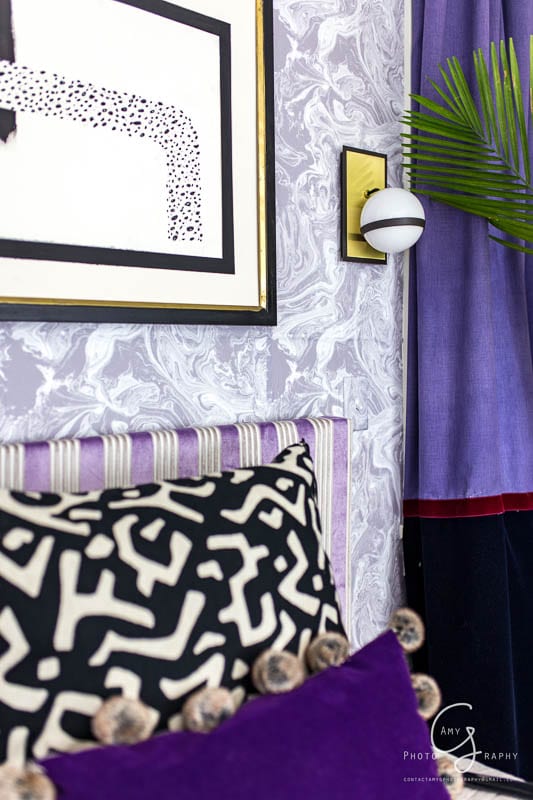
Can I just say….I LOVE THESE ACE SCONCES from Lamps Plus!!! They are the PERFECT choice for this room. I enjoyed working with Lamps Plus and couldn’t be happier with this product. Want more details about why I picked the set of sconces? I will be writing a blog about it tomorrow.
Vanity Area
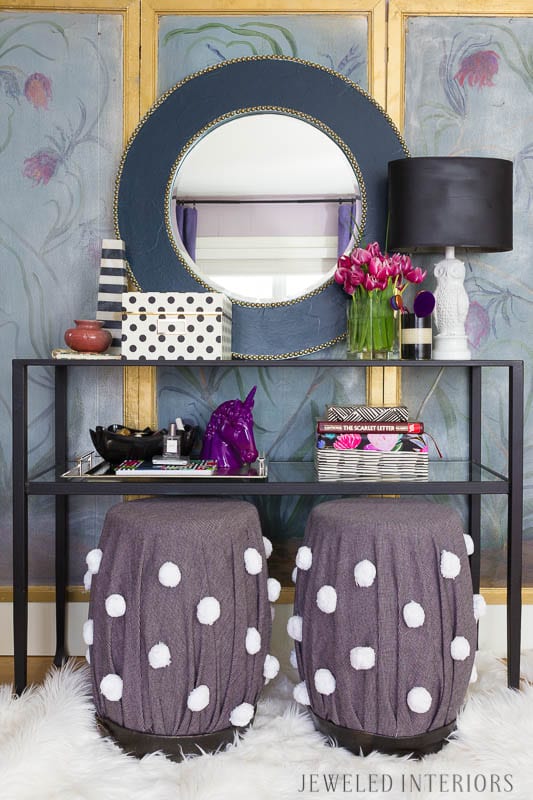
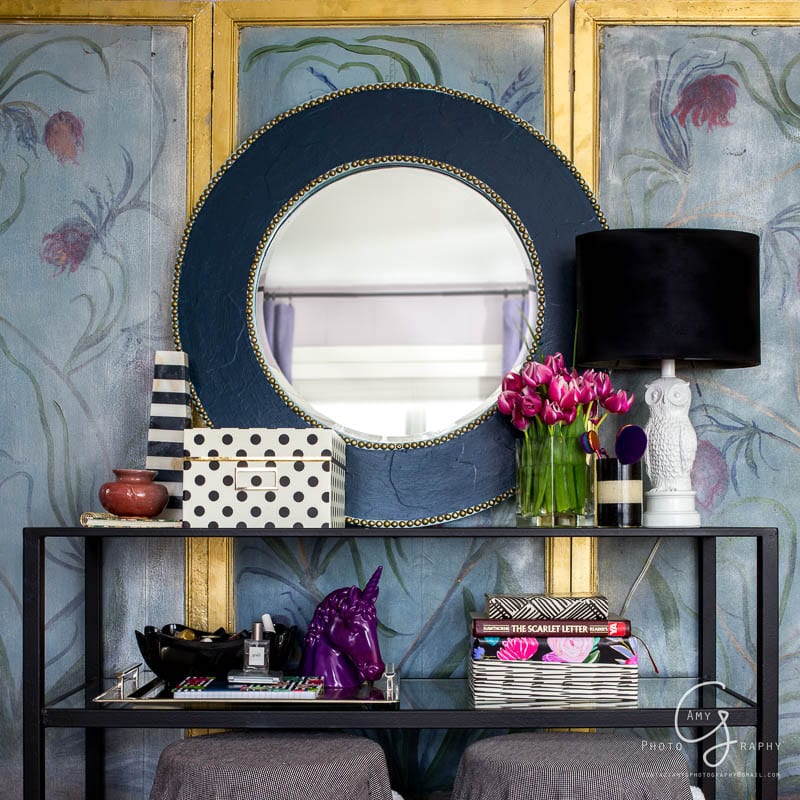
As a kid I always wanted a little vanity in my bedroom, but never had one. I thought it would be fun to give my girls a little space to store their jewelry, make up, and treasures. After searching for craigslist for hours I realized that we had this piece of furniture sitting around and it fit the bill perfectly.
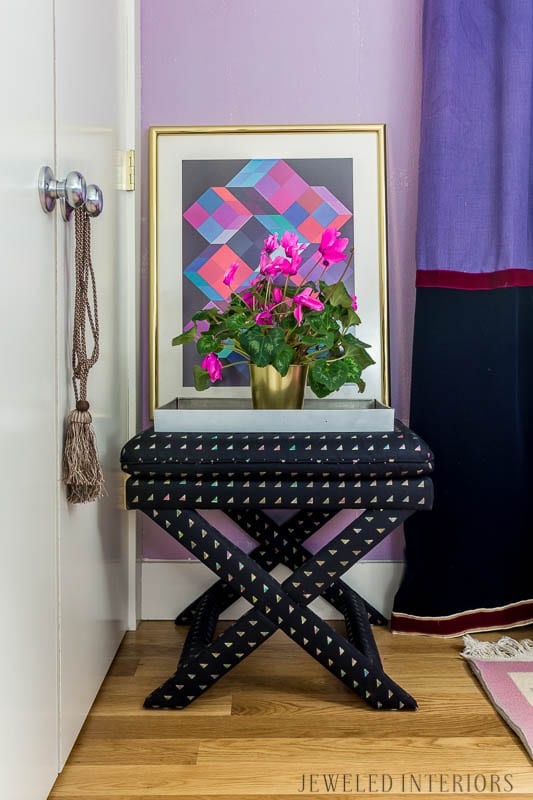
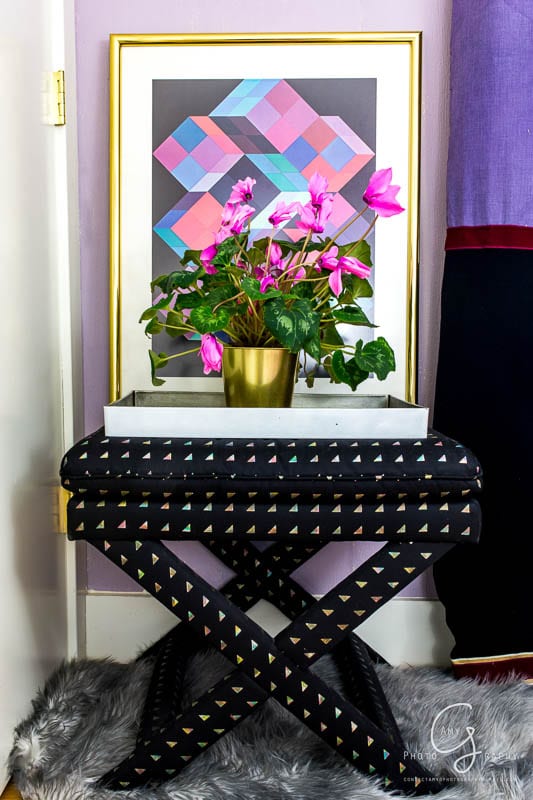
I DIY’ed both the chinoiserie screen (tutorial coming soon) and the cute STOOLS with fabric and paint supplies I had on hand. The combination is surprisingly unexpected and fun.
The Night Stand
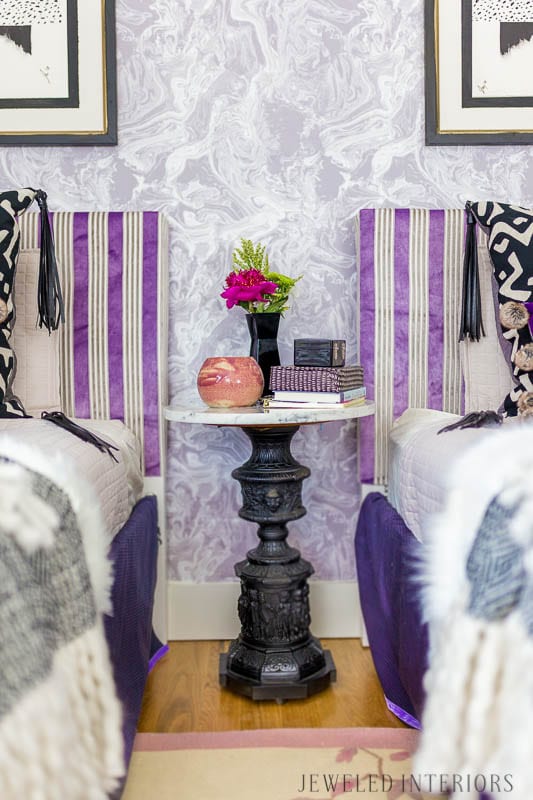
I don’t know what it is about this nightstand, but I’m crushing on it for sure. You should see just how bad this $35 Craigslist purchase was BEFORE, but a can of MATTE BLACK spray paint gave it a fresh new life.
Bedding
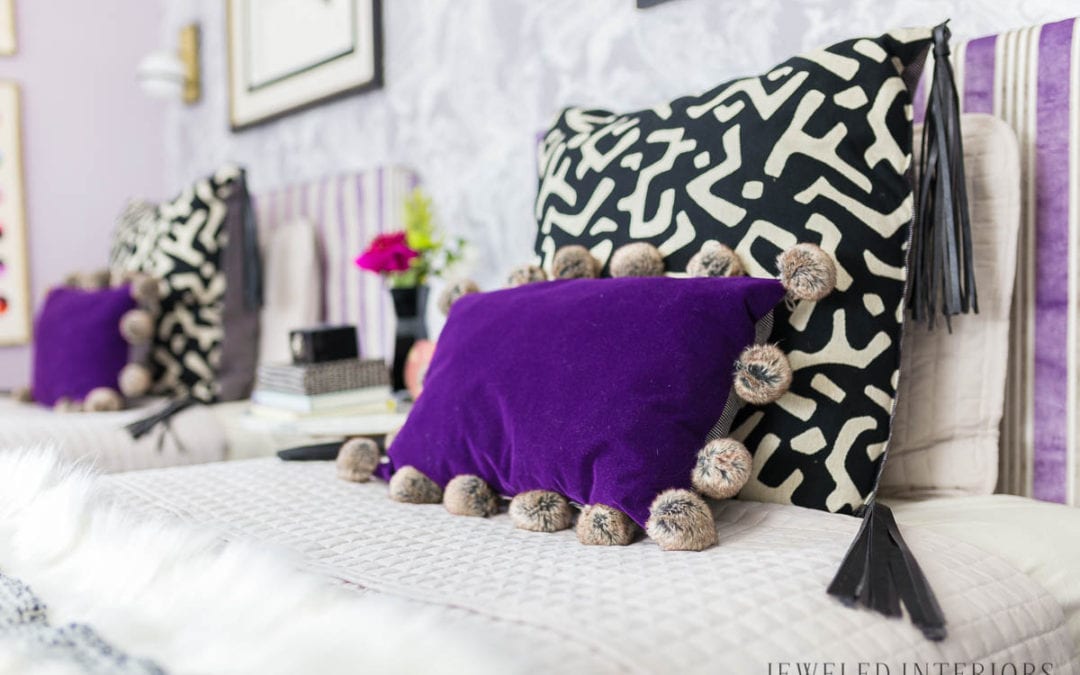
Folks, it was time…It was time to update their bedding. I opted to go with a neutral coverlet from Wayfair and dress it up with throws from Homegoods. I feel like the bohemian throw blankets added just the right amount of whimsy to this tween girl’s bedroom.
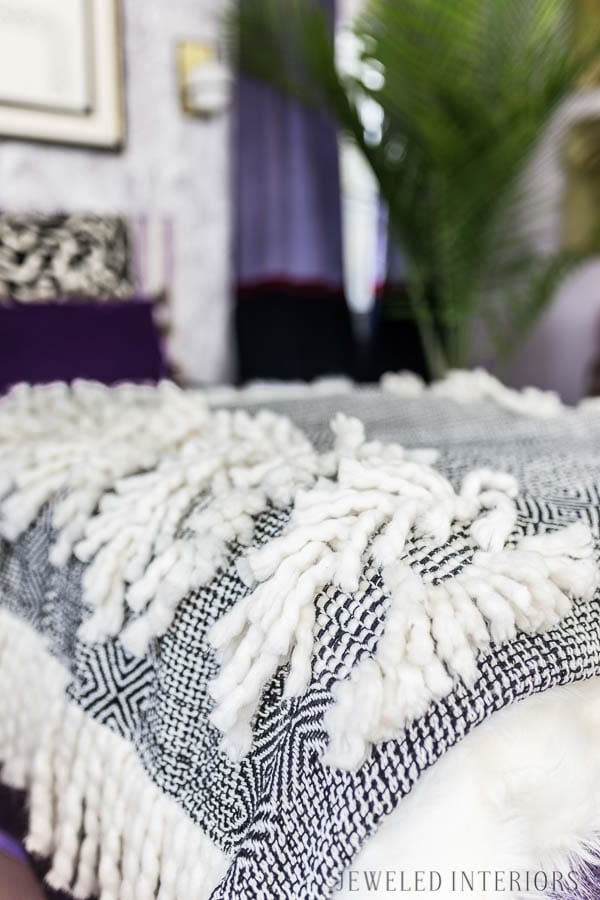
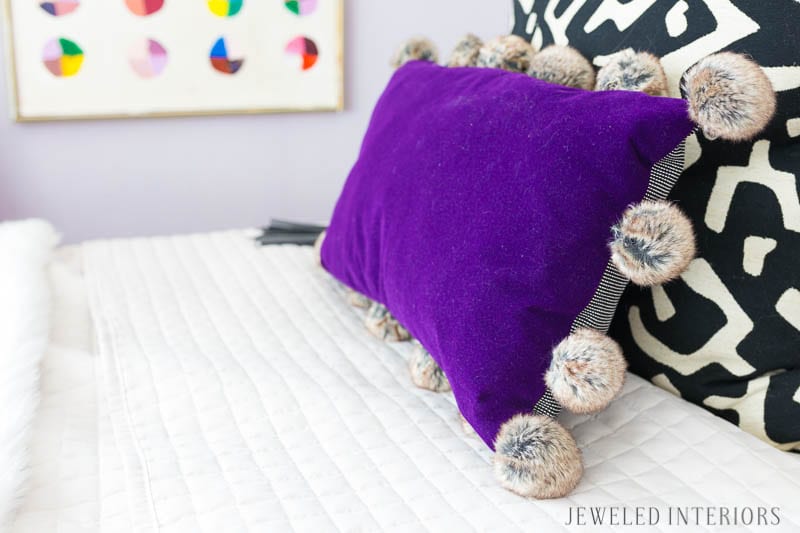
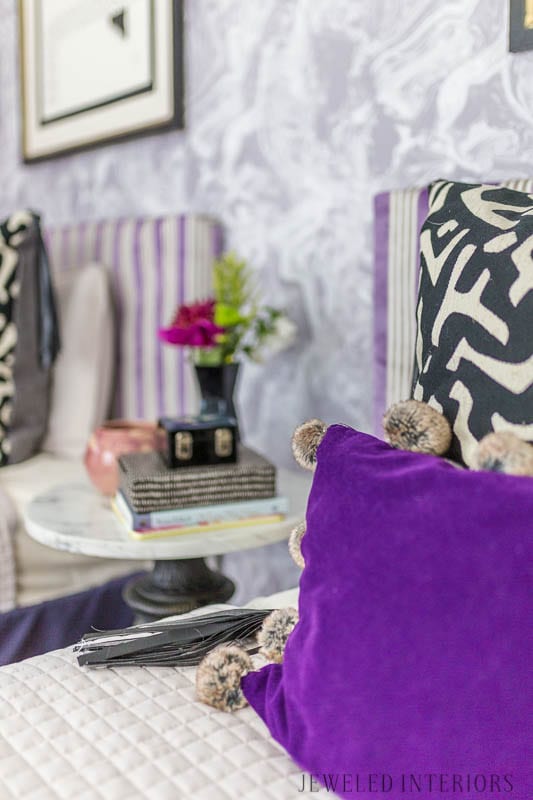
Those pillows? Yep, I sewed them…and they took forever! For the purple velvet beauties I dipped into my expansive fabric stash and found the perfect pop of purple velvet. I then embellished them with fur poms which, honestly, were falling off of pillows from our Master Bedroom.
As for the large pillows, I’m a big fan of this P/Kaufmann fabric and have been waiting for just the right project to use it.
The Vintage Rug
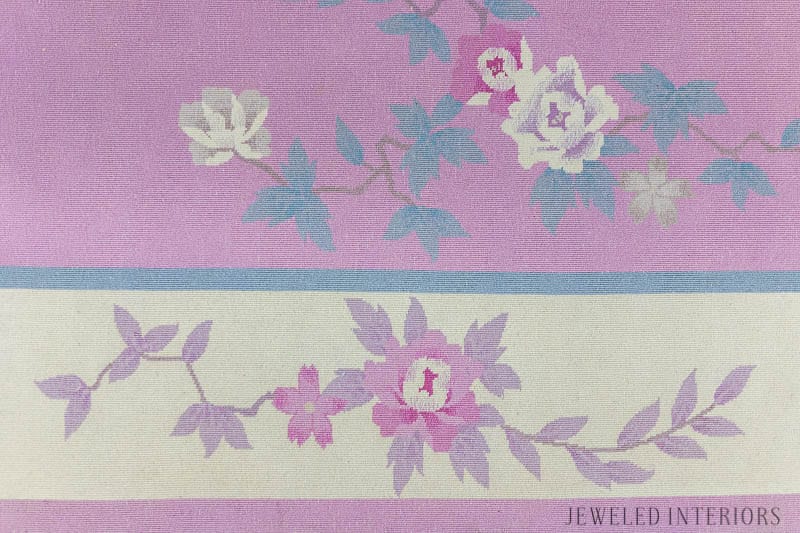
I scored this 9×12 vintage wool rug for $60 on craigslist. Even after $120 in cleaning fees it is a steal…To be honest with you though, I don’t know that I will ever buy a used rug again. It helped a little to take it to the cleaners, but I think I would prefer the cleanliness and piece of mind that comes with buying new. Lesson learned.

The Art
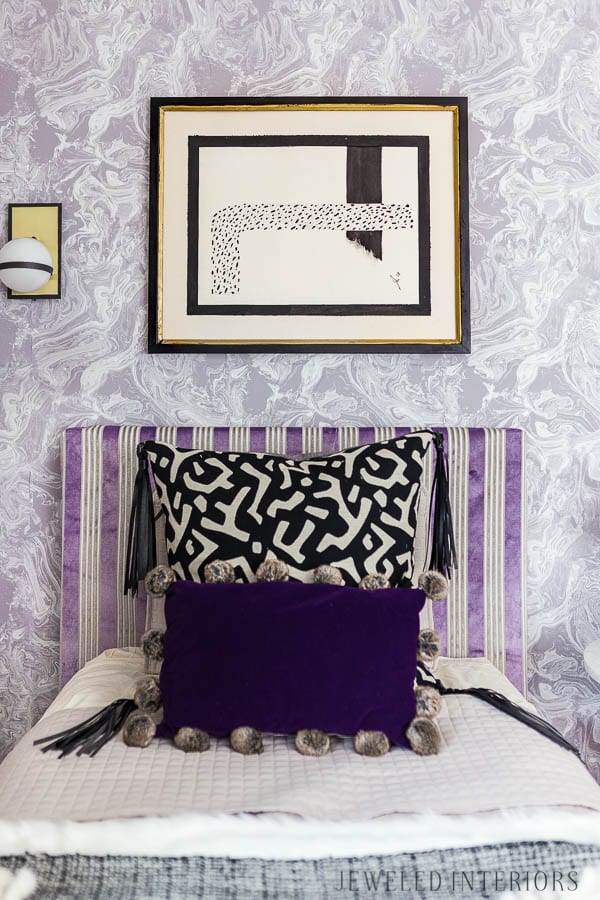
Oh the drama of the art…I originally had planned to use some black and white art I painted for my living room in my last house. As I simmered, however, I realized I was so “over” this style art and needed something new for our tween bedroom. I spent Friday painting the color palate styled art you see hanging to the left of the room. Once I hung it above the beds, however, my husband’s reaction was less than enthusiastic. After phoning a few friends I came to the conclusion that indeed this was not the right choice to go above their beds. SOOOOO, yesterday…the day of the photoshoot, I came up with the current solution. Using thrift store frames, nice art paper, and slew of black paint, spray paint, and permanent marker I whipped out these lovelies. I have to say that I’m beyond pleased. They are just the perfect mix of black (to anchor the space) and 1980’s (to keep things fun).
A huge thanks to Stephanie, from casawatkinsliving for hosting this fun New Year New Room Challenge. Don’t forget to check all of the other fun room make overs. I can’t wait to see them.
Thanks also to Amy Greene for the pics. She is a talented photographer who is on to great things. Photo Cred to Amy Greene at Amygphotography (IG Handle: @Contactamygphotography).
Thanks also to my friends Sam, Kath, Angie, and Jess for being my sounding boards on this and many other projects.
Thanks to my husband and children for putting up with my crazy.



it’s gorgeous, jewel! i love the unique colors and the glamour!
Thanks Cassie- My daughters are pretty pleased because they get to feel like “big girls”.
Oh my goodness Jewel, you are so talented! I can’t believe you did all that sewing, repurposing, painting, and creating art work? And it’s all renter friendly and on a budget. I think I pinned pretty much everything. lol Come to Japan!
I absolutely love this space!!!!!!! It is so good and such a refreshing take on what we have been seeing on the net.
Thanks Jess!
You are too sweet! Thanks Kathy.
Jewel! I have too many thoughts to fit into this comment box! You are so incredibly talented and this space is a direct reflection of your creativity, resourcefulness & ability. The wallpaper, the pillows, the stools and that last minute DIY art – are you kidding me?! Just fabulous. Amazing job! So happy you joined us for this challenge 😉
You are too kind Rachael. Your makeover was totally KILLER! I love the green island!