How to Upholster a Bench Tutorial
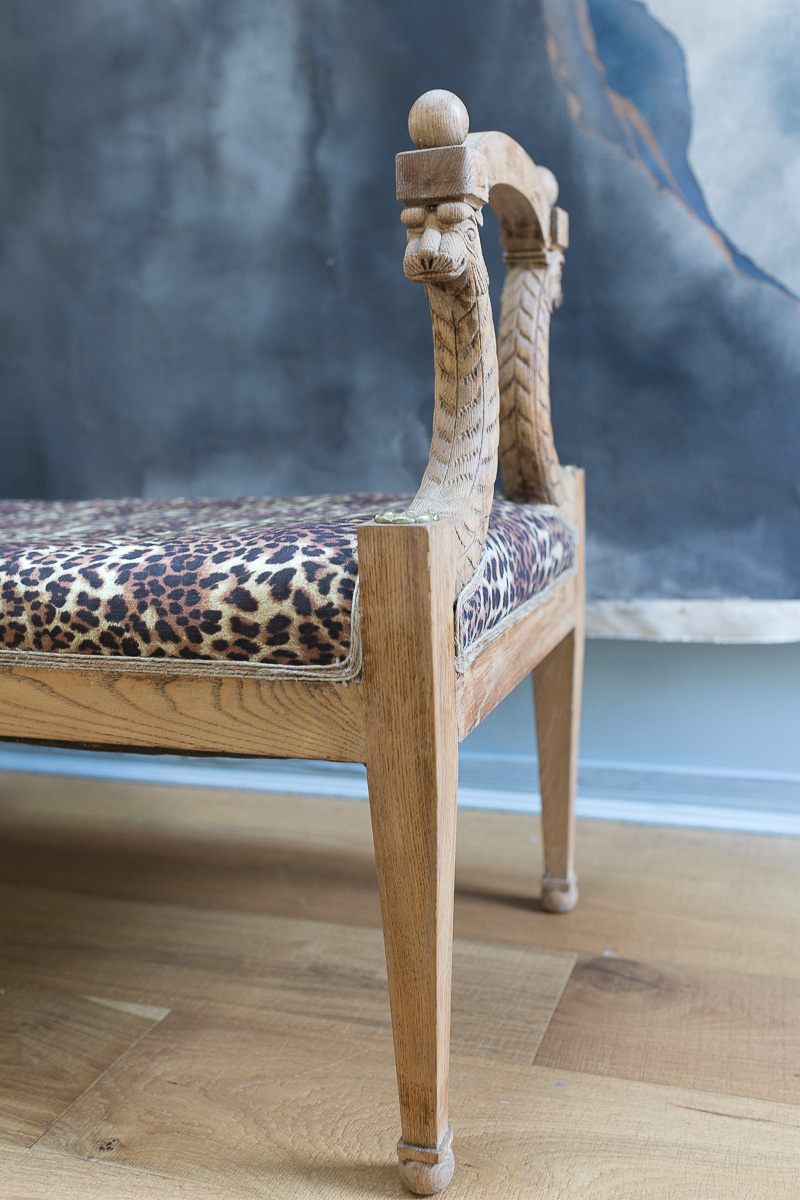
I found this unique bench on FB Marketplace recently. After I stripped the bad boy down I then did a swap out on the fabric.
Let me break down how to upholster a bench in a few easy steps.
Leopard Fabric
Note: The Fancy Pants Bob fabric in this tutorial was kindly sponsored by SmithHonig. The opinions are 100% my own.
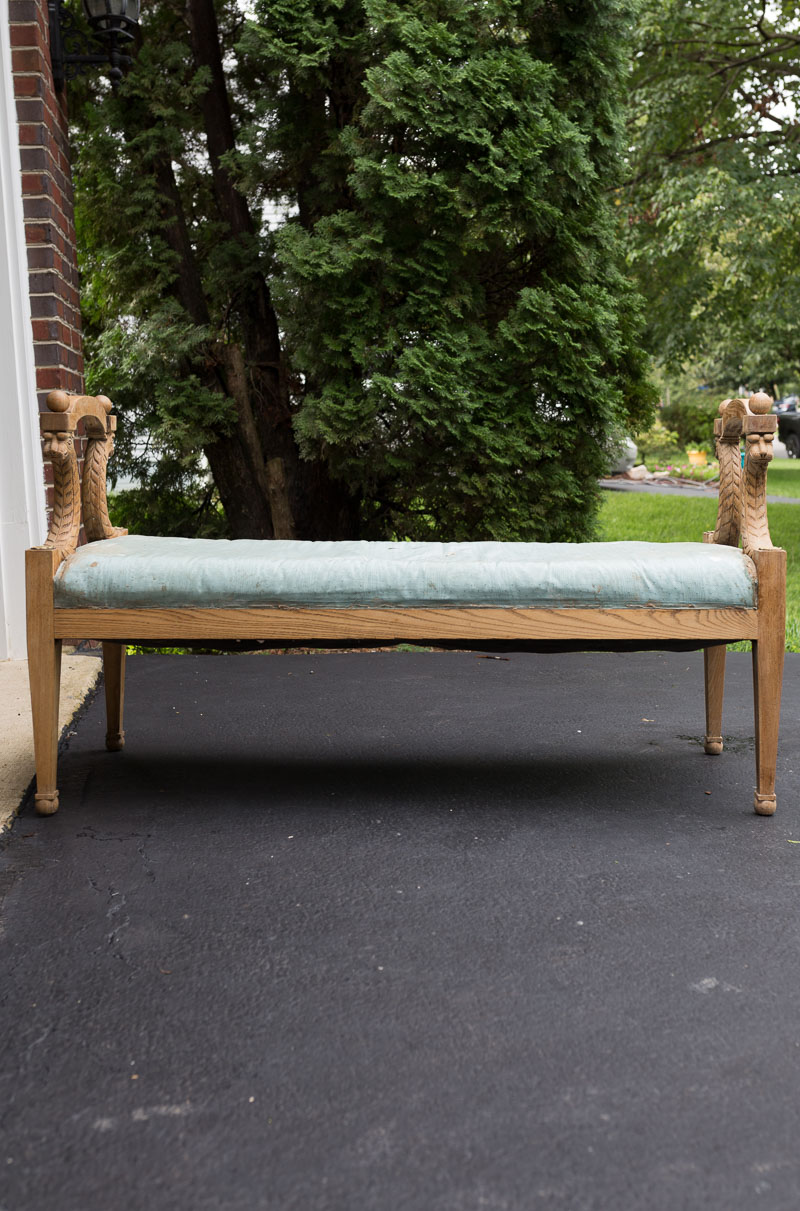
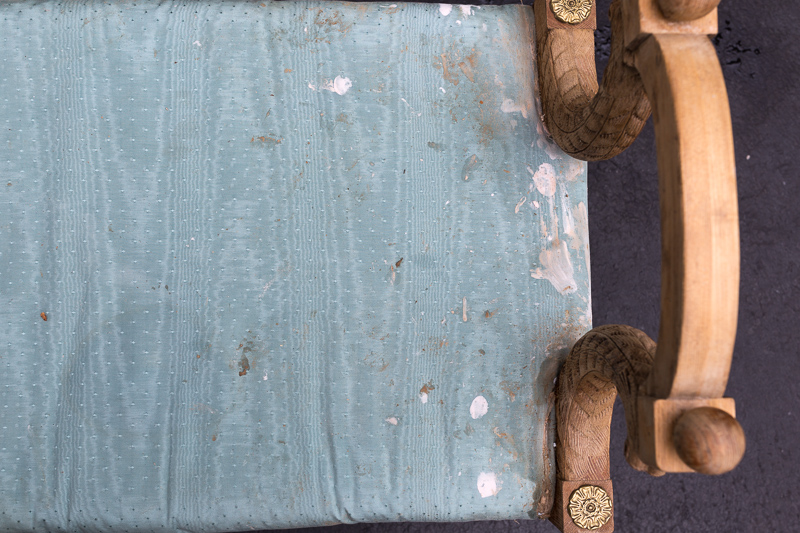
After stripping the wood I was left with a big fat mess on this old fabric. Time for a switcharo.
How to Upholster a Bench | Supplies
Bench
Fabric
Staple remover
Pliers
Staple gun
Staples
Double welt or gimp
Hot glue and glue gun
The best tip when it comes to upholstering a bench, or anything else for that matter, is to recreate what was previously done. As you start into the tear-down phase, make sure to take note of how the fabric was folded, stapled, and secured. For example, hot glue was used in abundance to seal all of the fabic on this piece.
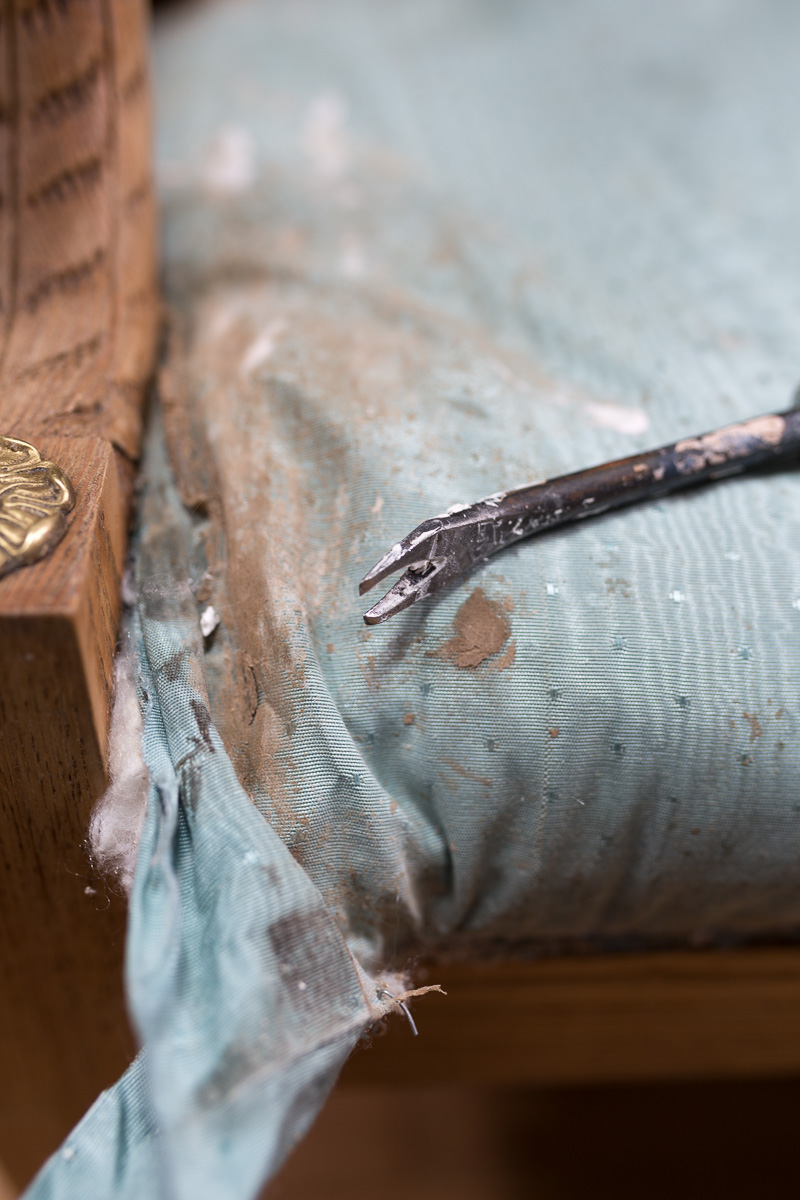
The amount of hot glue slowed down the fabric removal slightly, but I was still able to knock it out. I used a staple remover and pliers. This step took about an hour because it it important to extract each staple so that the surface is smooth.
How to Upholster a Bench | Cut fabric
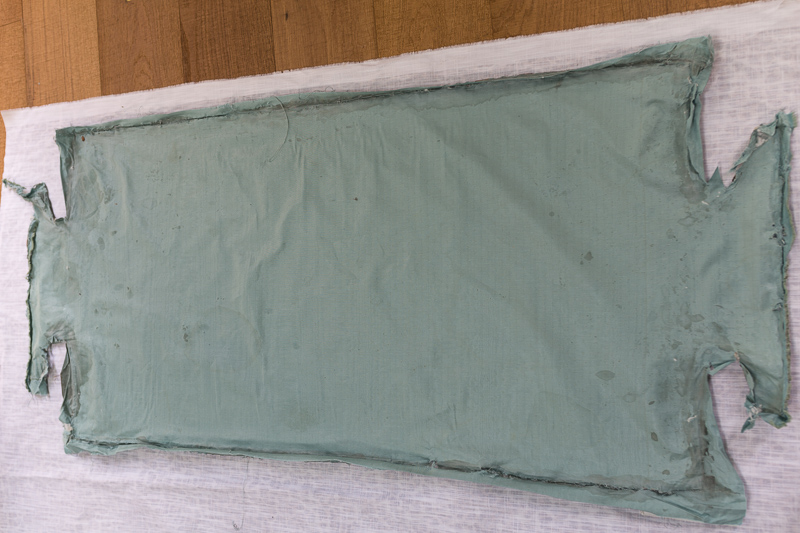
I used the old fabric to cut out the basic outlined dimensions for the new piece. Note, I personally prefer to not cut out the knotch work on the pattern, but rather cut it once the pattern is on the bench. Others may disagree.
How to Upholster a Bench | Apply new Fabric
Once cut, line up the fabric, fold under, and staple a couple of staples in the middle of each side. Then, starting in the middle, work your way outward.
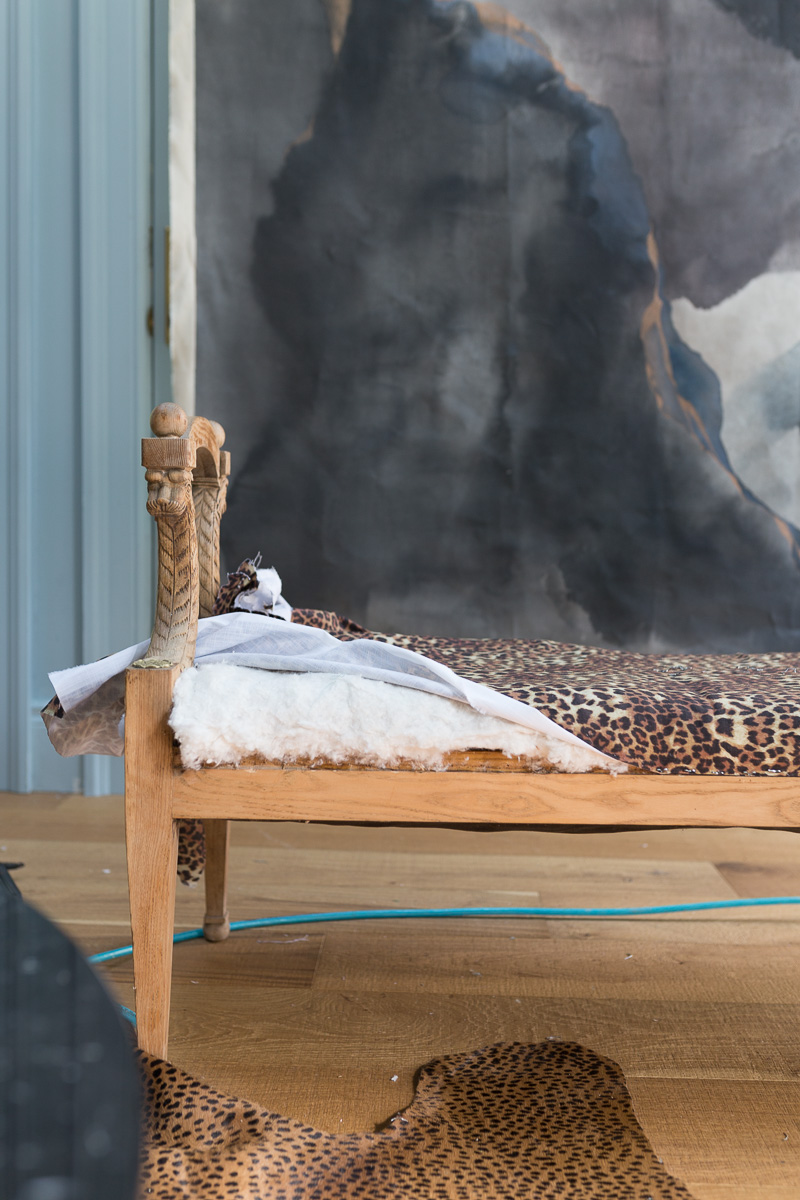
Save the corners for last. In this case, there were two large sections of fabric (around the curve of the handles) that weren’t stapled on the original upholstery job. Instead it was hot glued in the next step. I mimiced that.
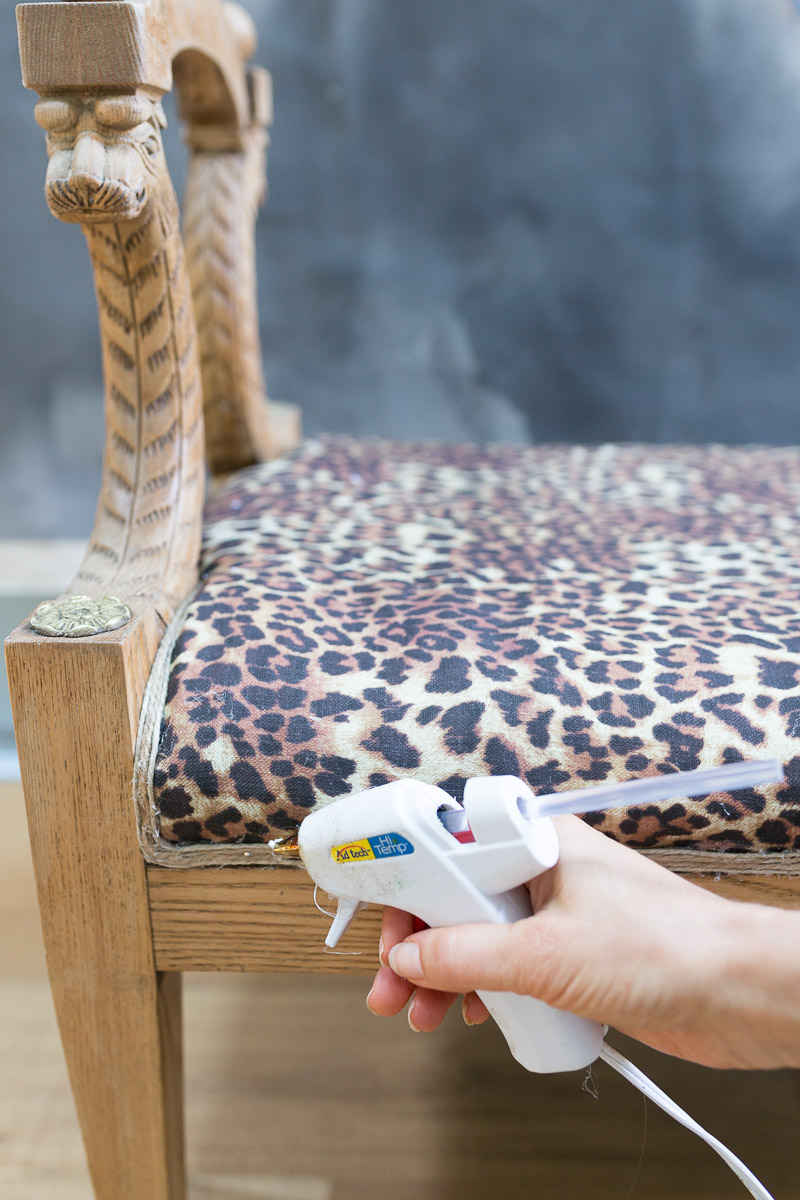
Ideally, you could use extra fabric cut at a 45 degree angle to sew a matching double welt. Since I was a little short on fabric for this project I opted to sew on a DIY gimp made by using two different width jute strings
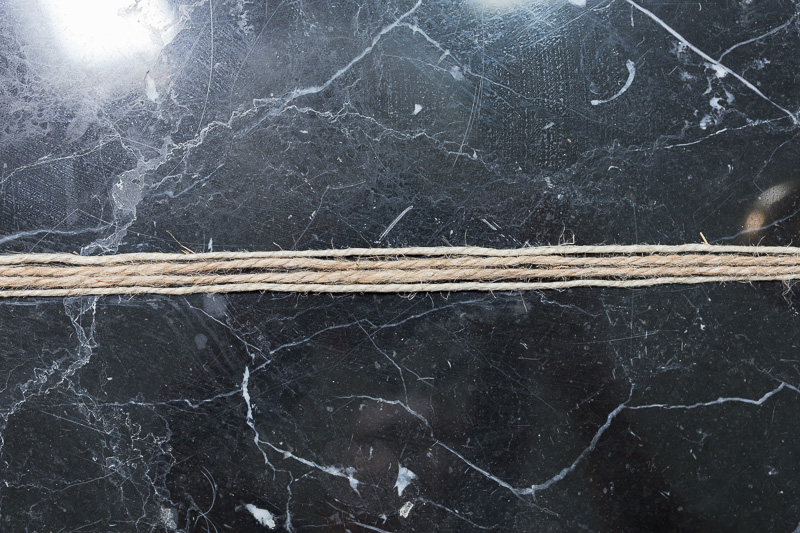
I glued the DIY gimp on to cover the staples
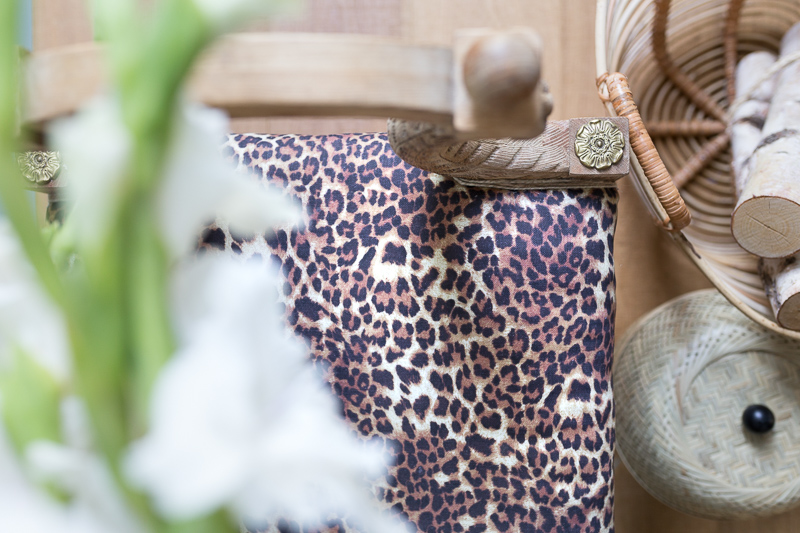
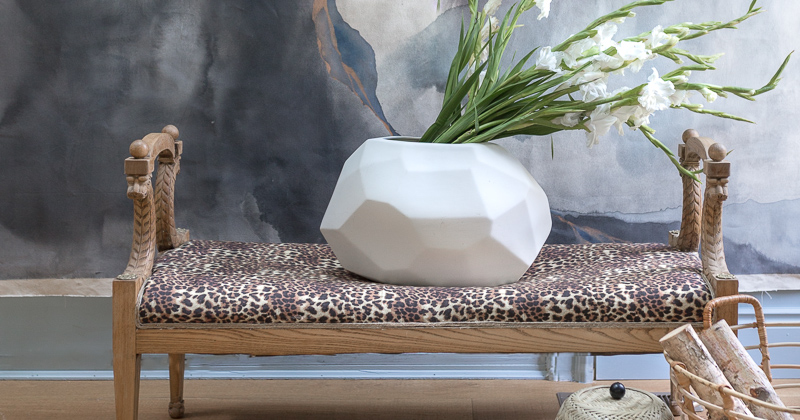
I am really loving how this turned out. The SmithHonig Fancy Pants Bob fabric looks fabulous.
This special bench is going to be a gift to my friend Candace Heil in exchange for the new Geode Table she just made me.
Also, If you are interested in the source for this stunning backdrop, check out Laura Gunn Art’s IG.
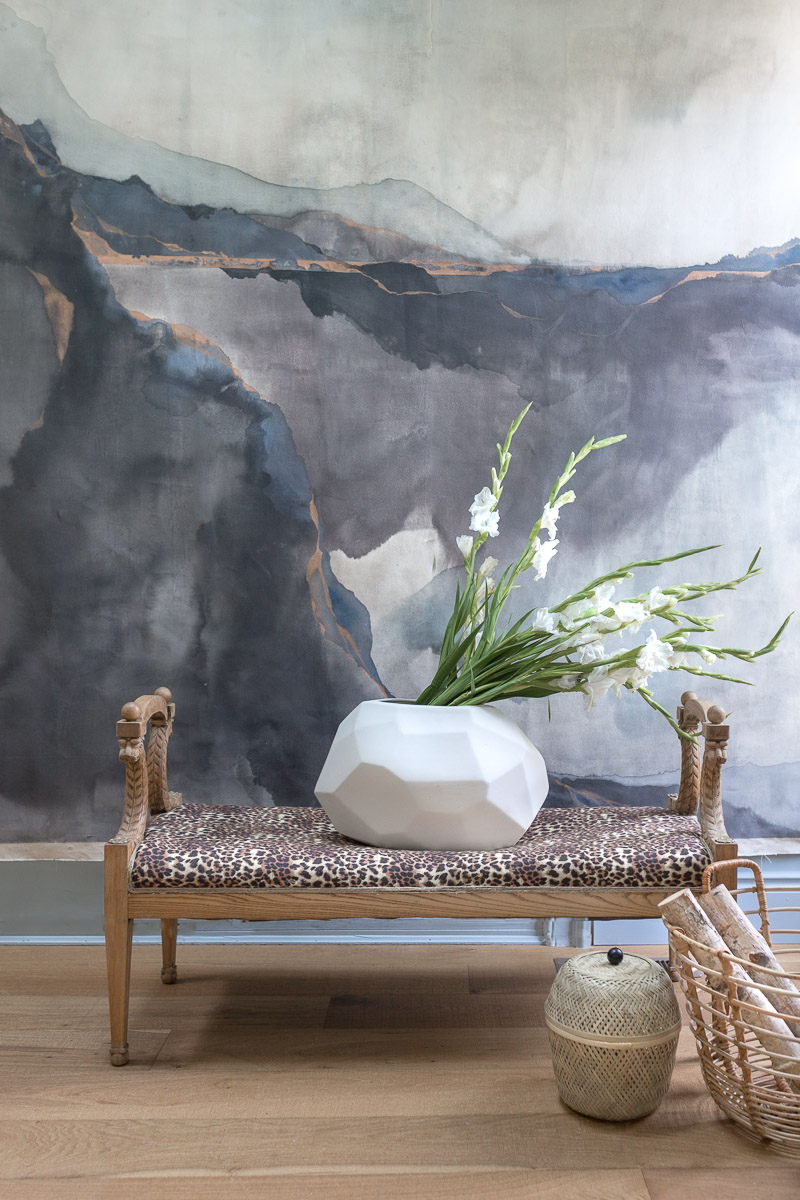
Thanks so much for joining me on this tutorial explaining how to upholster a bench using Fancy Pants Bob SmithHonig Fabric. Check back soon as I explain how to sew roman shades.

-xoxo Jewel



I think you did a great job. Your friend will love all you did to make it beautiful. Also,I love leppard.
Jewel
As always that bench came out looking fabulous!!!! Great tutorial simple easy & right to the point !!
I just love your style!! Thank you for sharing your talent with us… and this bench turned out lovely!
Thanks so much Jessica!
Thanks so much Judy! I appreciate it.
Thanks! I’m so excited to give it to her!