Check out my tried and tested gallery wall ideas and tips
Note: The products listed in the basement makeover are sponsored. I appreciate the support of my sponsors, and together we are teaming up to bring you design tricks and gallery wall tips. The opinions are 100% my own
It seems easy, right? Hammer, nails, a box of framed pictures, and poof! A gallery wall! While you might just get lucky with this approach, I have some gallery wall ideas sure to give you a better result with more style, straighter pictures, and less holes in your wall.
These gallery wall ideas are just one of many things happening downstairs at our home right now. You might already be following, but I have dedicated the first two months in 2020 to making-over our basement in a big way. In case you missed it, here is part 1 of the BIG Basement REVEAL. and here is Part 2 for the workout equipment, game table, and TV area.
As I continue improving the functionality and view in the basement, I find myself bringing new life to the wall at the end of the hallway.
Here is a “before pic” of the space.
Before implementing Gallery Wall Ideas
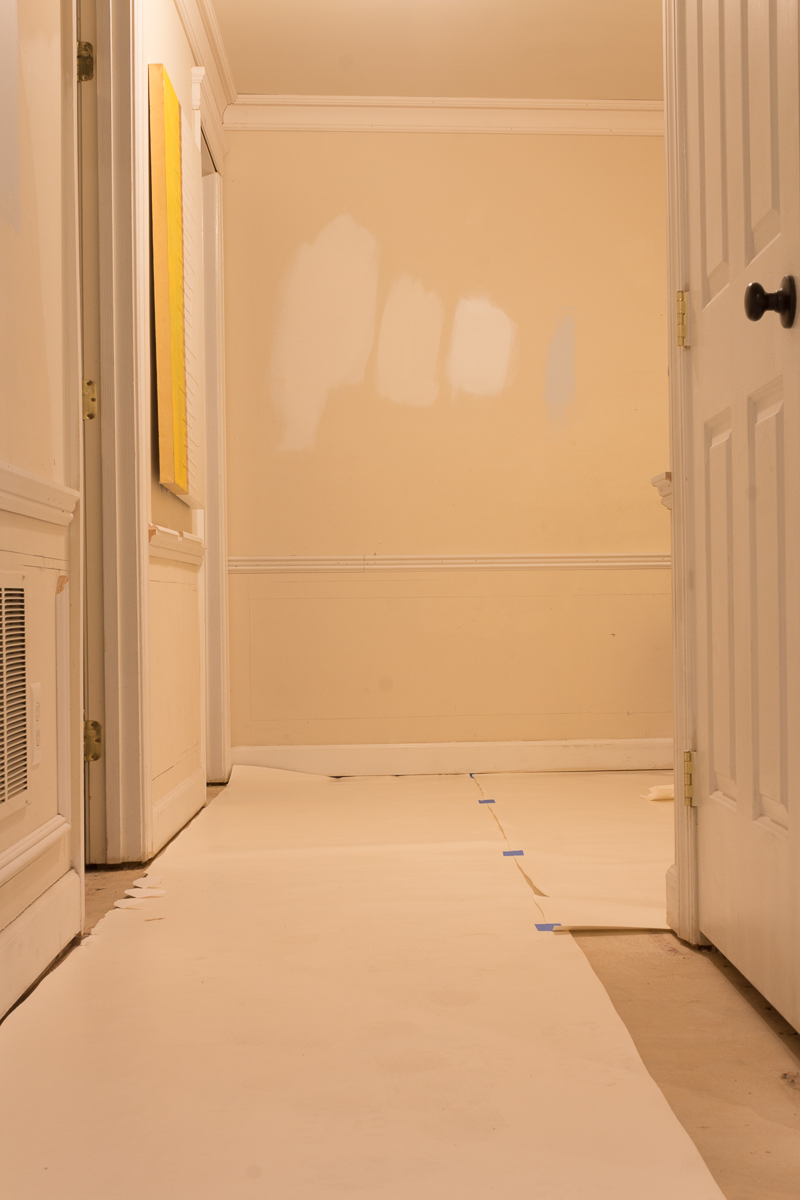
Technically speaking, this is actually a progress shot. At this point I had already ripped up the stained carpet and hung crown and dado moulding.
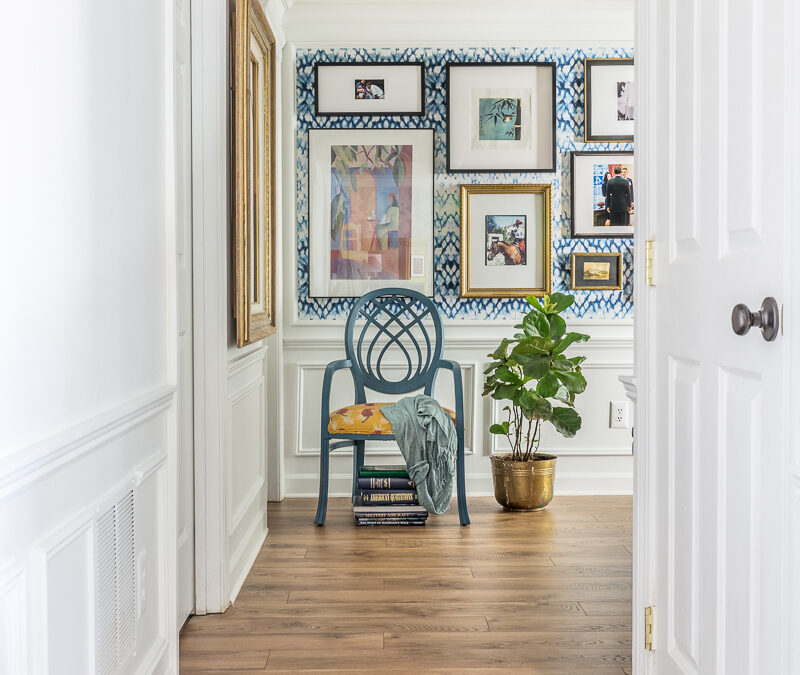
After Implimenting Gallery Wall ideas
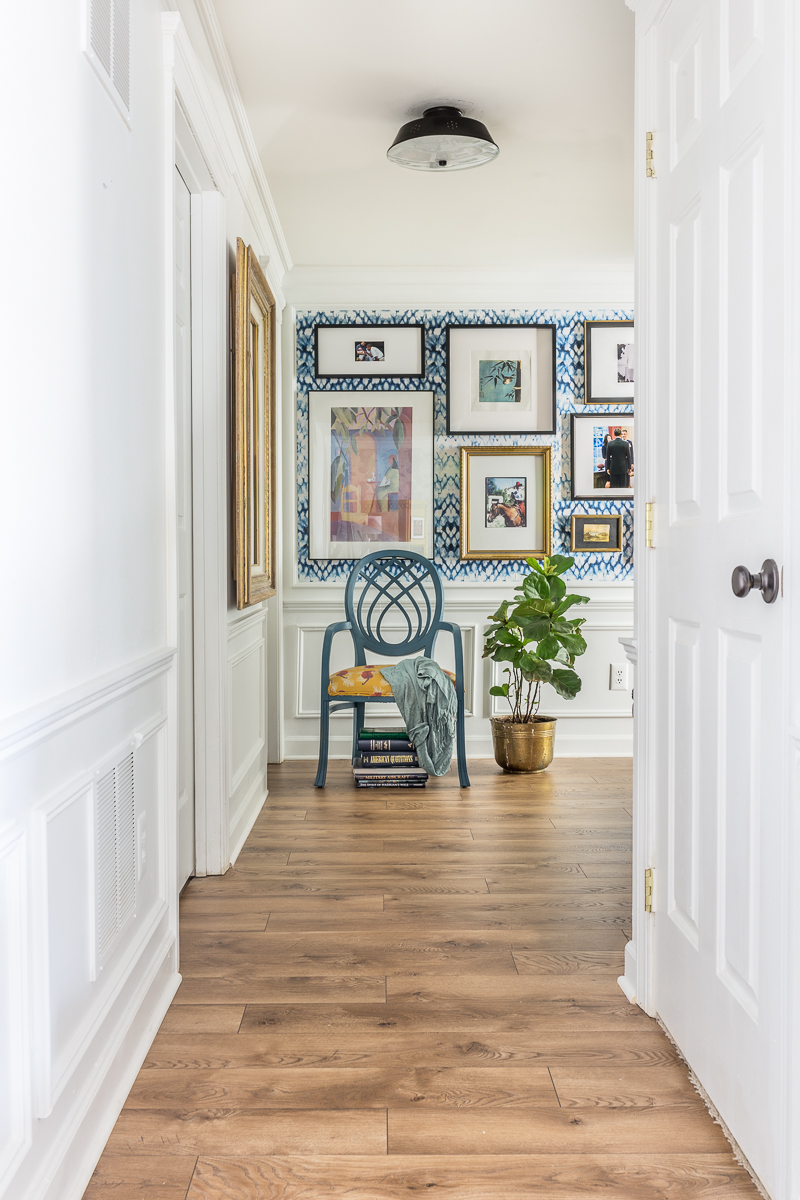
Wait what? Is that the same space? LOL
Gallery Wall Idea # 1
Add layers to the wall
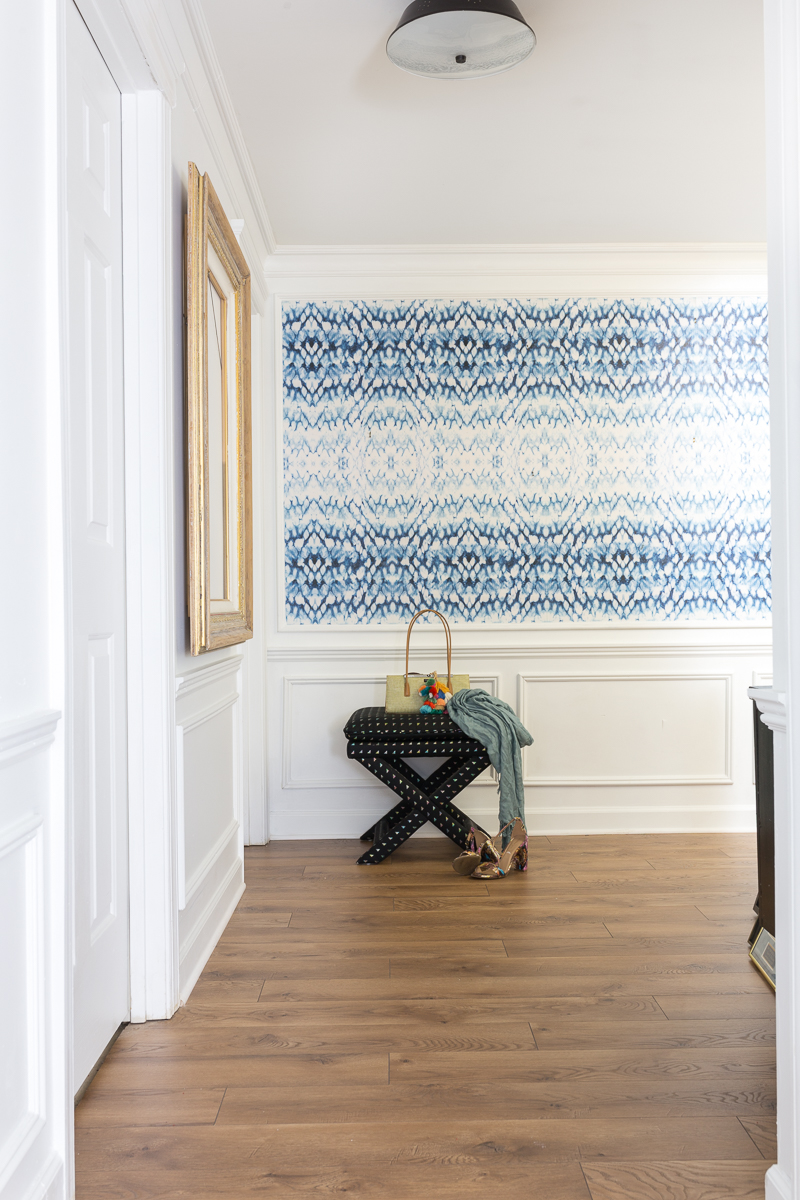
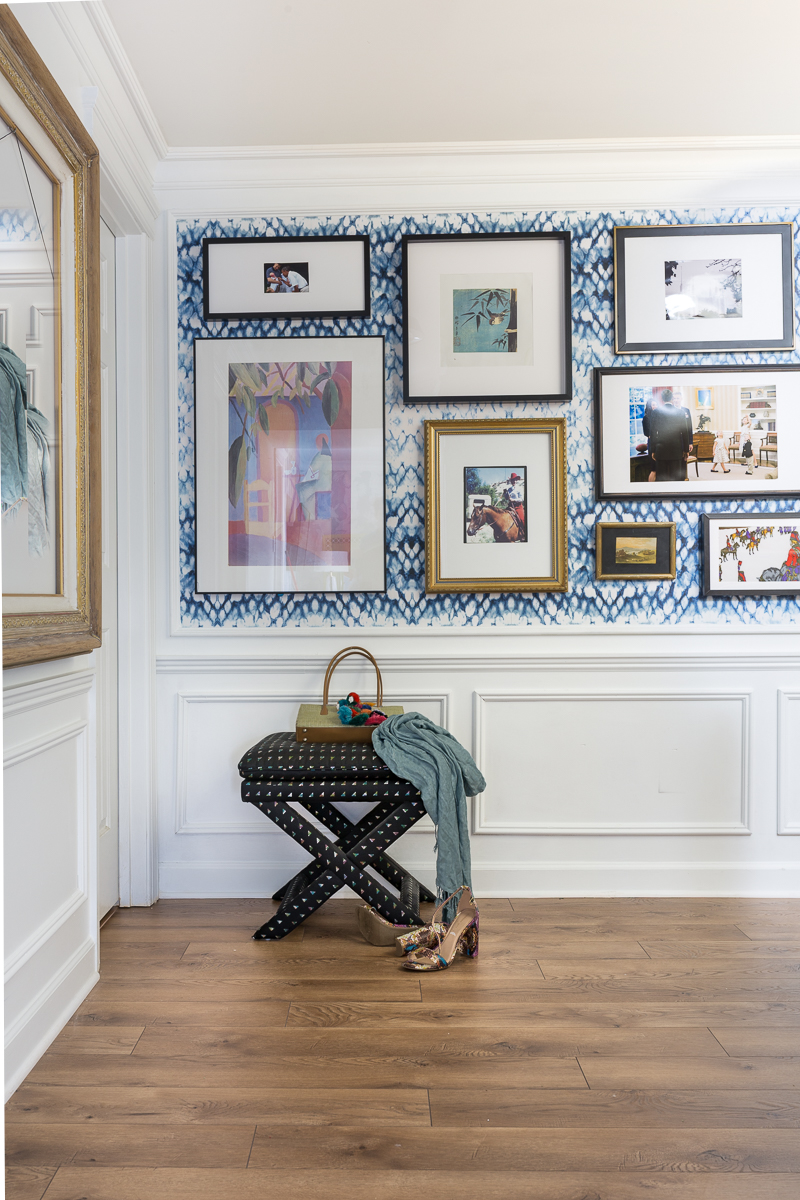
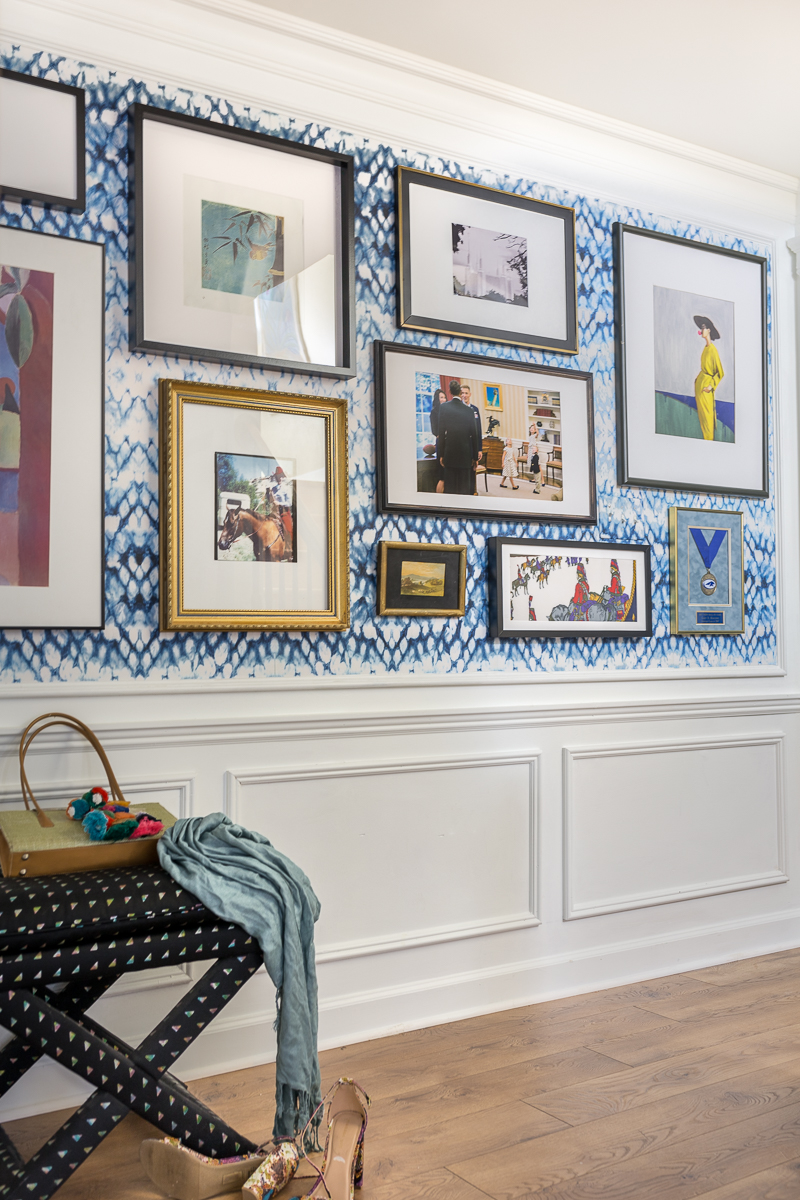
When we think of gallery walls, we tend to only think of the pictures. Instead, we can add more visual interest by taking things a step further. Framing out the wall in moulding and adding a layer of wallpaper underneath can make a gallery wall next level. NOTE: this may not work for every style or room.
Loving this wallpaper as much as me? This wallpaper is called Entomology from Milton and King.
Gallery Wall Idea # 2
Plan it out on the floor
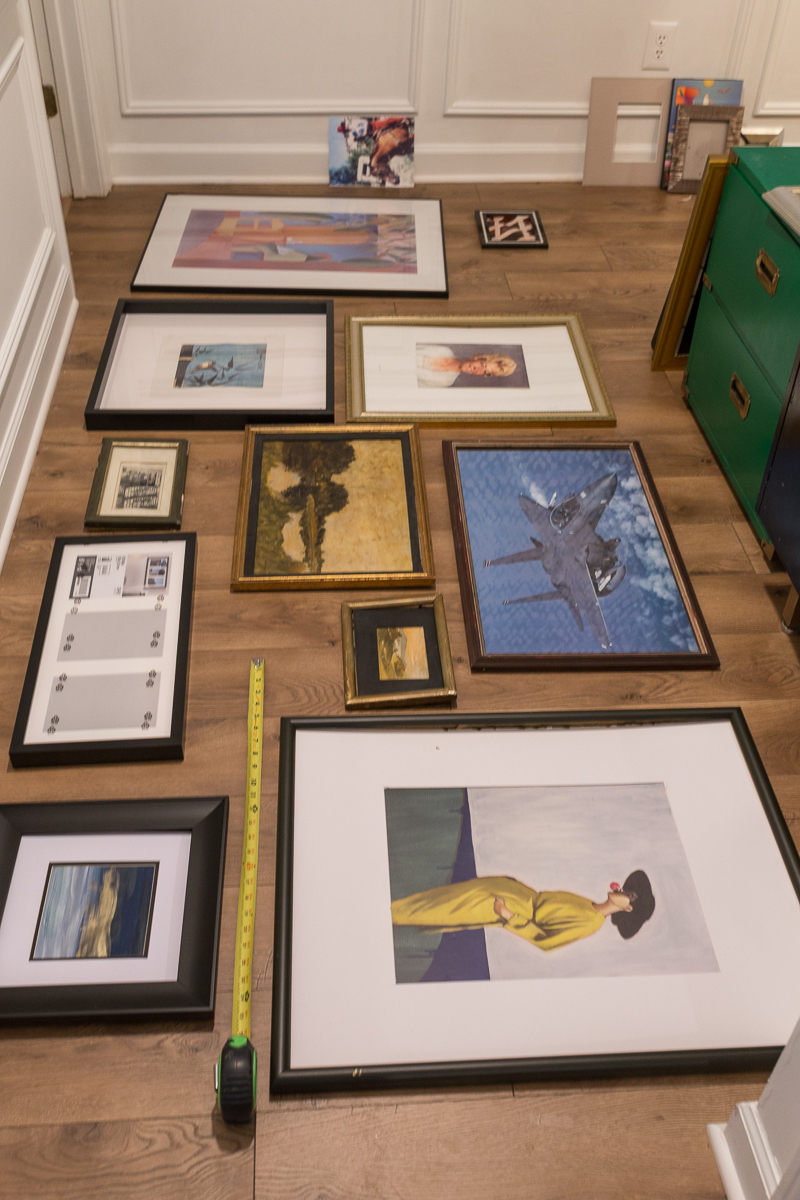
I can remember the first gallery wall attempt in m life. I just rushed right into it without planning the space at all. HOLES…I left lots and lots of holes. Now days I’m wise enough to think ahead and built it on the floor before I throw it up on the wall. I only measure out the perimeter, light switches, and some basic measurements (like center up and down). More percise individuals might measure every single picture, but even a basic plan worked well for me. It also gave me time to consider a variety of different arrangements with zero risk.
Gallery Wall Idea # 3
After gathering all of the picture frames and arranging them in a rough draft version, I decided that some of the frames needed painting. Note: sometimes all mish-mashed frames look great! I just wanted a little cohension since eat piece of art was so different.
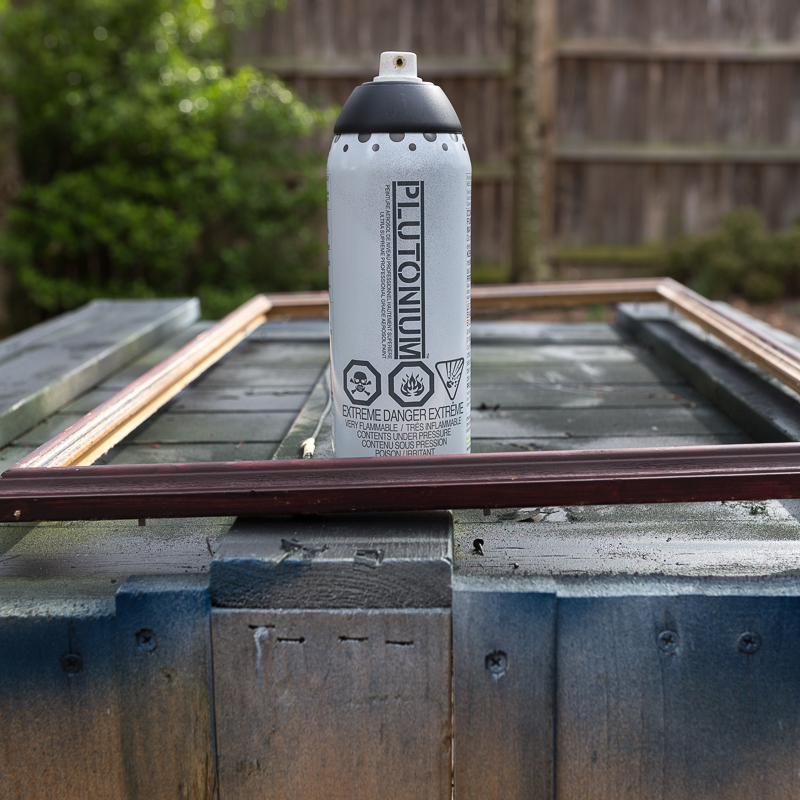
Having said that, I also decided that I didn’t want all of the frames to be the same color. It felt too contrived. Instead, I opted for black frames, gold frames, and black and gold frames. For this space it felt like a great combo- Cohesive without feeling matchy-matchy.
Gallery Wall Idea # 4
Repeat Colors and Themes
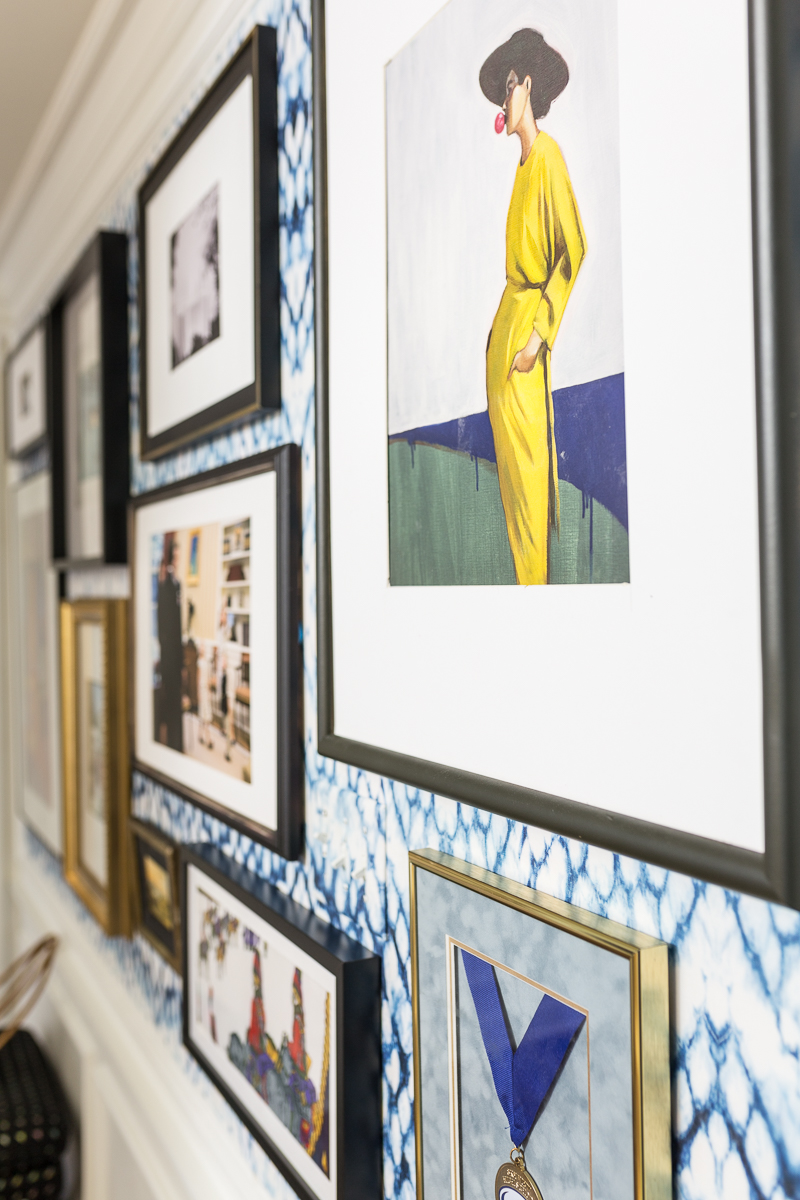
There are enough elements that I worried a little that it could start to feel busy. To aid with this, I tried to repeat colors. You will see reds, blues, greens, yellows and black and white…just like most every other room in the house. Cohesion!
Gallery Wall Idea # 5
It is ok to mix sentimental with asthetically pleasing pictures
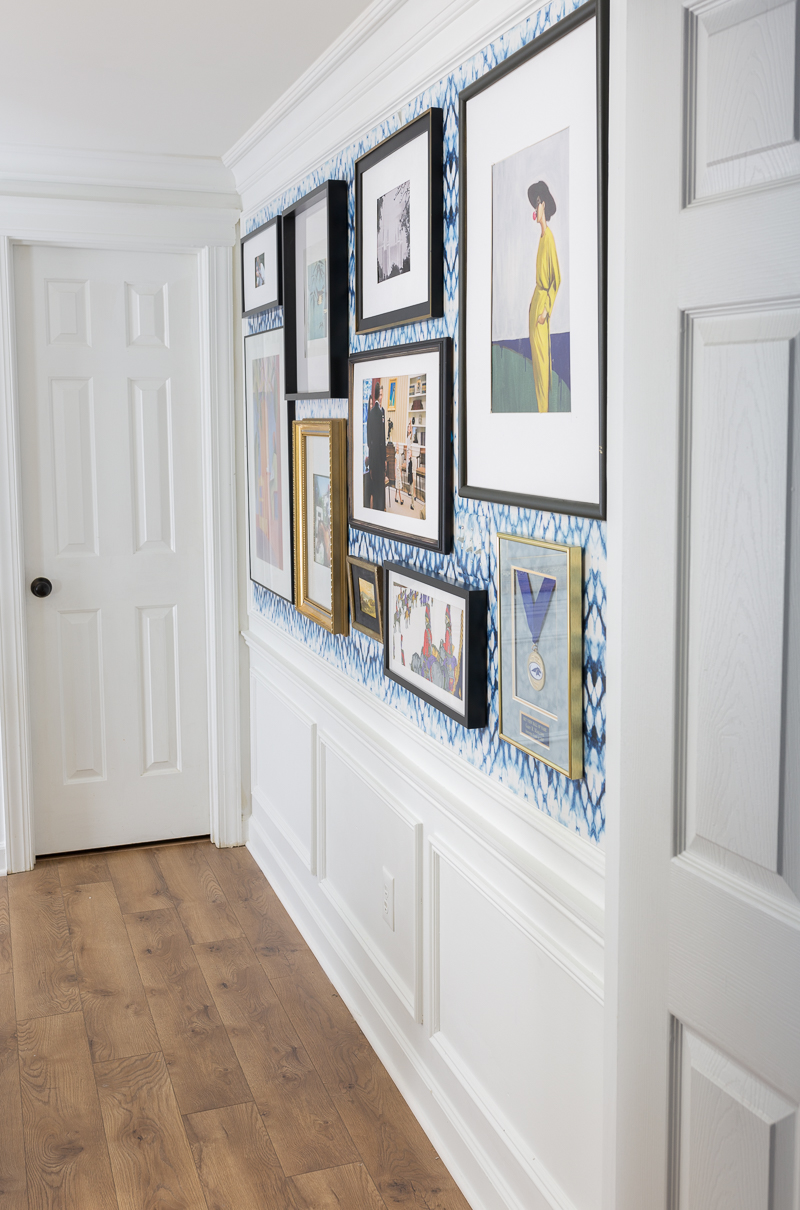
Some people are strictly “team art only while others are team “only pictures of the family). My husband is team family pictures…any guesses which school of thought I am? LOL.
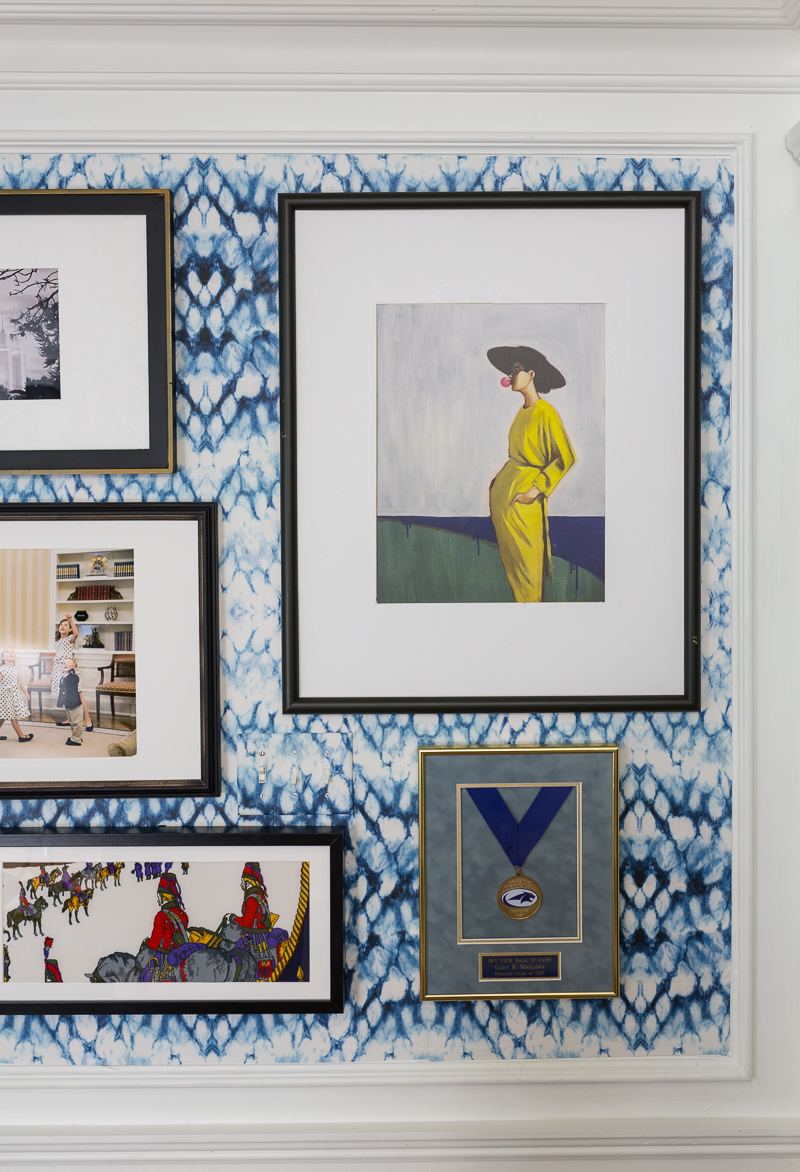
Here you can see some of our family memories, but I wanted to mix-in some pretty art as well. For the most part, even the prettly art has special experiences attached to it.
Gallery Wall Idea # 6
Without further ado….One of the very best pieces and advice that I can think of on tis subject…how do I hand my images and KEEP them straight? This is trick that I use to use all of the time, but I have forgotten about during the last 1.5 years in this home…I just bought another pack off of Amazon (around $3) and I don’t know how I have been surviving without it!
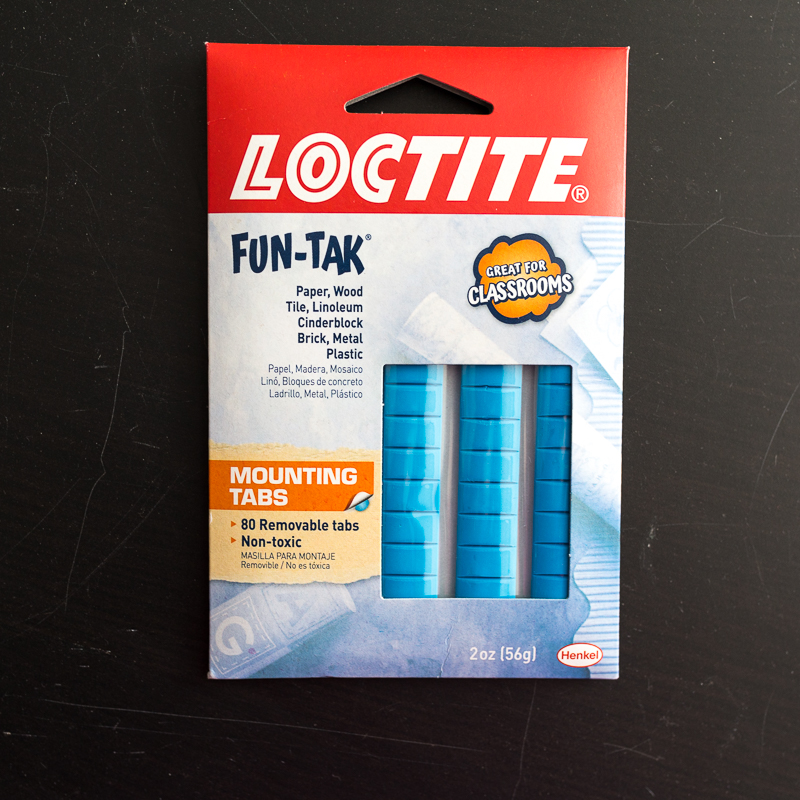
That’s right! POSTER PUTTY!!!! Yep, it’s just that simple!
Place a wad under the bottom of the frame and use a level to get it straight. Then push down hard, a Ta Da! That pic isn’t going anywhere…unless of course you want it to. In which case, it comes right up. Boom!
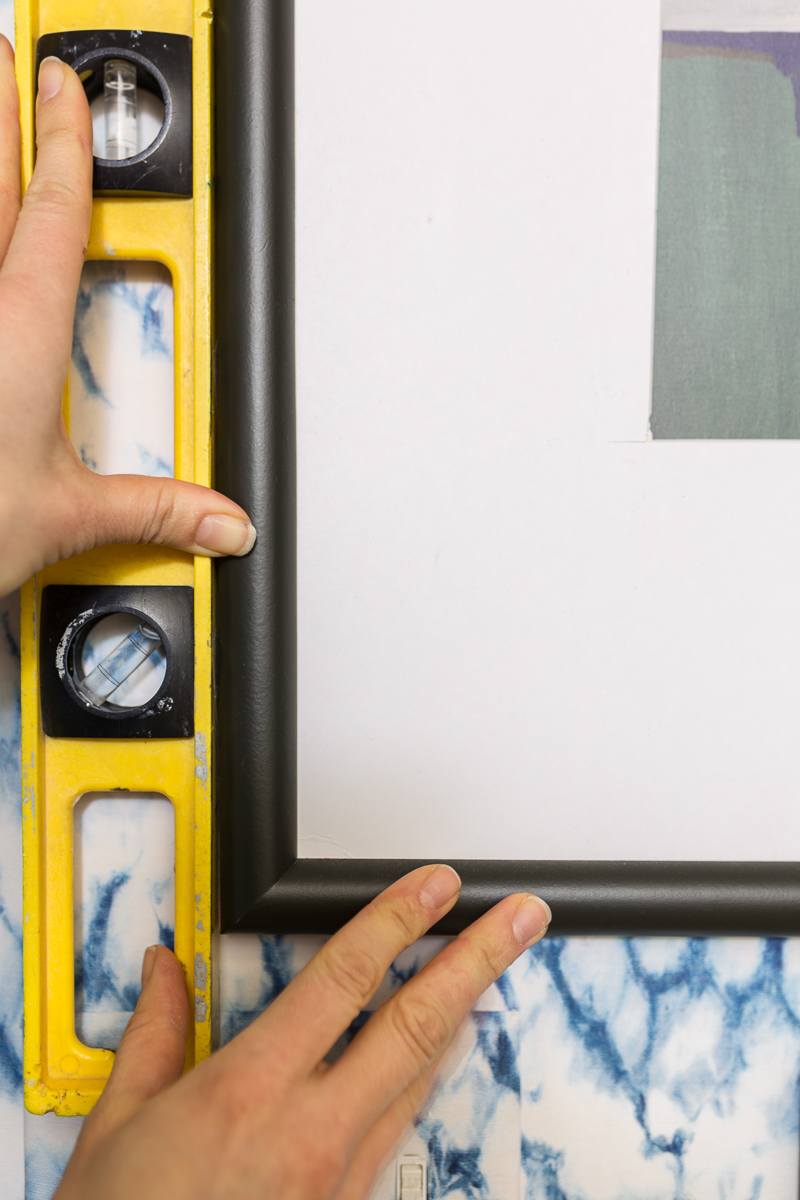
I guess 13 moves as a military spouse has taught me a thing or two in life ??
Need links?
Here are a few of the sponsored items in the post, but you can also check back at Reveal 1 and Reveal 2 for more links and basement ideas.
What is left in the basement?
This week I am finishing up the basement bedroom…I know, this before pic is kind of scary.
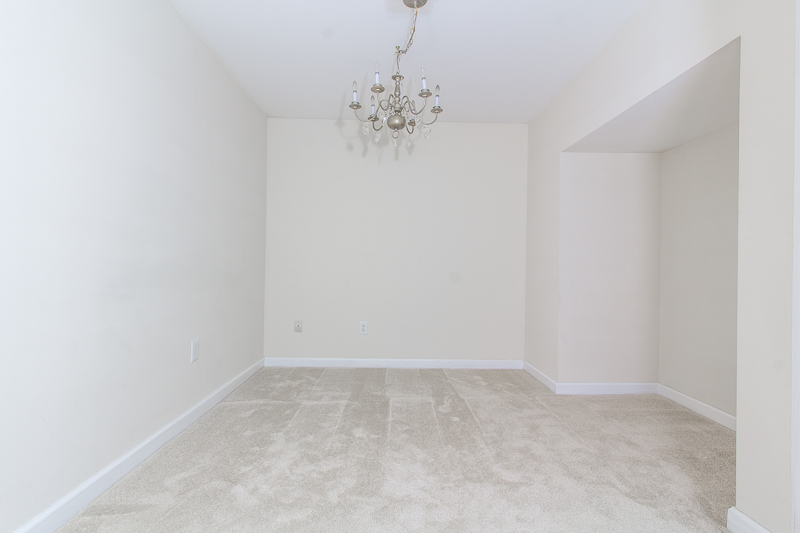
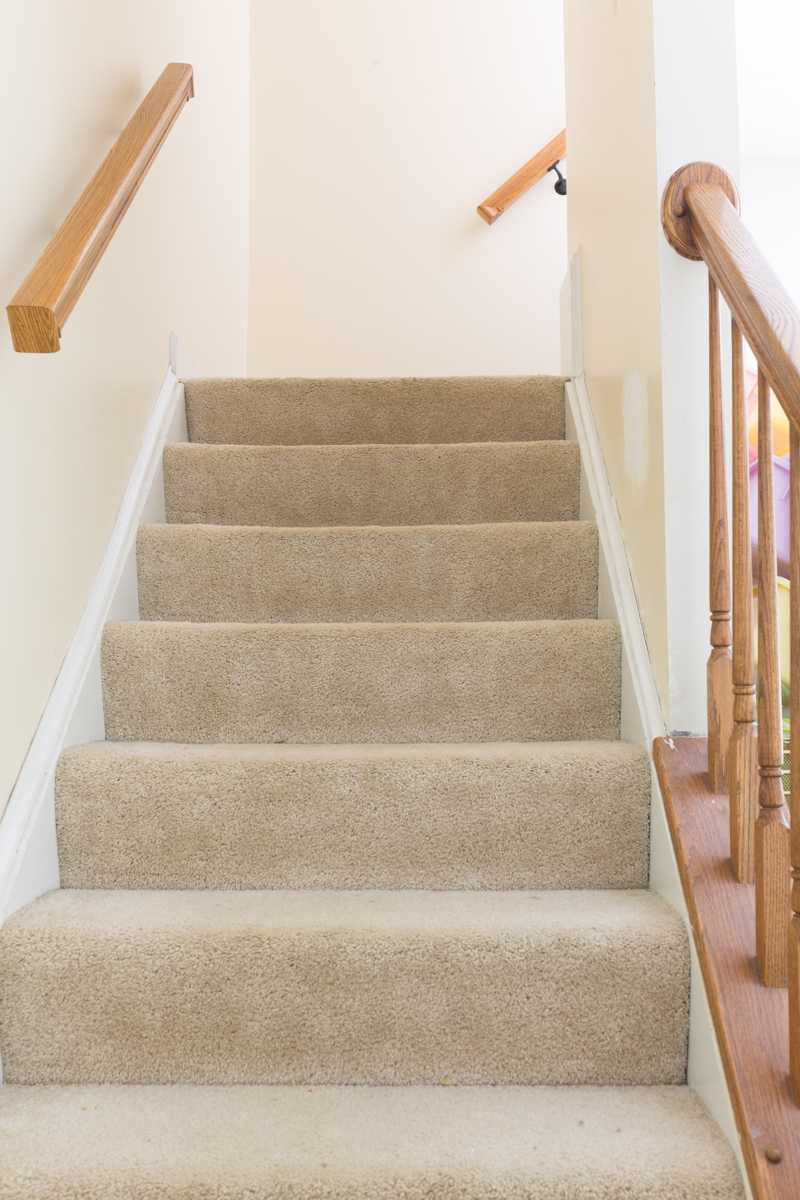
Sometime in the next few months I will work on the stair area as well. It needs it…Especially since I have ripped out that old yucky carpet. I’m just trying to come up with the right plan.



Are you saying you used only putty to hang your art or is there a nail up top with putty to keep frames straight? I love your mix of art and photos. The wallpaper is fantastic!
Good question! Nail and poster putty
Thank you for sharing your tips ??!
Thanks for reading Glady
This is so helpful. I’ve been planning a Gallery Wall with wallpaper and was worried that I was overdoing it. But, after seeing your photos I think I’m on the right track. Going to Amazon right now for the FUN-TAK.
🙂
Oh yay! Glad it helped Kelly. Good luck!
Jewel that wallpaper is sooo gorgeous! Everything about this is fab.
Thanks so much Ashley
Stellar! And, I NEEDED to know about this putty!