DIY bathroom vanity tutorial paired with epic Anthropologie accessories and mirror- Jeweled Interiors Spring 2020 One Room Challenge Week 4
Looking for DIY bathroom vanity inspiration? Well, it is week 4 of the One Room Challenge and I’ve been sharpening my carpentry skills as I resurfaced our pre-existing bathroom vanity. I’ll take you step by step and show you how I tackled this project. Spoiler alert: If you want your bathroom vanity to look next level, it is about adding awesome Anthropologie: Mia Rattan Handles, Perla mirror, Harmony bath mat, and Sylvia accessories.
Note: The items from Anthropologie were sponsored, but the opinions are 100% my own.
I want to start out with a huge thank you to Linda, from Calling it Home, for organizing this massive event. Thanks also to the media sponsor, Better Homes and Gardens. I love that they are working together to create a community of interior designers, bloggers, creatives, and design enthusiasts to cheer each other on during this interesting times. One Room Challenge for the win!
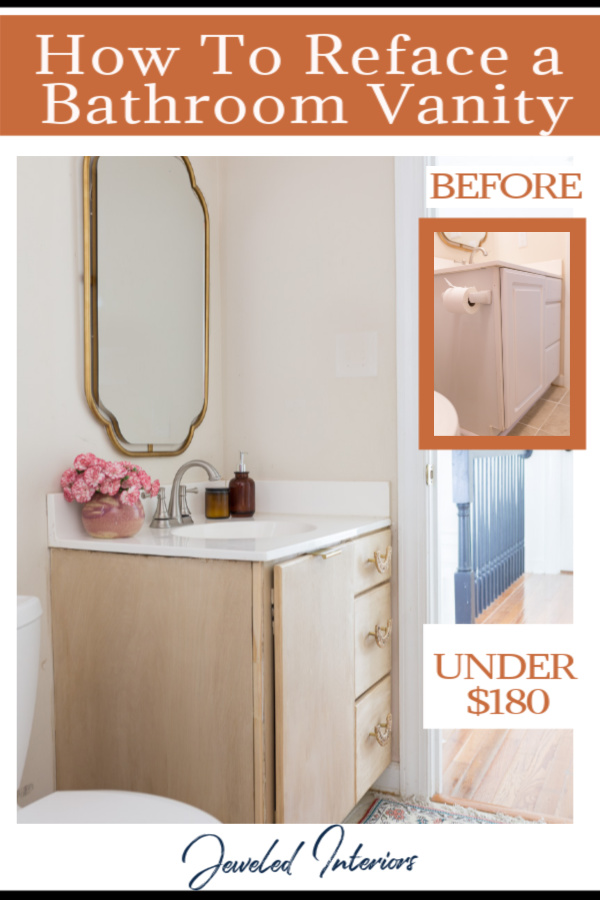
Before DIY Bathroom Vanity
Perhaps some of you have a builder’s grade vanity that looks something like this. Since we are still in COVID-19 lock down here in Virginia, I am trying to keep things as simple as possible. I didn’t want to worry about changing plumbing, so I thought I would work with the bones I had; a neutral countertop and a solid vanity.
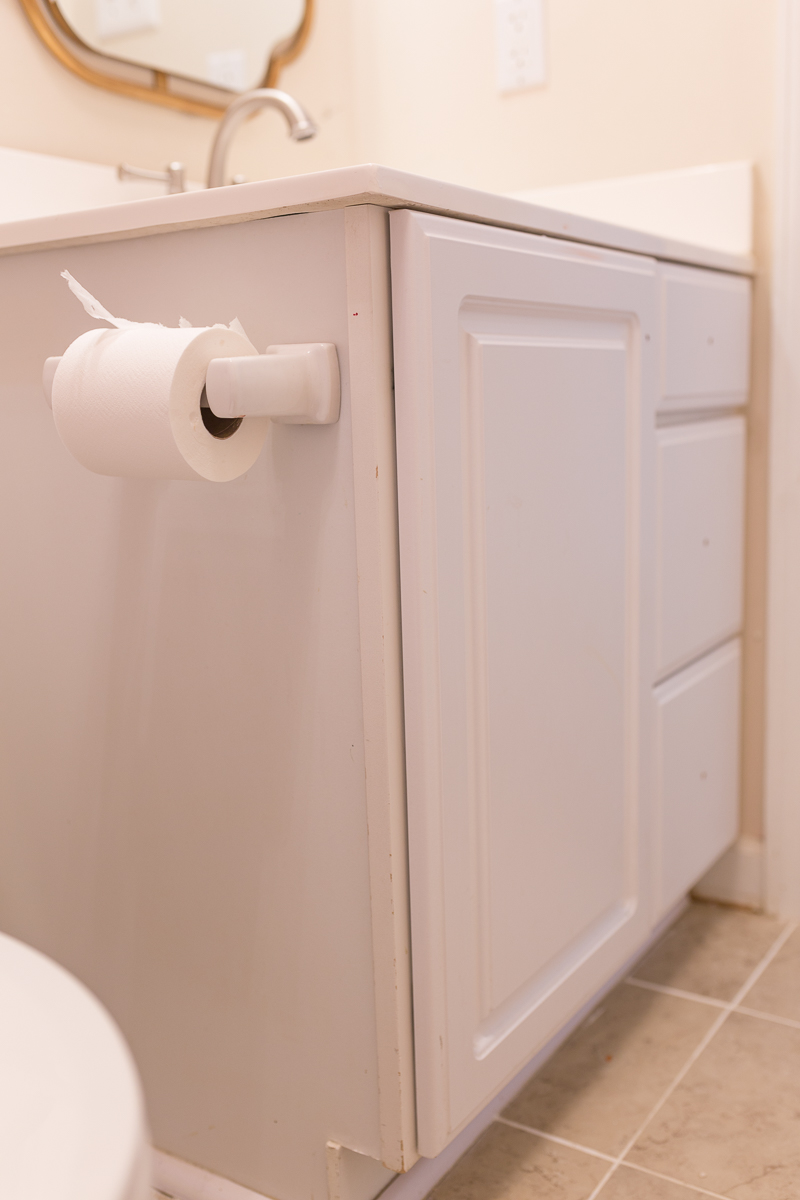
Two years ago we moved into the home. I immediatly deemed the previous knobs “ugly” and removed then. The only problem is that I never replaced them…Sorry kids.
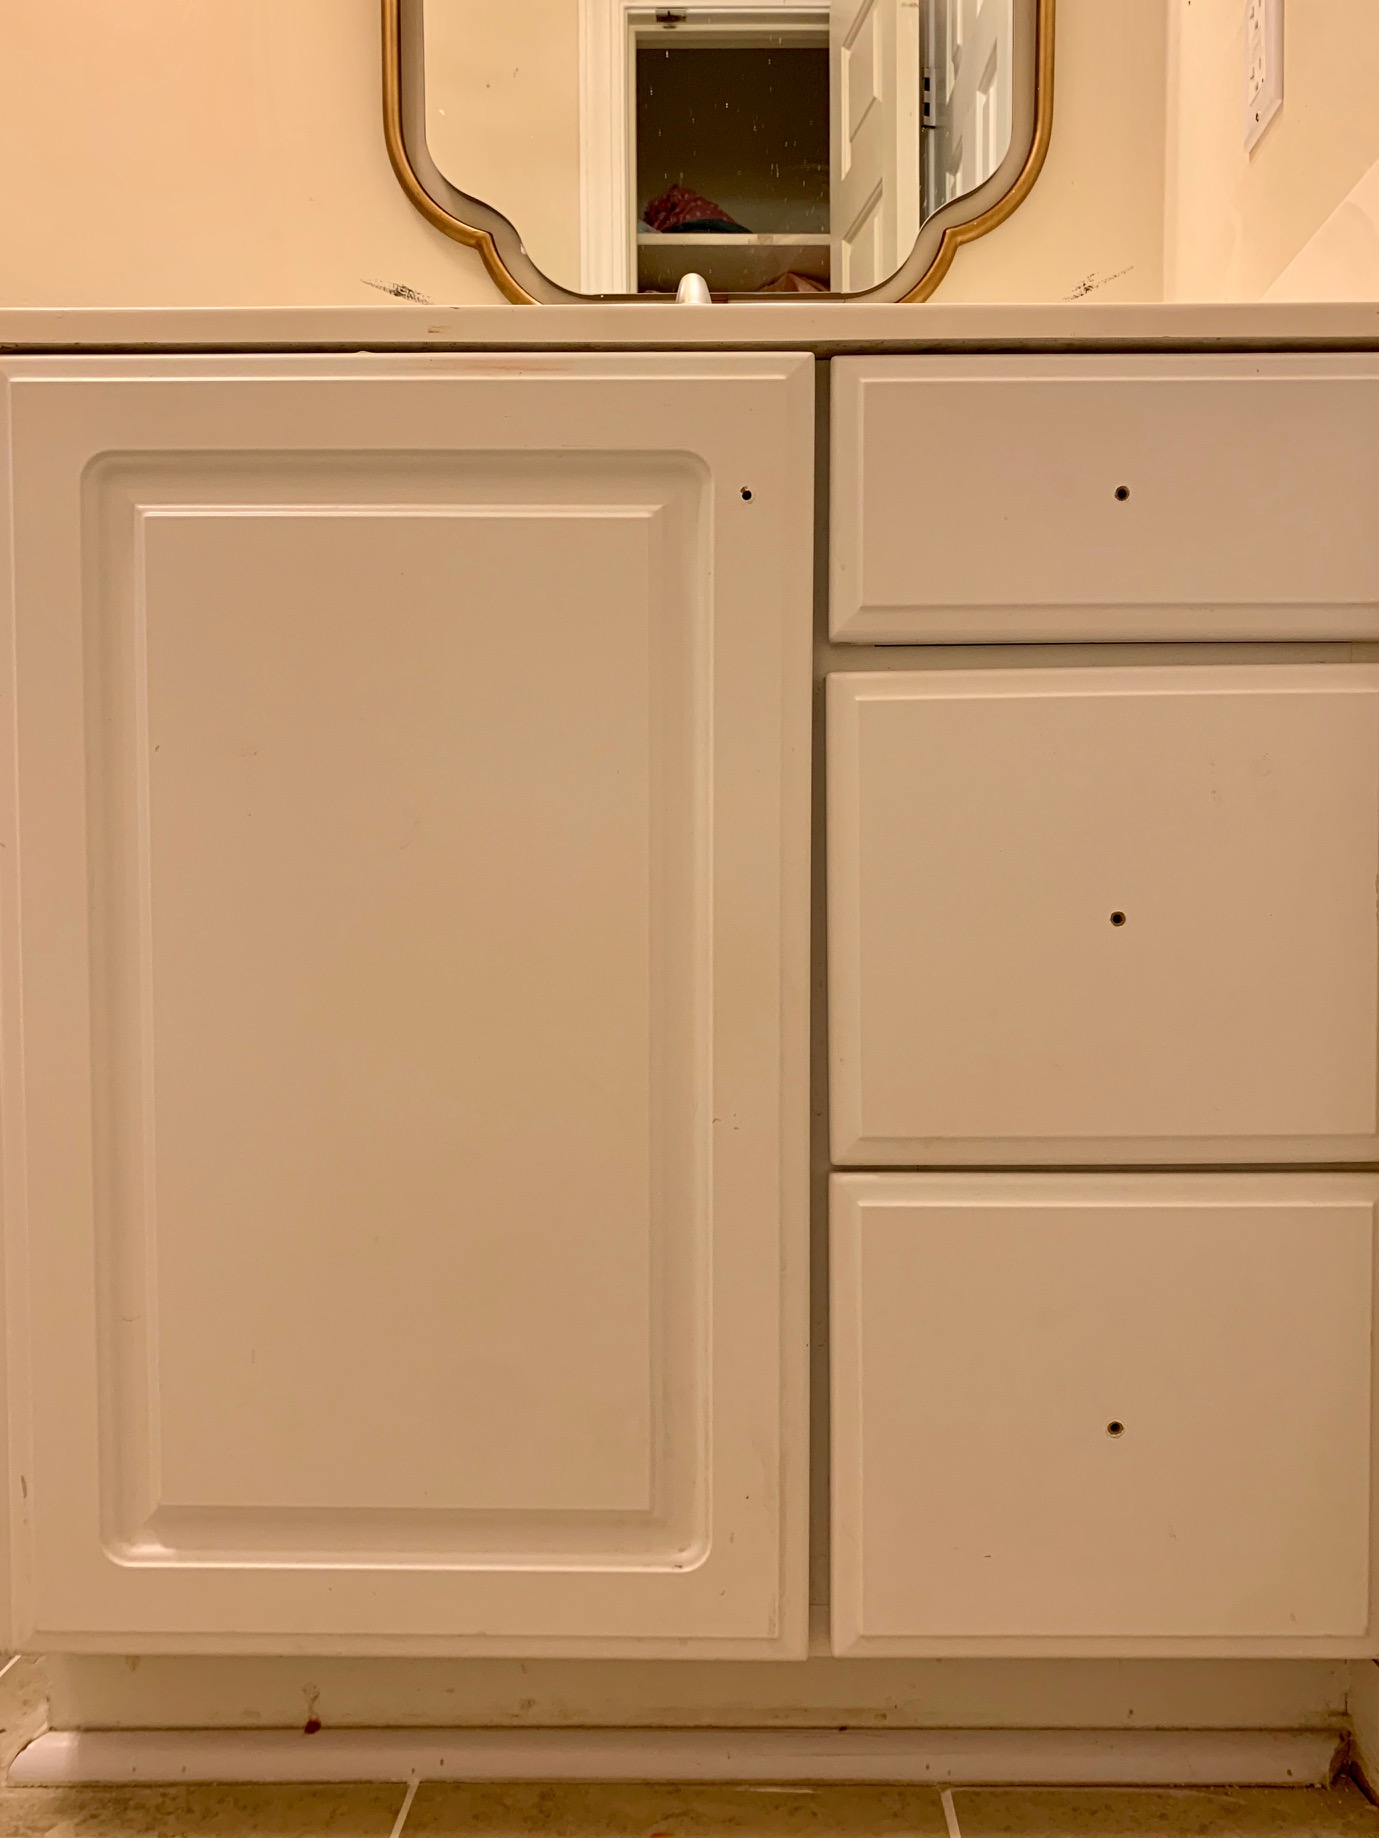
I considered painting the vanity blue, but I am really feeling the need for some raw wood in my designs right now.
After DIY Bathroom Vanity
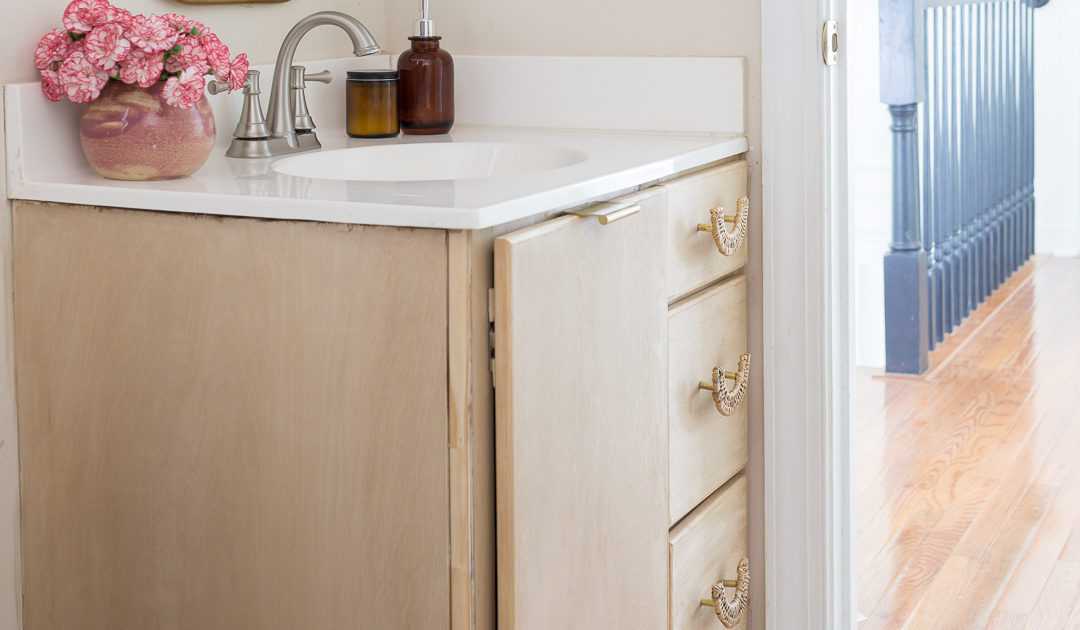
Ready for it? Can you believe I did this almost 100% by myself with a sheet of plywood, some trim, and basic wood working supplies? If I can do it, you can too!
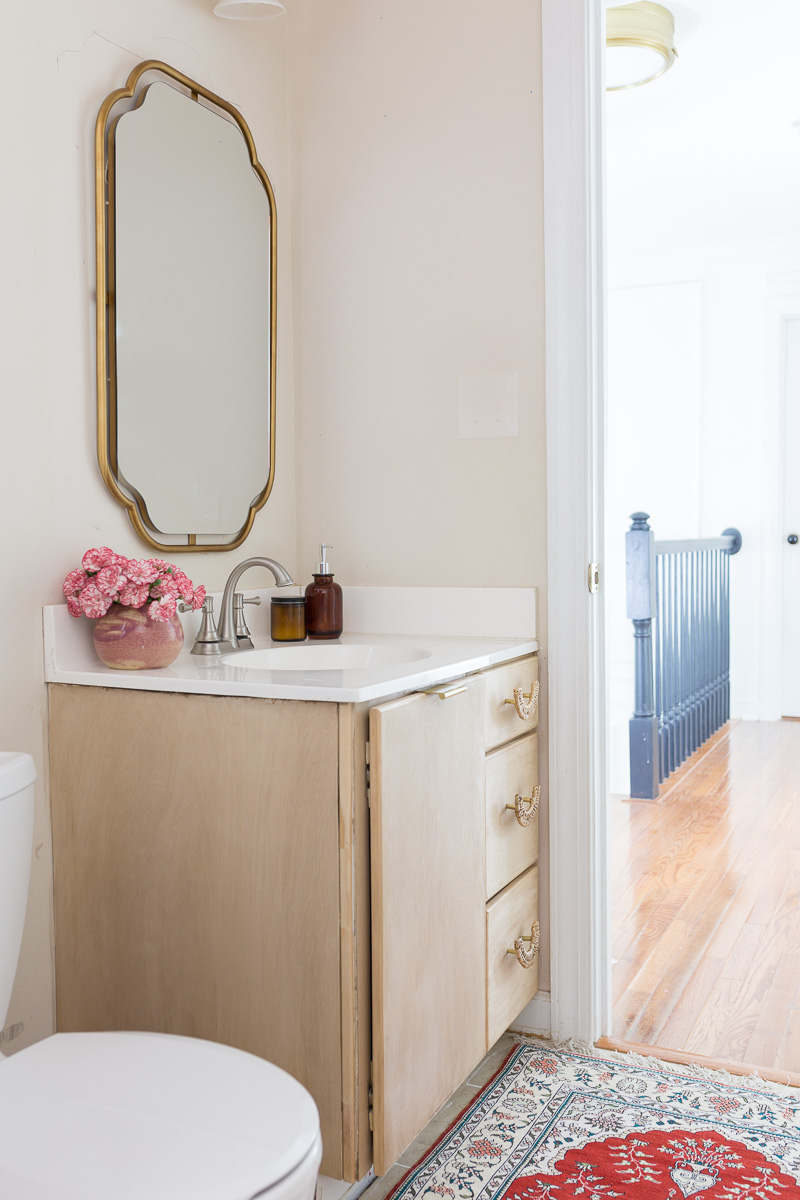
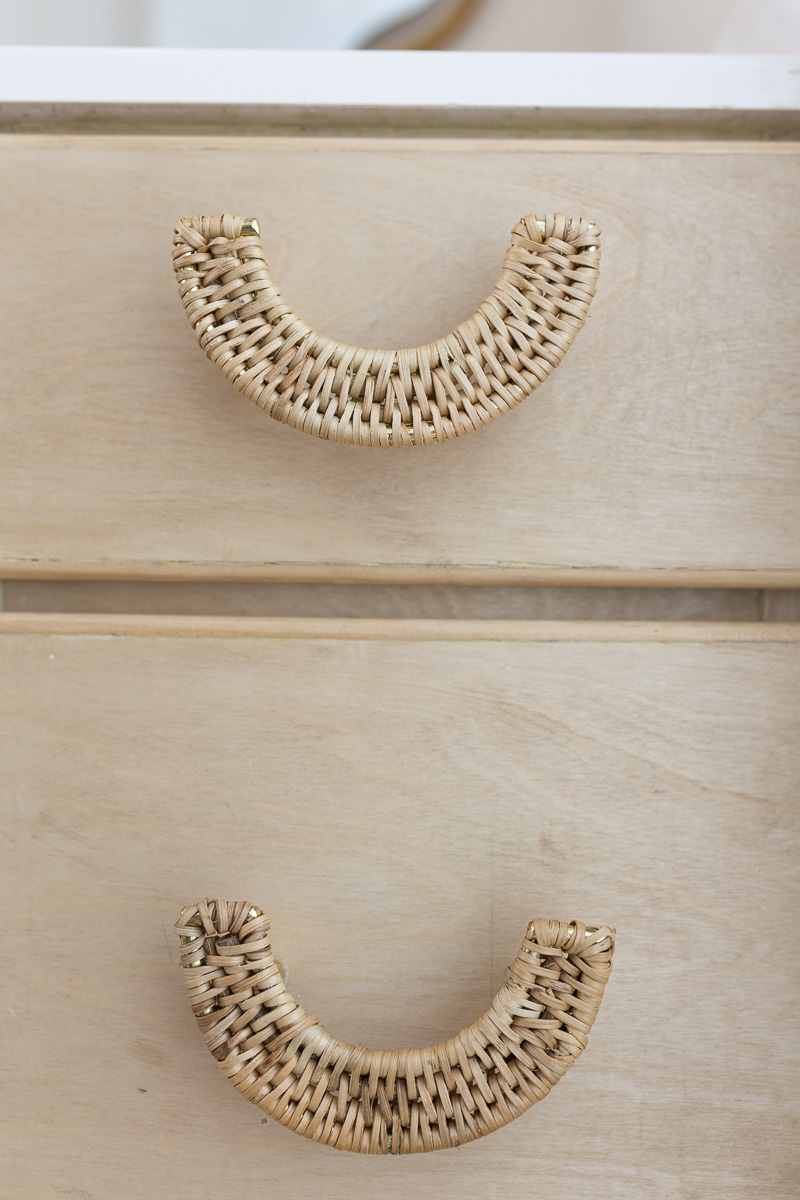
Hands down, the coolest part about the vanity is the Mia Rattan handles from Anthropologie.
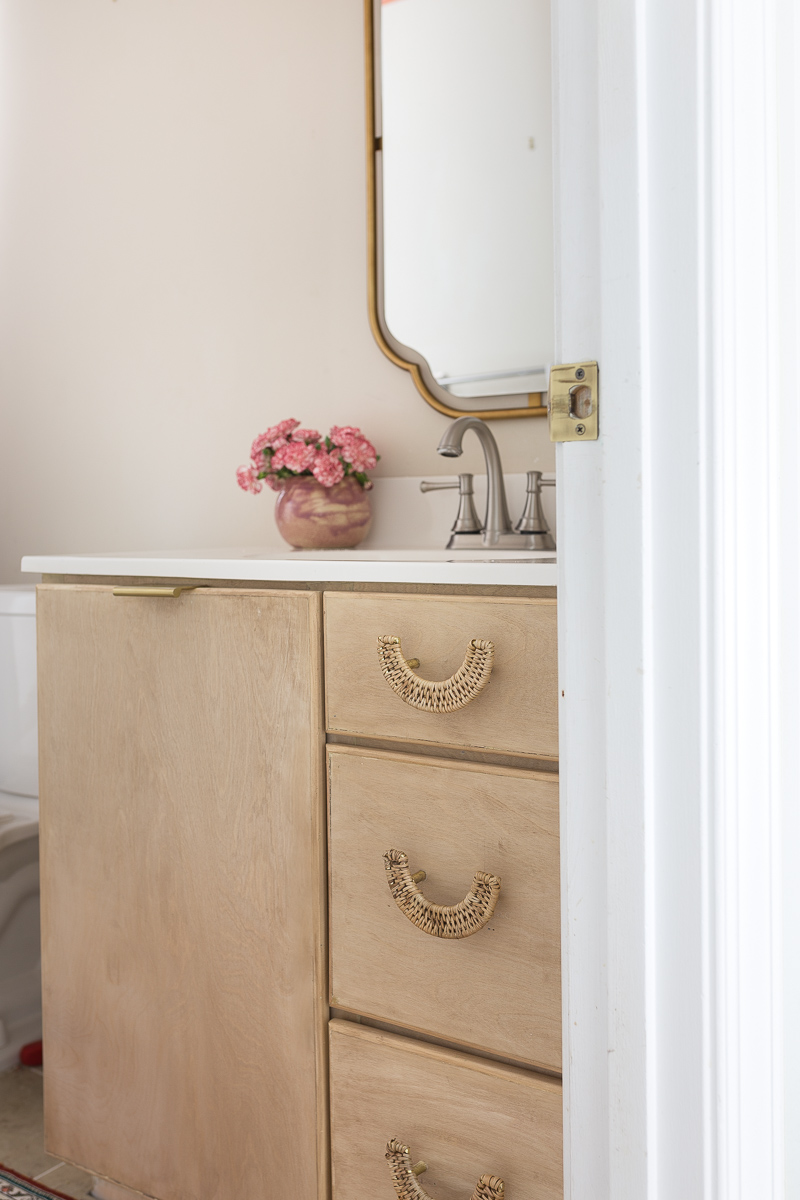
Without further adieu, let’s get this tutorial started!
Supplies for DIY Bathroom Vanity
Supplies
For my 30 inch wide vanity I used:
1 sheet of 1/2 in birch veneer plywood
24 LF of 1/2 in trim
18 in gauge nail gun
screw driver/ drill
Fine sandpaper
Natural Oak wood putty
Natural Oak wood stain & clean rag
Anthropologie– Mia Rattan Handles
(optional) Anthropologie– Perla Mirror
(optional) Anthropologie– Sylvia Towel Bar
Step 1: Cut the DIY Bathroom Vanity Drawer Front Replacements
Remove the old drawer fronts and measure. Remember to subtract out the width of the trim from your total amounts. Then cut the panels as straight as possible. IMPORTANT: Keep the wood grain facing the same direction. I learned that lesson the hard way.
Step 2: Cut the trim for the DIY bathroom Vanity
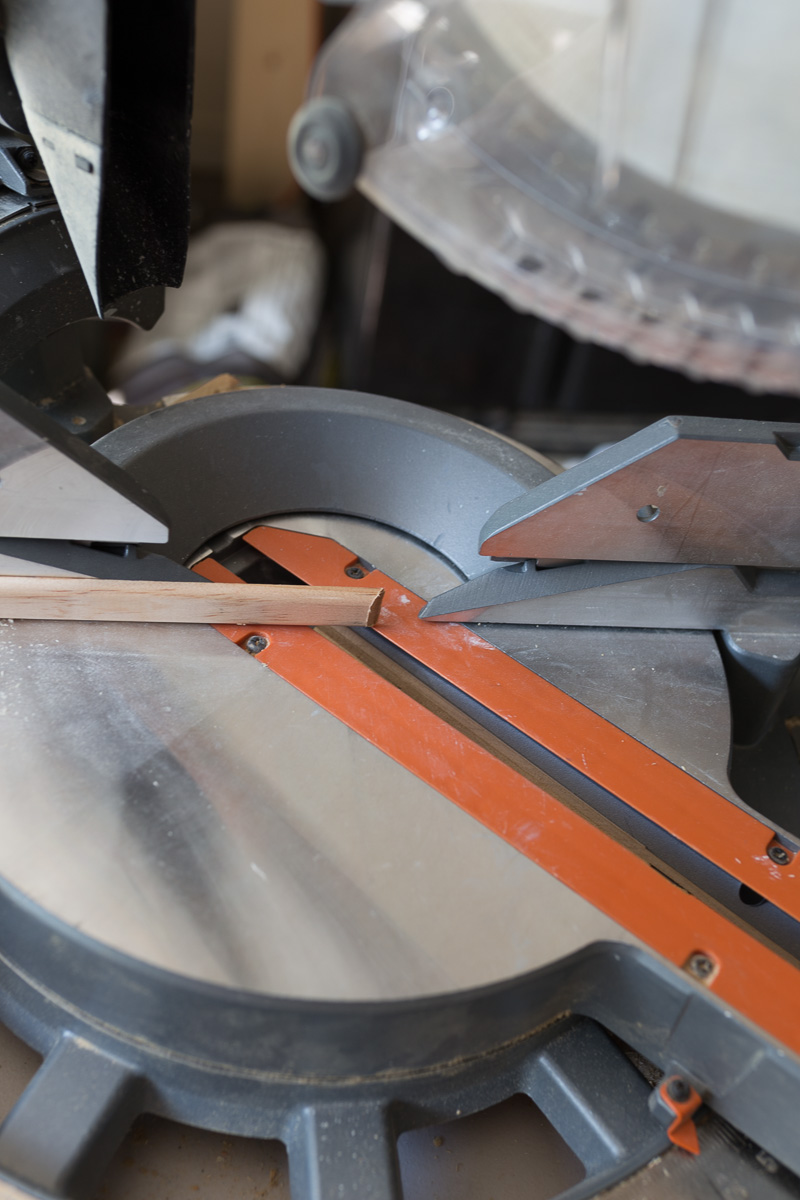
Using 45 Degree angles, apply your trim to cover the raw cuts on the sides of our cut plywood. Note: this image shows the remnant of the trim, not the piece I attached.
Attatch to the sides using a brad nail gun. Make sure to sink the nails in the hard part of the wood, vs the center section with sometimes has air holes.
Step 3: Sand and Putty
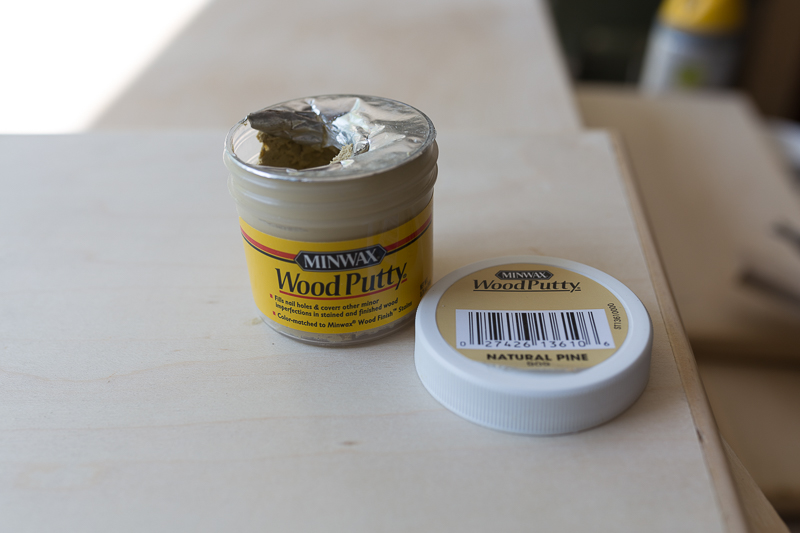
I used Natural Pine putty and sandpaper to fill in any gaps and smooth the surface
After properly prepping the surface I quickly wiped down each piece with a Natural Oak wood finishing wipe and used a clean towel to quickly wipe it off. I wanted just the very lightest hint of stain. In this image you can see the birch drawer front and a sample of wood with a little of the stain. Subtle, but I liked the difference and committed.
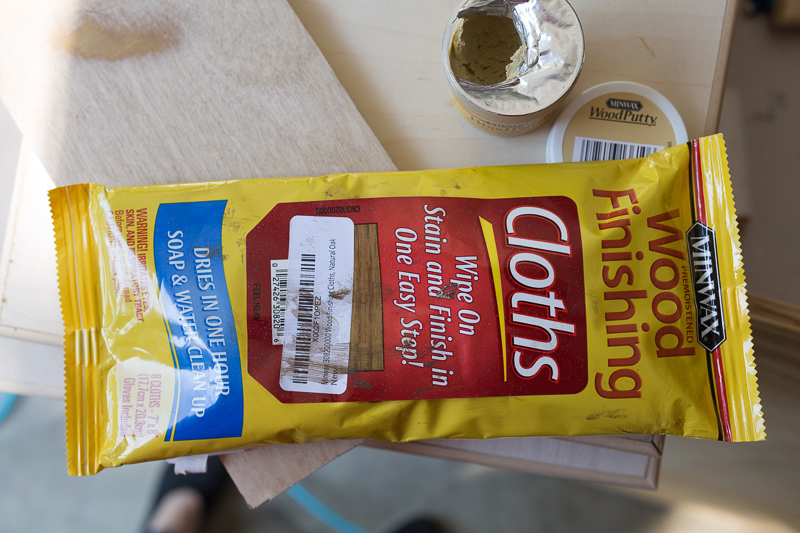
Optionally, I stained some of the cross beam sections AFTER I nailed them to the frame.
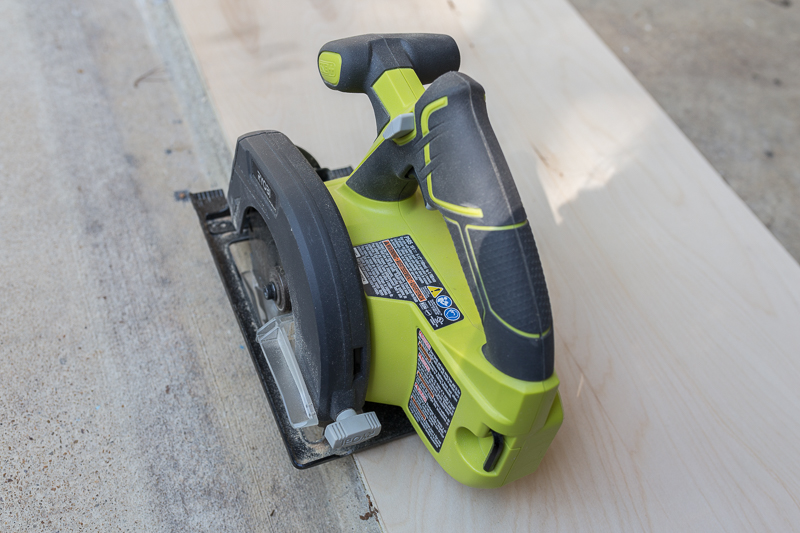
One issue that I ran into with refinishing the cabinet base was the the width of the plywood forced the overall design too wide. If I had applied the 1/2 wide plywood the drawer fronts would stick out too far past the edge of the countertop. My husband had the idea of splitting the plywood with a circular saw.
See the image below. The left is the original width and the right is after we split it.
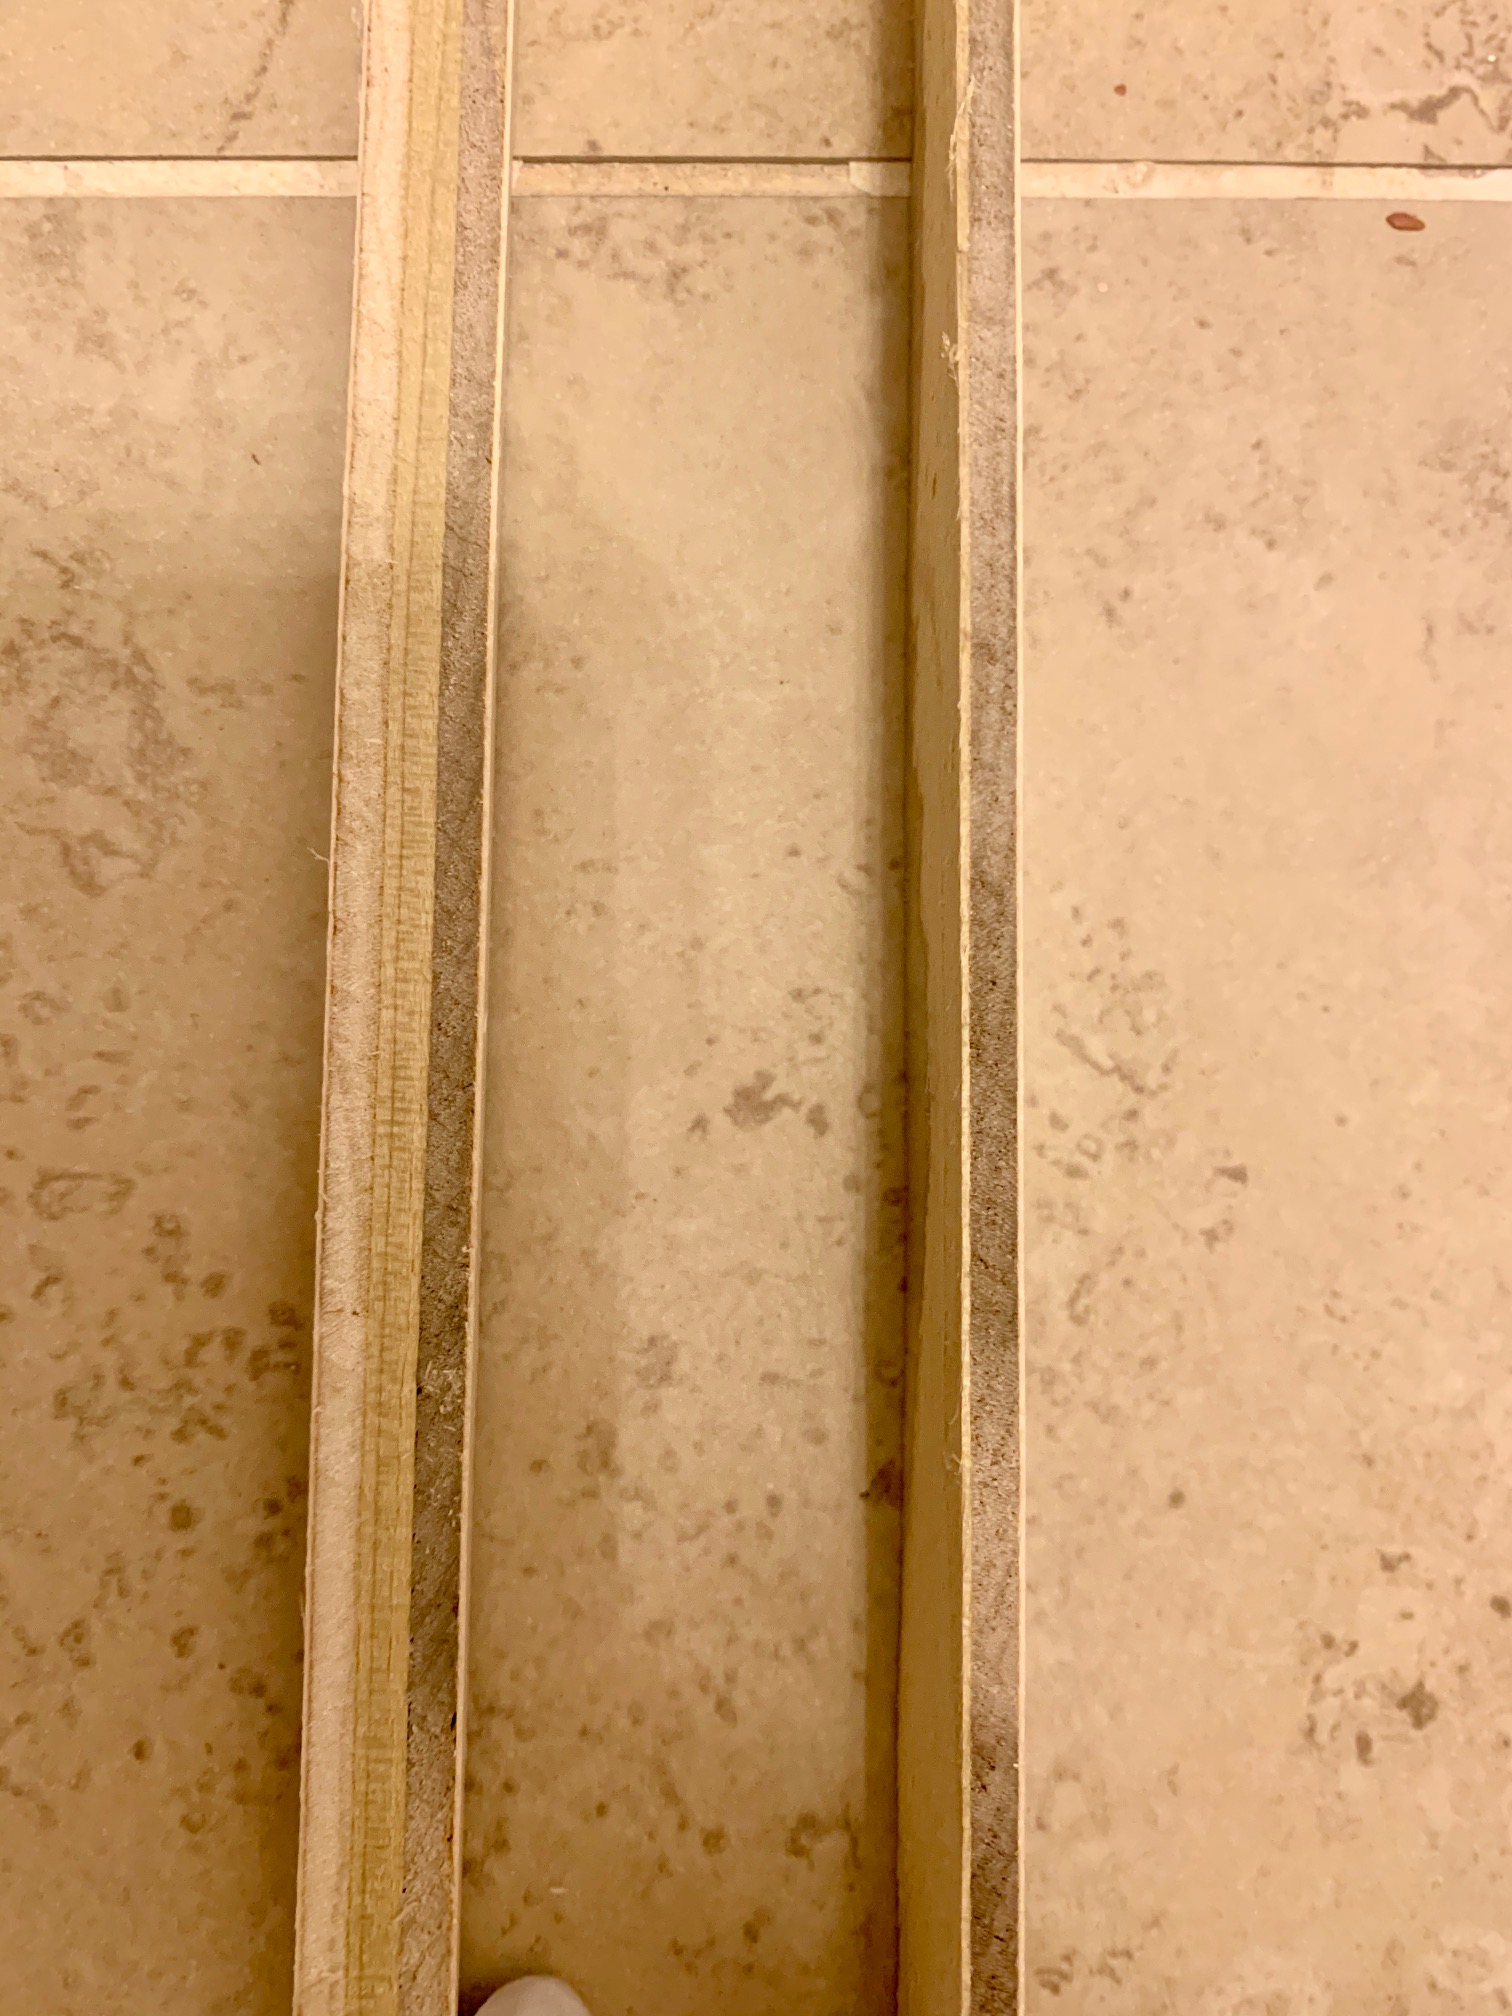
First we cut the wood to the proper dimensions, and then we split each piece that needed to be attached to the front. The plywood on the side of the vanity was not an issue, so we left that the full 1/2 in width.
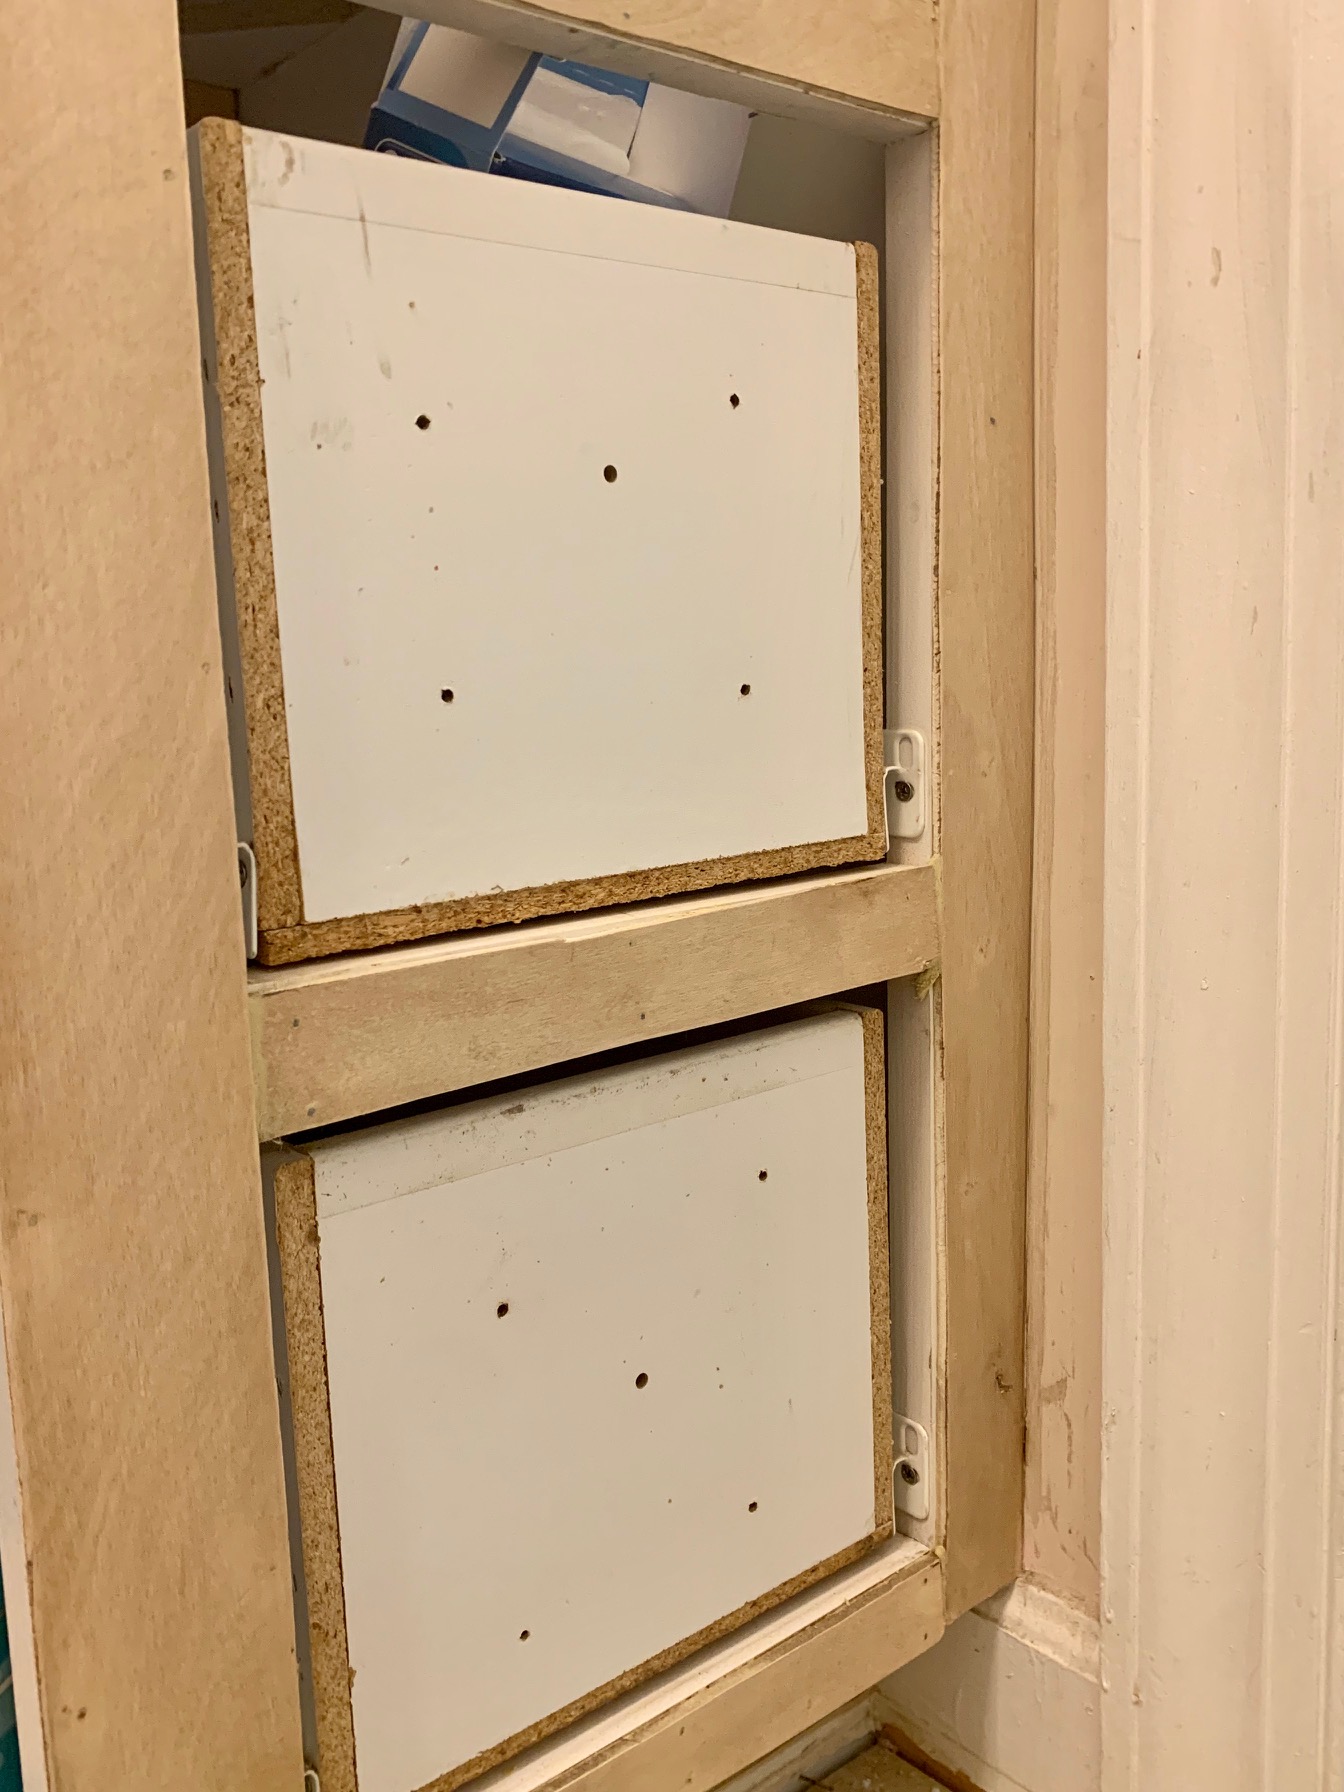
Once the pieces were all properly sized and split, I attached them with the brad nailer, and then puttied and stained them.
While still working on a flat surface I measured where I would eventually drill the holes. While you could drill the holes now, I personally did not drill and attach them until AFTER I secured the drawer fronts to the vanity.
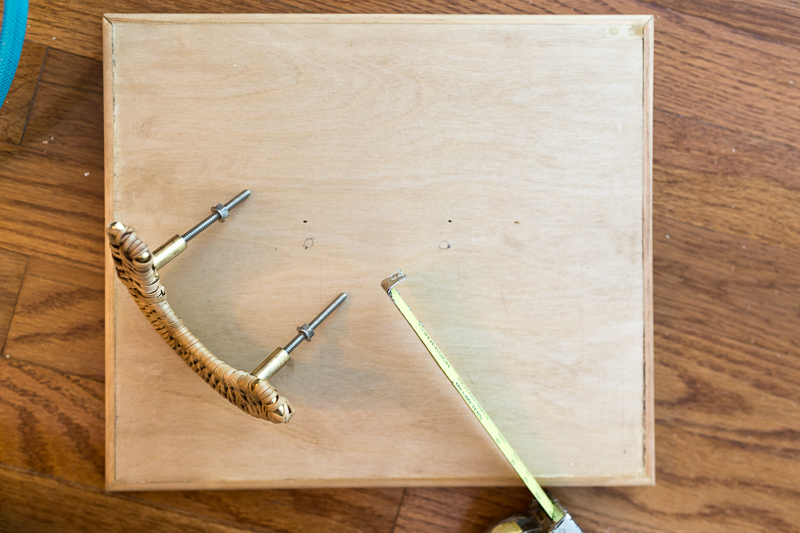
Step 7: Reattach the Drawer Fronts
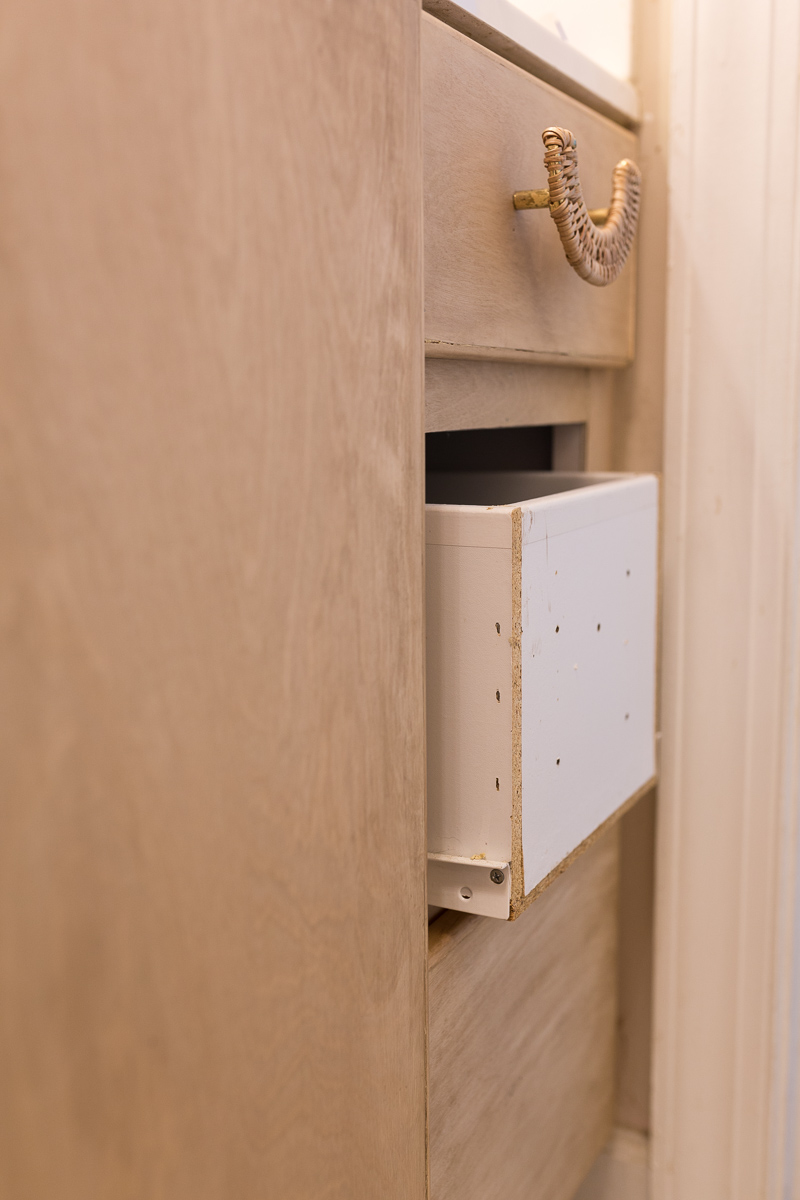
I propped something behind the drawer I was working on to make it stick out a little, then centered the drawer front to the vanity, using a nail gun. Once the front was attached, and the corners and angles were all lined up, I then added the handles.
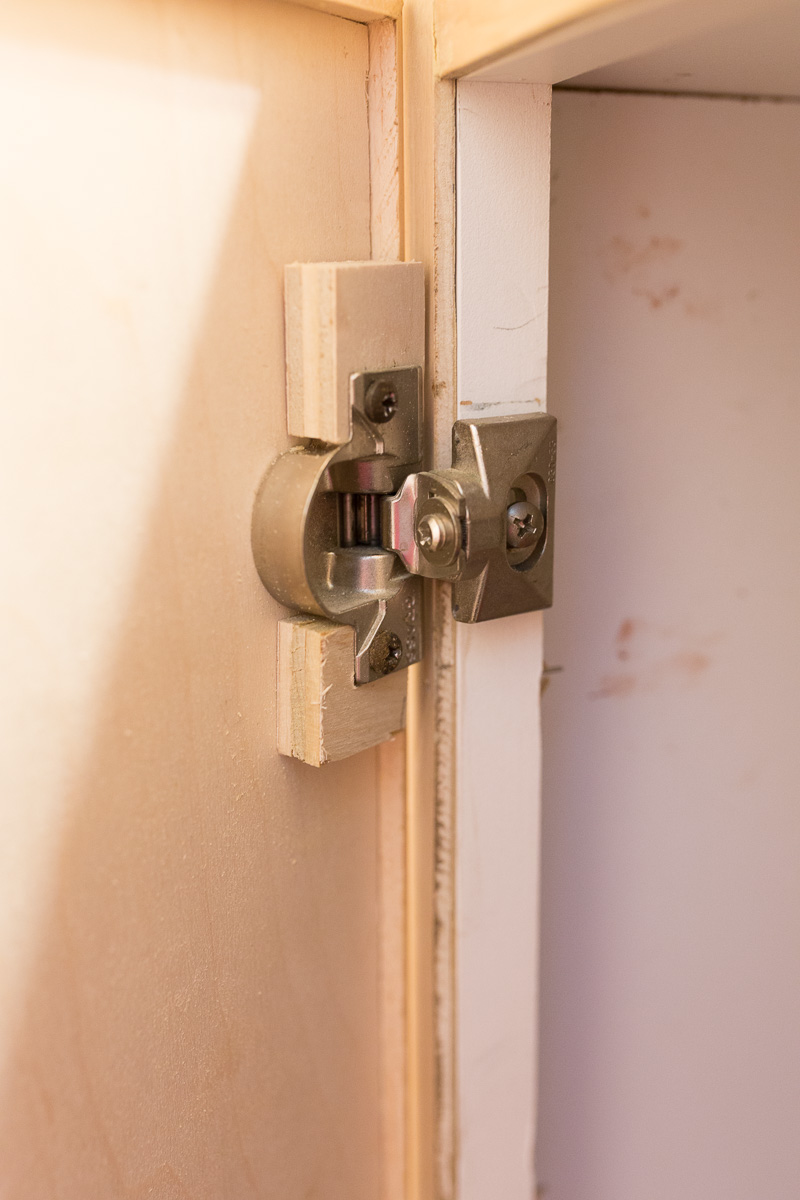
I followed the guide from the old drawers and reattached hinges. To be honest, I think I need to go back and rework this section a little. I plan to bore into the wood so that the panel closes tighter to the cabinet base.
Step 8: Accessorize and Enjoy
Mirror
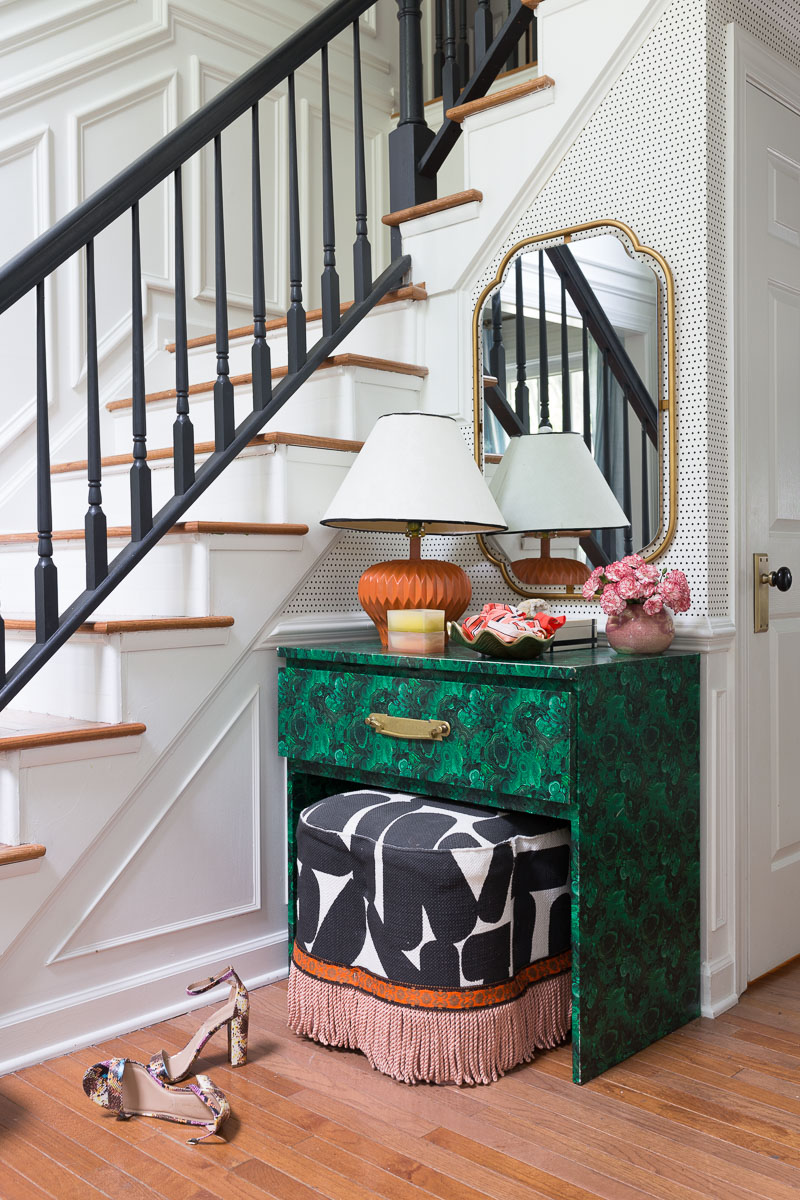
I added a beautiful Anthropologie– Perla Mirror, and the lines work beautifully with the handles.

Before hanging it in the bathroom, I gave the mirror a test run in our living room.

It is a very versatile piece that could go with many style and in most any room. I love the modern Art Deco vibe and the inset mirror detail is so much fun!
Other Accessories
Other great accessories that match with this bathroom vibe are the Sylvie towel racks and TP holder.
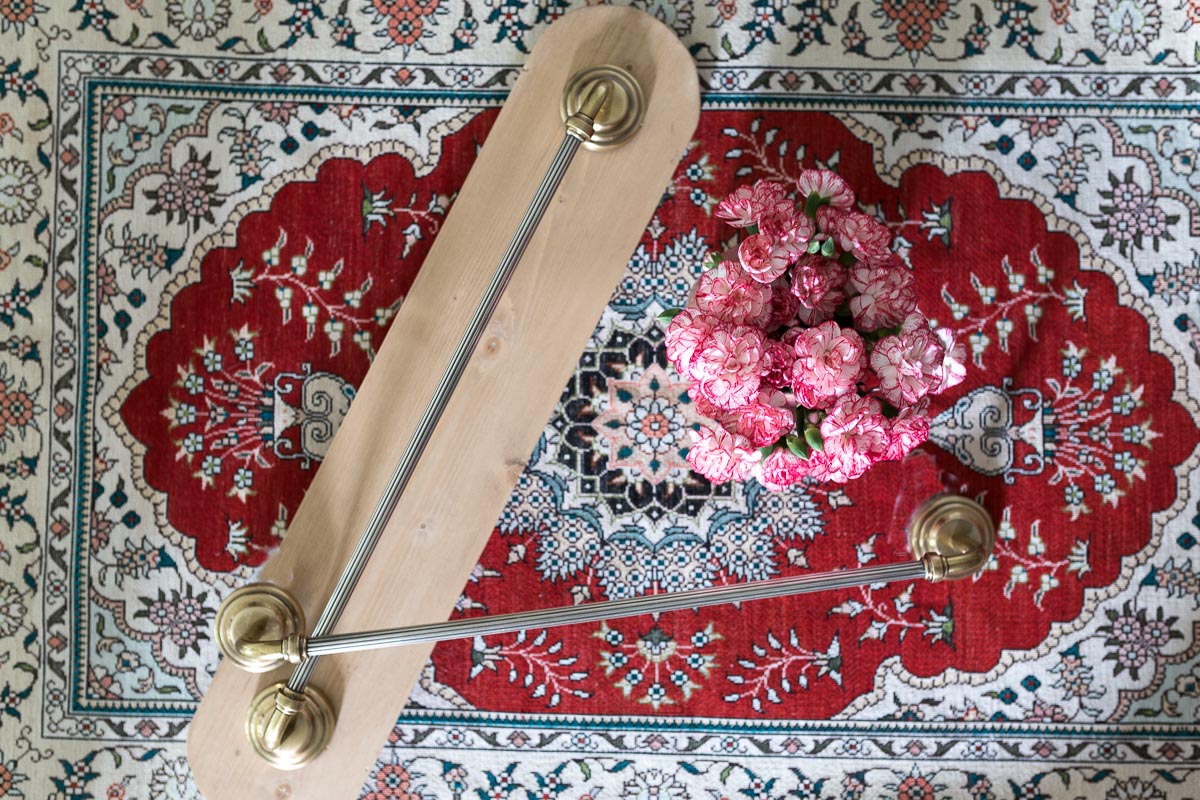
You can see that I am attaching one of the Sylvie towel racks to a piece of wood that I fashioned.
Bath Mat
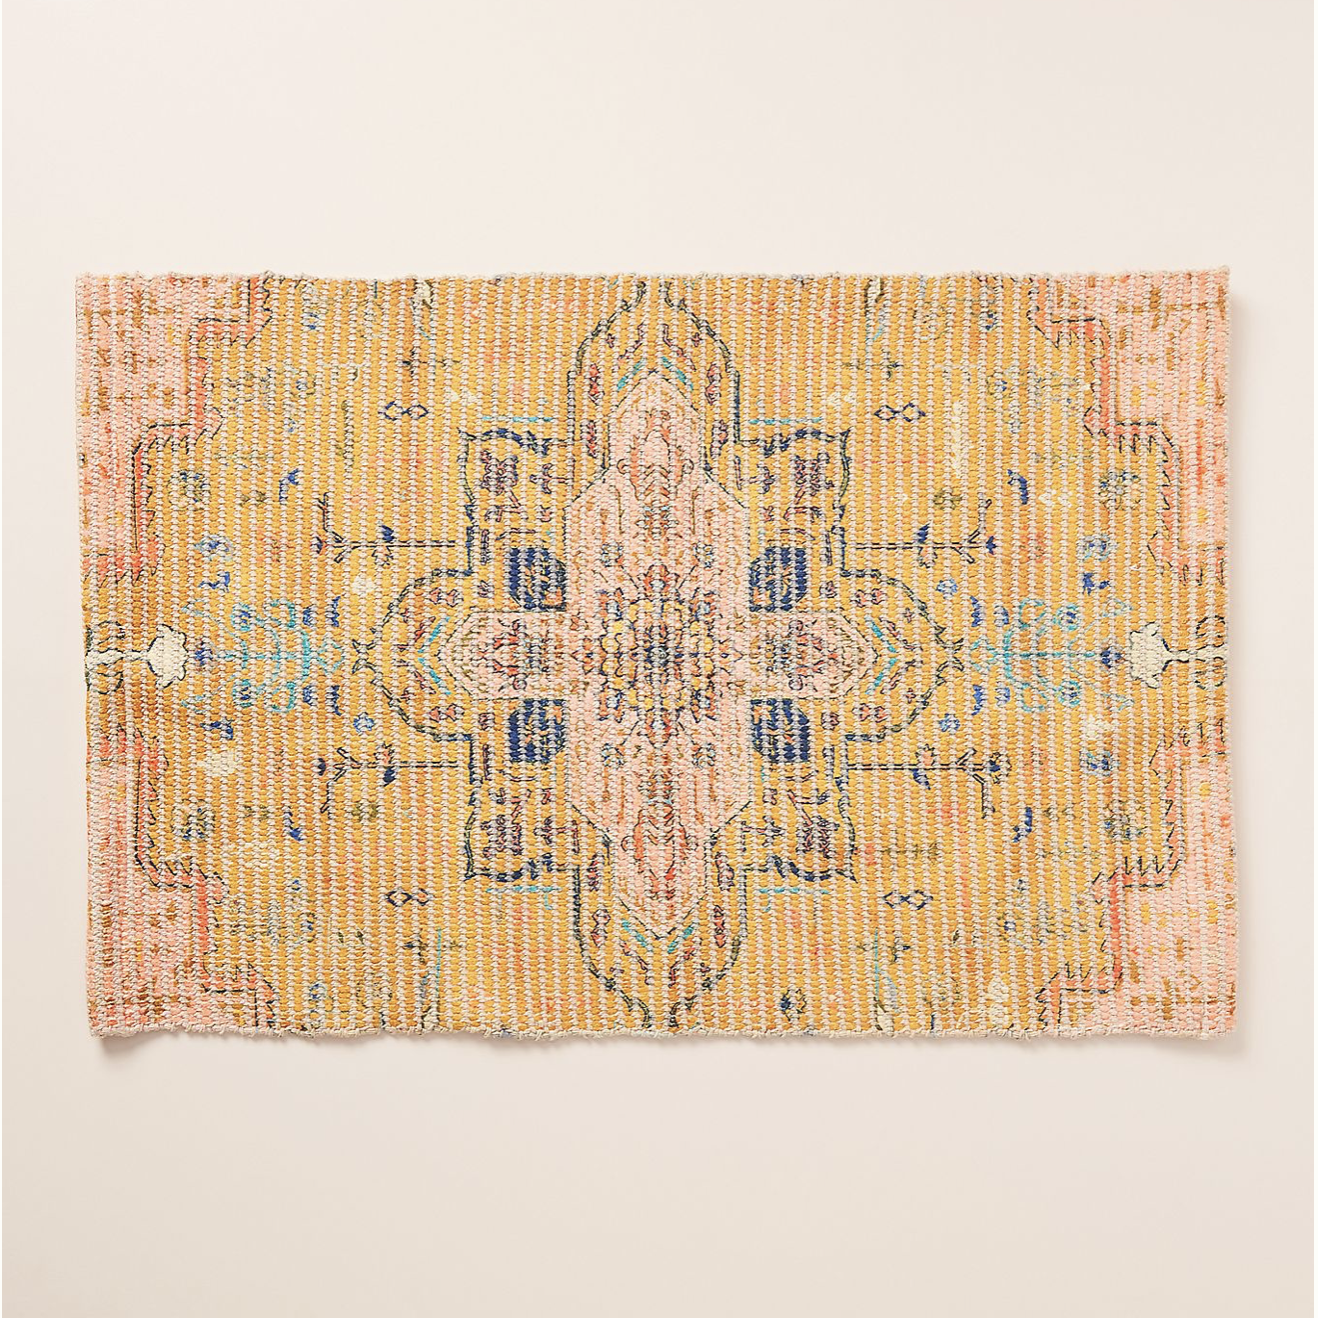
While it will not make it in time for the big reveal, the Harmony bath mat will look divine in this space. I love that it has the look of patina, but can withstand the water of a bathroom. I believe the oranges and blues will tie the space together beautifully.
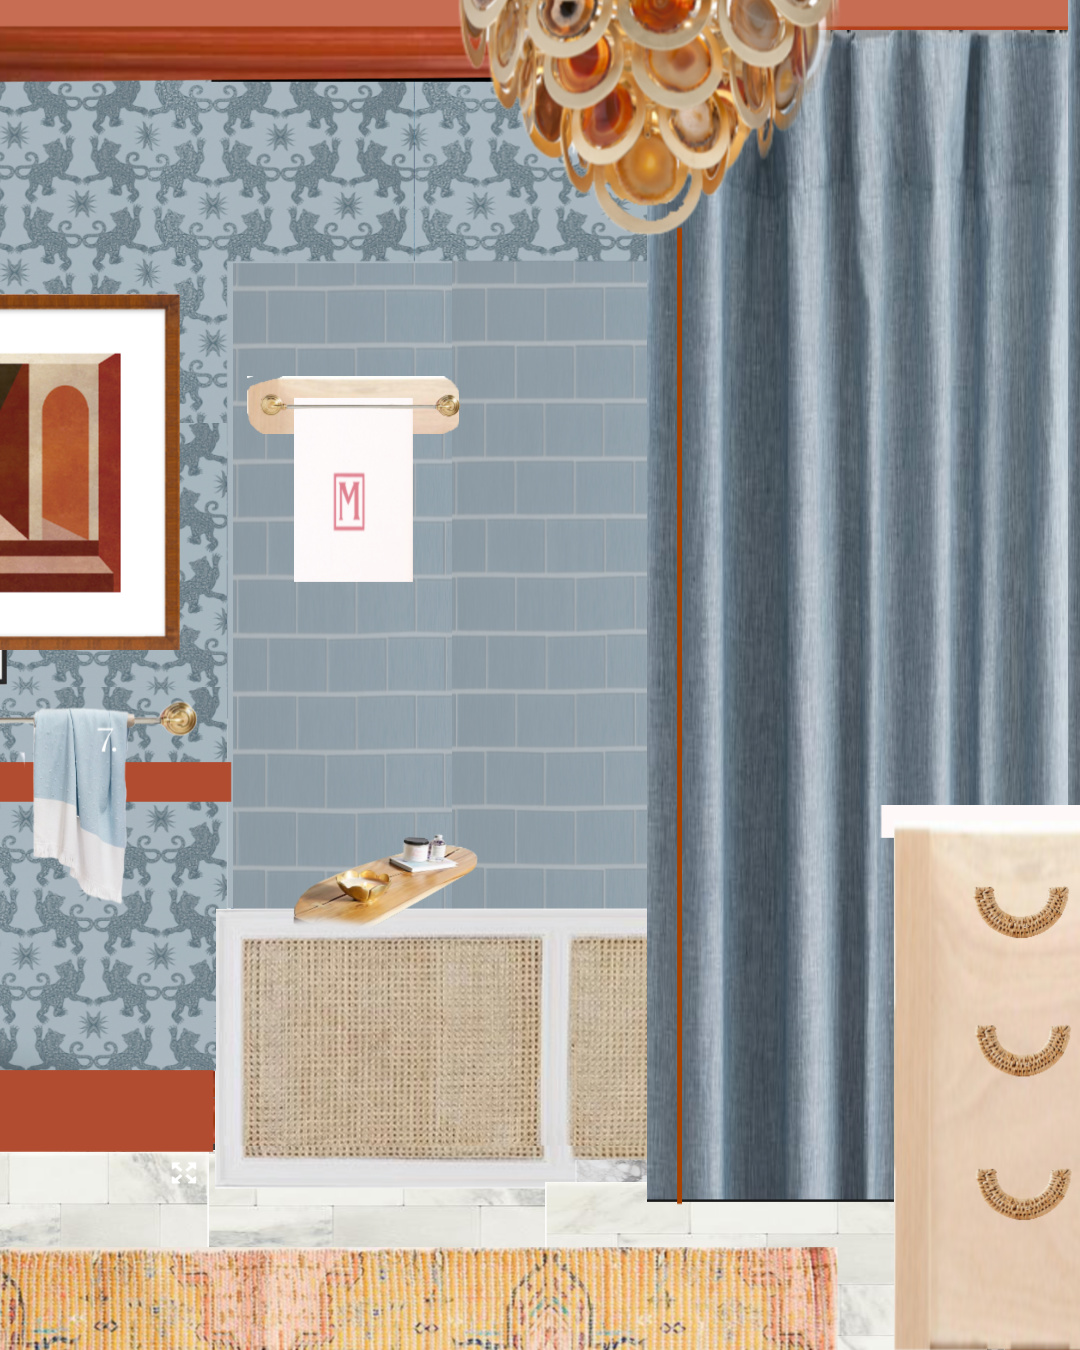
I am in the proccess of finalizing a colorway for the wallpaper. As of right now, I think the natural elements will look dreamy with the light blue wallpaper.
Kids Bathroom Sources

1. Hygge and West– Palace (Indigo)
2. Corbett Lighting (HVLG)– Rock Star Chandelier
3. Artfully Walls– Florida by Janet Hill
4. Artfully Walls– Karni Mata Temple by Andrew Jacana
5. Mitzi Lighting (HVLG)– Natalie Sconce
6. Crane and Canopy– Monogrammed Plush Towels
7. Crane and Canopy– Blue Dot Fouta
9. Anthropologie– Perla Mirror
10. Trend Fabric– Tangerine 03211
11. Potomac Paint and Design Center– Farrow and Ball Charlotte’s Locks
12. Potomac Paint and Design Center– Farrow and Ball Stiffkey Blue
13. Anthropologie– Sylvie Toilet Paper Holder
14. Anthropologie– Mia Rattan Handle
A Huge Thanks to my Fabulous Sponsors
Install Crown and Chair moulding (Metrie)
Paint Trim in Charlotte’s Locks (Farrow and Ball)
Paint vanity in Stiffkey Blue
Install Anthropologie towel bar (x2), toilet paper holder, hand towel rack, handles, and rug
Hang Rockstar Chandelier (HVLG)
Install Wallpaper (Hygge and West)
Build Tub Cover out of wood and wicker.
Sew Fringe Shower Curtain (discount) (Trend Fabric)
Finalize Art (Artfully Walls)
Learn to homeschool four kids
Stay Safe and Stay home as much as possible
Thank you so very much for joining me on the Jeweled Interiors kids’ bathroom Spring 2020 One Room Challenge. If you like what you see here don’t forget come back and poke around a bit after the link-up. Oh, and following me is fun too. Check back each Thursday as I transform this space into a colorful, soulful, and glamorous abode.




So cool that you did this yourself! Way to go! And love the Anthro hardware!!
Thanks Haneen! Yes, it was fun to learn.
This is amazing Jewel!! I love that natural wood tone so much. The handles are so perfect too.
As always, I’m amazed by your talent!
Love how this turned out!
Thanks so much Jenasie❤️
Thanks so much Carmel. I’m headed over to your office now!
Thanks so much Rachel!!!
Nicely done! Can you tell me where you got the hardware for the vanity door?
Way to go Jewel! It looks amazing!
Hi Barbara. It is all Anthropologie. It looks like the wicker ones are currently unavailable, but I wonder if they will be back soon?
Jewel! This is an awesome vanity makeover! And those knobs look like smiles and are perfect for one of your colorful and eclectic designs that evoke cheer and happiness!
Fabulous job on the vanity makeover! I love the bare wood look sometimes, too. And the hardware and mirror are just beautiful!
Jewel!!! is there anything you couldn’t do?? can’t believe you made those door and drawer fronts!! So i thought you refaced them but wow!!
That hardware is so so pretty!
I love the resurfacing project and those handles are so fun, They really make the piece unique.
Which program/app do you use for your color rendering?
You made plywood look like a million bucks!
It was so fun following along on this space!
Hi Adrienne. I use Picmonkey and it is super easy.
Thanks so much Jenna. Your room is fun!
Thanks so much Lindsey! I’m happy with it!
Thanks Jen! My favorite part as well!
Yes! Plumbing, major electrical, and tile! I still have so much to learn, but thank you!
Thanks! By far my fav part of the vanity as well!
Thanks Carrie! I appreciate it!
So beautiful! I love that mirror with the vanity
Thanks so much Ashley
Thanks Tina. I’m obsessed with your space!
Thanks Lisa! I do love the smiley pulls as well!