Hall Closet Makeover Reveal
We needed a hall closet makeover! BIG TIME! While I am thankful to have a closet at all, it really is just too small for a family of 6. Add to that a complete lack of neglect and it became challenging to even shut the door. Check out how I was able to weed through the coats and shoes, build a shoe rack, wallpaper, and add cute storage baskets. Now I smile every time I put my shoes away.
Hall Closet Makeover: Thank you to SmithHonig for sponsoring this lovely Ravenswood wallpaper.
BEFORE HALL CLOSET MAKEOVER
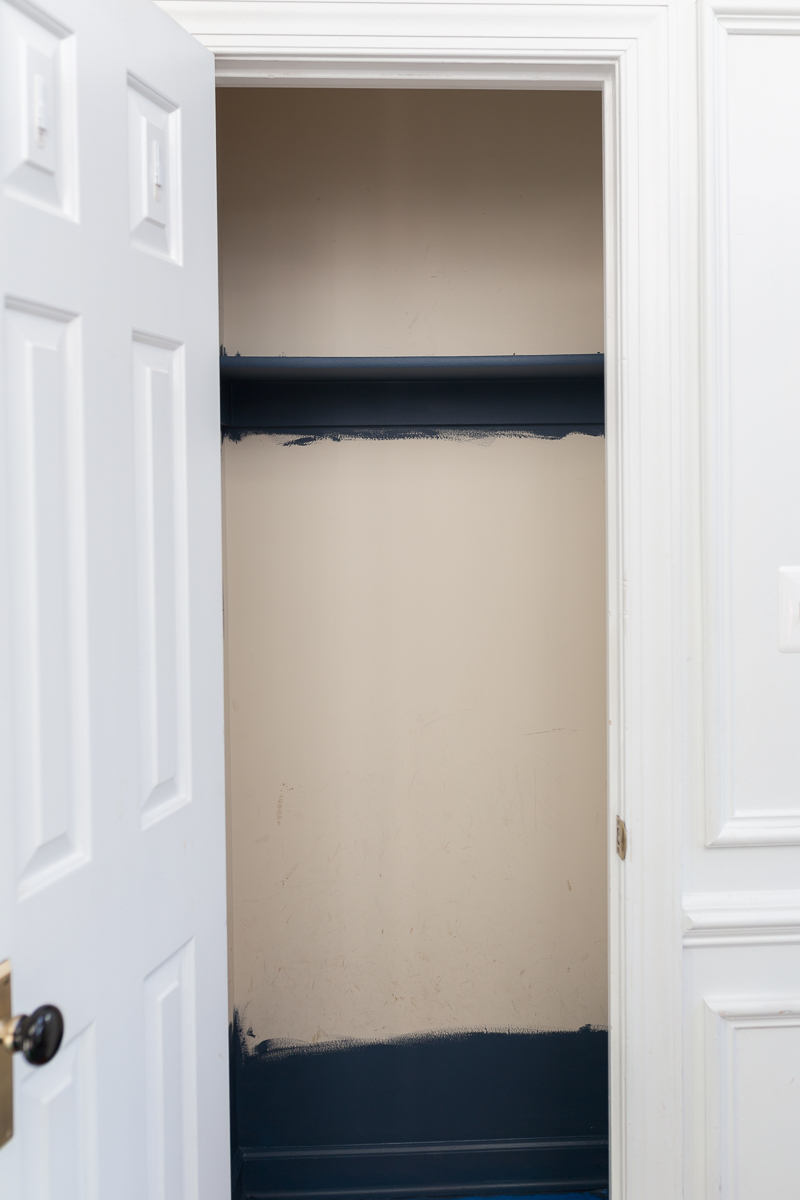
Here’s the situation. We have four kids and two adults who have been using this far too small, and far too unorganized hall closet for far too long.
Check it out!
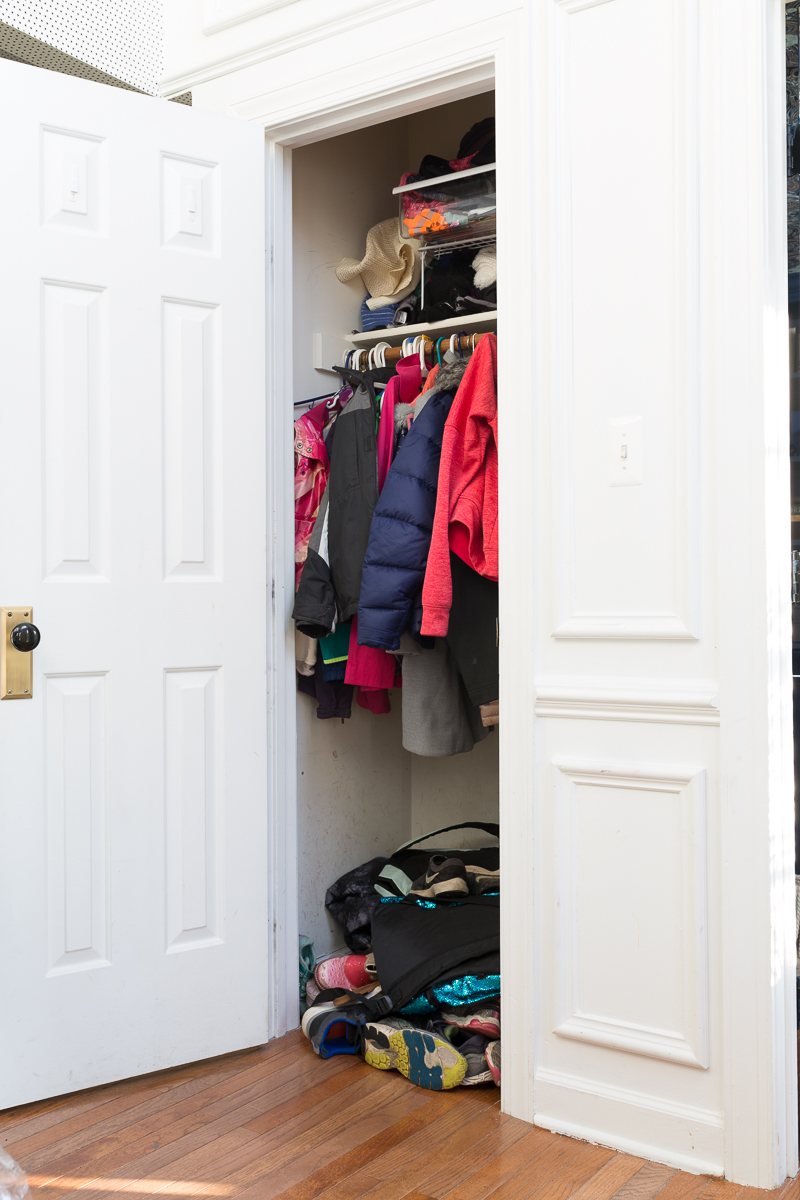
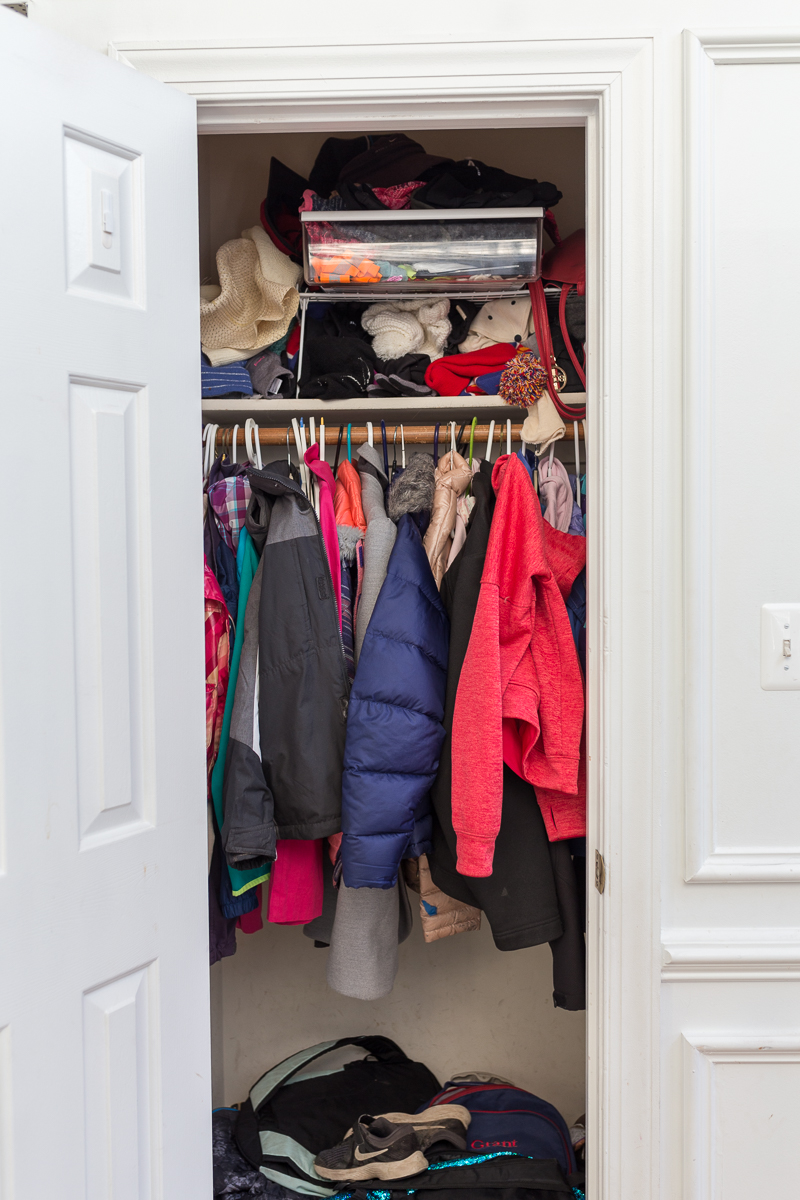
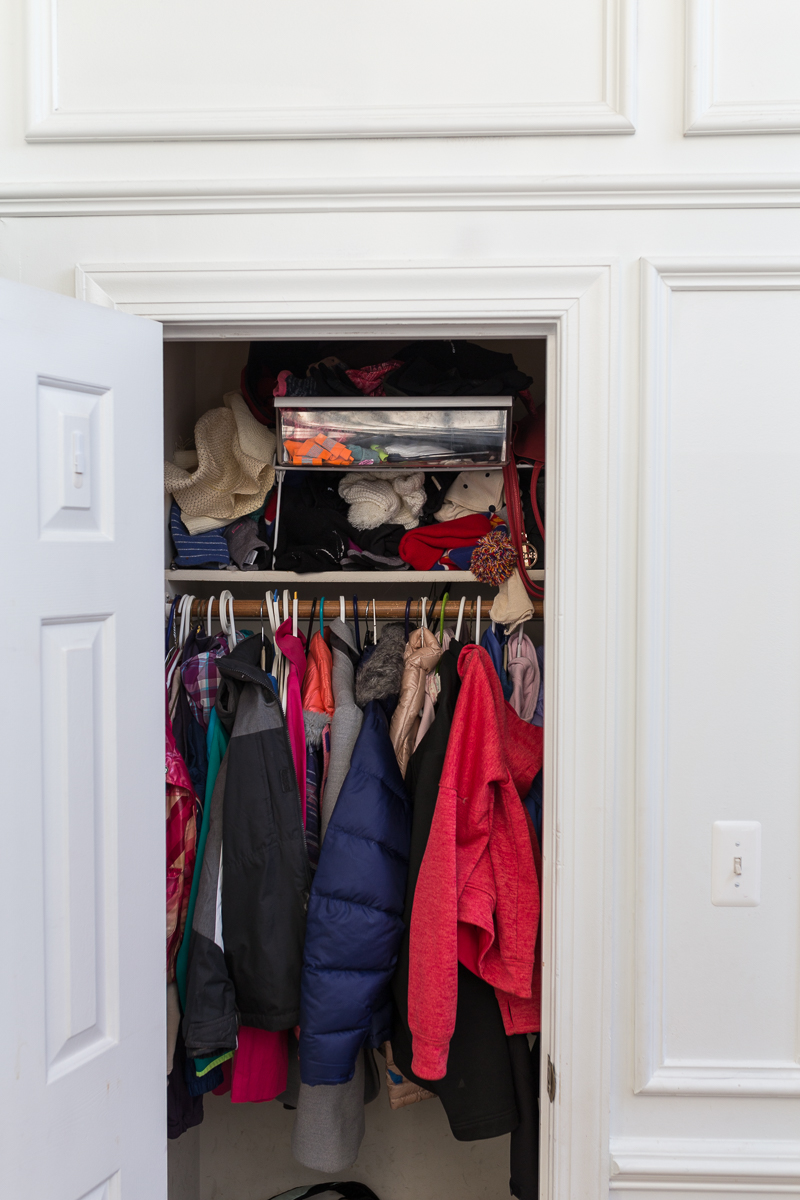
Surely none of you have ever had a closet this trashed, but let me assure you that if you have…there is hope!
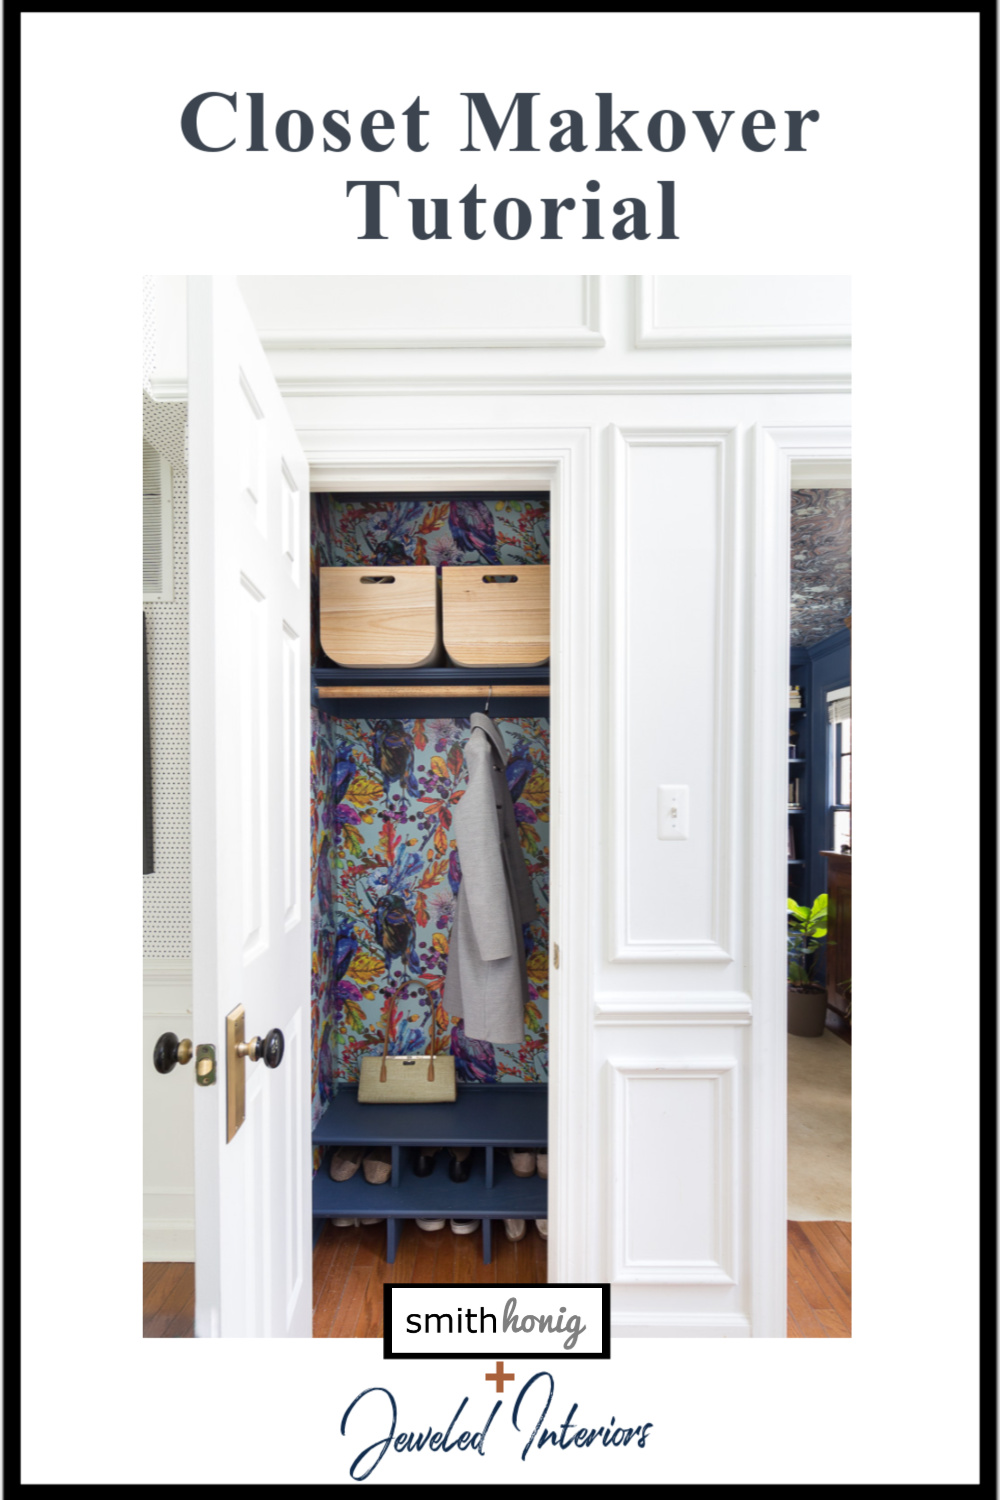
Hall Closet AFTER
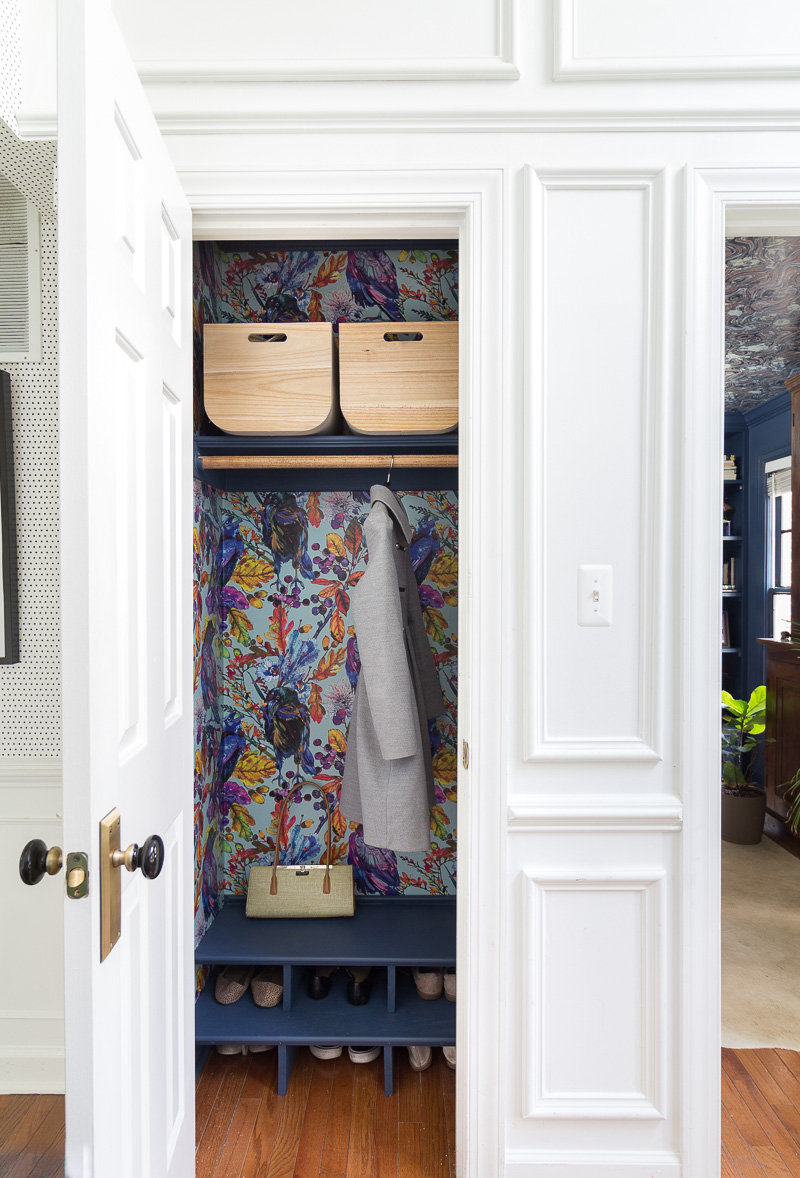
Yep! So much more personality and functionality.
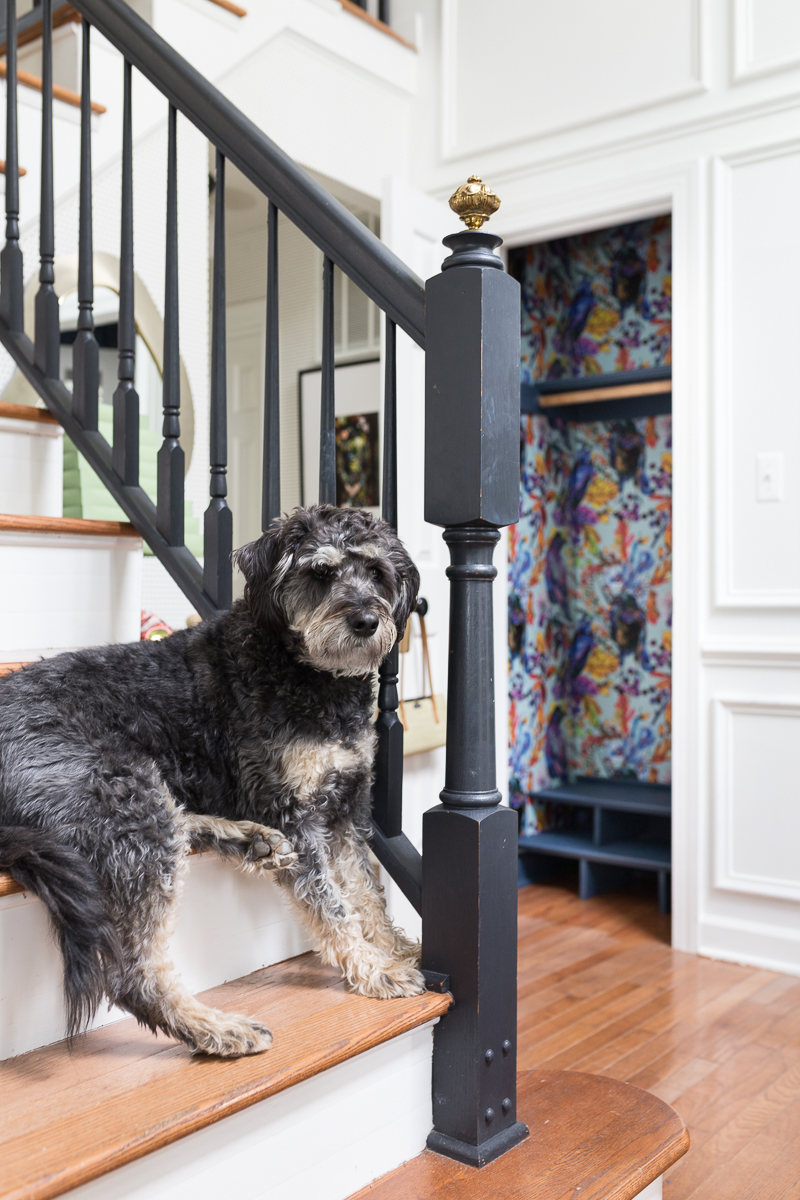
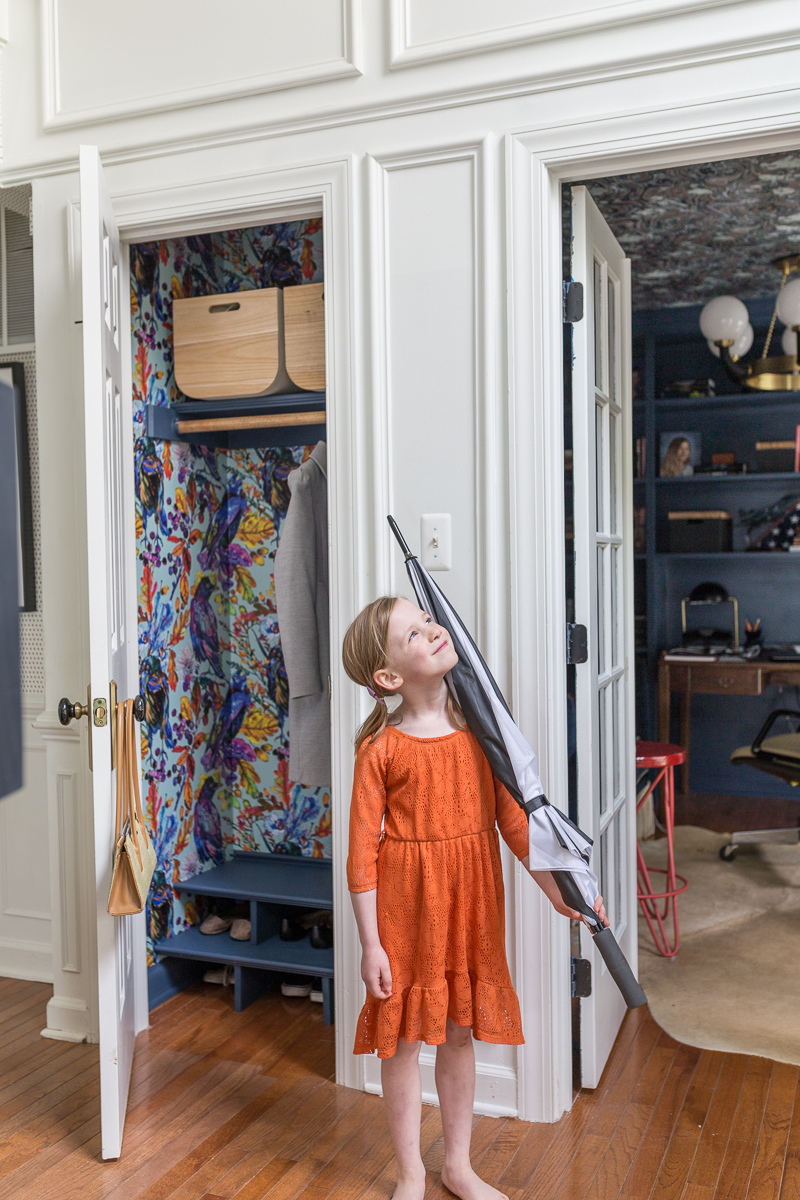
Even Alex agrees! This closet looks much better.
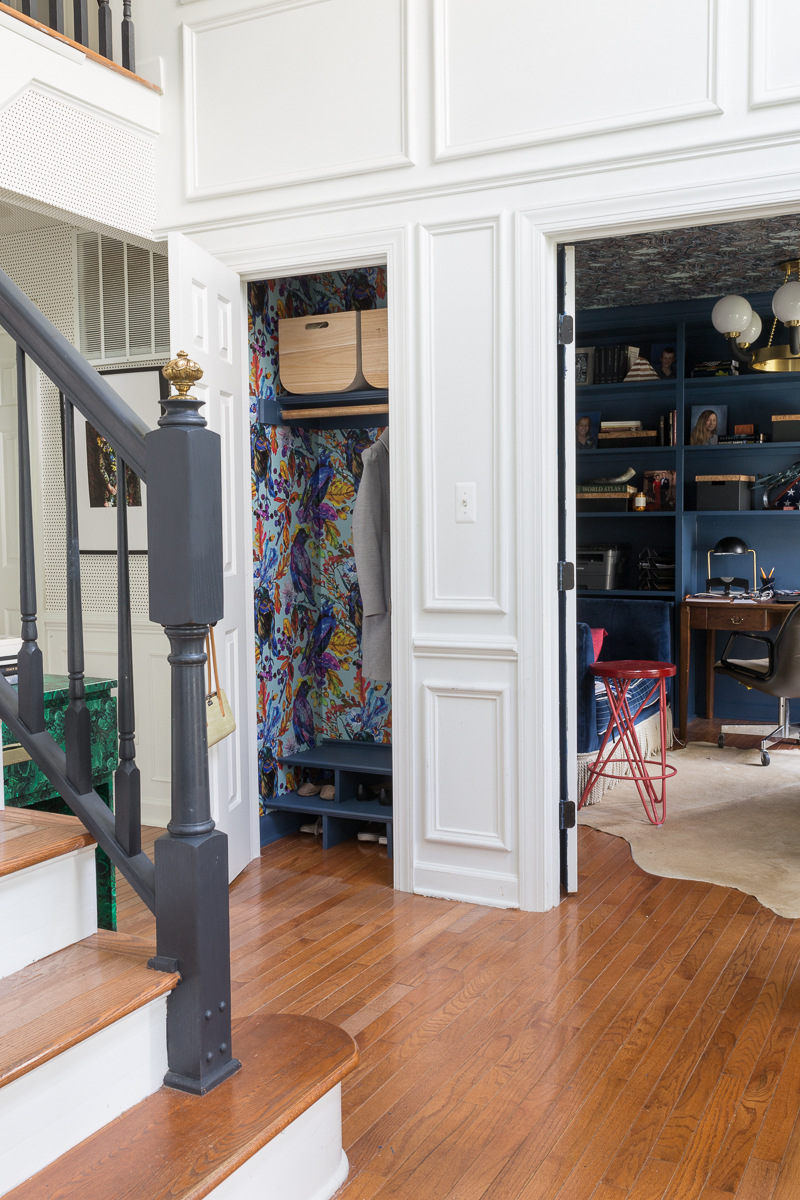
TRUTH: In real life we have about five more coats than pictured in the reveal…but I wanted you to be able to see the gorgeous wallpaper.
I cleared out and sorted EVERYTHING. I thought through what fits, what actually needs to live in the closet, and what could be stored and donated. Now that the kids all have their own bedroom closets, much of it ended up in their own rooms.
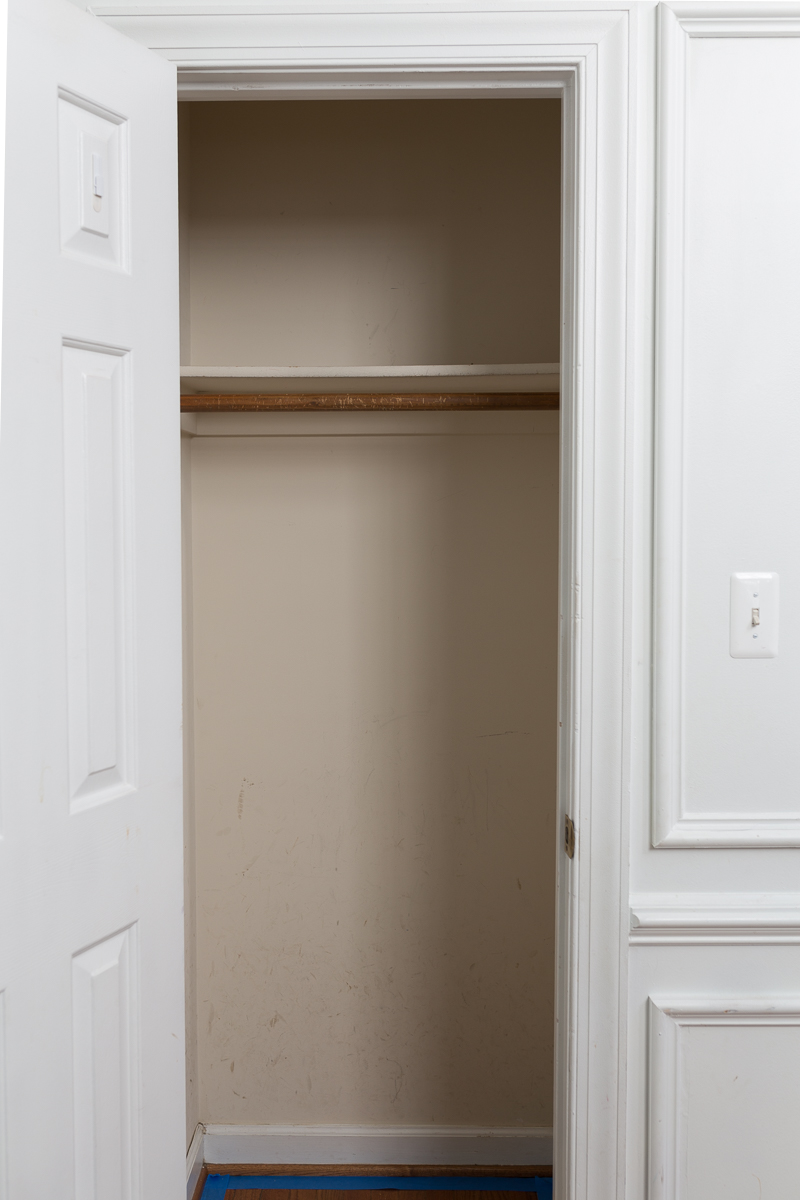
Then I mixed some paint that I had on hand until I found a very pretty blue that looks nice with the Ravenswood wallpaper. I didn’t bother taping it off because I wanted a little wiggle room when it came time to trim the wallpaper.
For the shoe cubby portion of the closet makeover I used my circular saw and cut plywood into two sizes (13x 32 in and 17 x 32 in)
Using my miter saw I cut four 1 x 5 boards (two at 13 in long and two at 7 in long)
Then I painted them and screwed it all together. Each cubby is about 10 inches wide and this is working well for all sizes of shoes. The adults and teenager get the bottom, and I can store about two pairs of tennis shoes in my cubby.
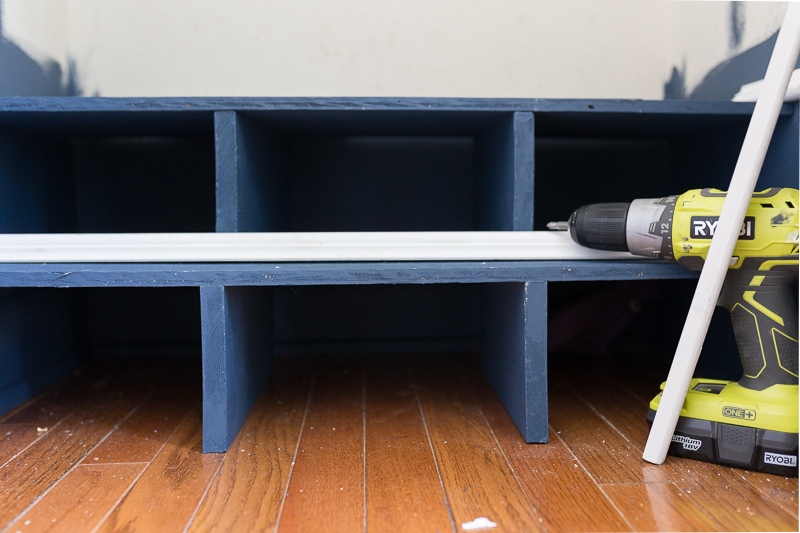
Then I used Metrie Moulding to trim out the exposed unfinished edges and to hide my imperfect cuts along the back and side.
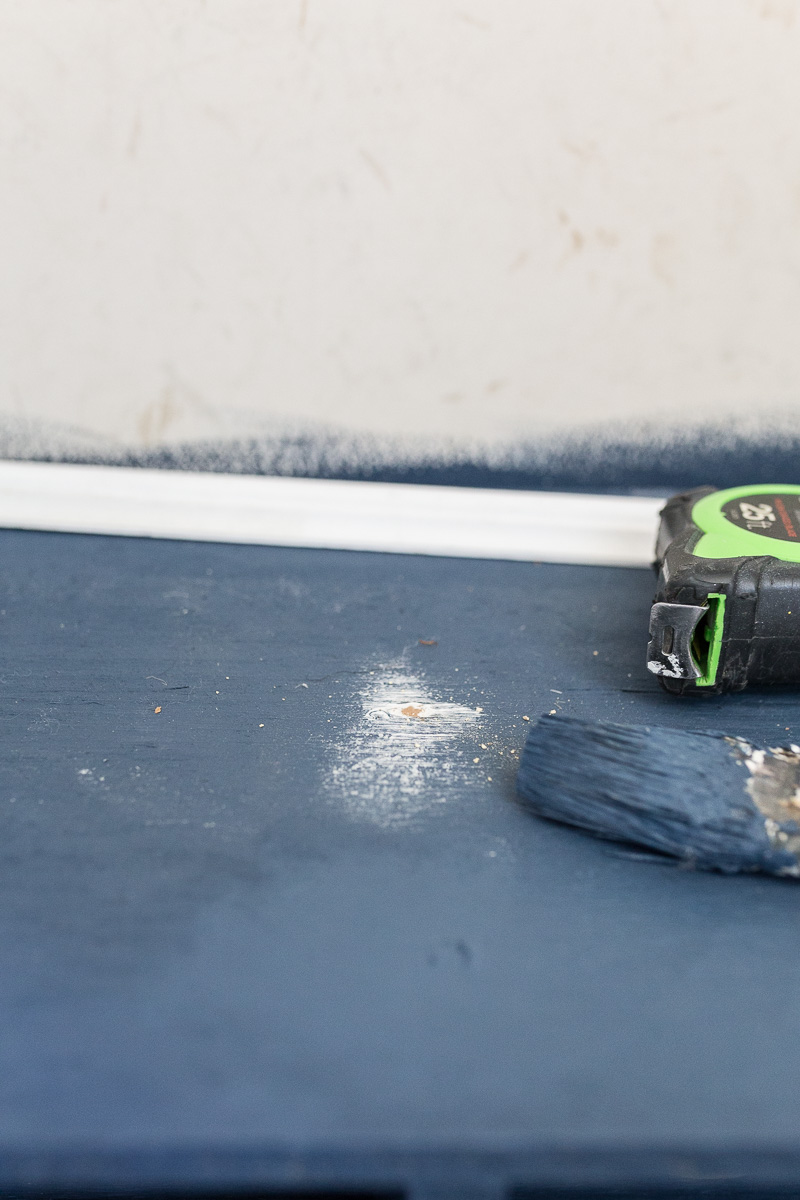
I also filled the screw holes and painted up the entire unit. For good measure I sealed the whole shoe rack with Velvet Finishes Protect top coat. I was worried that dirty shoe prints would show on the dark blue, but so far the top coat has taken care of that probem.
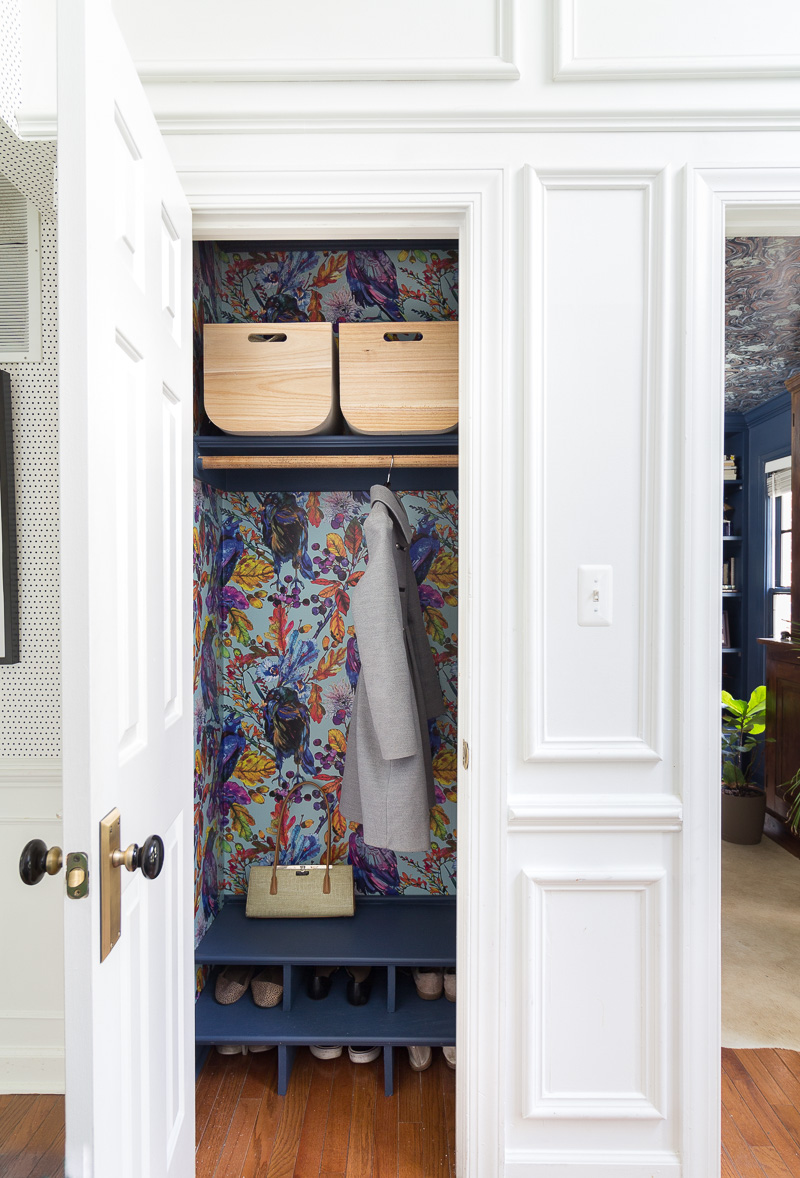
You can see in the image above that I used the same trim on the front of the top shelf. This added cohesion.
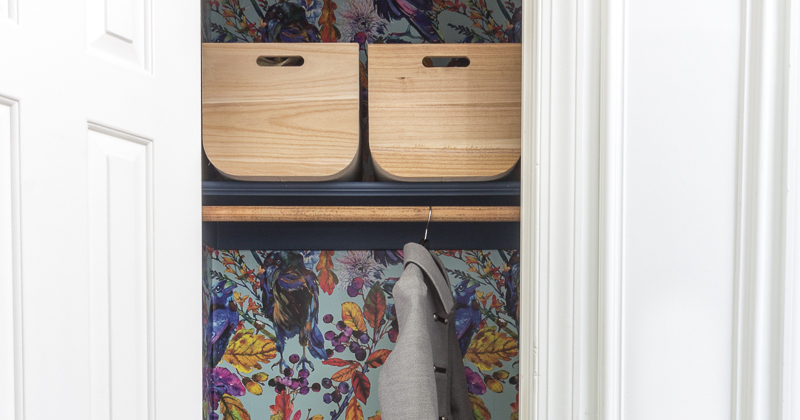
I also sanded down the coat hanger bar to a raw wood. I think this looks nice with the Target bins above.
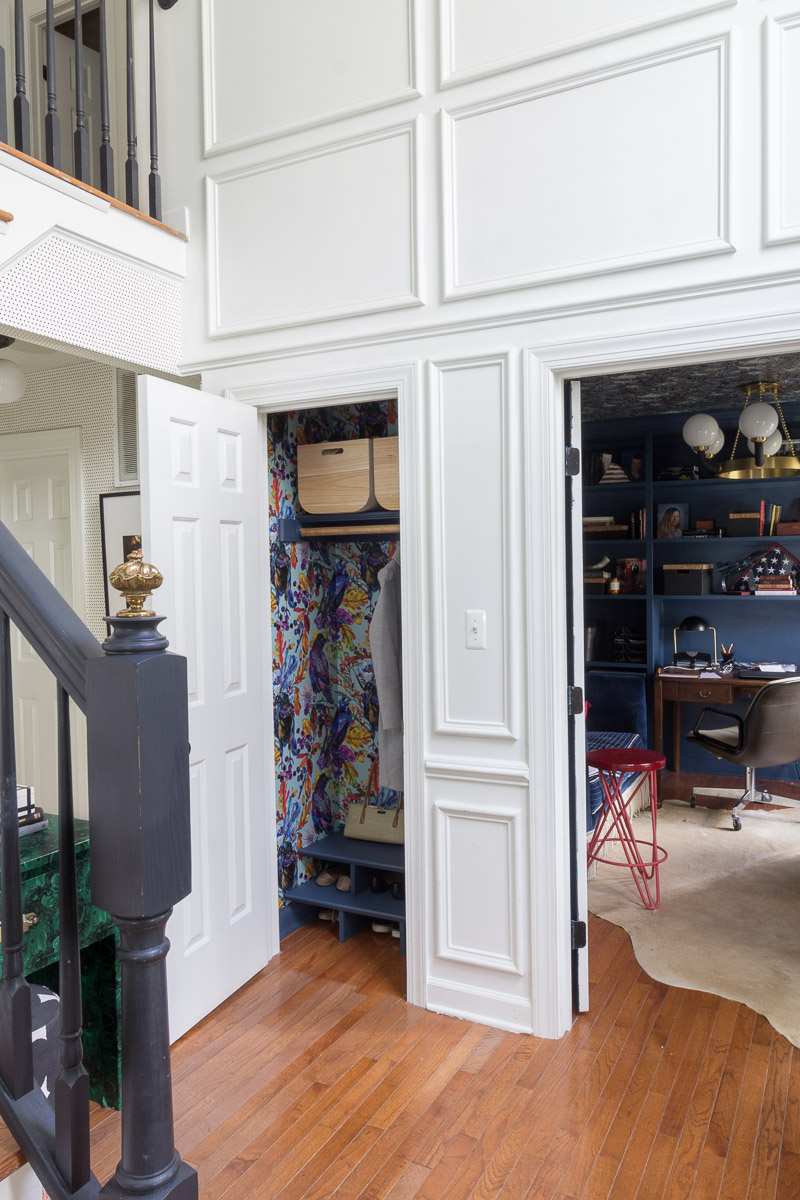
I then added 1.5 Rolls of Ravenswood wallpaper from SmithHonig.
Ravenswood wallpaper was easy to install. I just removed the backing, much like a large sticker. The only tricky part was working around the upper shelf. All considering, I think I did a decent job still lining up the wallpaper.
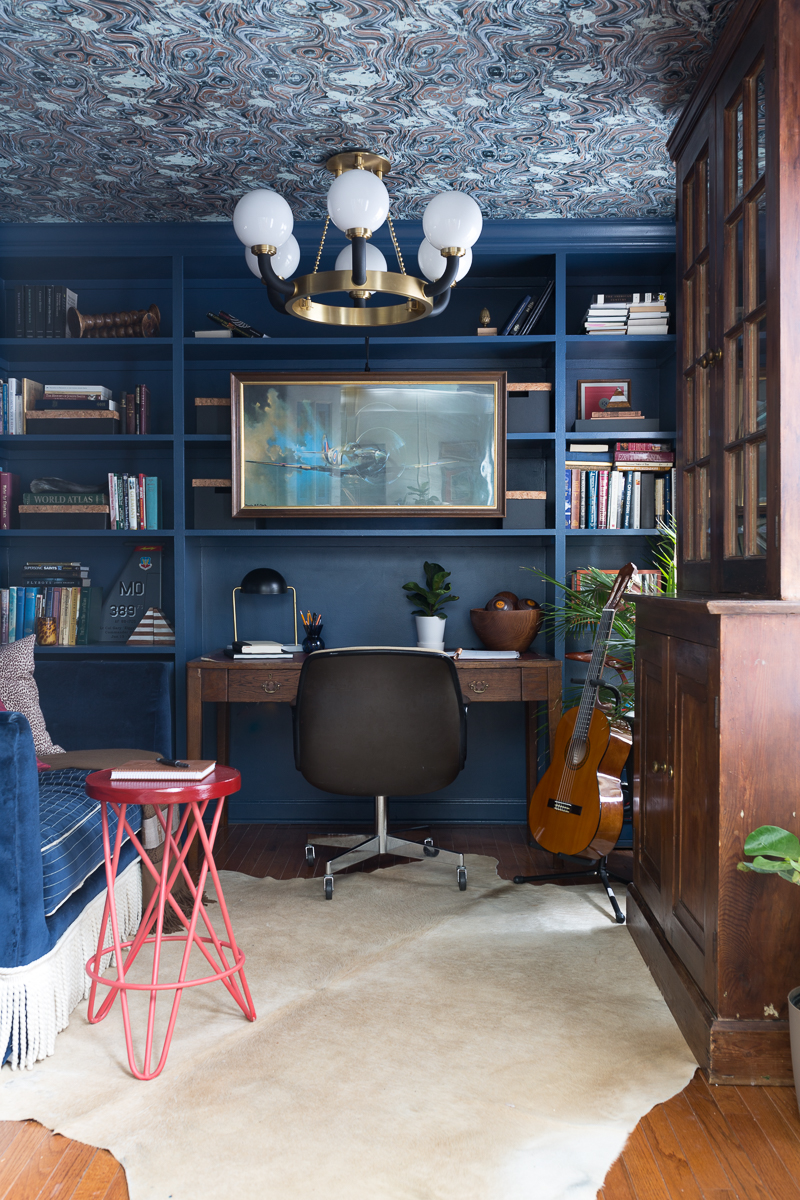
This particular pattern looks great against the office wallpaper too. I love the fun that the scale and fun bold colors bring each time I open that little door. I also like the door knobs with it.
Pretty great, right?
Thanks for checking out this hall closet makeover. I can’t tell you how much more organized we all feel now! Even the kids enjoy the change❤️.
BTW- If you need office makeover sources, I’ve got you covered HERE.



What a pretty space! We have the same situation at our house; this is inspiring me to add a color or wallpaper to the inside. At least then, when when everyone leaves the closet door open, I’ll see something pretty!
So cute! I love the bold wallpaper. It’s like a fun surprise when you open the closet
Thanks Ashley! It really is fun surprise!
LOL> That was my motivation exactly!!🤣