A tutorial which gives step by step instructions to a Malachite Table DIY
Entryway
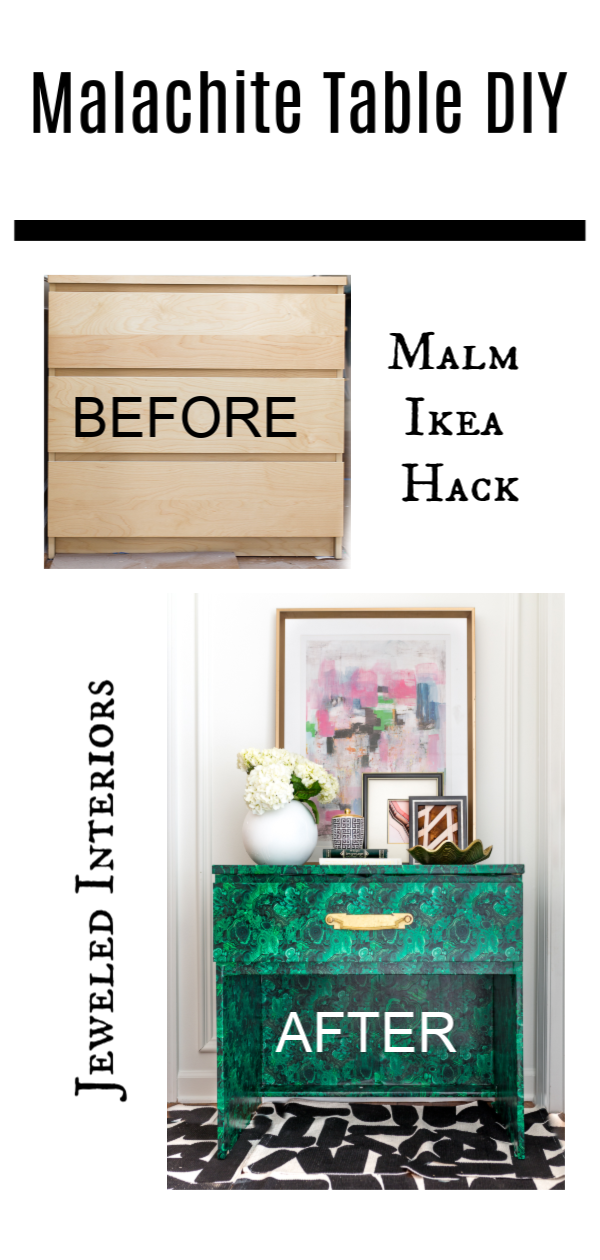
I made over this Ikea Malm dresser for my recent foyer makeover. I’ve spent months searching for something special for this little nook, but the dimensions are too narrow for most everything of that height.
Then it dawned on me. I already owned this little Malm dresser. It didn’t make the cut for our daughters’ French inspired upholstered bunk bed makeover, but the scale fit (barely) in the awkward little entryway. It’s just that a Malm dresser wasn’t exactly the statement making piece I was hoping for in my foyer..because you never get a second chance to…well, you know 🙂
So I needed to think of a way to dress things up a bit…
Spoonflower
Note: The wallpaper in this tutorial was kindly sponsored by Spoonflower.
Enter Spoonflower, my go-to company for most all of my patterned fabric and even some of the wallpaper in my spaces:
-Upholstered Piano Bench Tutorial | Reveal
-Upholstered Headboard Tutorial | Reveal
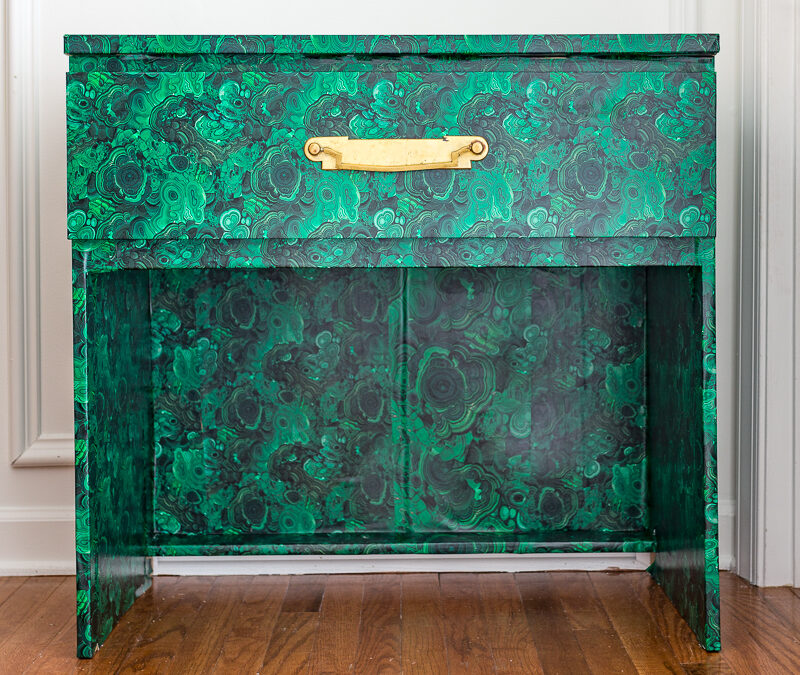
I have always been intrigued by the idea of wallpapering furniture and this seemed like the perfect opportunity to cut my teeth on this type of project. I’m happy to report that it was really very straight forward and easy. Check it out the simple steps to creating a malachite table DIY.
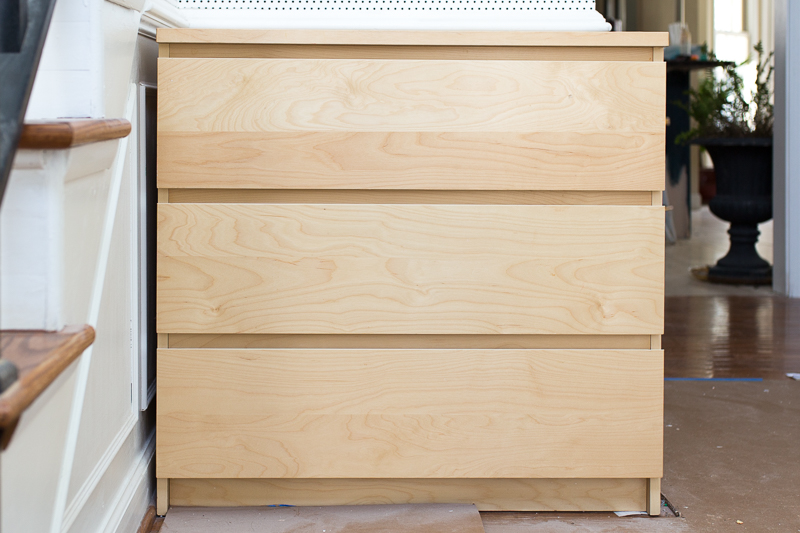
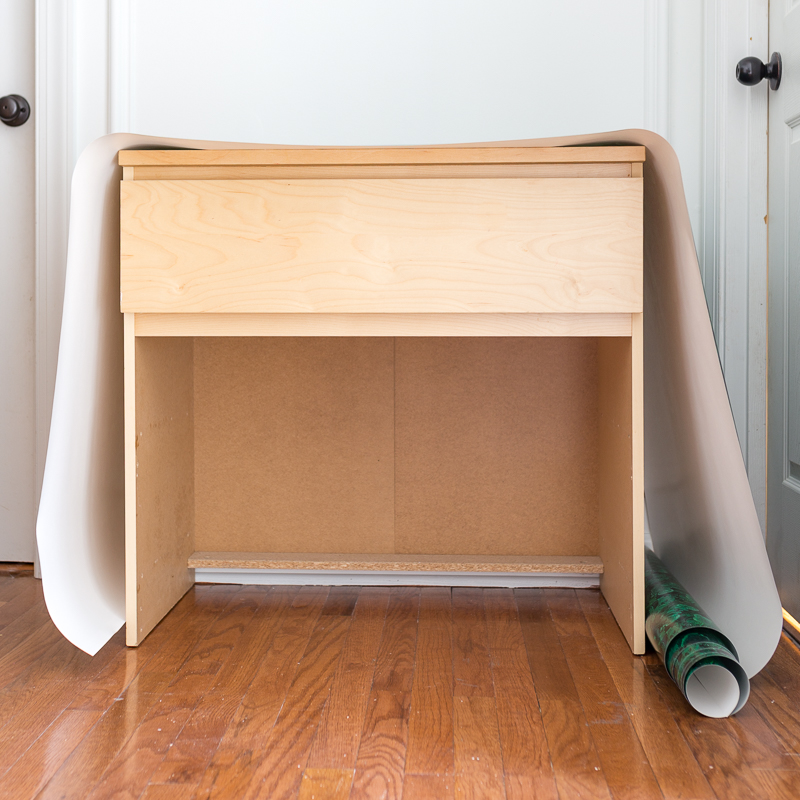
Before
Here’s what I started with. It wasn’t horrible, but I wanted to inject a pop of color and bold pattern into this little nook.
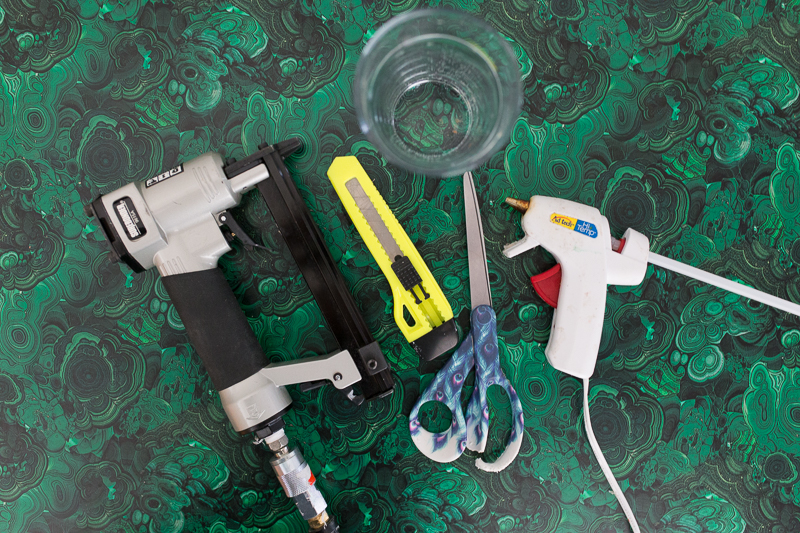
Supplies
There is a decent chance that you may have everything you need already…LOVE THAT!
NOTE: This malachite table DIY is not exclusive to a Malm Ikea dresser. Most any smooth-surfaced piece of furniture would work. To adjust the amount of Spoonflower paper needed, first you’ll need to find out the width and height of your dresser. Then, compare your dimensions to Spoonflower’s wallpaper dimensions: the paper has a set width of 24″ and os available in 1′ increments up to 15′ in length. So, if each side of your dresser was 30″ wide and 4′ tall, you would need to order (2) 4′ rolls / side.
Luckily the Malm is only 19 inches wide. That makes for less math and less wallpaper. I needed 11-12 linear feet which is only $55-$60. Trust me, as I have priced out legit malachite tables, they go for MUCH more than this.
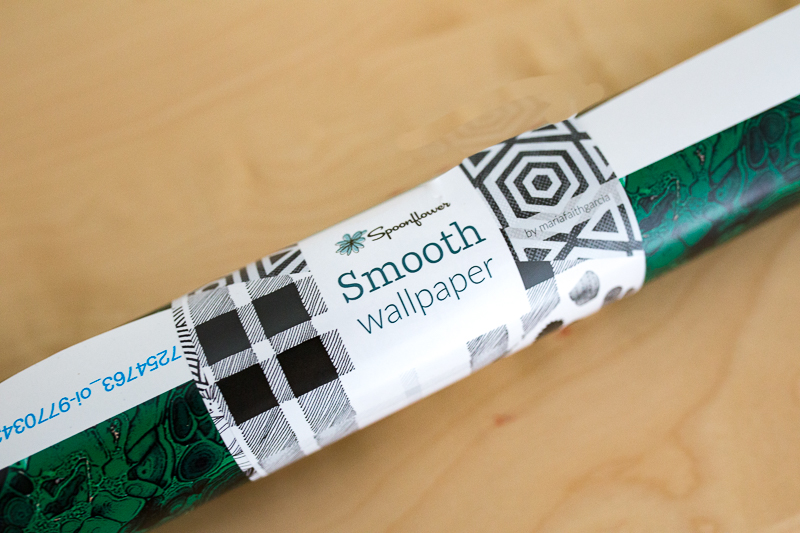
–Spoonflower Malachite Wallpaper 11-12 linear feet
-Scissors
-Water
-Staple gun and staples
-Hot glue gun
Not pictured
Screw driver
Hammer
Handle (optional)
Step 1 | Reconfigure
I removed the bottom two drawers, and used a hammer to knock out the cross beams. I then used a screw driver to remove the remaining and unnecessary hardware.
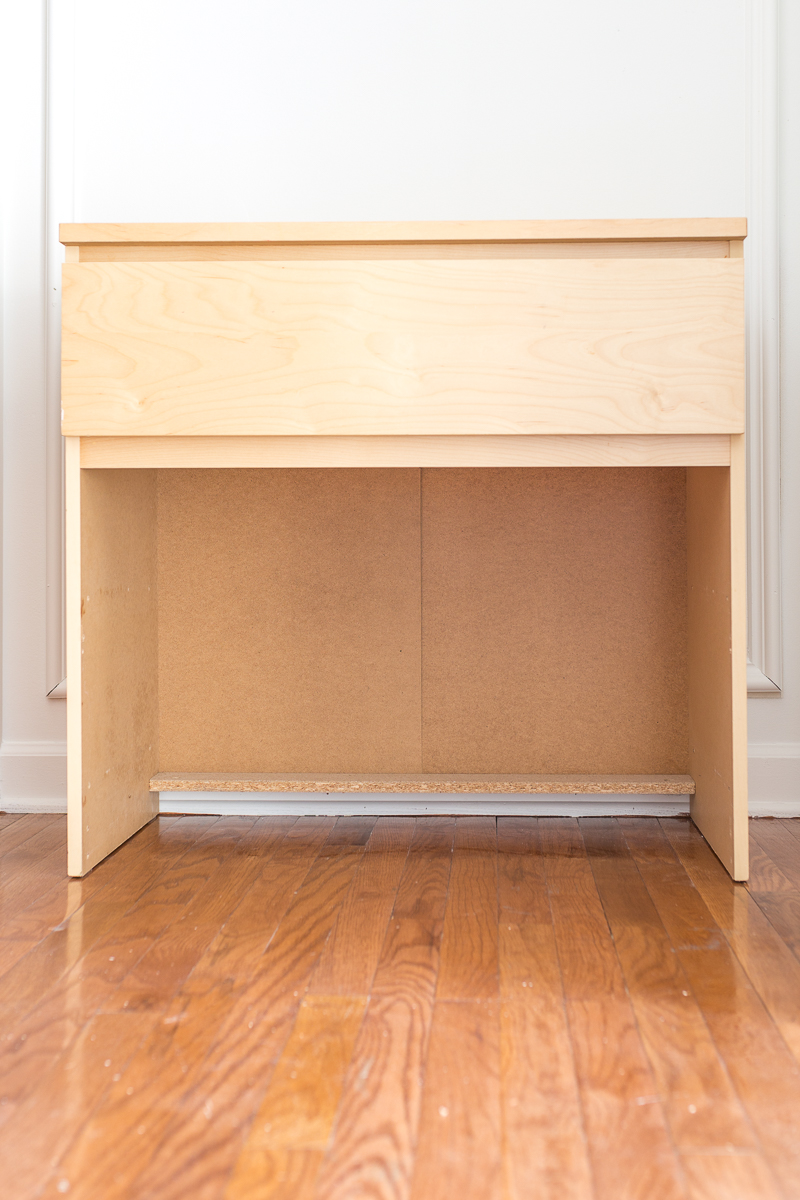
Optionally: You could leave the drawers, keep it a dresser, and purchase more wallpaper
Step 2 | Plan it Out
Measure out how much wallpaper you will need for the exterior, giving yourself a few inches of wiggle room.
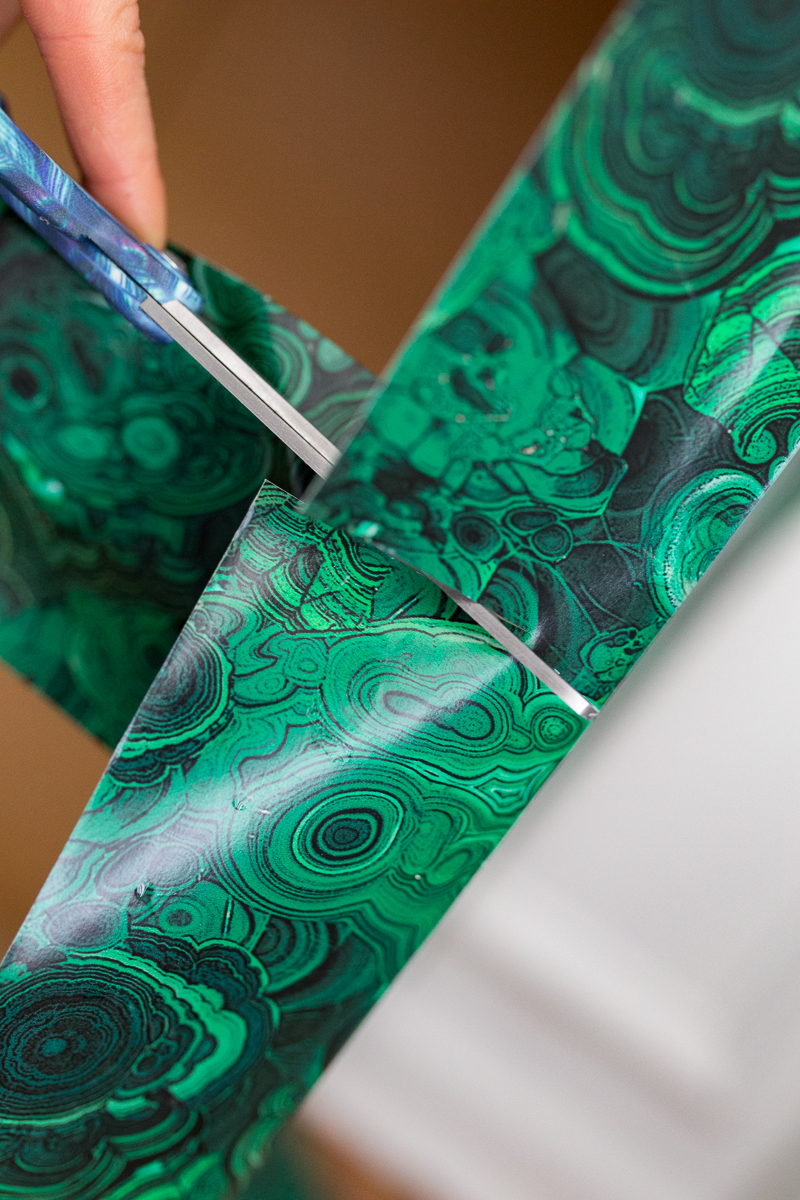
Cut the wallpaper.
Step 3 | Just Add Water
Flip the wallpaper over and pour water evenly over the entire surface. Using your hand, rub the glue around to ensure it is spread uniformly around the sheet.
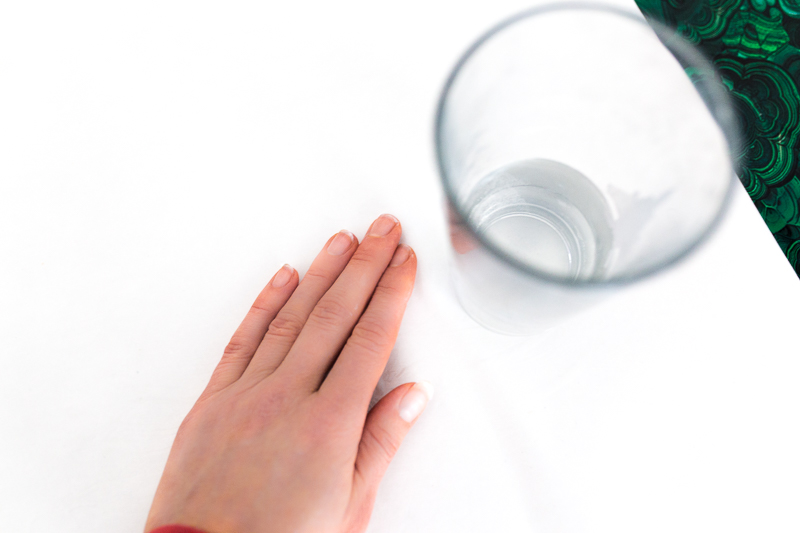
Step 4 | Smooth it Out
Using a clean hand, smooth paper over the furniture. Start with the top section, work from the center out, and smooth bubbles towards the edges.
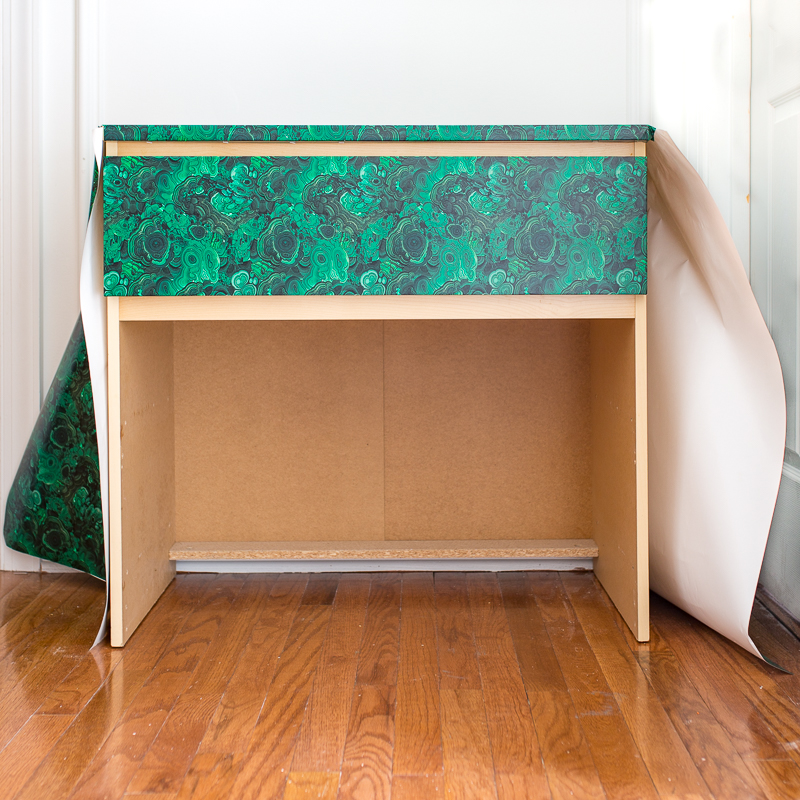
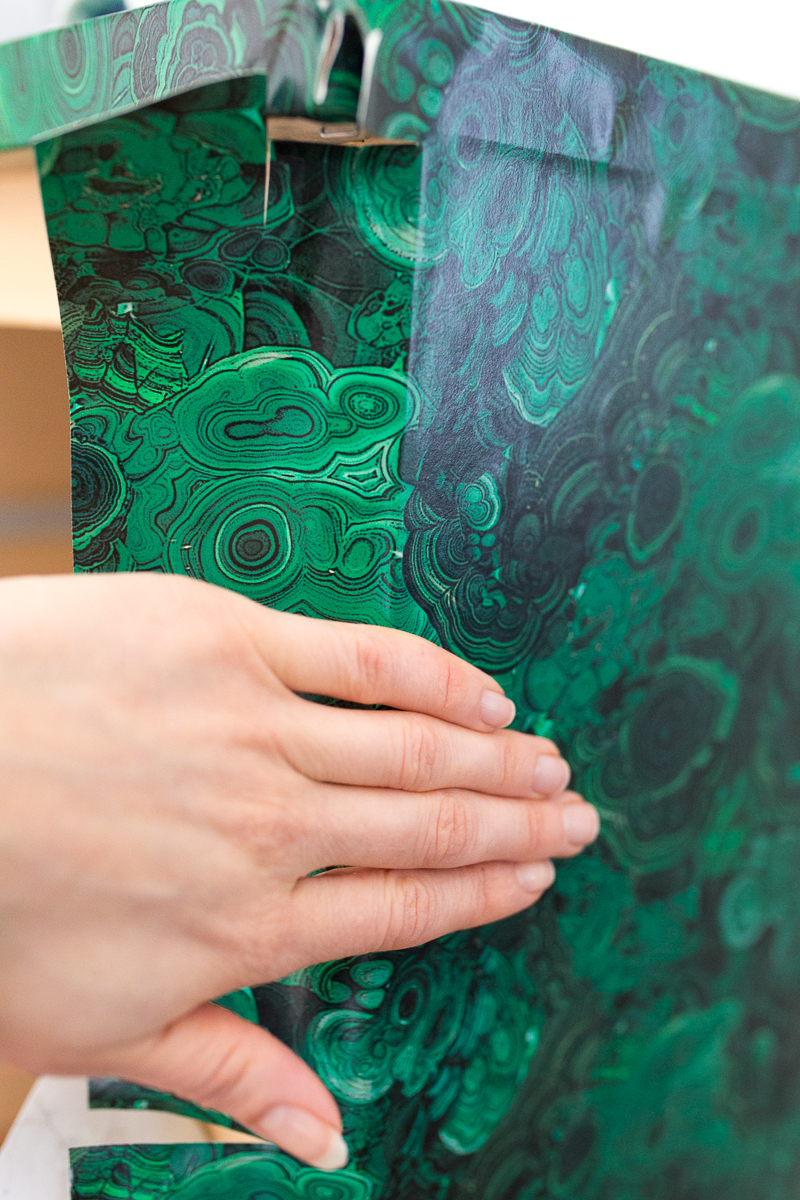
Step 5 | Edges & Corners
Once the wallpaper has been smoothed evenly on the flat surfaces, it is time to work around the edges. Use your fingers on one hand to stretch the wallpaper over the sides then use the other hand to work out the bubbles.
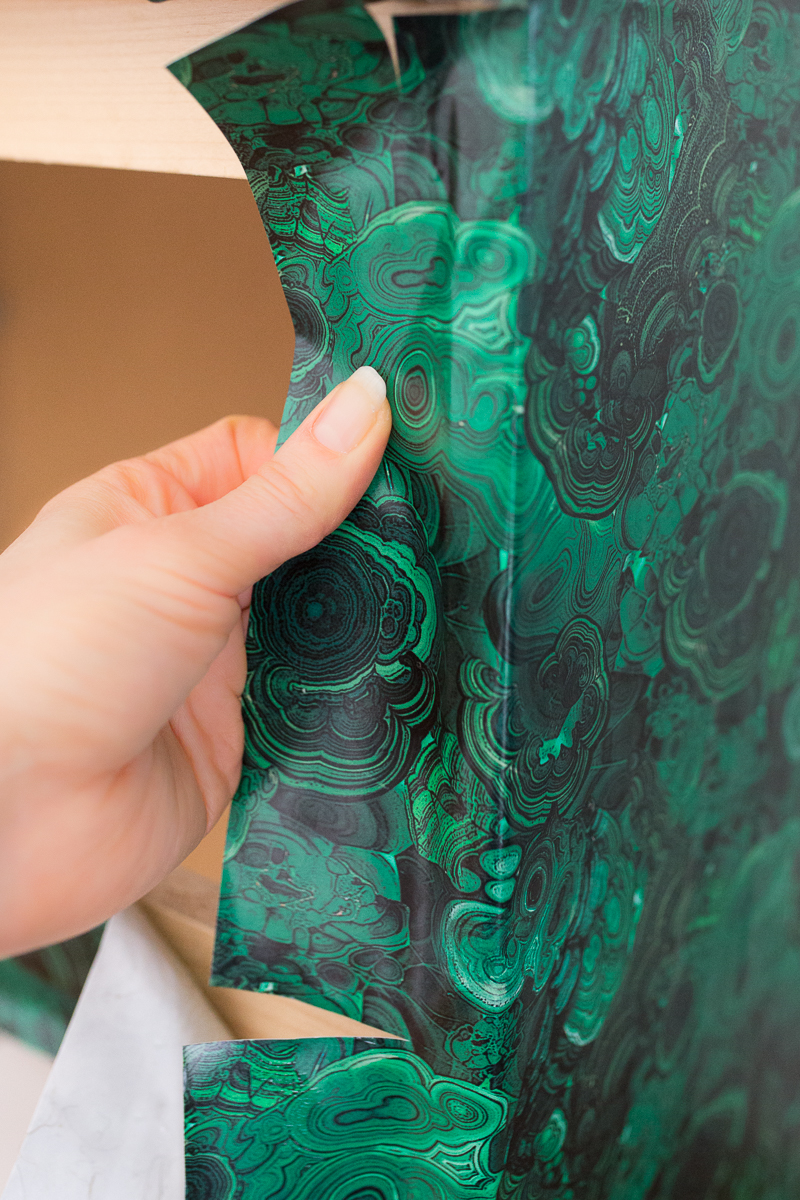
For the corners use scissors to cut the paper and continue wrapping, much like one would wrap a gift.
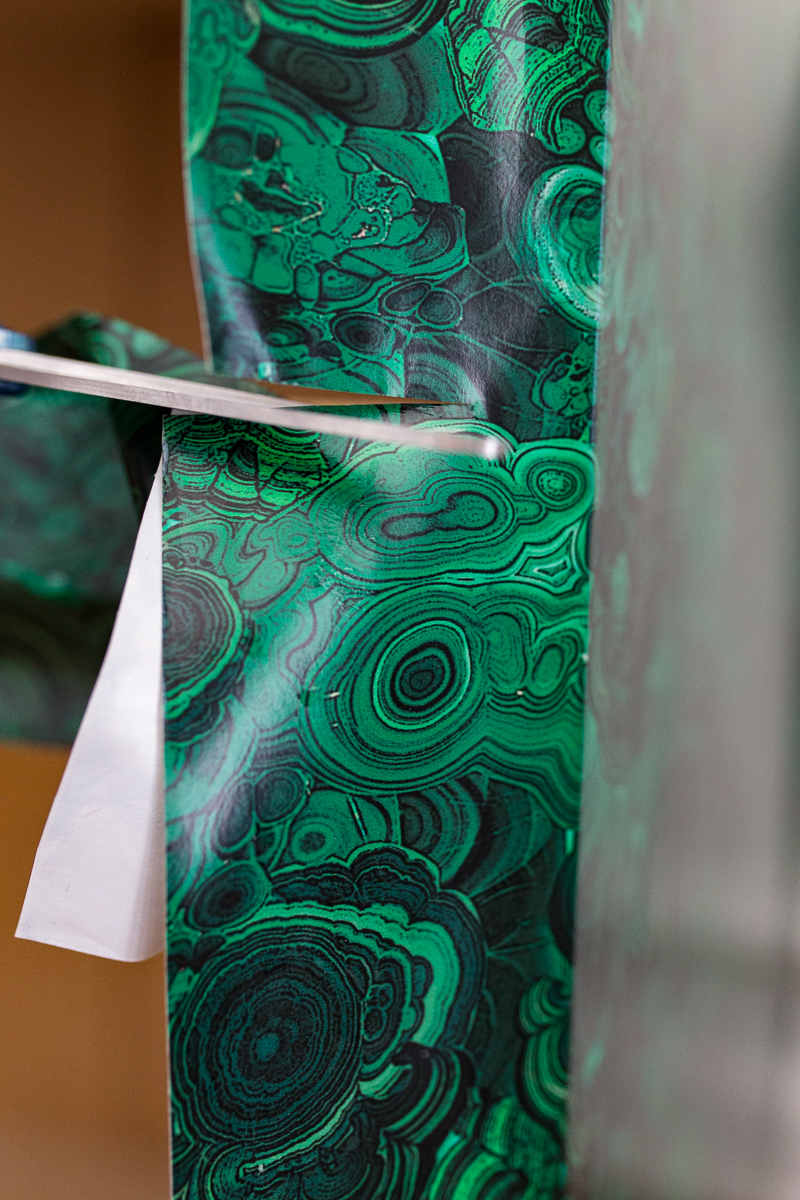
Continue to work in sections. Luckily the malachite wallpaper is very forgiving and matching seams is not completely necessary. If using a different wallpaper, however, that could definitely be an issue. More wallpaper could pontentially be required.
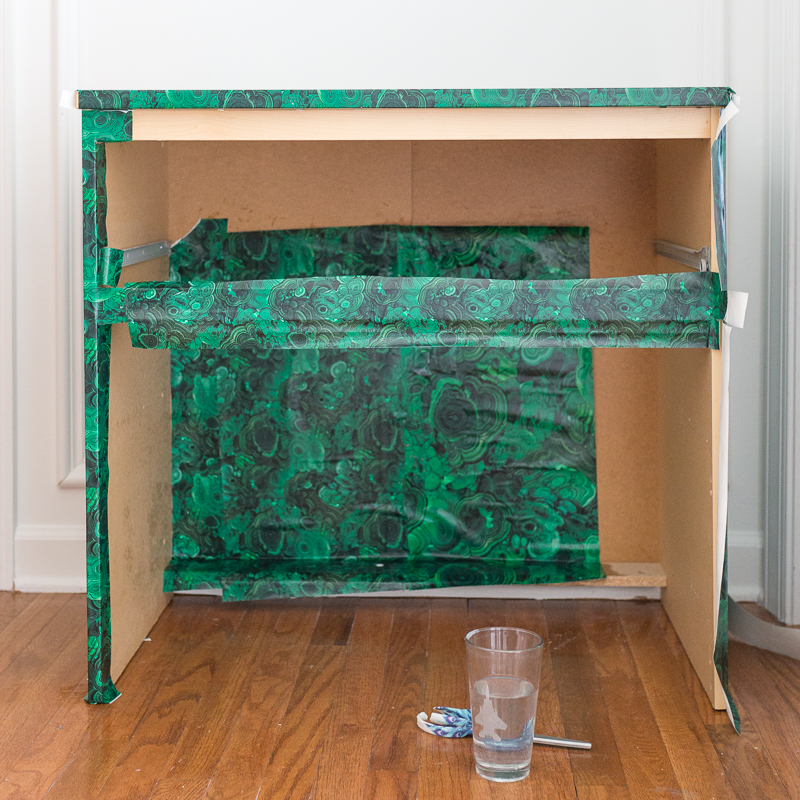
Step 6: Secure it
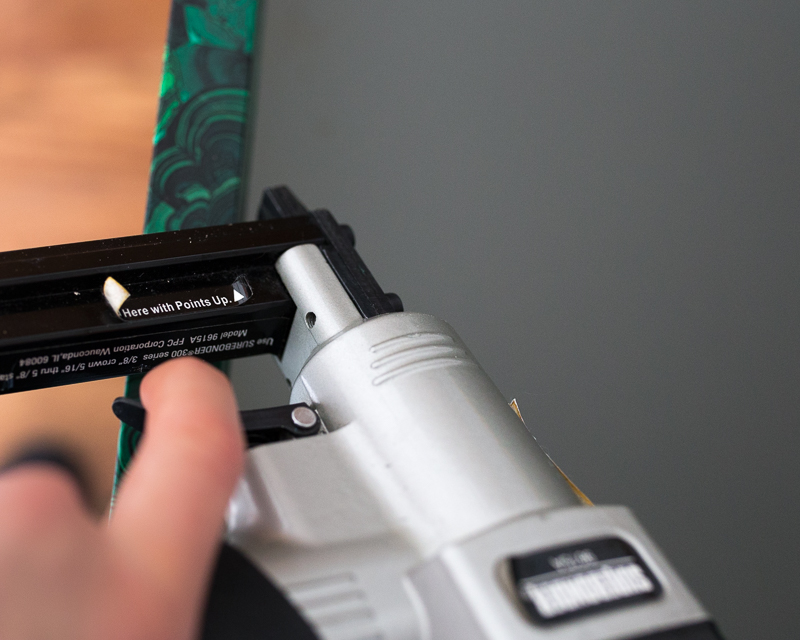
Using a staple gun, secure the corners in discrete areas, such as under the bottom, and behind the drawer area.
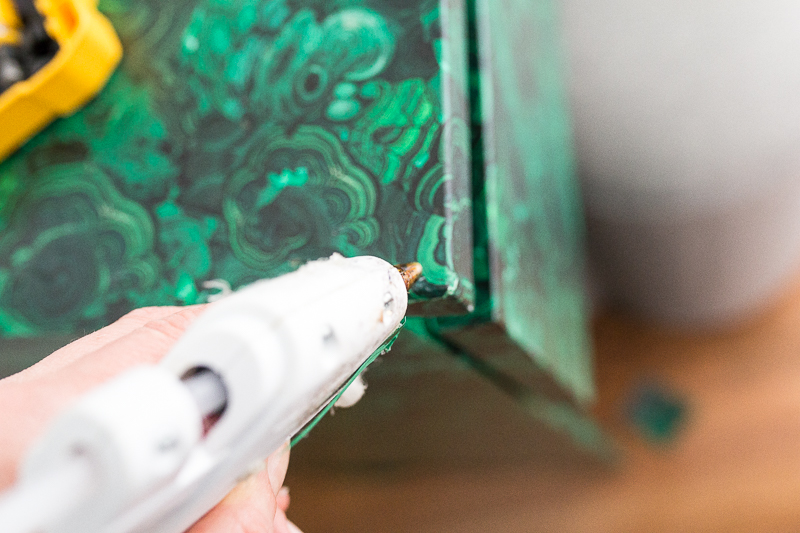
On more obvious corners, use a dab of hot glue to secure loose edges.
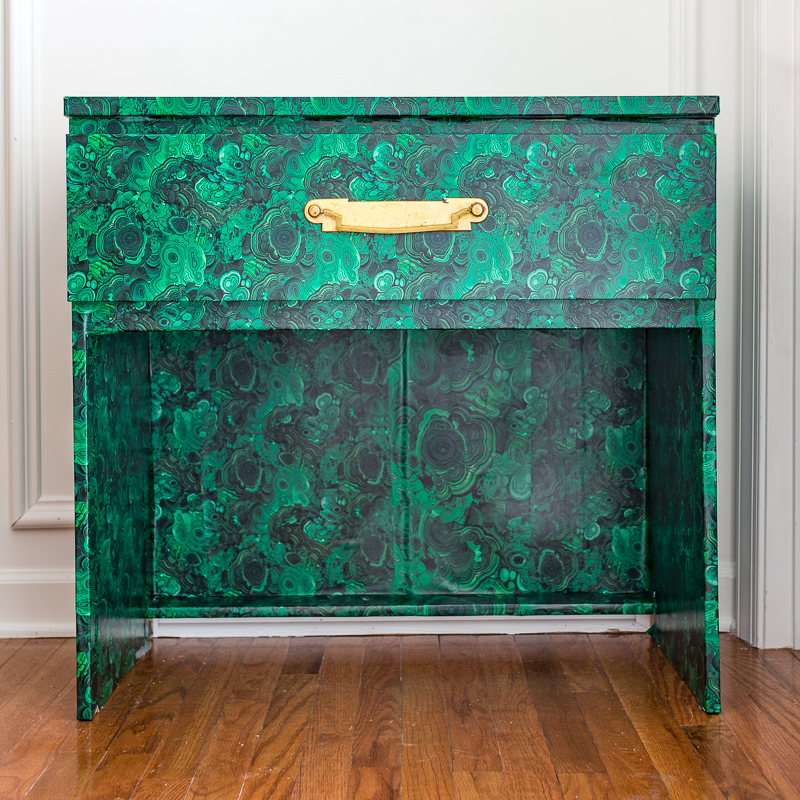
Optionally, drill holes for handles and attach.
Step 7: Style it
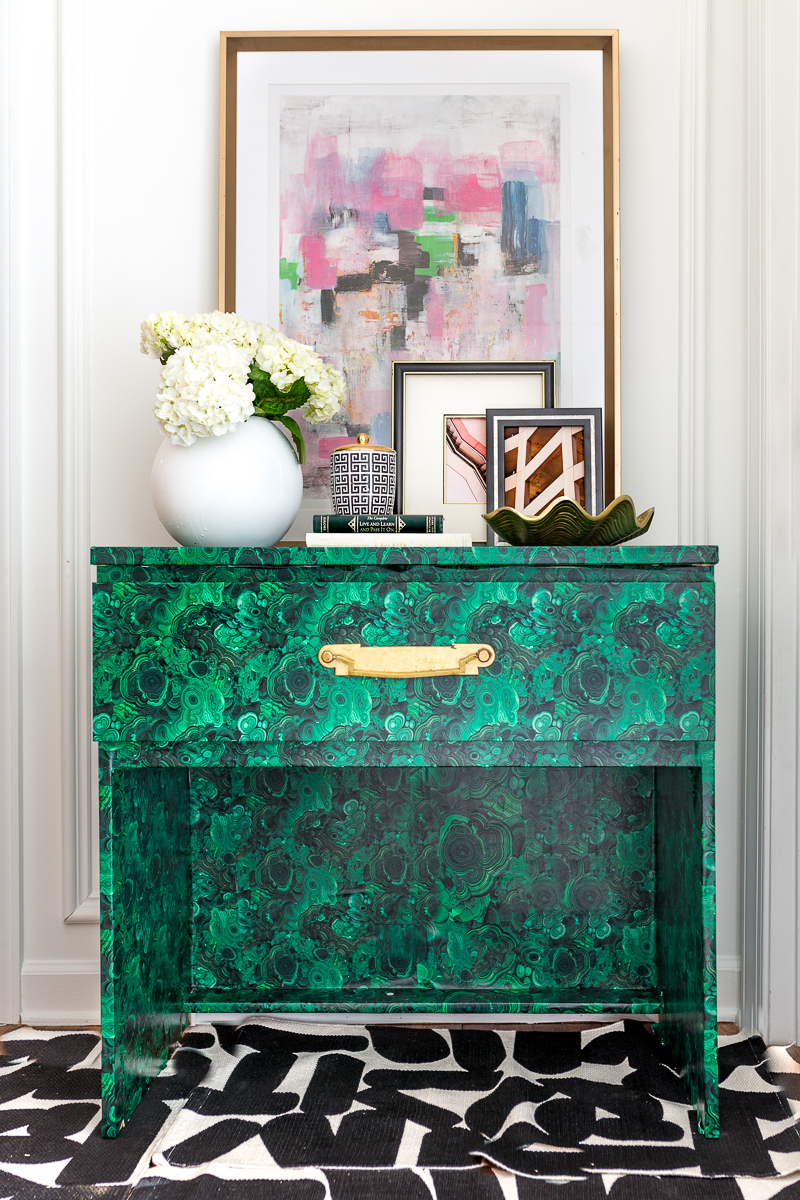
Now ENJOY! If you want to see how I used the DIY malachite table in my home, check out my foyer makeover! It’s pretty insane. If want more great ideas, don’t forget to get on the list! 🙂

Questions? Comments? I would love to hear from you. Please feel free to leave me a message below.
-xoxo Jewel
xoxoxoxoxoxo



Thanks for sharing. It looks doable and really made a difference in your space.
Thanks! It really was quite easy and it looks soooo much better!
This turned out so cool! Such a fun DIY!
Thanks so much Kristen!!!
It’s lovely! So much impact!
Where is the hardware from?
Thanks Candie! Unfortunately it was just in my garage. I had scrapped it off another piece of furniture.
What kind of sorcery is this ? I thought that table costs thousands. You’re so unbelievably talented.