. It’s BIG REVEAL DAY of the New Year New Room Refresh! Like always, this one was down to the wire, but I finished my daughters’ shared upholstered bunk bed bedroom by the skin of my teeth. You see, we spent a good part of the week in the hospital…Long story… In the end I was able to sneak in a few pics and I am beyond excited with how it turned out. I seriously can’t wait to show you.
First, I want to thank Stephanie from Casa Watkins Living for organizing this fun event. She has worked tirelessly to organize this and we couldn’t have done this without her.
If you missed any of the weeks, don’t fret! You can get caught up here:
Week 1 | Week 2 | Week 3 | Week 4 | Week 5 | Big Reveal- You are here

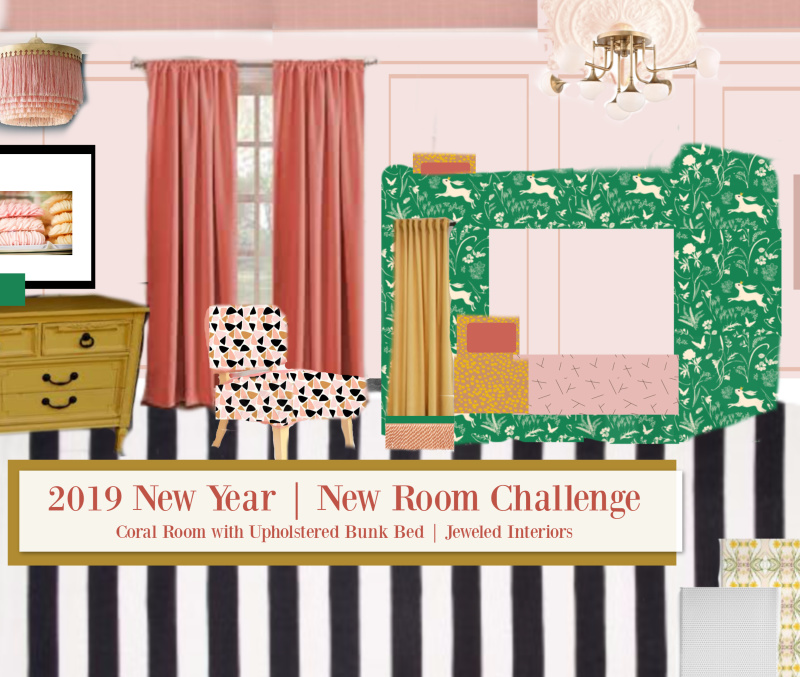
you Note: Most of the products listed were sponsored. I love teaming up with great companies to bring unique and beautiful designs
You may remember back to this summer when my oldest daughter scored the first room make-over in our new Northern Virginia home. Since then, my other two daughters have been waiting patiently for their turn.
Last year, in the 2018 New Year New Room make-over for my oldest daughters (in our 10 month Rhode Island renta) I discovered that kids actually have opinions about their space…who knew :)? In that room I gave them very little input, and they later confided in me that it never really felt like their own space (though I still love the lighting and wallpaper choices). This time around I involved them in the process…They chose the fabrics, colors, and lighting from a pre-selected collection I gathered. In the end they couldn’t be more thrilled!
You may notice on the mood board above that we are going for a preppy play on a French Apartment (an eclectic mix of some French Providential, Art Deco, and even a dash of 1950’s glamour). I can’t pick a favorite part, but the moulding, bed/bedding, and lighting are all contenders. Ready to check it out?
Ready?
Are you sure?
Ok then…..
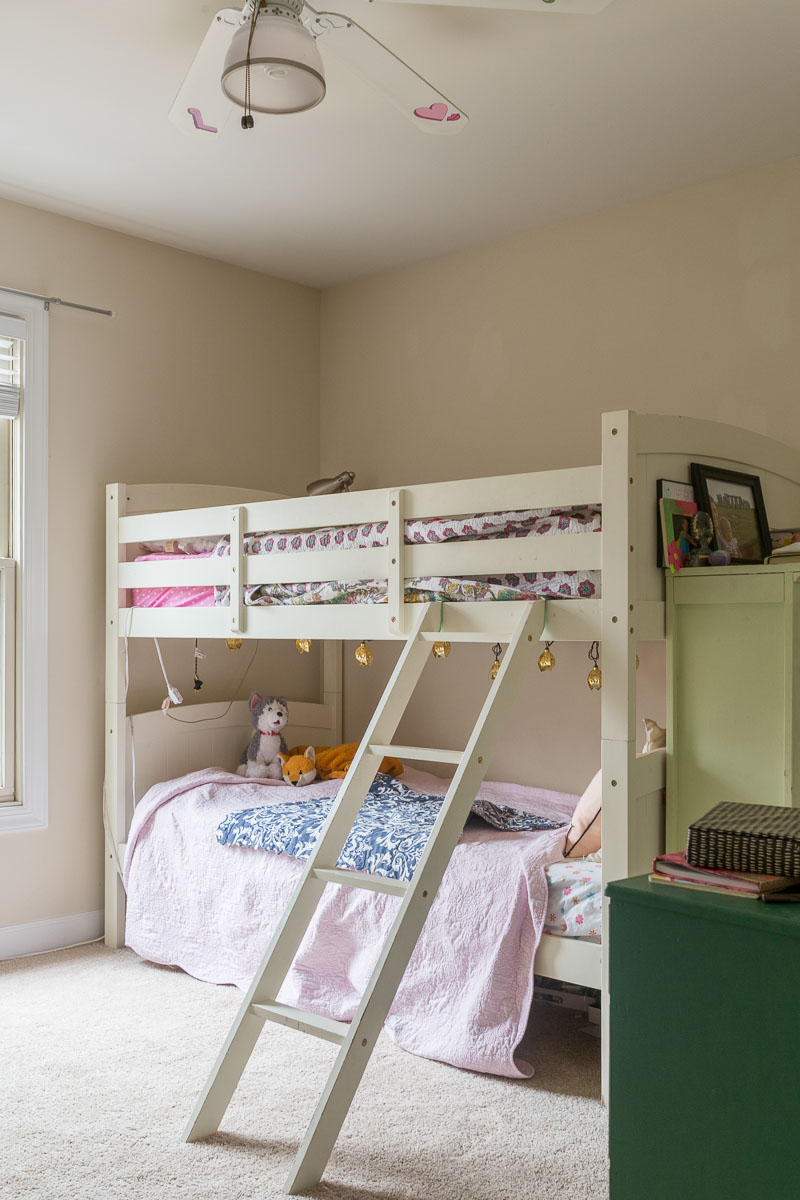
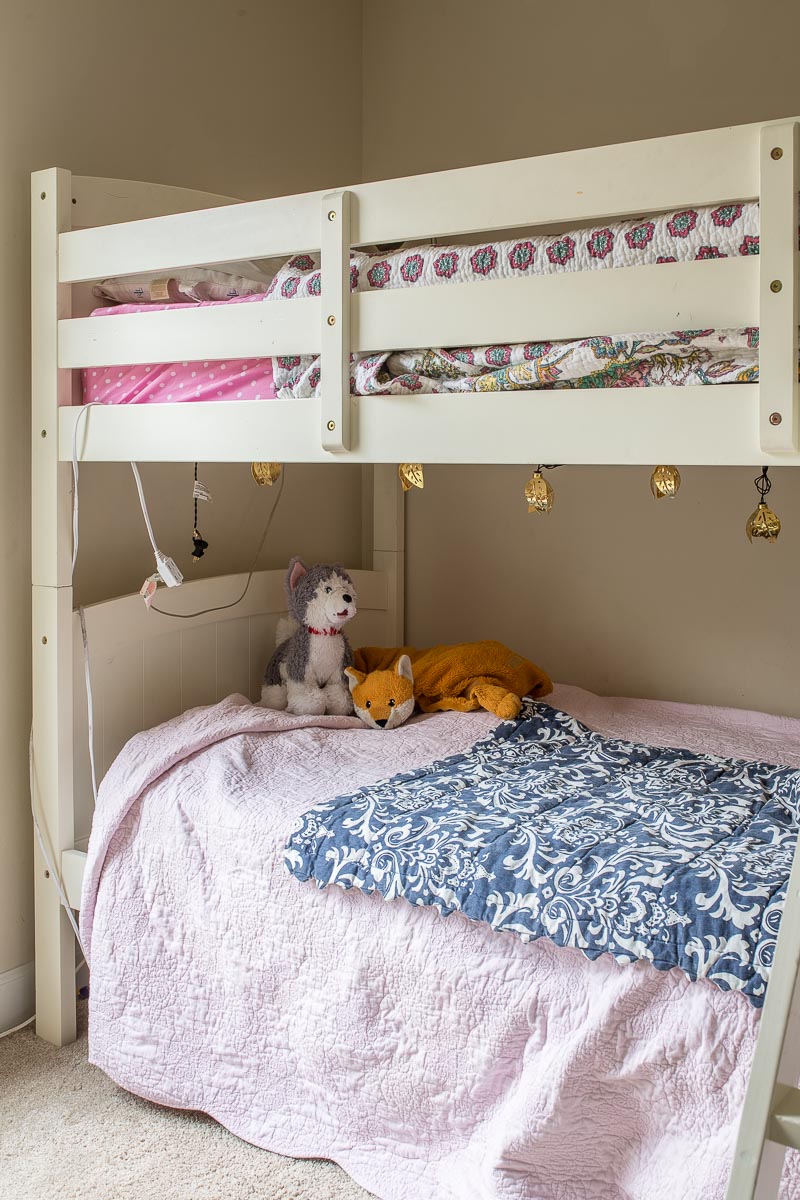
BEFORE
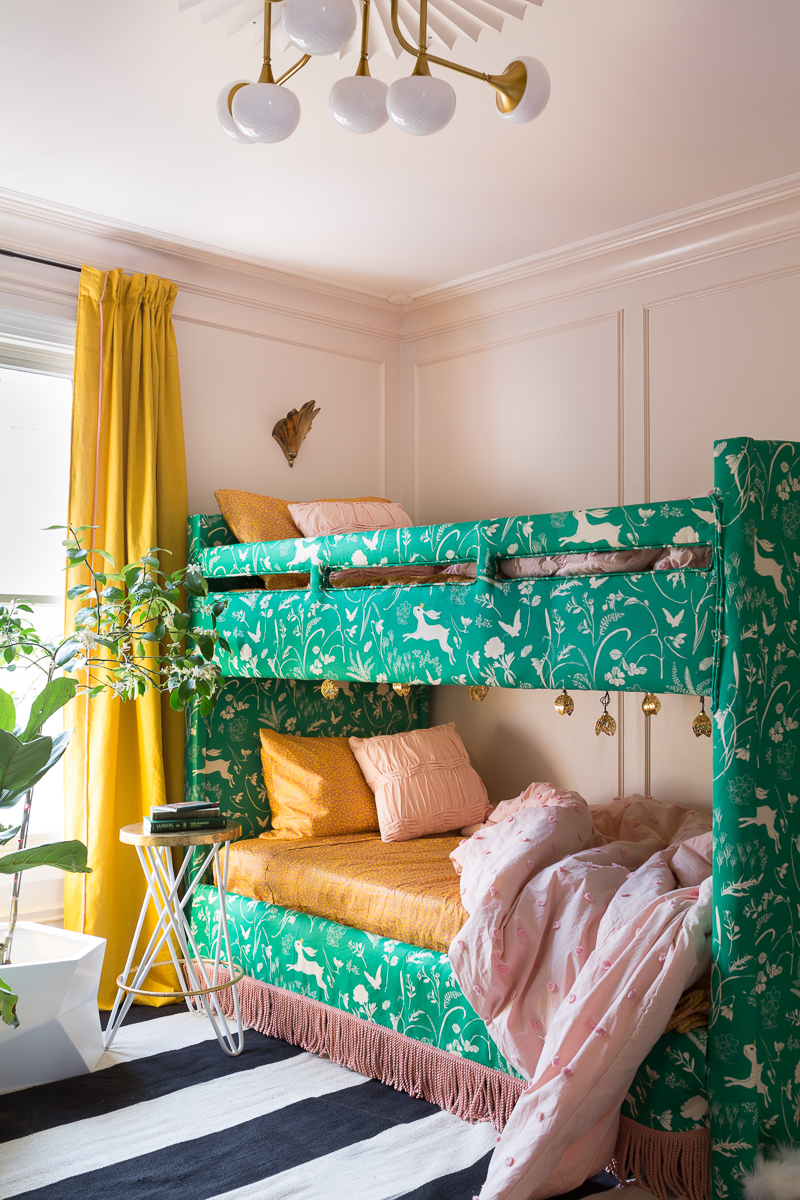
AFTER
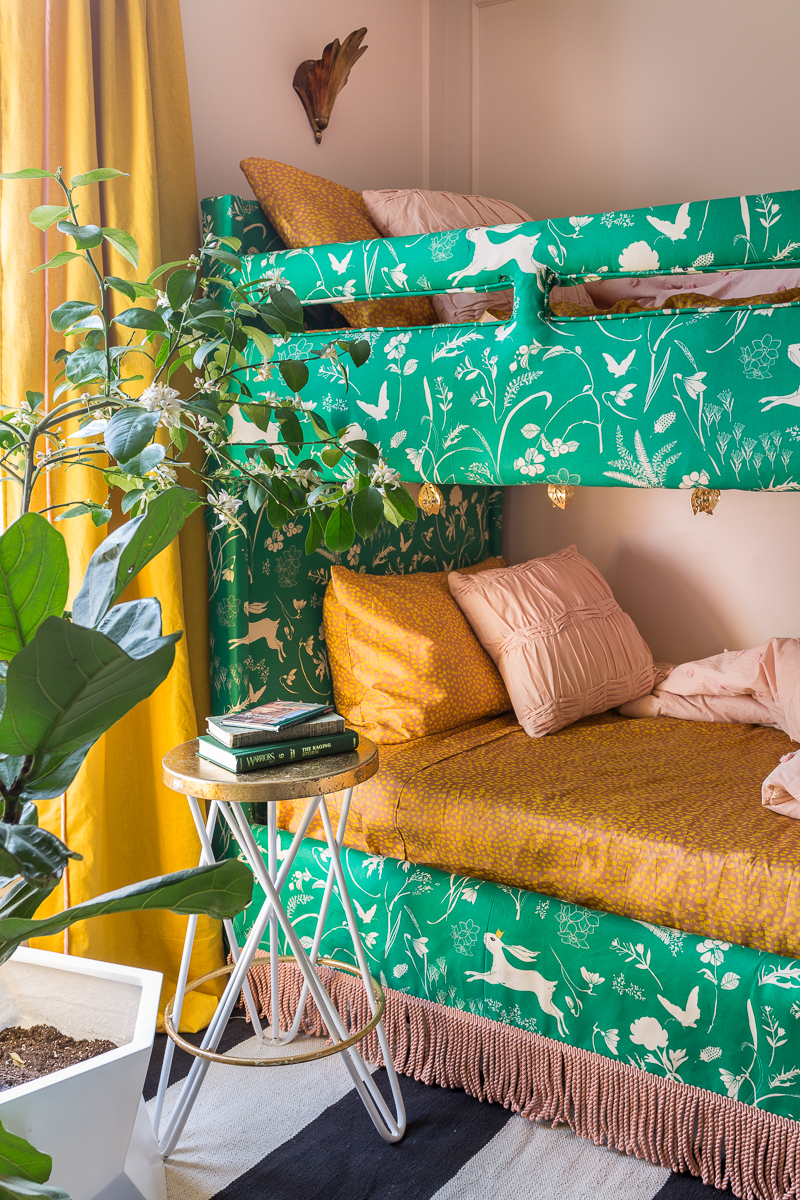
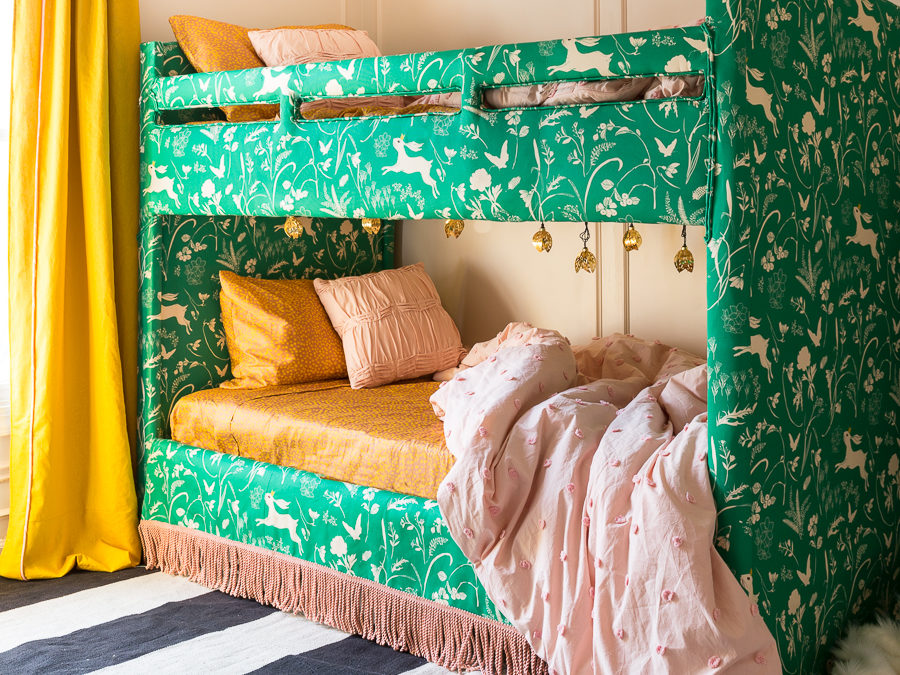
Have you ever seen anything like it? My guess is your answer is “no” because with all of my google searching (very scientific, I know ?) nothing like this exists. If this upholstered bunk bed isn’t “bespoke” then I don’t know what is. Custom design concept, custom bedding, custom sheets… Yep, google might be right…this is one unique bed!
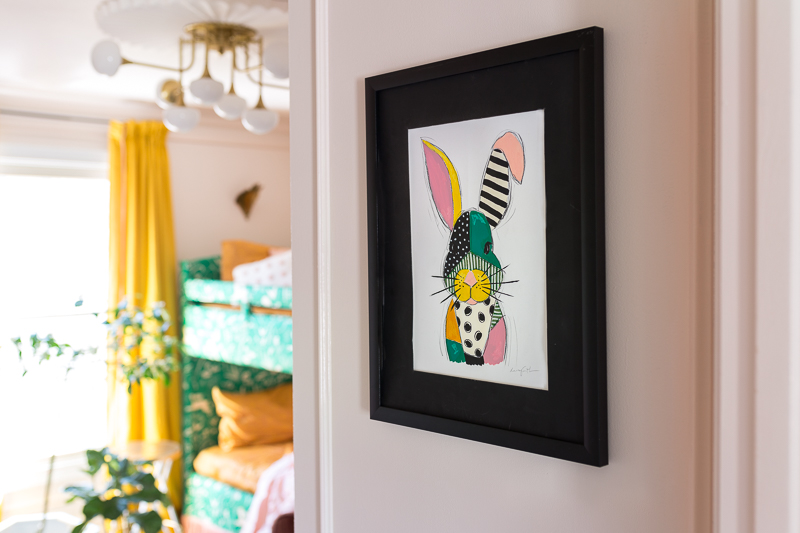
Now, when I say custom sheets and bedding I mean CUSTOM! The scale of the Enchanted Bunny Prince fabric was enlarged for me by the designer, Esther Fallon Lau and then Spoonflower printed out the 11 yards I needed. Complete Upholstered Bunk Bed DIY tutorial coming soon!
Last summer I collaborated with Roostery on my oldest daughter’s bedroom and was thrilled with their custom sheets and duvet. I’m happy to say that the second time around has been just as fab. I went with Mustard dots on Blush by Julia Schumacher for the sheets
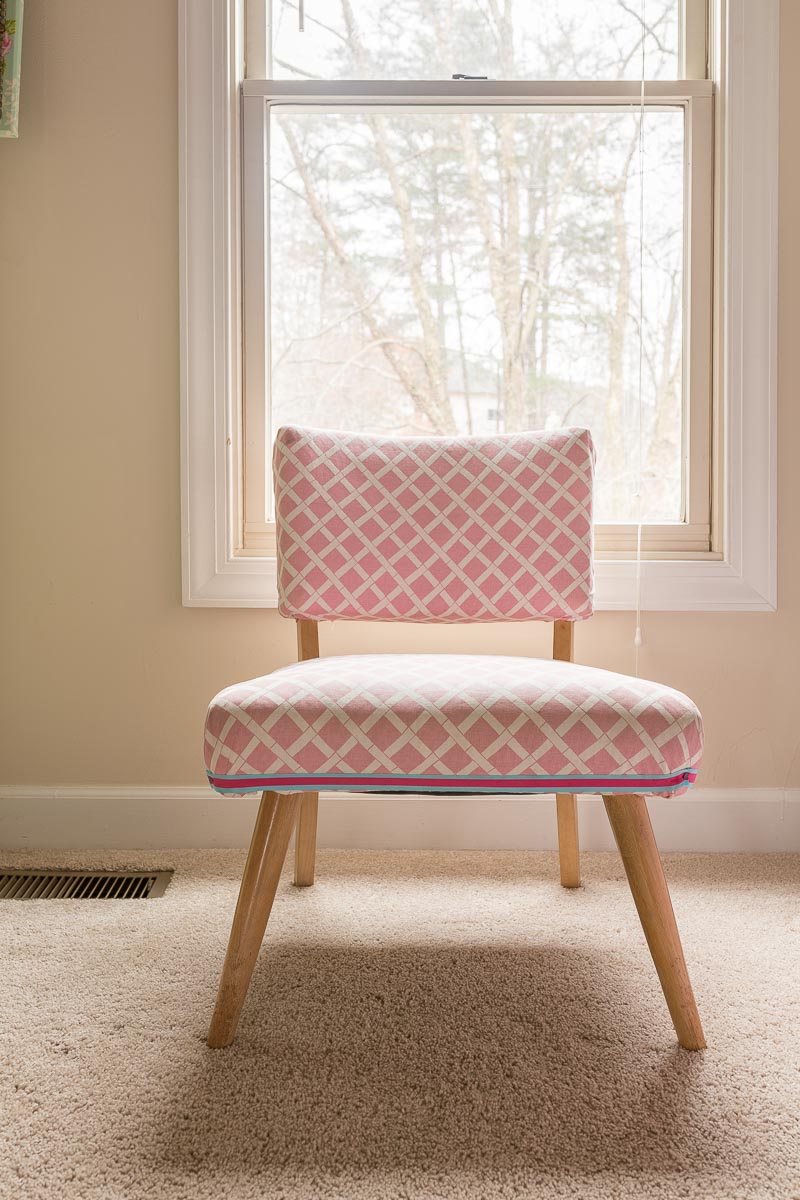
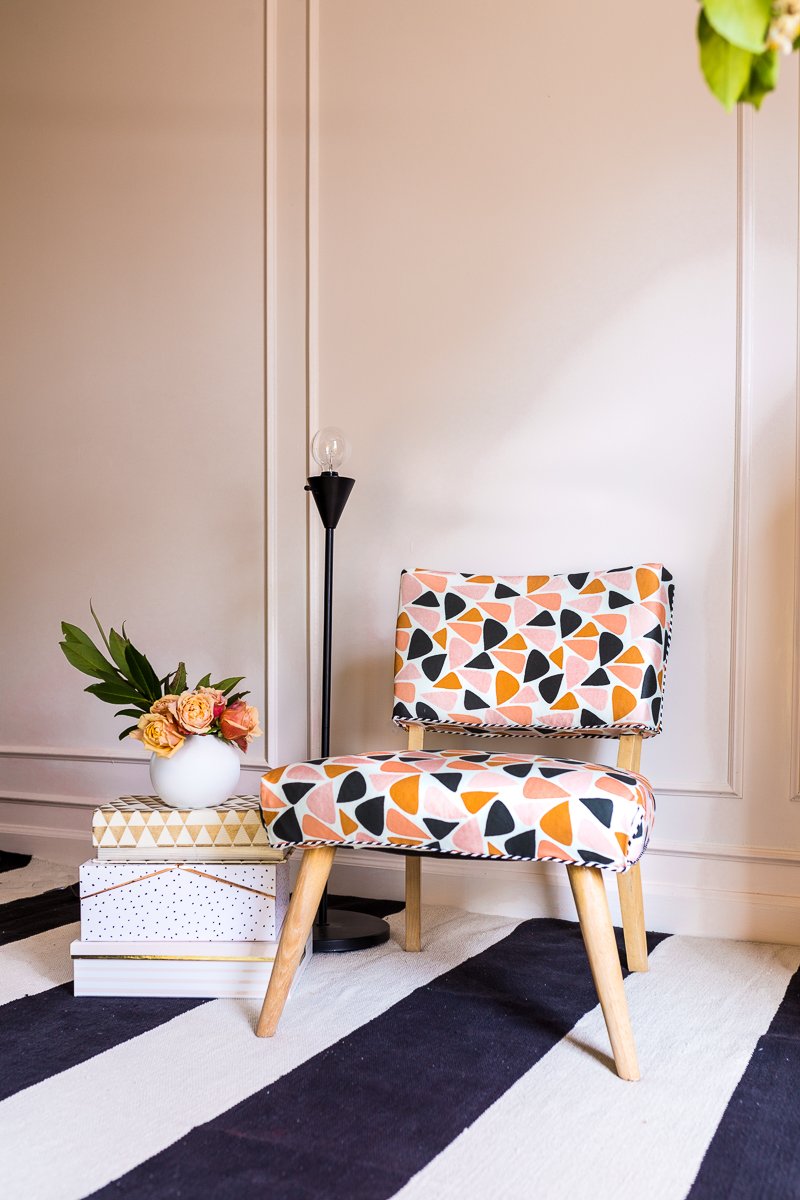
I picked up this little slipper chair in England many years ago. Underneath this worn and faded cotton upholstery was a beautiful ivory brocade…which I will be saving for a time when I trust my sweet children not to ruin it. Until then I have teamed up with Spoonflower to cover this beauty in a sweet little Triangle Geo Pattern designed by Littlefoxhill. Click HERE for my beginner’s guide to upholstering this little cutie.
BEFORE
AFTER
BEFORE
AFTER
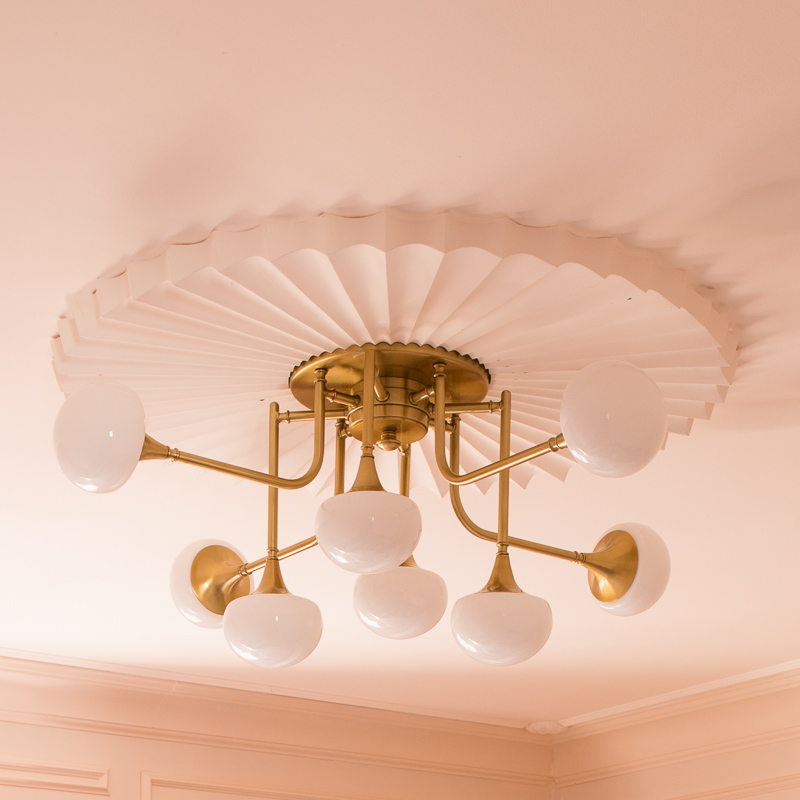
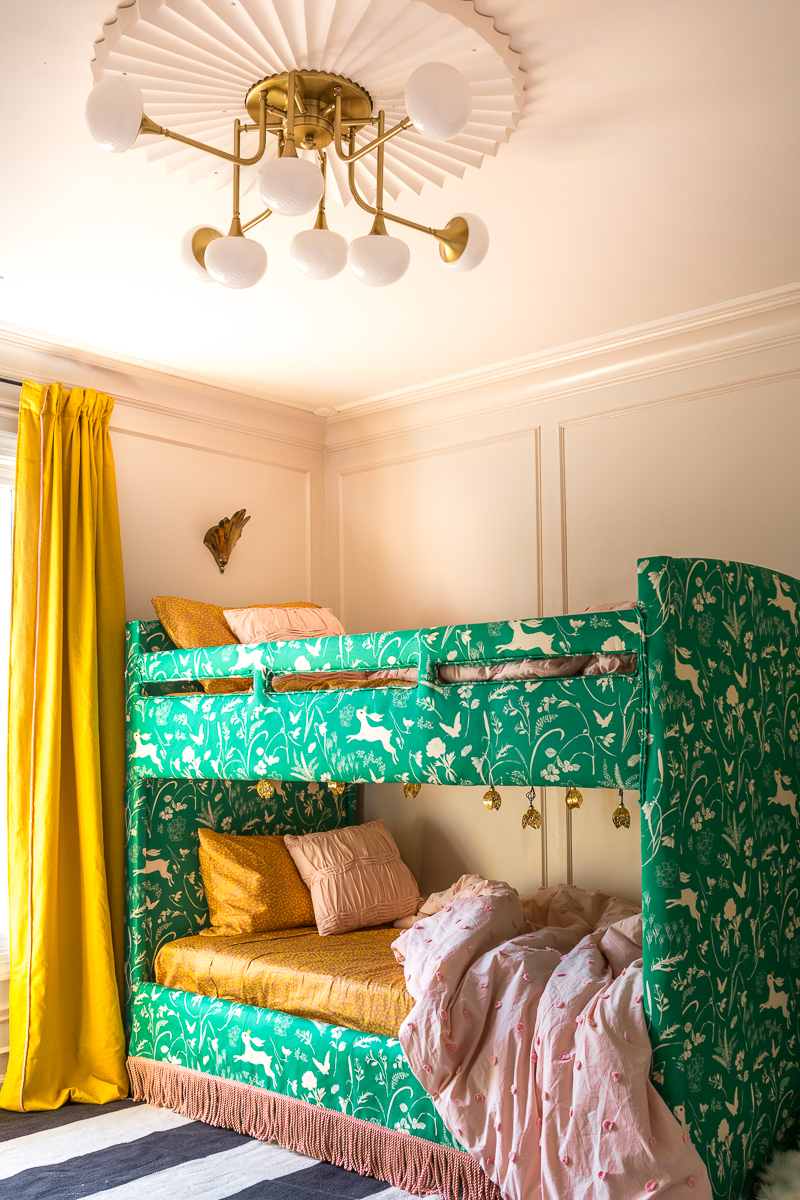
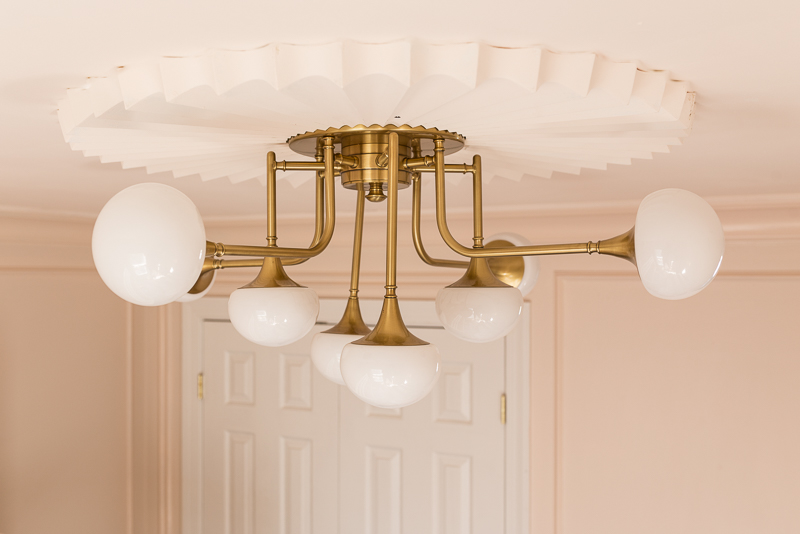
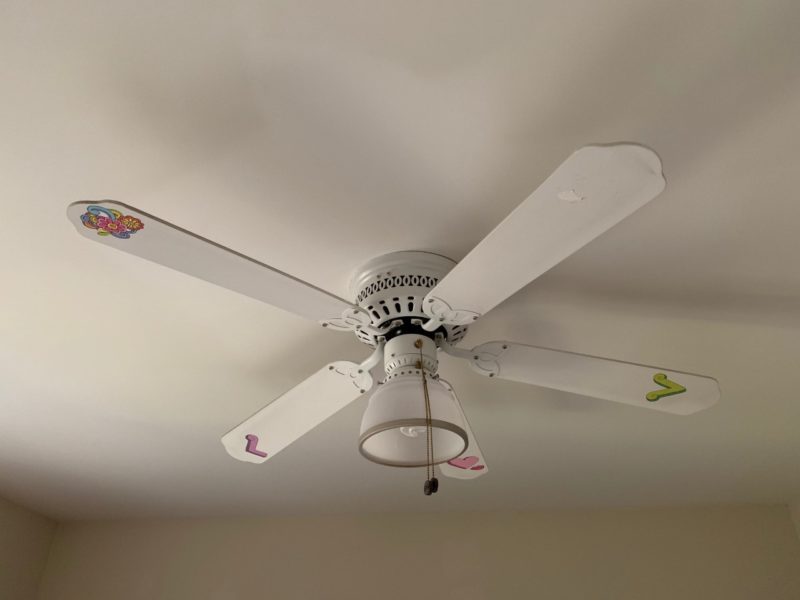
I can’t tell you the difference that this Hudson Valley Fleming Semi Flush Mount has made in our space. It added instant style and Art Deco glamour. Not to mention the fact that the light it casts is beautiful, which is important in this dark little bedroom. We couldn’t be more happy with this beauty. It sincerely makes me smile every time I even walk past the room. Click HERE for more details and images of this stunning chandelier.
The ceiling medallion adds quite a bit to the effect too, wouldn’t you say? The funny thing is that I thought I ordered a different medallion, but there was no going back once this lovely lady arrived. It was just too perfect of a match with the chandy…even if it didn’t match the ceiling rosettes. Luckily, the game plan for the room was an eclectic mash up of French design from many eras, so in my brain it almost still works somehow. I ordered this beautiful medallion from my go to source- Architectural Depot.
BEFORE
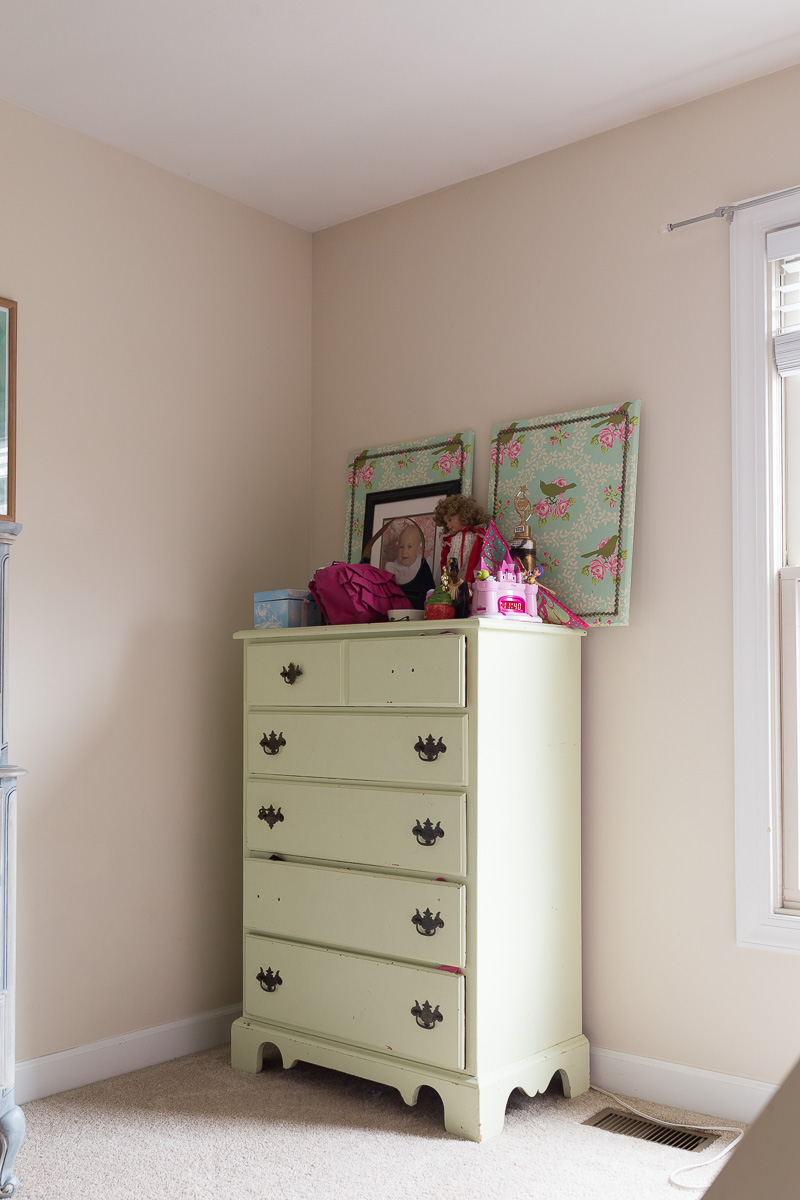
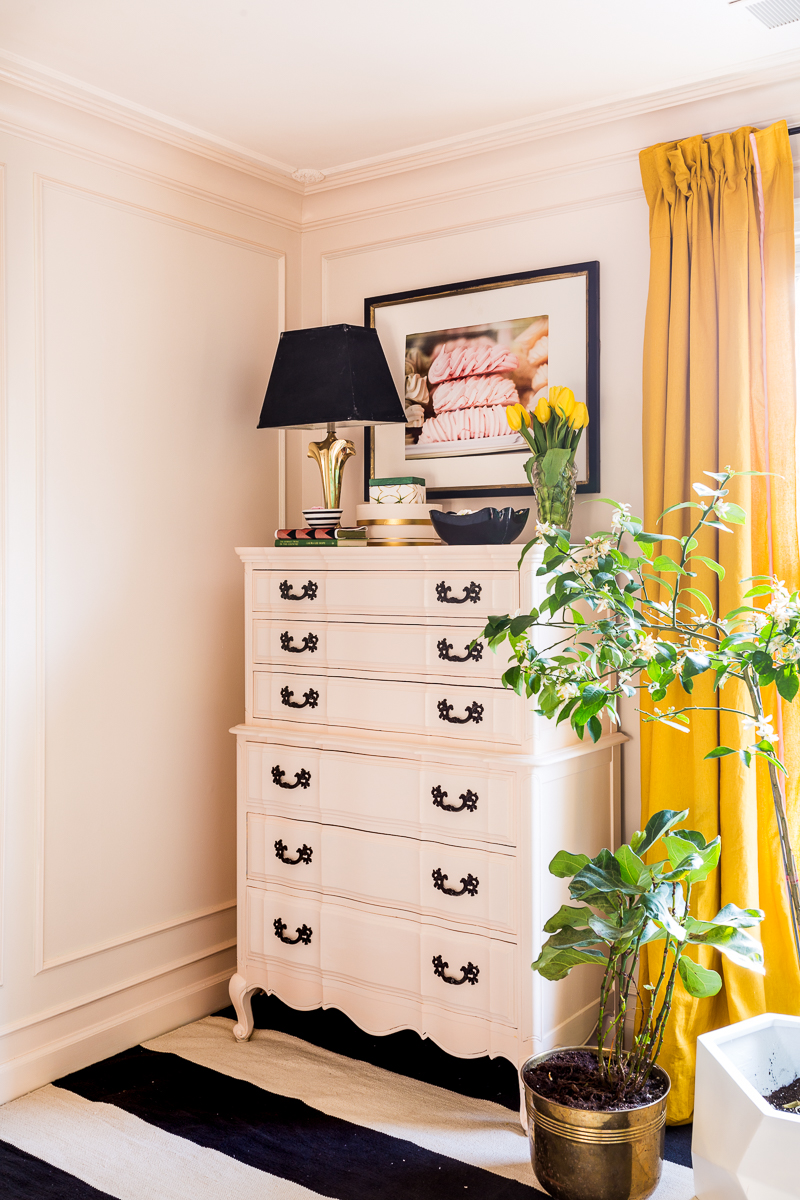
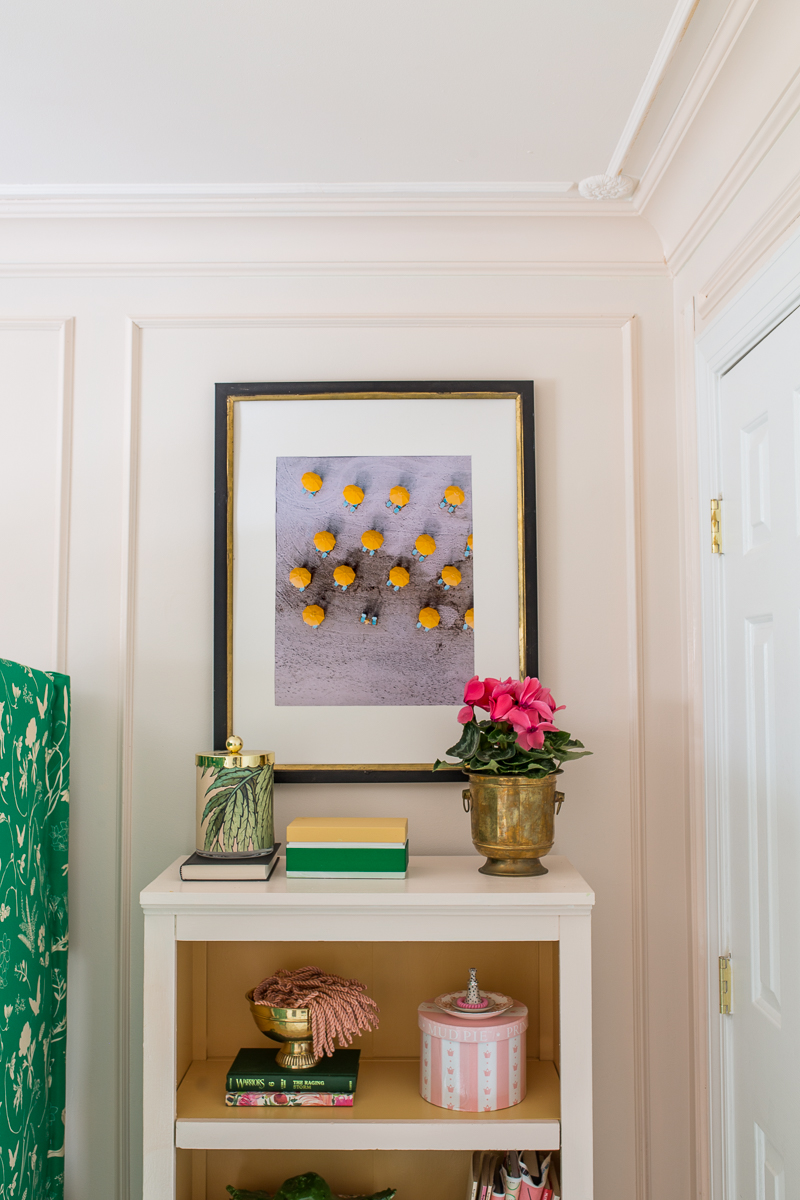
Architecturally, this room was BOR-IIINGG. Now that we are in a home that we own, and plan to settle in someday (after we finish our military adventure) I am completely loving the idea of tricking out the place with Metrie Moulding. We had some panel moulding left over from the Fall One Room Challenge and installed it on the walls and ceilings. We tried our hand at hanging crown molding for the first time. Our efforts weren’t perfect, but I wrote a blog post about the lessons learned.
The major lesson learned is that even amateurs can hang crown moulding.
BEFORE
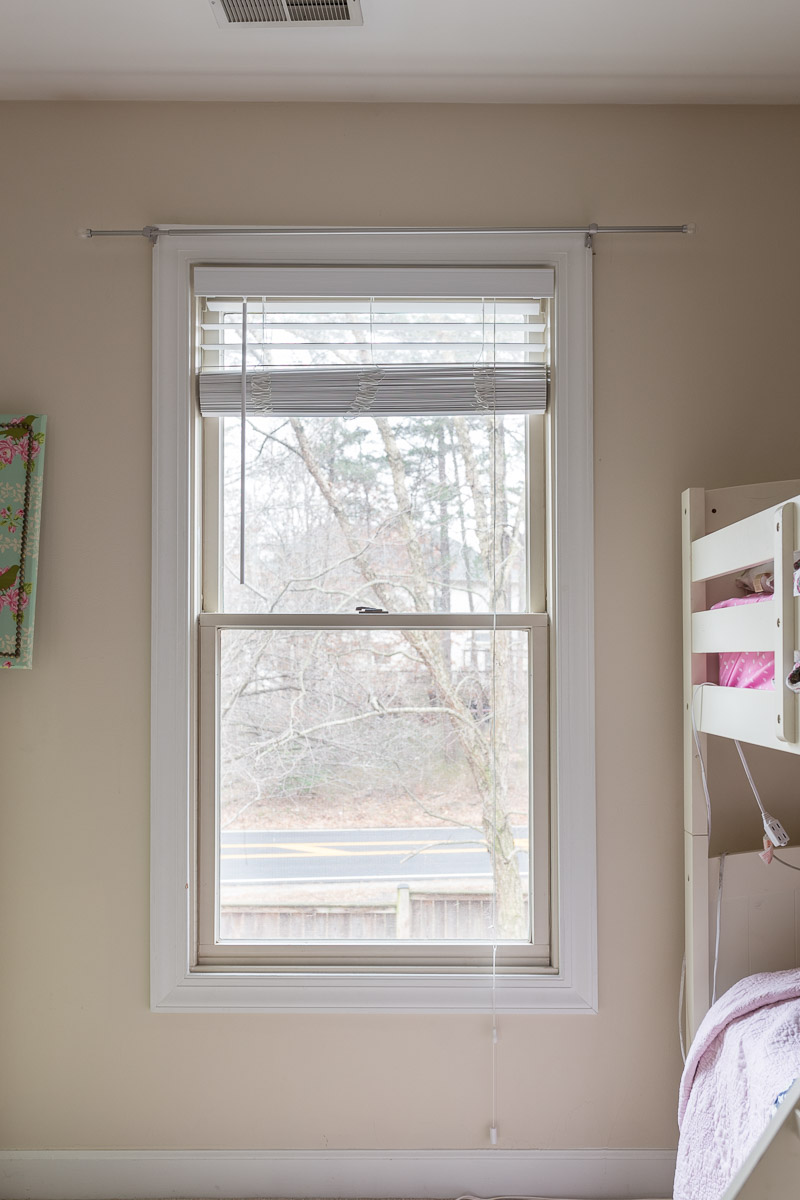
AFTER
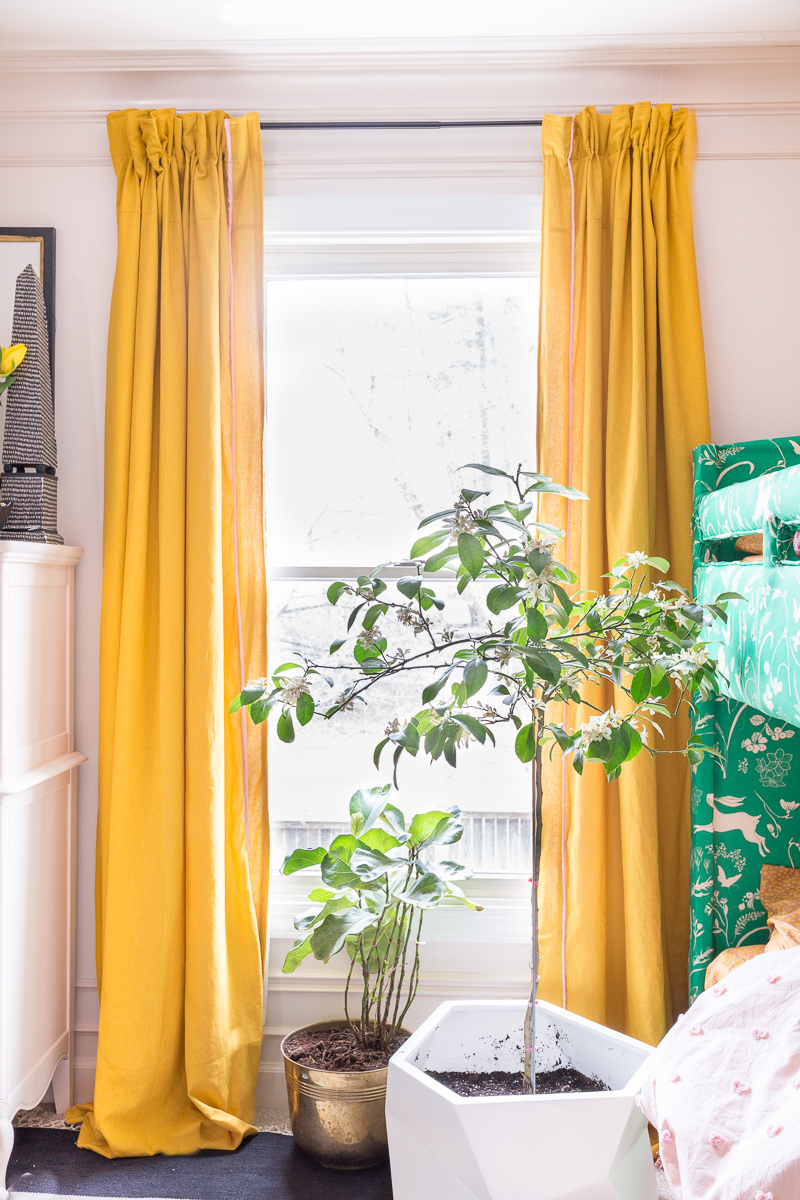
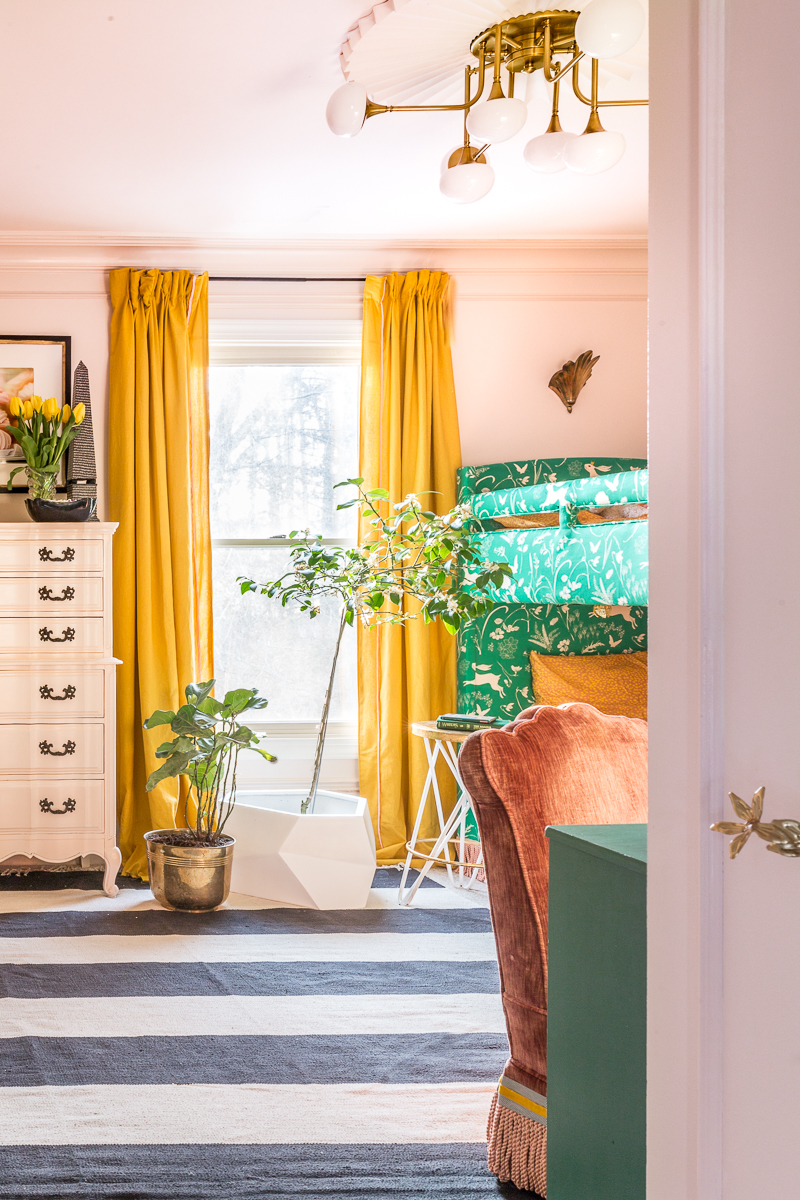
These mustard yellow curtains were a last minute design change. I had originally planned to use coral silk window treatments but changed my mind. This decision was made with the help of my IG Story viewers. Tthanks for that…totally the right call. This decision ended in an epic late night drive to Fabric Place Basement and a hard core sewing sesh.
BEFORE
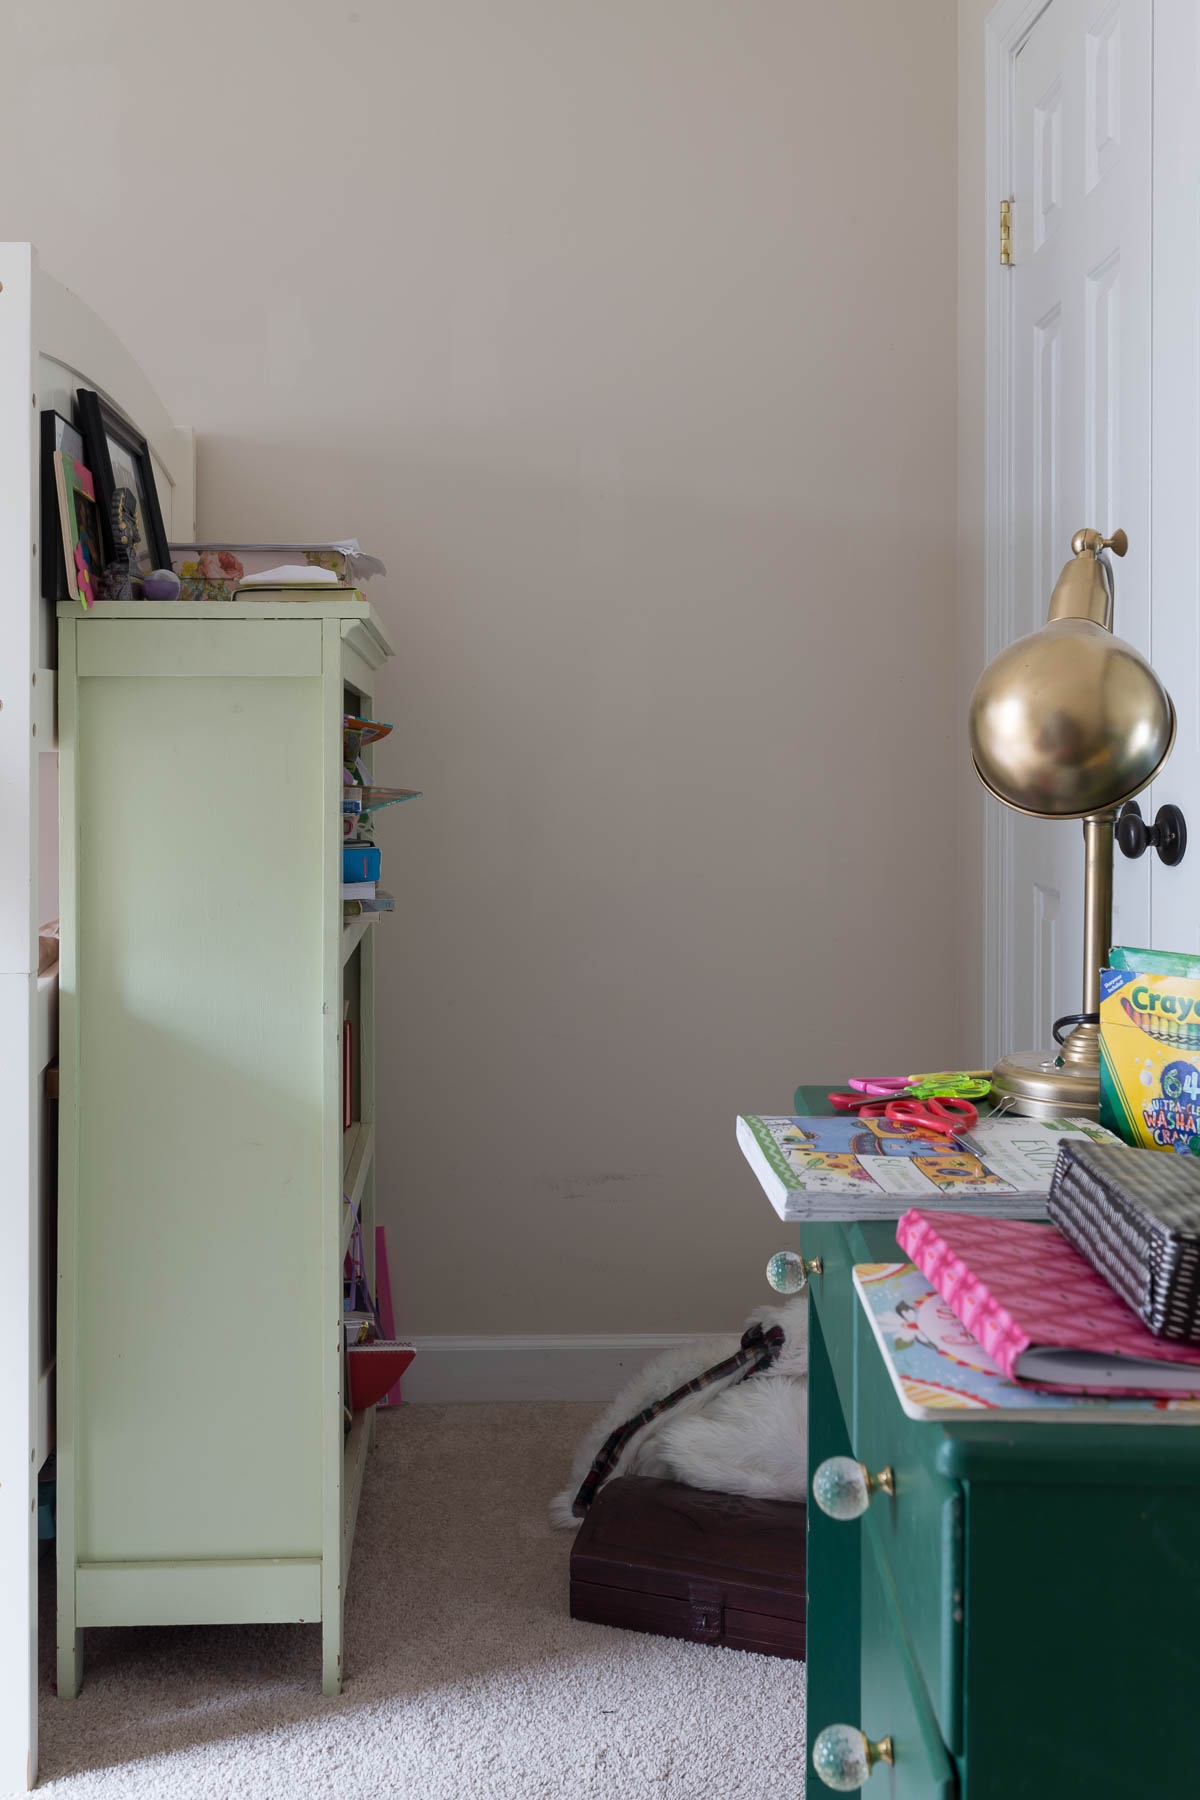
AFTER
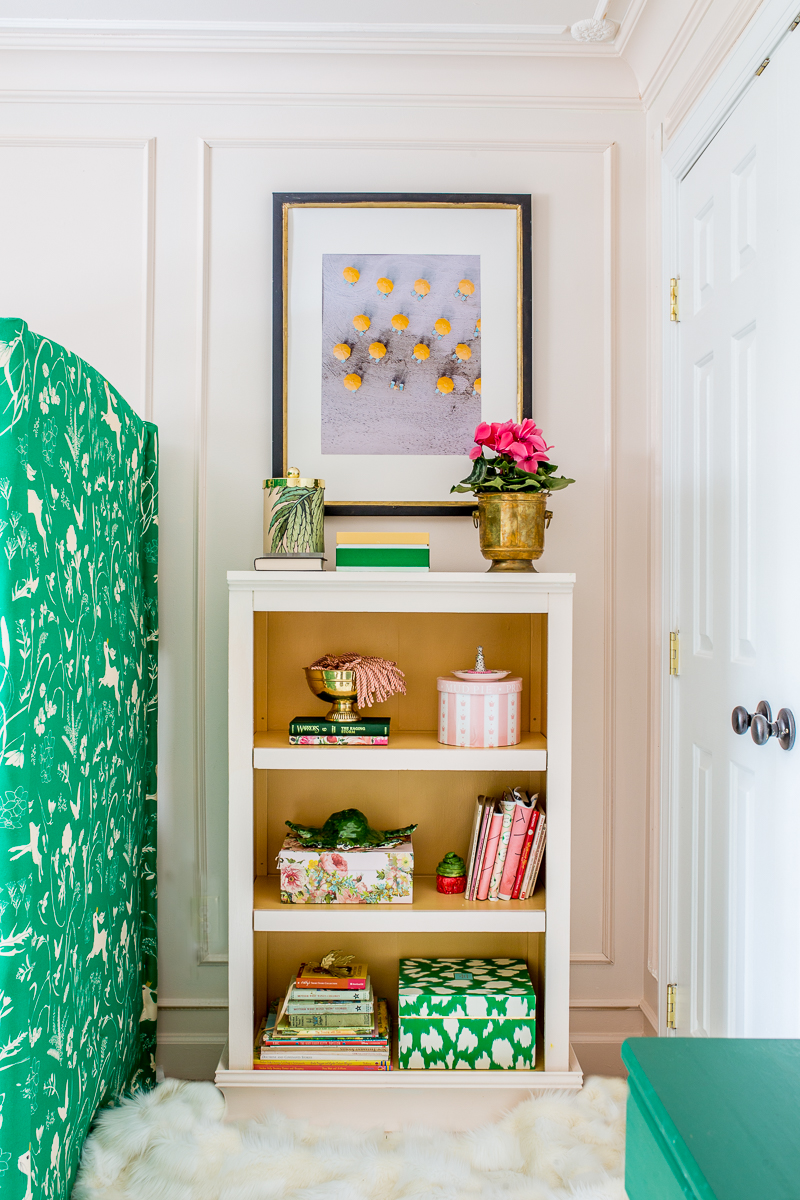
This old Target bookcase needed a refresh…BIG TIME!
First my husband added left over Metrie crown moulding because I wanted the piece to feel almost like a built in.
I had previously painted and varnished the bookcase but that paint hadn’t held up to the many moves. I knew I had zero time to sand it down, so I instead used Velvet Finishes paint products. I sprayed Ready all over the piece, waited a few minutes and wiped it off. Then I used left over wall paint on the outside. This helped give the illusions of it ALMOST feeling like a built in. I wanted a pop of color on the inside, and I wanted to pull yellow into this area of the room. I mixed Bold, Vivid, and Prestigious together to get just the right shade of mustard. I’m excited because now I still have some of these colors left over for future projects. After a few coats and some drying time, I added two coats of Protect to seal it all in… I don’t know what is in this top coat, but it leaves a very pretty finish.
As a side note: I used this paint series on my staircase and will be revealing that in a couple of weeks. Stay tuned for more deets.
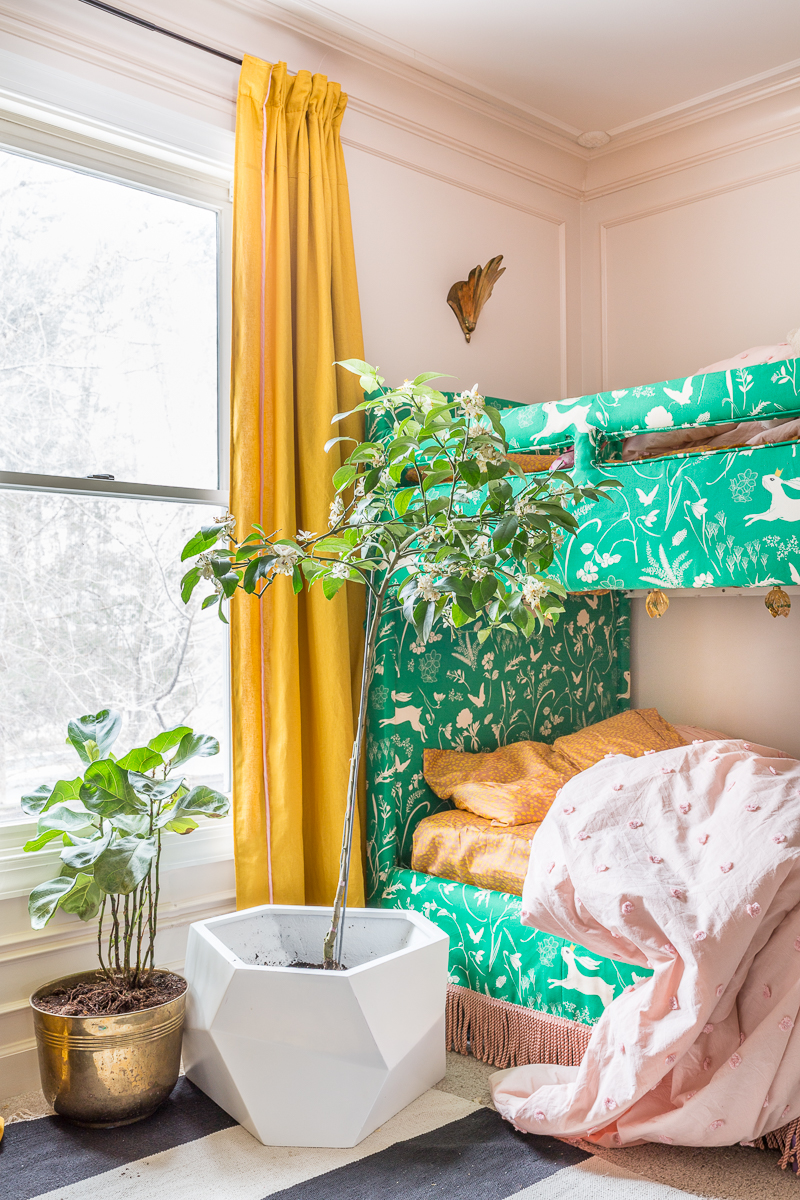
I am so stoked about this new Meyer Lemon Tree from Fast Growing Trees. It came out of the box looking this good and the smell is incredible. Because the tree limbs are grafted on, we can expect fresh lemons much sooner than otherwise. What little girl doesn’t want a lemon tree in their bedroom….I hope the light in here will support this decision. If it proves to be too dark we may need to move this beauty out to the living room.
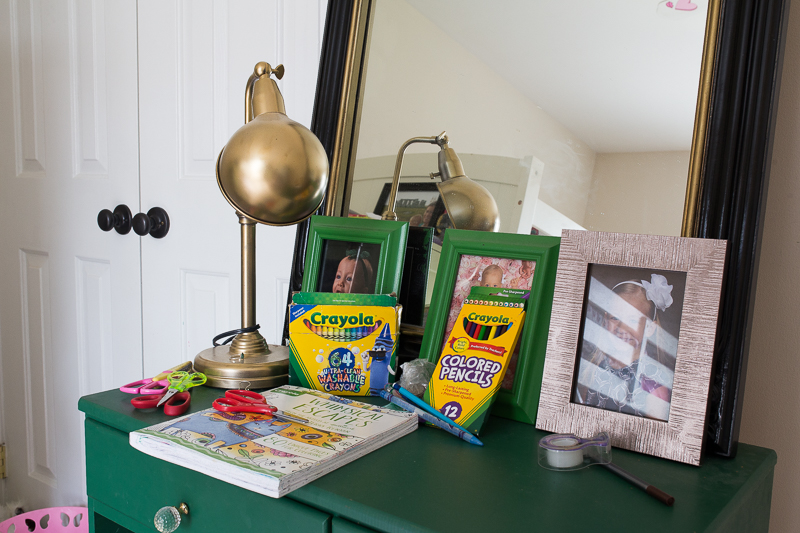
BEFORE
AFTER
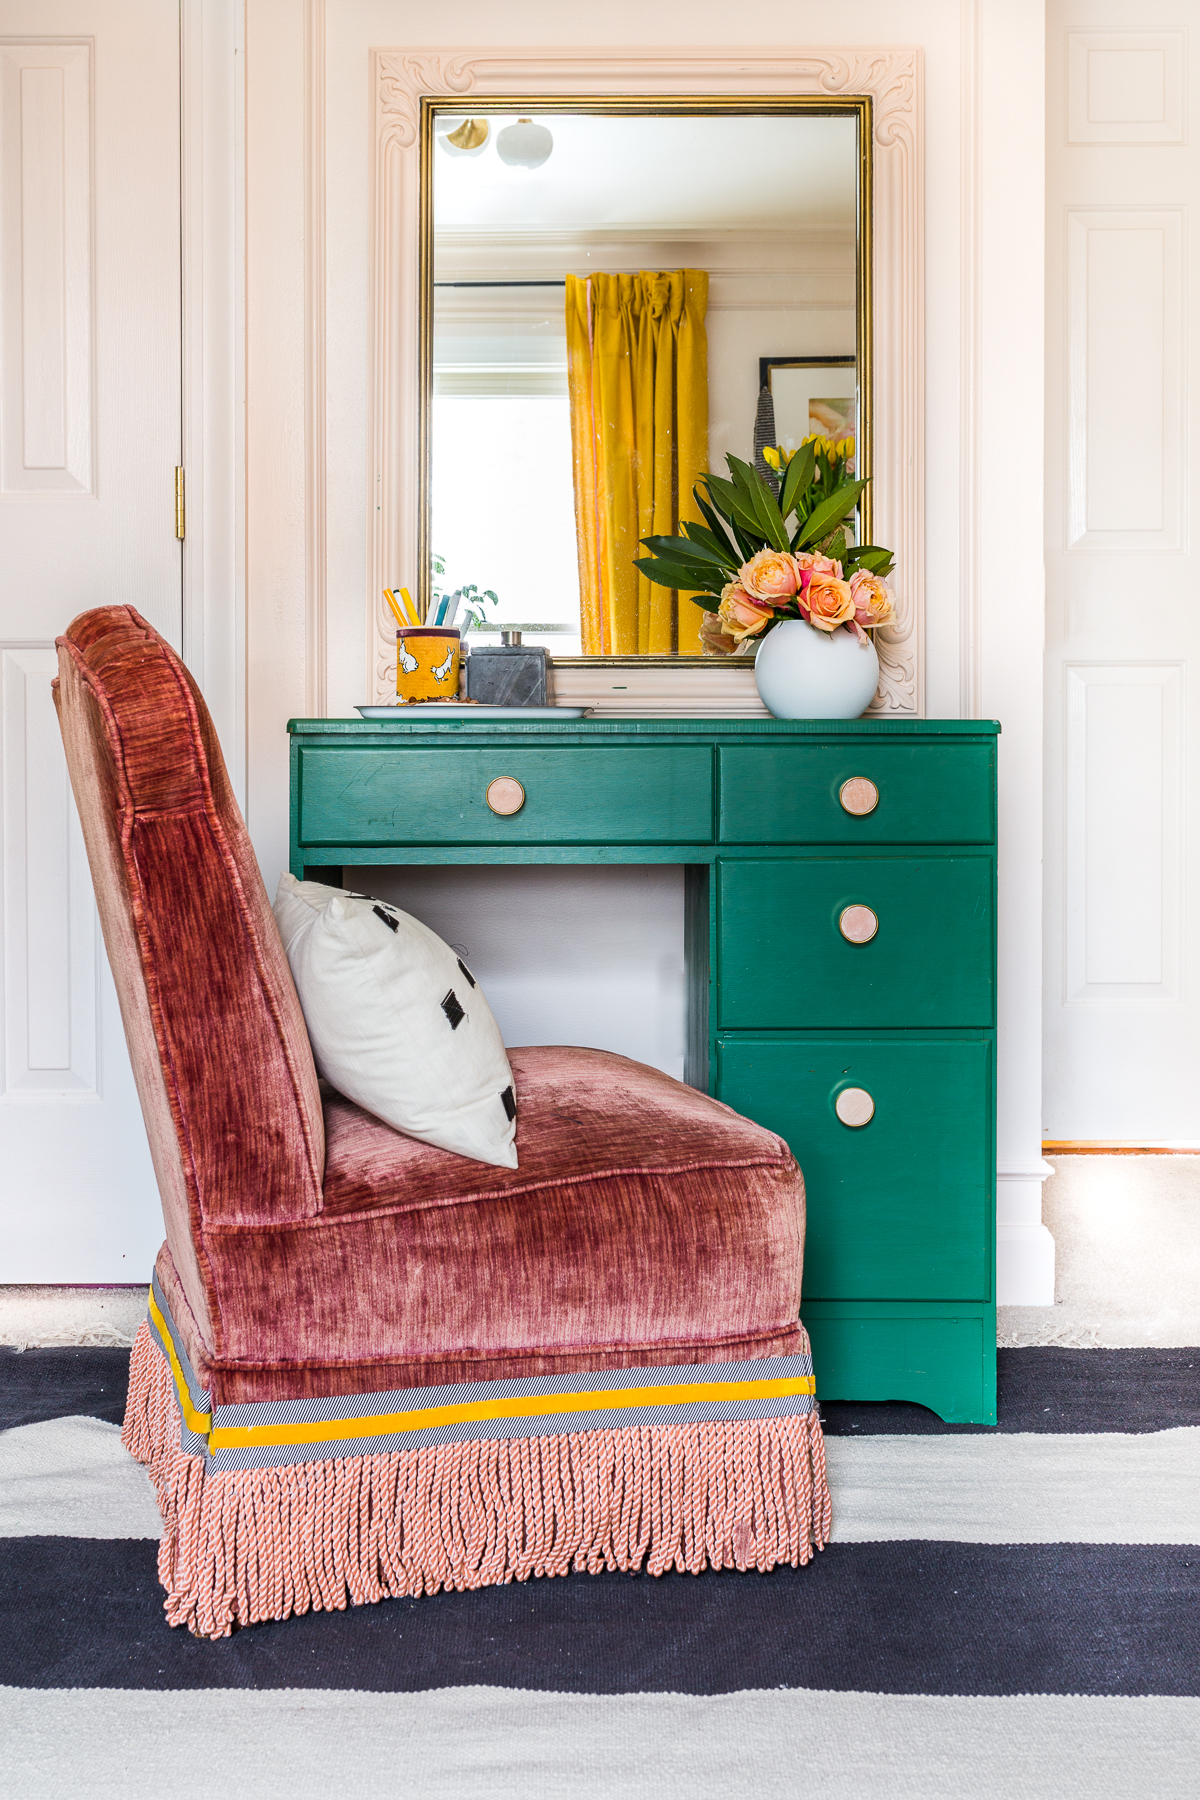
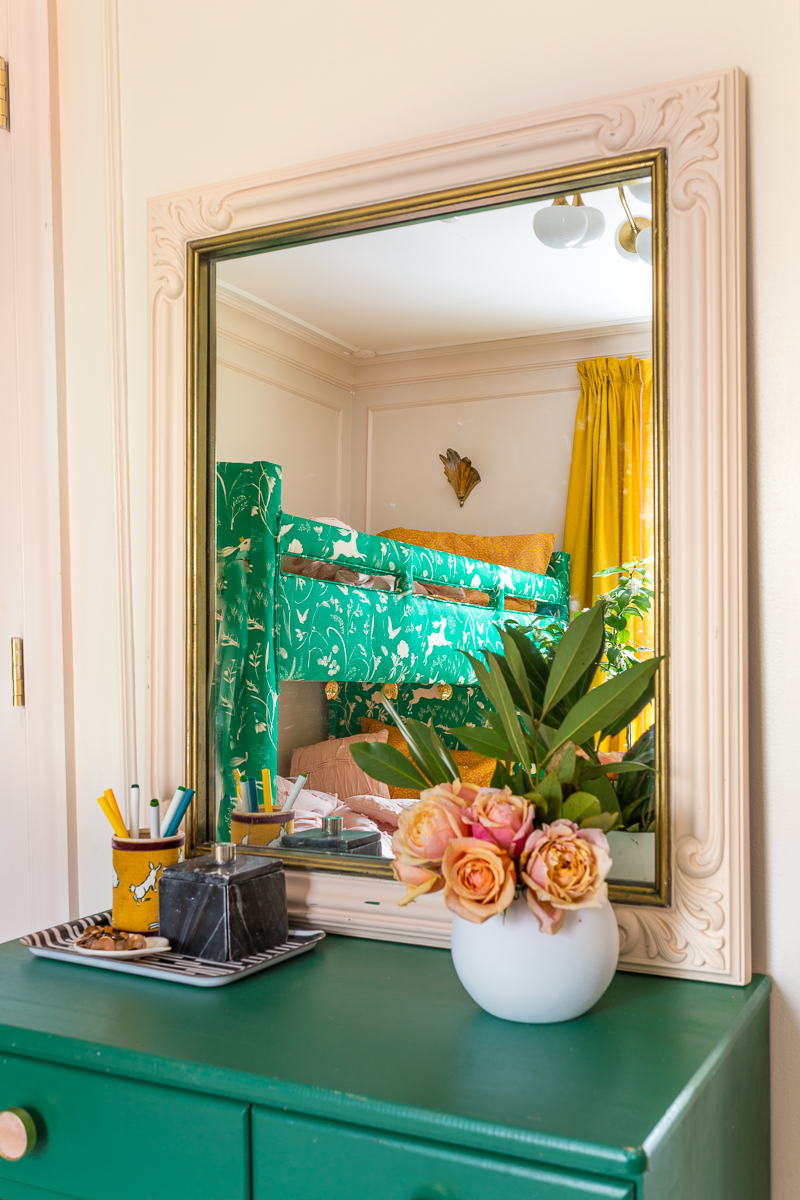
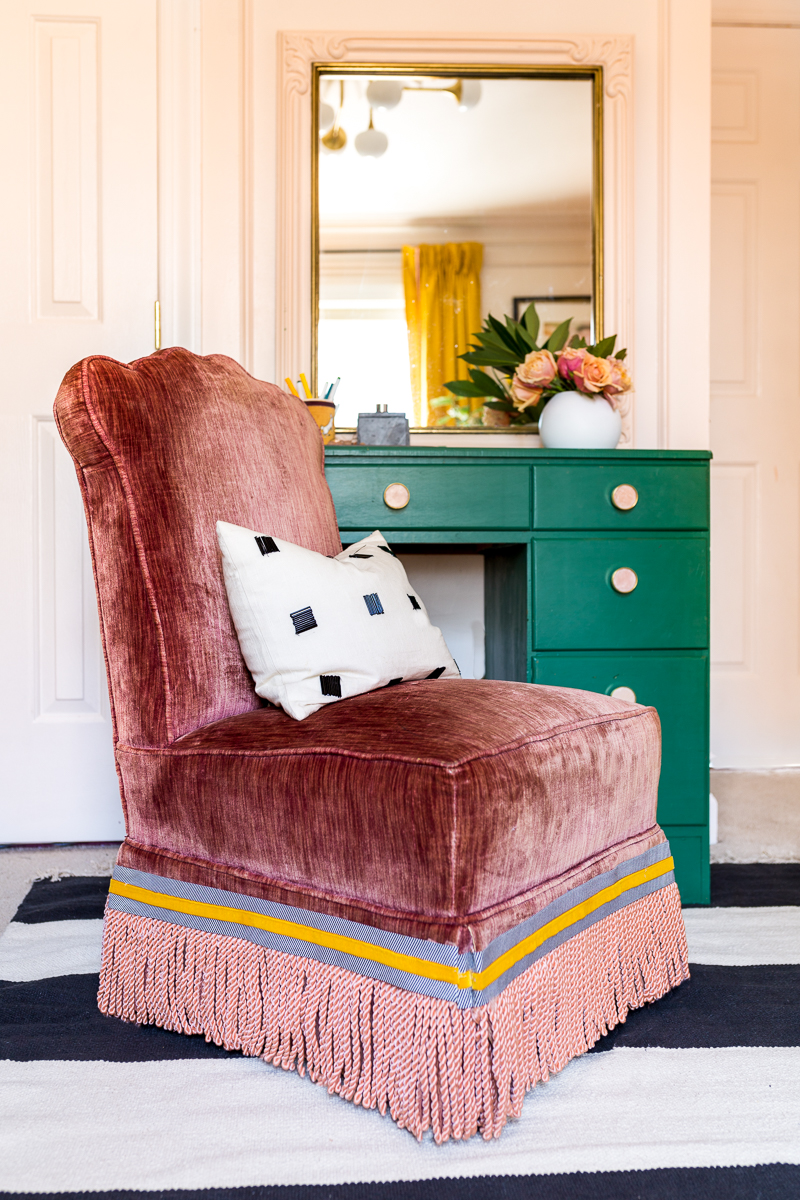
If this chair looks familiar to you, it’s because I have a pair. The other one lives in my oldest daughter’s bedroom. To make this little beauty unique I added fringe from Fabric Place Basement and trimmed it out with ribbons from the thrift store and Amazon.
I think I will do a Live IG video of this space on Thursday at noon. Tune in if you want to ask questions and see more details.
These room make overs are always fun…(in a sleepless, masochistic way), but this one was especially rewarding. I loved creating a lovely space for these two cuties. I’m so thankful for them and their fun personalities 🙂 The good news is that they are thrilled with their new bedroom, and I can’t say I blame them one bit.
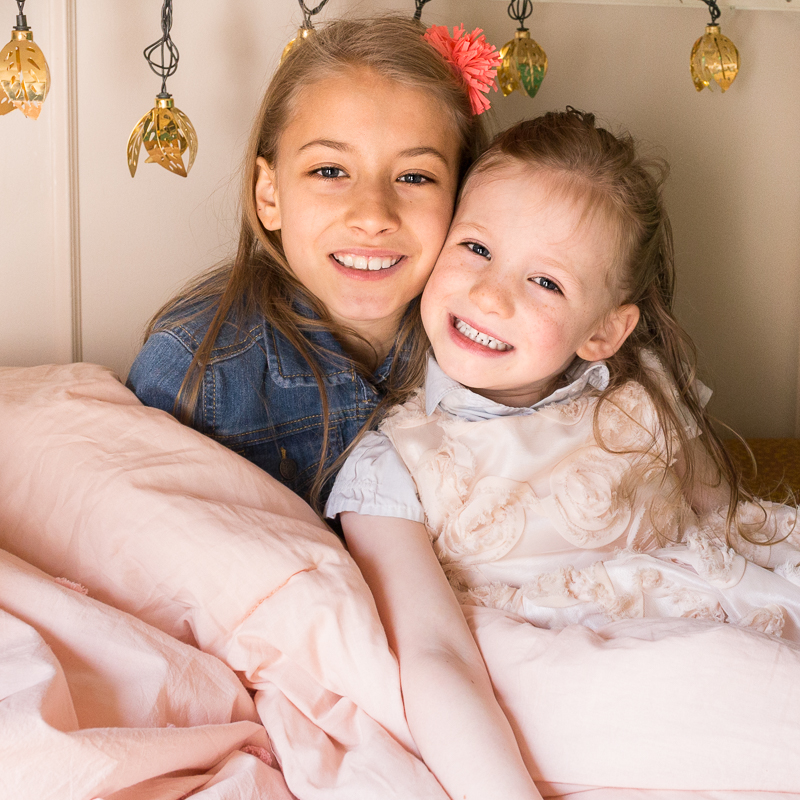
Thank you so much for following along on this adventure. I have appreciated your IG comments and suggestions, and truly value your support! This room has been a major team effort. Not only have I been energized by your love and inspiration, I have been buoyed up by my family, and am very grateful to all of my sponsors. Go team Upholstered Bunk bed!

Now that you have had a chance to check out my space, head on over to see the amazing transformations made by everyone else!!!



I love how it turned out, Jewel! Everything is so pretty! Lucky little girls!
Uhhhhhhhmazing!!! Every single detail is stunning!!!
Jewel, you have done it again! I want to be you when I grow up! ? Seriouslg, every makeover tops the last in creativity and gorgeousness. I stand in awe.
I love how this room turned out! It’s so stylish & fun & absolutely gorgeous!
I knew you’d pull it together in time! The room looks great…every square inch! Favorite thing? Can’t choose just one…but I will say that I especially love that it is so original. Congrats on another fabulous makeover! XO
Thanks so much Susie! I’m so glad that you like it!!!
that bed is GENIUS, jewel! it looks incredible and so unique and SO you!
Wow lady!! You made this space out of this world!! The moulding, the colors, the furniture, the textiles, and of course that light fixture are all amazing! I wish this my my bedroom! Your talent is off the charts!
It’s so great! I knew it would be awesome and it is. ????
Looks great, J ! It really came together beautifully! I love the moulding and the color you used on the walls. So many wonderful touches ??
Oh my goodness this is so beautiful and unique! I can’t believe the amount of work that you put in this. What a gorgeous room.
Smashing! Such high style for a tween room. I hope everyone is thrilled…and maybe getting some rest.?
Jewel!!! You outdid yourself with that upholstered bunk bed! I have never seen anything like it and it’s truly genius!! Your makeovers are always so much fun to see and read about, you are truly so creative and resourceful!! And your girls are such cuties!
Wow, this room is absolutely gorgeous, Jewel! I wish I had an inkling of your creativity and knowledge! My mind could never have come up with something so beautiful and extraordinary. Wonderful job!
Oh my stars!! You never cease to amaze me! This room is absolutely beautiful. Your upholstery is stunning and every last detail is flawless. Congrats on finishing up another incredible space in your home!!
Your girls are sooo cute Jewel! This room is so fantastic and unique! Every inch feels custom. Love all of the furniture, styling, colors and prints, and a lemon tree? Awesome. I think upholstered bunk beds will be a thing now. GORGEOUS!
Thank you so much Peggi!
Just lovely!!! The bunk bed amazes me!!! I would never have thought of doing that!!! And all the paneling y’all put in. Lovely!
Thanks Connie!
The girls are loving how it turned out!
How do you get up to the top bunk?
Hi Bob! Great question! We have a removable ladder that I didn’t get painted in time for the reveal. It just hooks onto the railings. I also considered screwing it on permanently, but have not done that yet…started right into the next project :). LOL. Thanks for asking