A DIY Modern Bench Tutorial
I am excited to share a new addition to our home…a strikingly gorgeous bench. Plus, I have given you a DIY Modern Bench Tutorial to show you how to make one too.
SIDE NOTE on the progress of the bedroom: Because I accidentally broke the chandelier for my son’s room, my New Year New Room Challenge reveal got pushed off a little longer. On some level it was a relief to not have to rush to a reveal. I’m not sure if I have ever had enough time as I like to get the details right during the room makeover. One of these important details that may not have happened is this modern bench…and I am so glad that I had time to tackle it.
Week 1 | Week 2 | Week 3 | Week 4- closet Reveal | Week 5- Bench Reveal You are here | Week 5 Big reveal
Modern Bench Tutorial Supplies
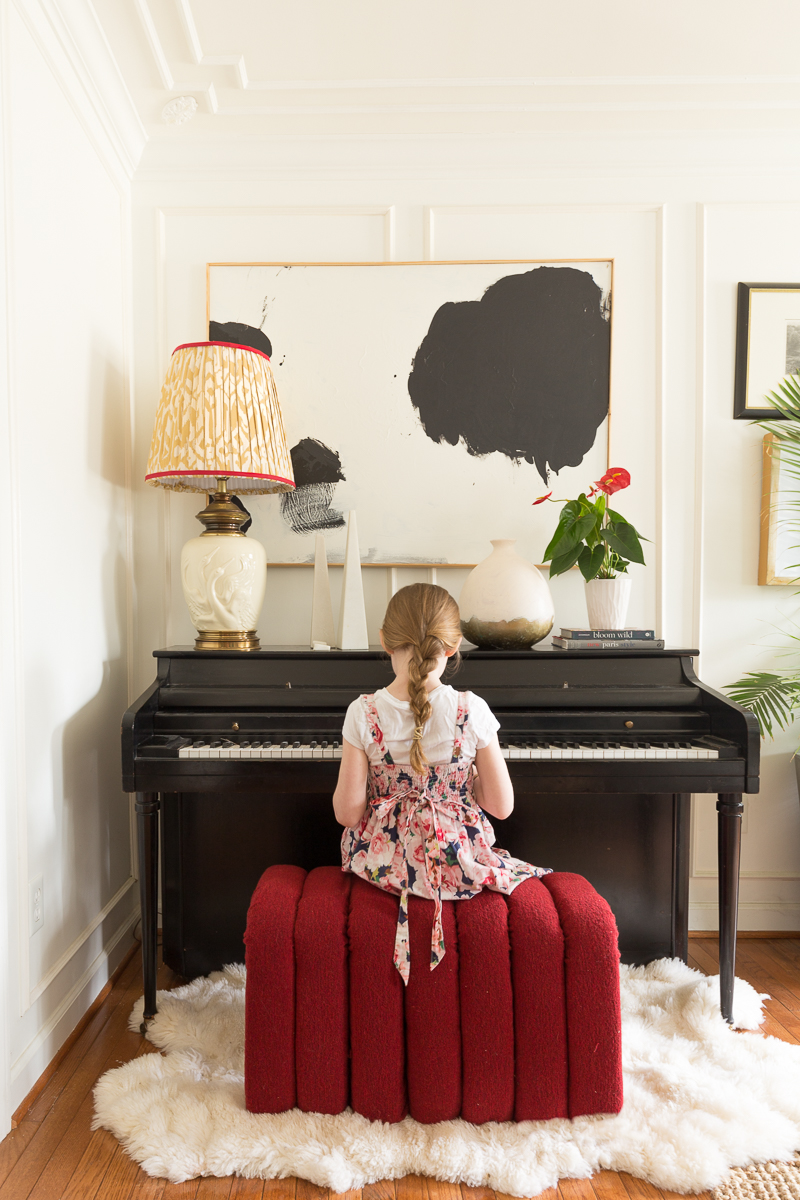
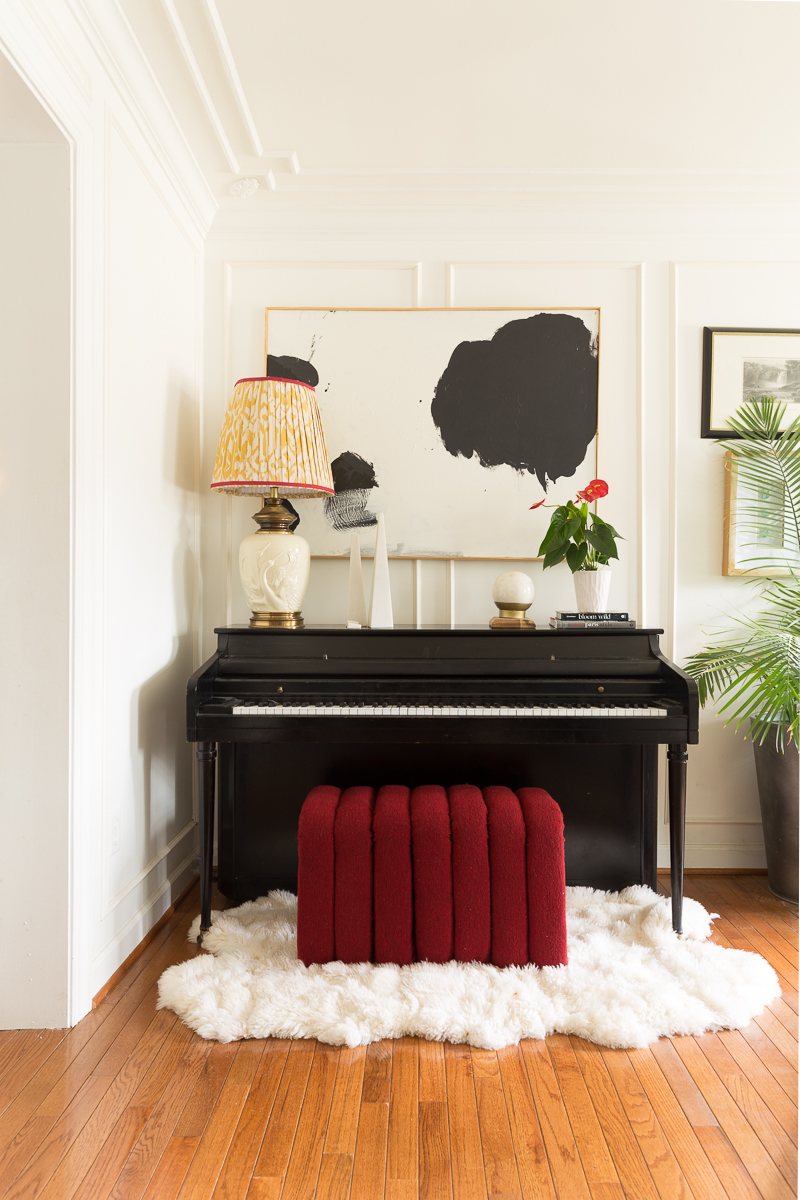
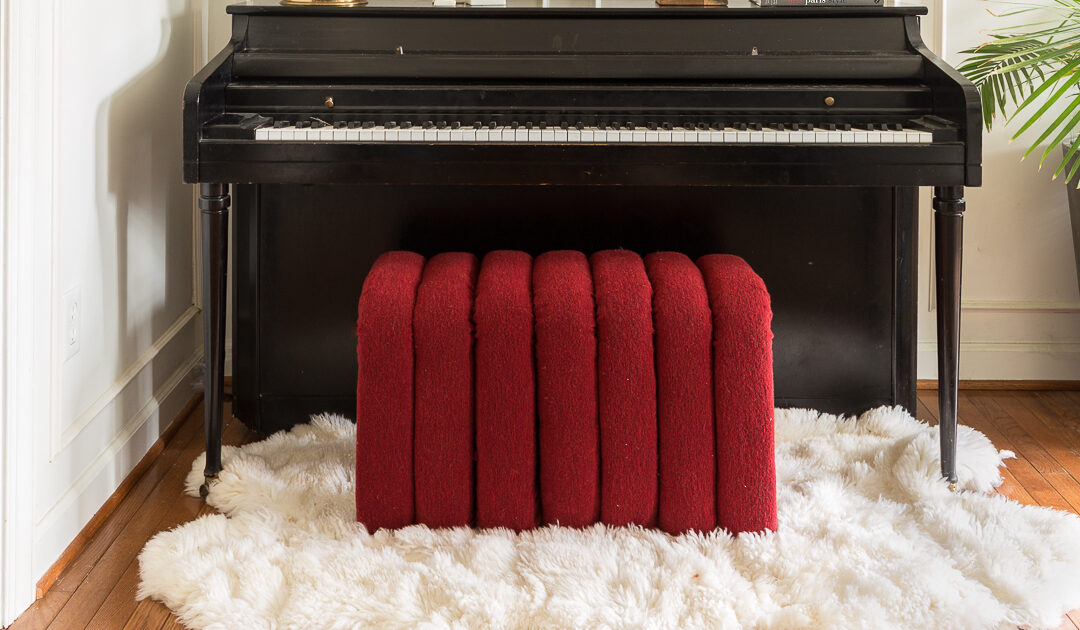
First, before launching into the modern bench tutorial, I want to show you how this statement making bench actually turned out. Eventually, this will end up in my son’s room, but I’m temporarily replacing our other DIY Piano bench with the drop-dead red beauty for now.
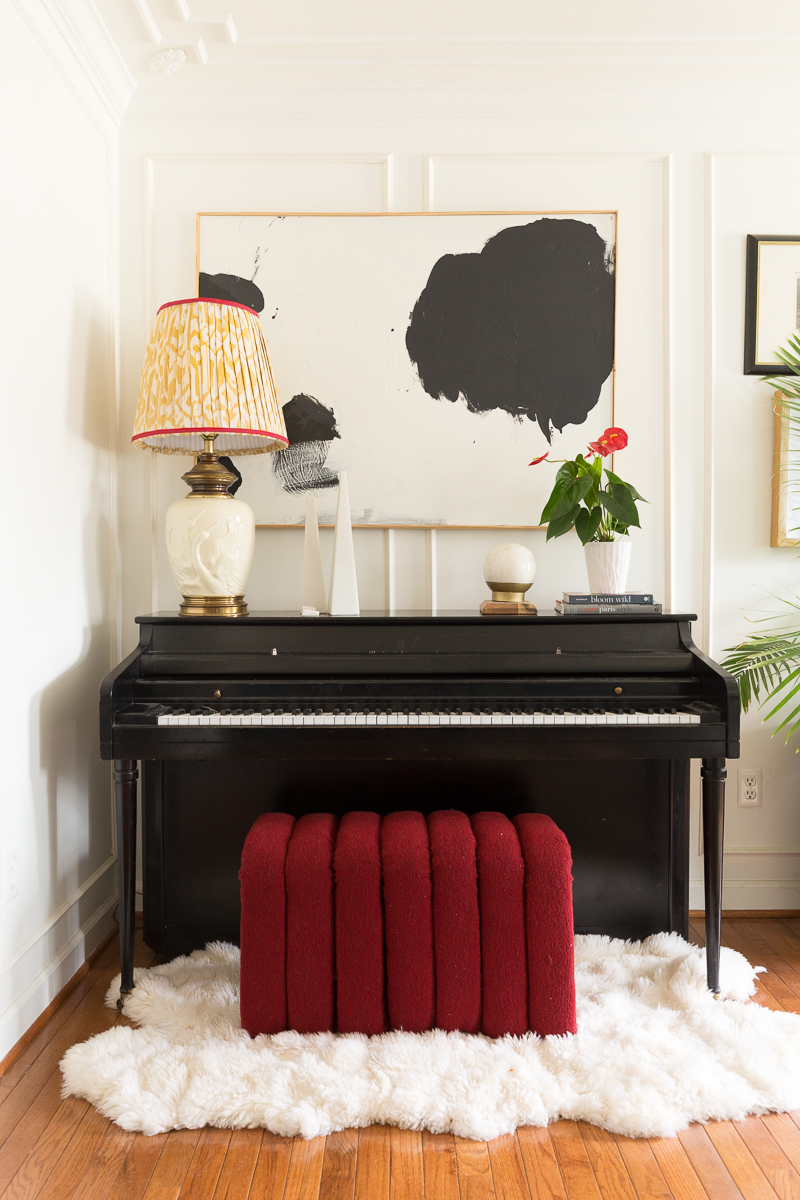
I can’t decide if I like the view from the front or the side better.
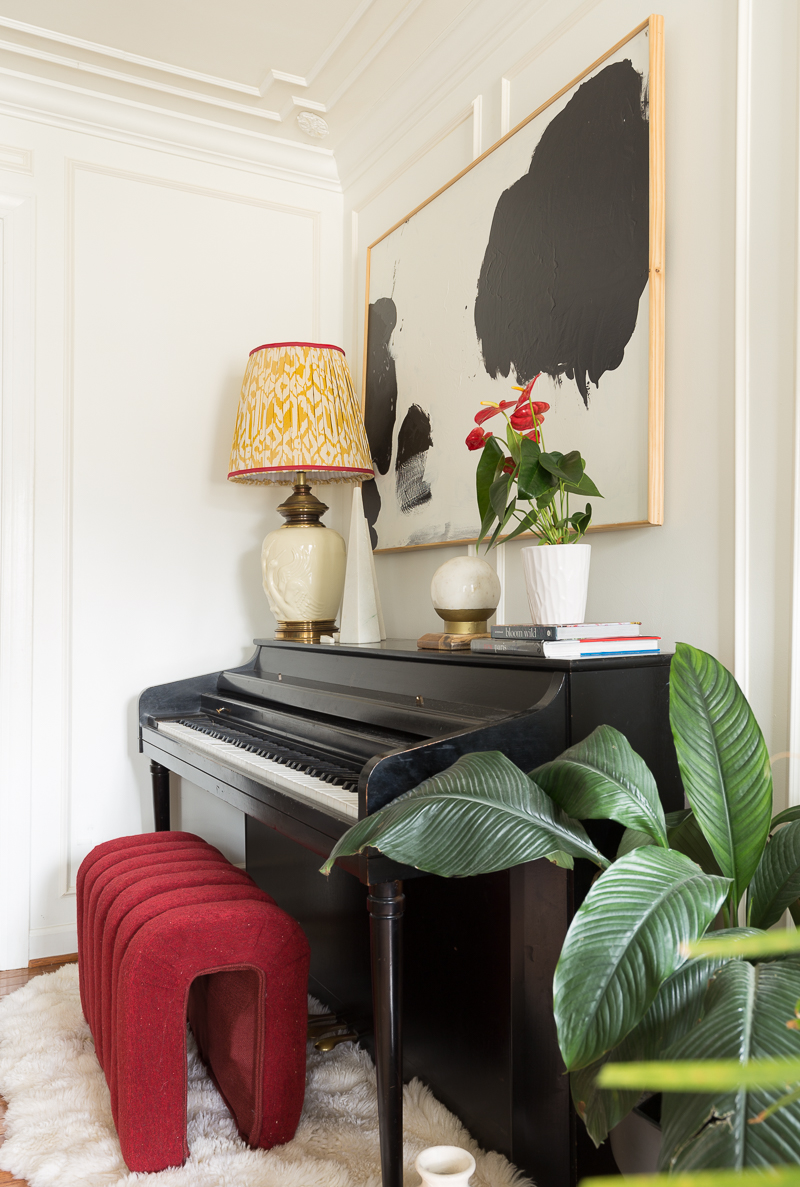
This bench is heavy, solid, and sturdy, but that’s not even the best part of this modern bench tutorial. Nope, the best part is the adaptability of the concept. Want to make two small ottomans? Go for it. Want a really long bench? Nice. Want the bench to curve? No problem.
I came up with this idea based on techniques I learned while making our main bed (tutorial) and our built-in banquet. You can get expensive demi lune shaped foam if you prefer, but I used inexpensive 2 (or in this case 2x1in) foam from my local fabric store, Fabric Place Basement.
DIY Modern Bench Supplies
Let’s assume for a minute that you want to make a bench the exact same size as mine. The over all finished dimensions came to 27.5 L x 13W x 17 H in. You can add or subtract supplies to meet the needs of your goal.
Remember to use all proper safety equipement and precautions when operating power tools.
Miter Saw
3. 2 8 ft 2×4 boards (interior vs exterior treated wood).
Pneumatic Air compressor and nails
1/2 in Staples and staple gun
2 in Screws
1 bag of Queen or King sized quilt batting
2 in foam or 1 in foam doubled
Exacto knife
scissors
staple remover/pliers
Fabric- 12 inches per board
Additional fabric or dust cover for under the bench
100 inches of 1×2 in wood
DIY Modern Bench Step 1
Cut and assemble 2×4’s
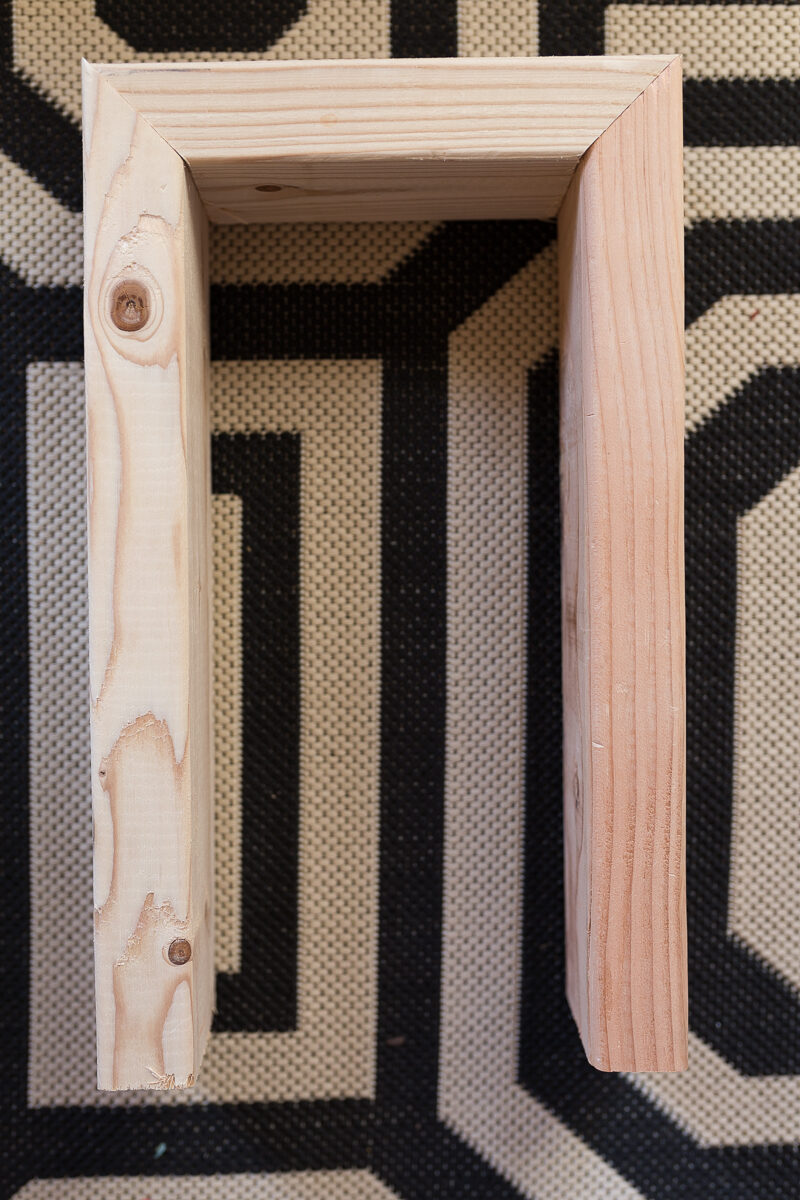
Using a miter saw and all safety precautions, cut the wood at 45 degree angles to these dimensions fourteen 15in legs (varying the direction of the miter cuts) seven 9 1/4in tops. Optionally, you could skip the miter and do butt joints. This would be easier to assemble.
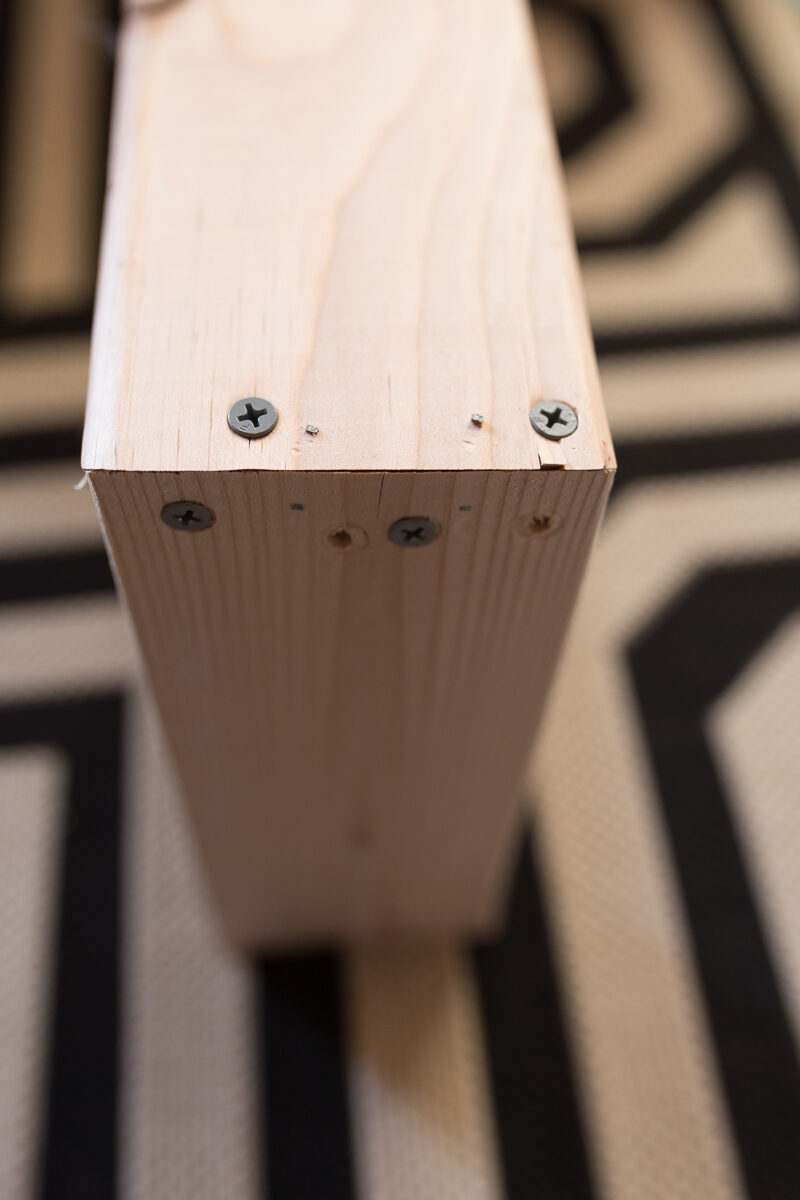
I used the pneumatic gun to temporarily attach the wood at the 45 degree seams. Then I drilled a small hole and sunk screws.
DIY Modern Bench Step 2
Attach foam and batting
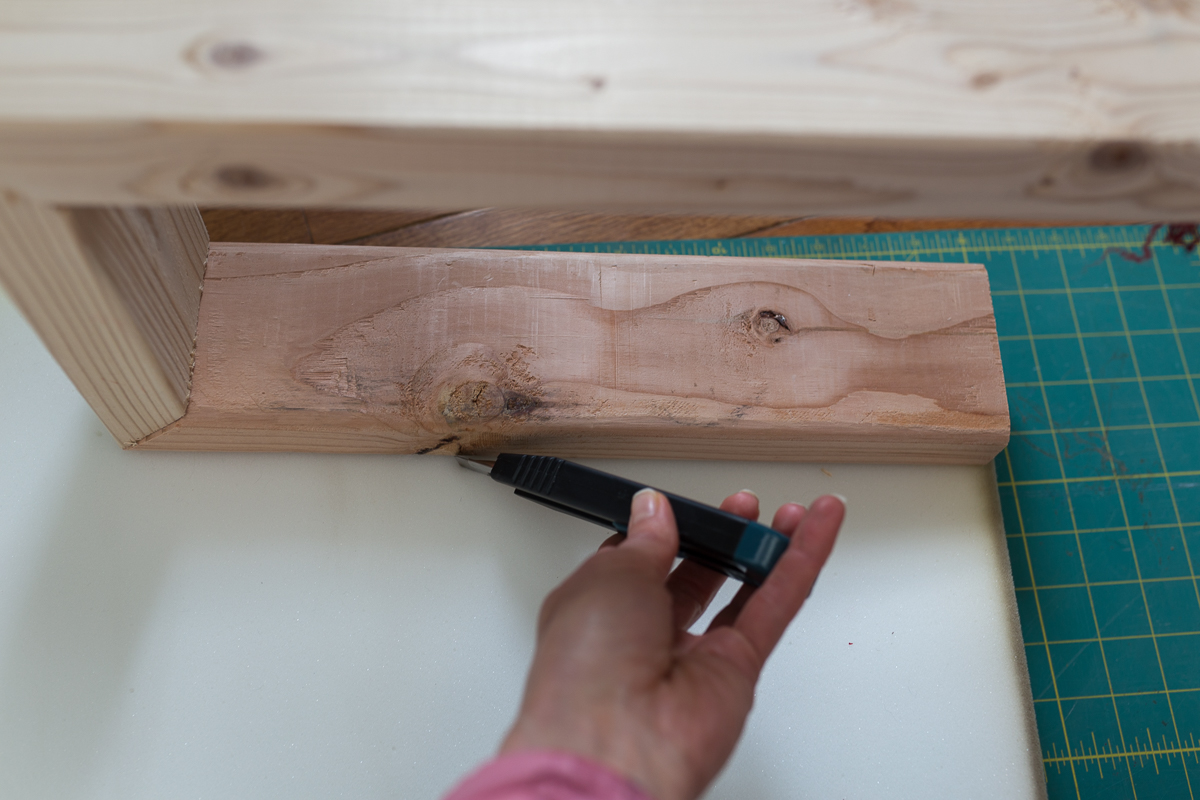
After the wood is built, I cut the foam using an exacto knife and a fabric cutting mat. Optionally, scissors, a jig saw, or electric carving knife can do the trick for this DIY Modern Bench Tutorial .
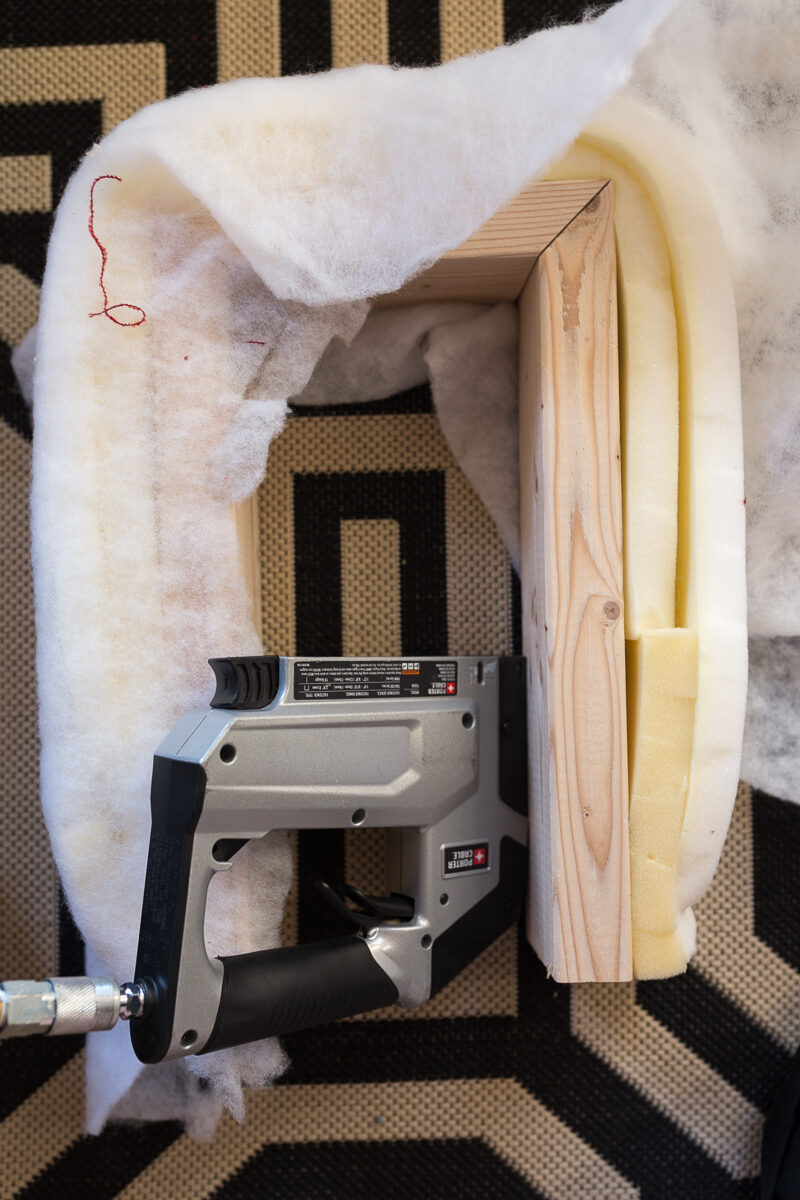
If you prefer, you can spray the wood with spray adhesive before adding the foam, but I don’t like the extra chemicals and skipped that part. I used the nail gun to secure the foam. Since the staples leavea pucker when stapled into the foam, I used a wad of batting to fill in the small crater. I also used a single (though you could do double if you have enough) layer of batting to wrap around the board and foam. This smooths the foam and secures it to the frame.
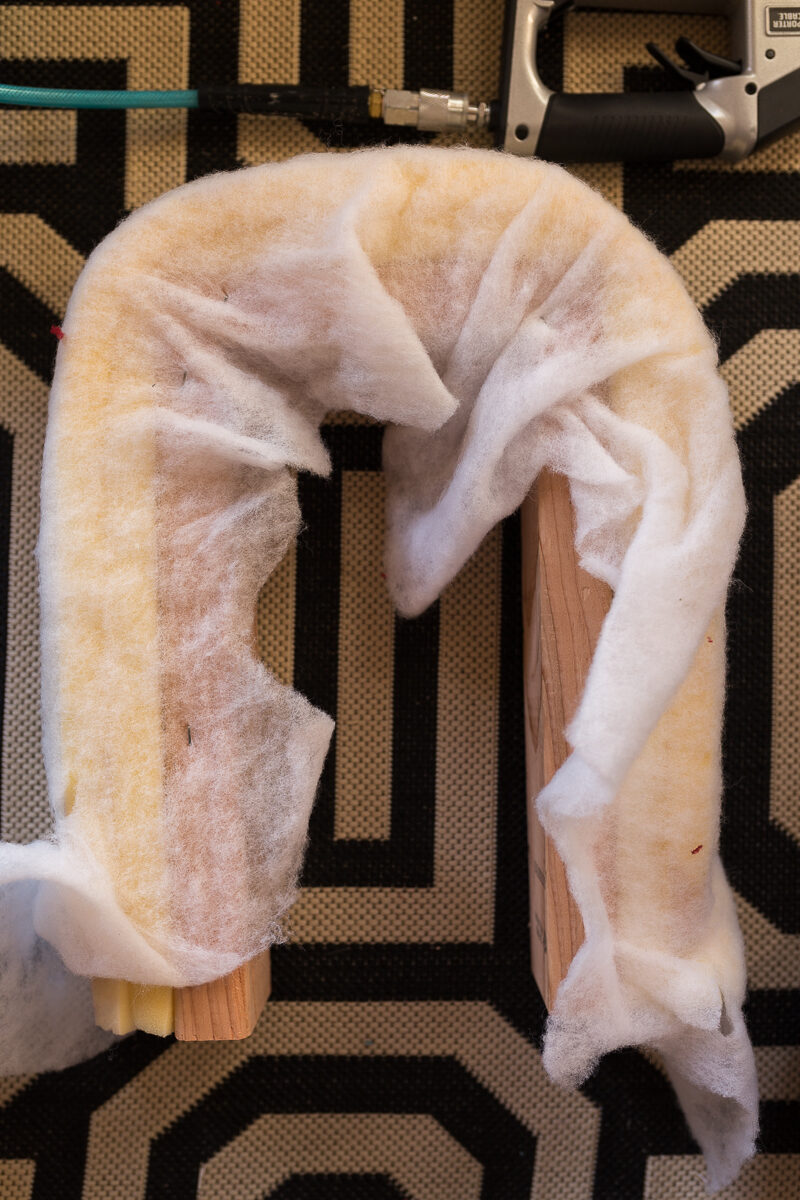
Make sure to smooth the folds of the batting as flat as possible so that it doesn’t cause extra bulk under your fabric.
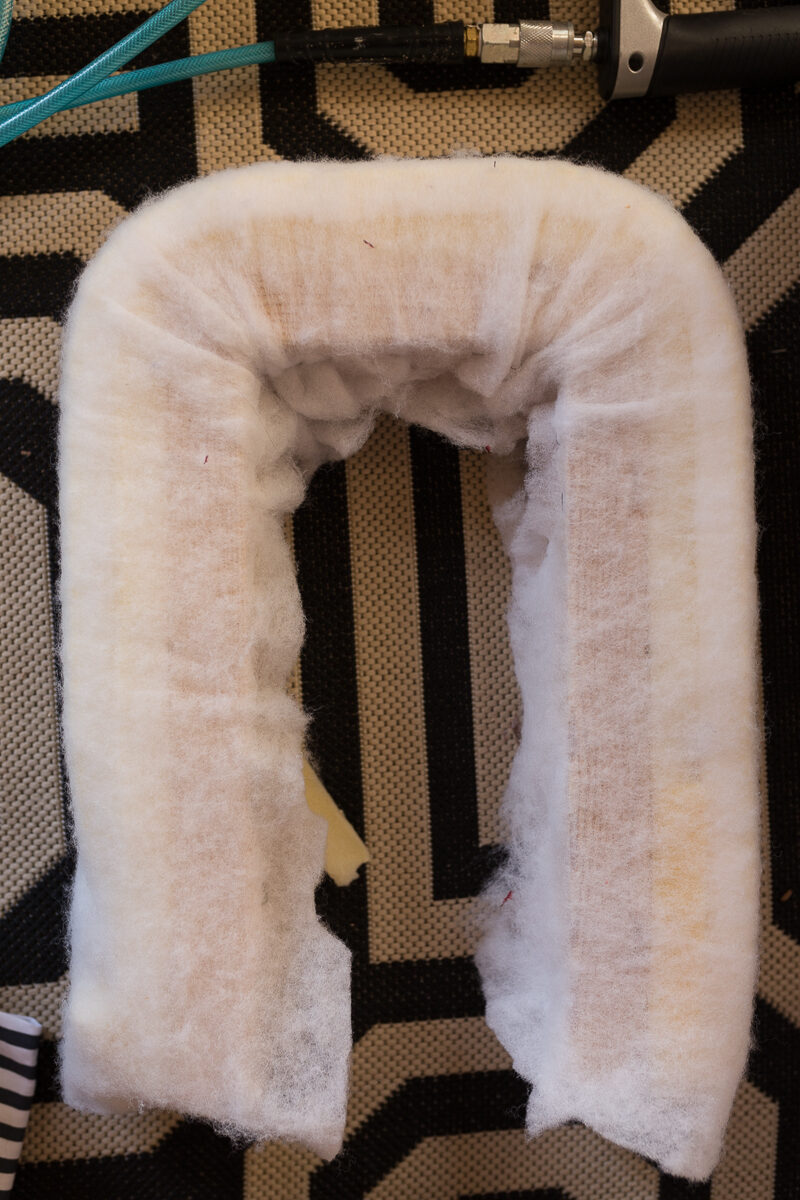
Cut off extra foam and batting
DIY Modern Bench Tutorial Step 3
Add Fabric
Is is important to decide if the section that you are upholstering will be sandwiched between other sections or exposed on the outside. If it will be sandwiched then you can place the stapes on the sides. If, however, they will be on the ends then you need to wrap the fabric to the underside and secure.
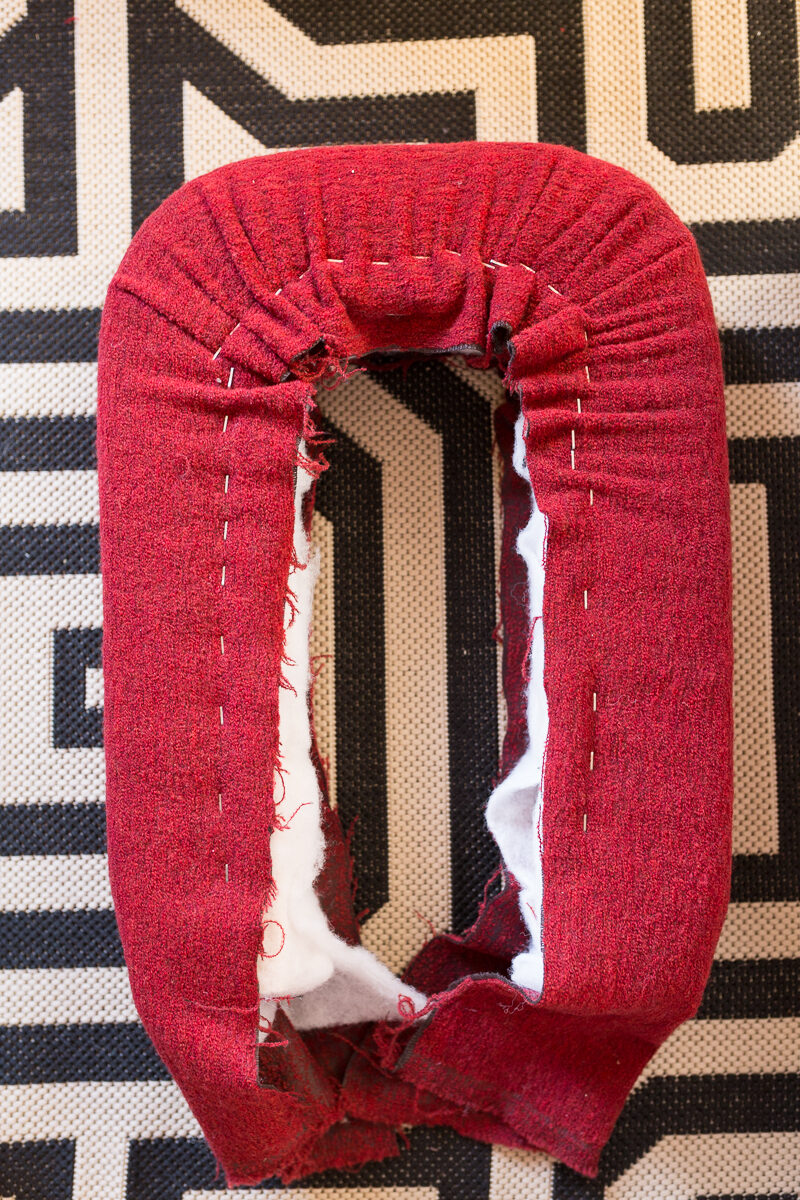
Because the “corners”are so round I found ruching to be the best option vs sewing a pleat.
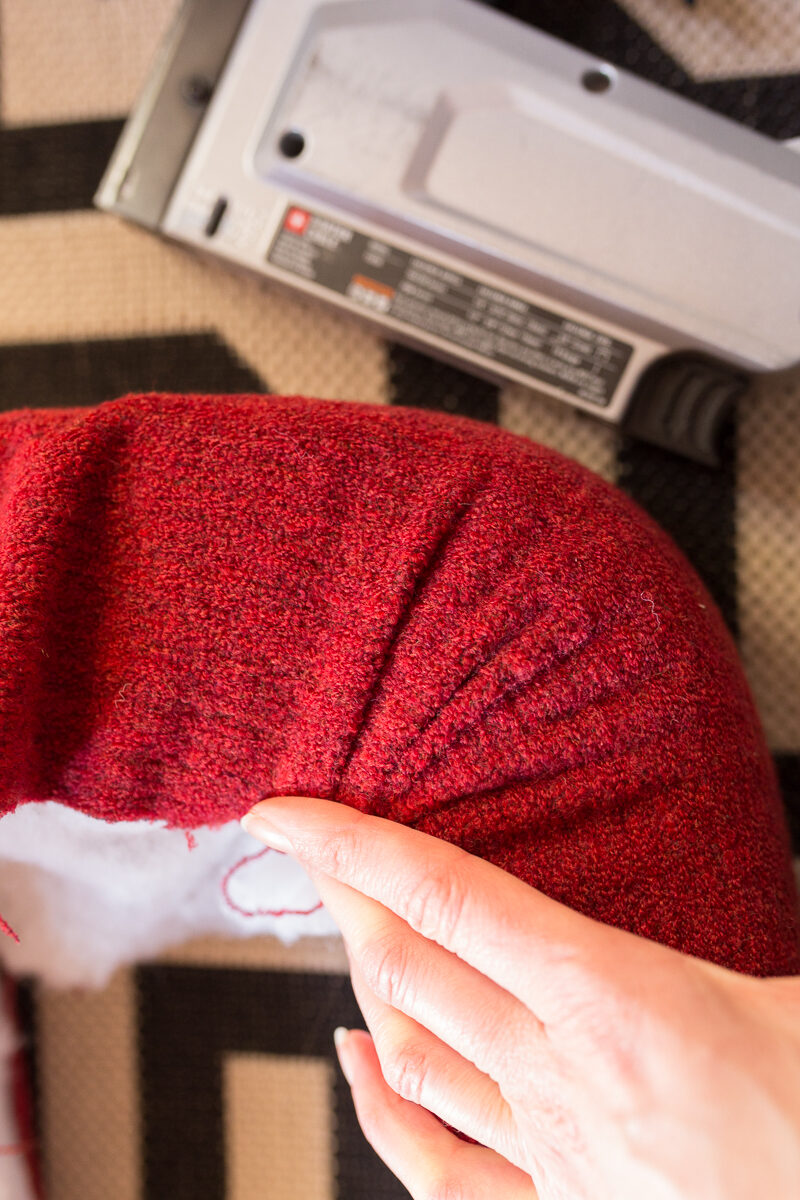
Start by stapling under one foot, then ensure that your fabric is straight, taut, and even all of way up and over to the other foot. Then staple one leg and then the other working your way up to the rounded corners. Use your fingers to form and smooth the rouch BEFORE stapling.
DIY Modern Bench Step 4
Secure it all together.
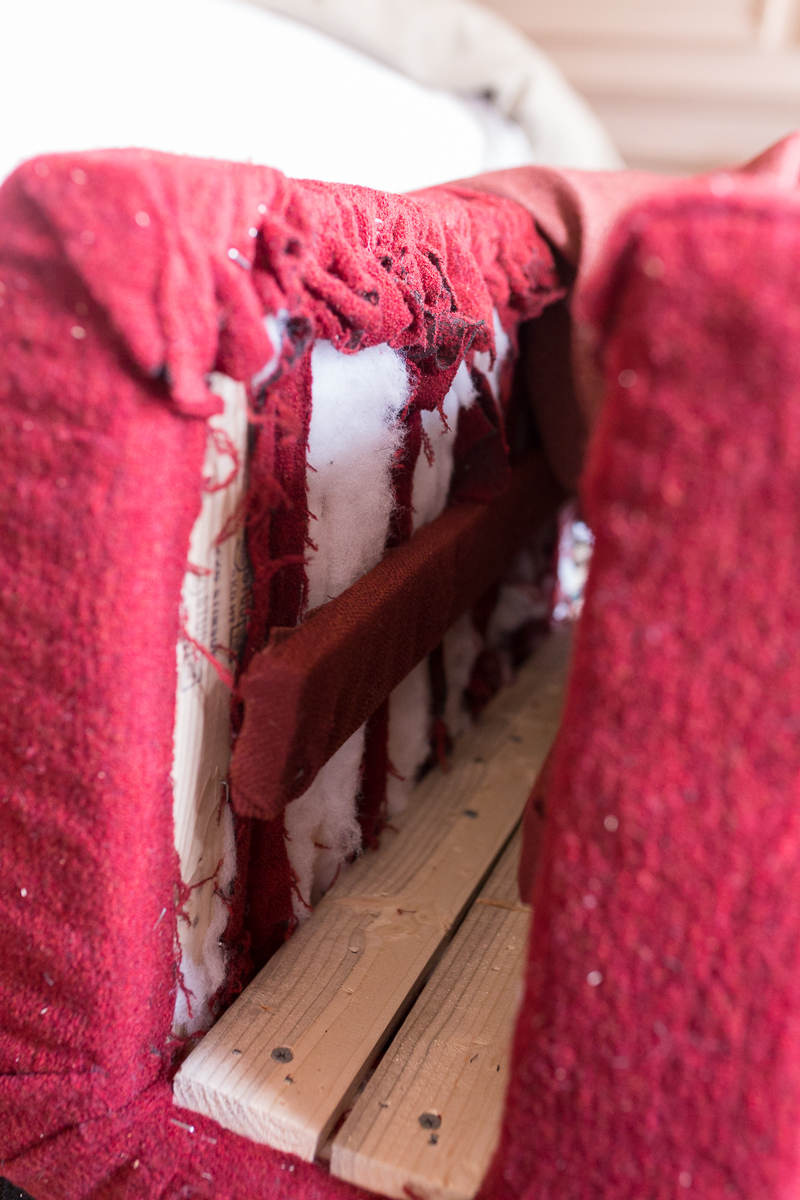
Using four 1 x2’s and screws, attach the sections together one at a time by sinking the screws into the 2/3 wood and then frame sections.
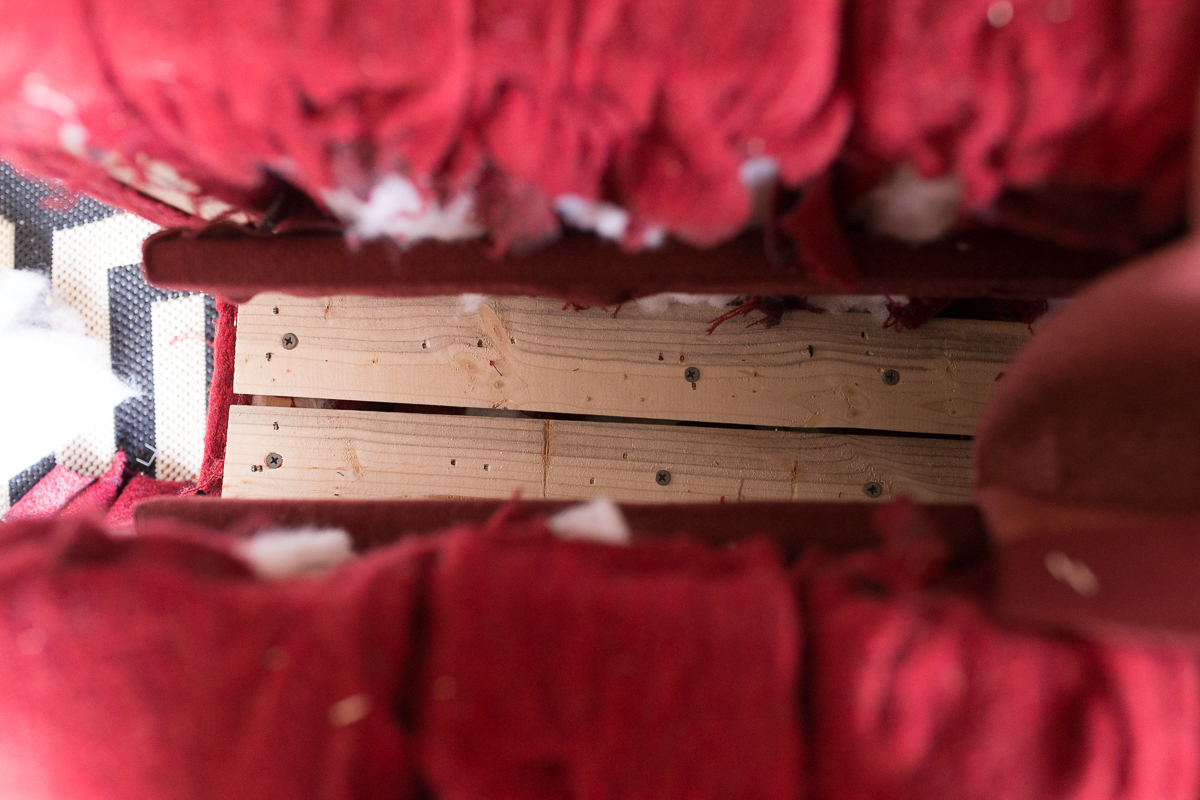
You can see that I had to do one section at a time because my tools had a hard time reaching up into the underside of the built bench.
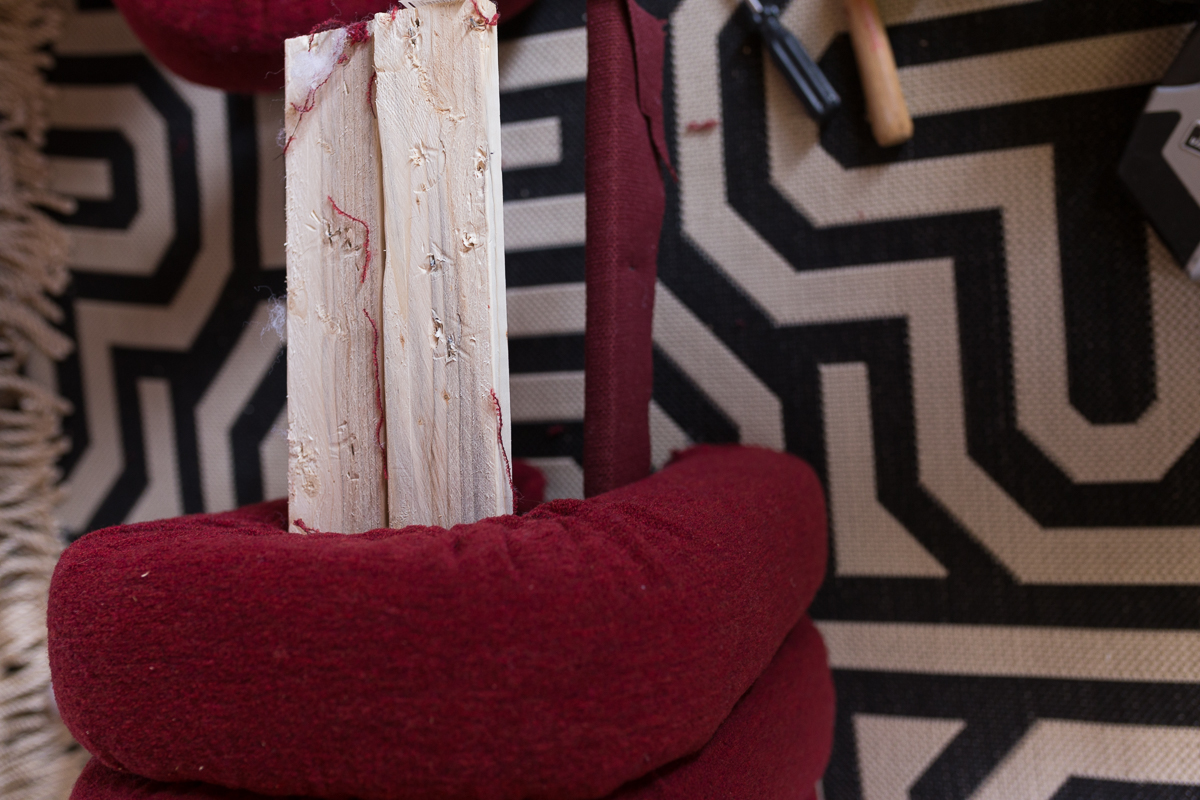
This step is probably the most challenging because it is important to ensure each section lines-up straight with the others. Check and double check after you attach each screw.
DIY Modern Bench Step 5
Attach Dust cover
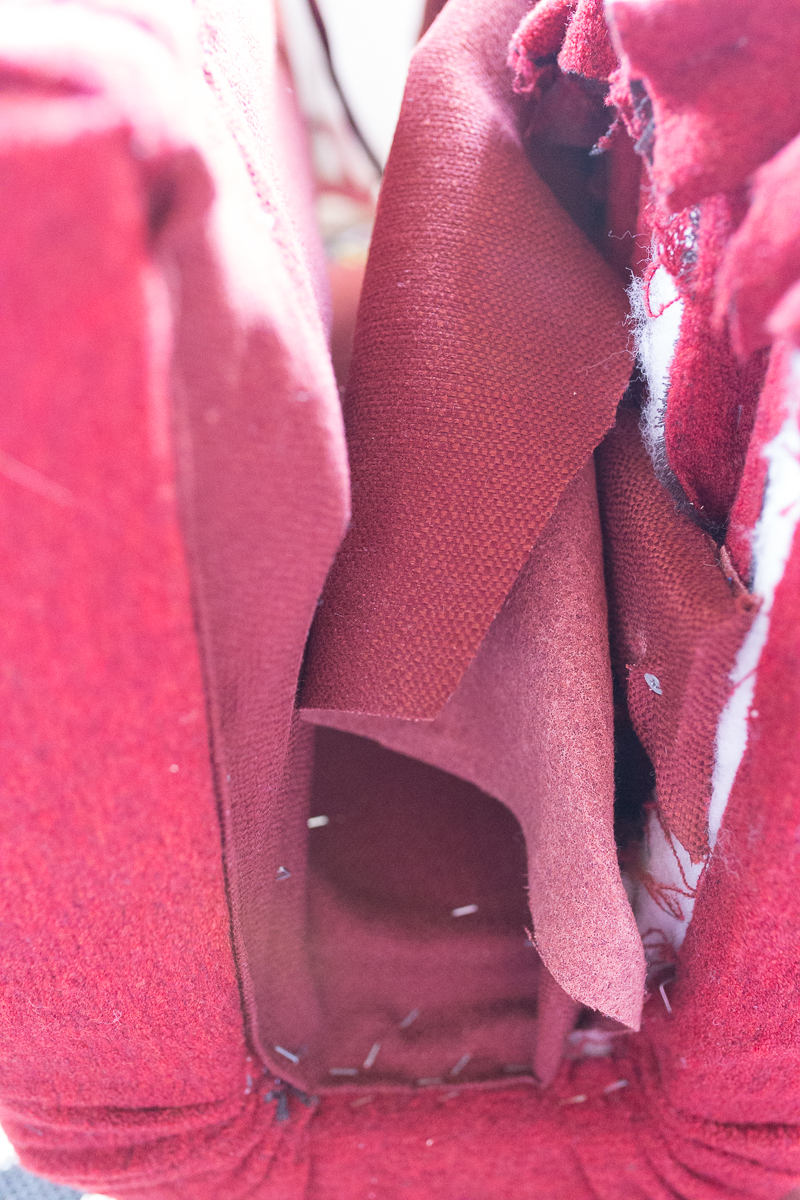
Using dust cover fabric or the fabric of your choice, secure it to cover the inner workings of your bench. Like before, you can use upholstery spray adhesive to get a smooth look, but I didn’t mind a few staples exposed underneath.
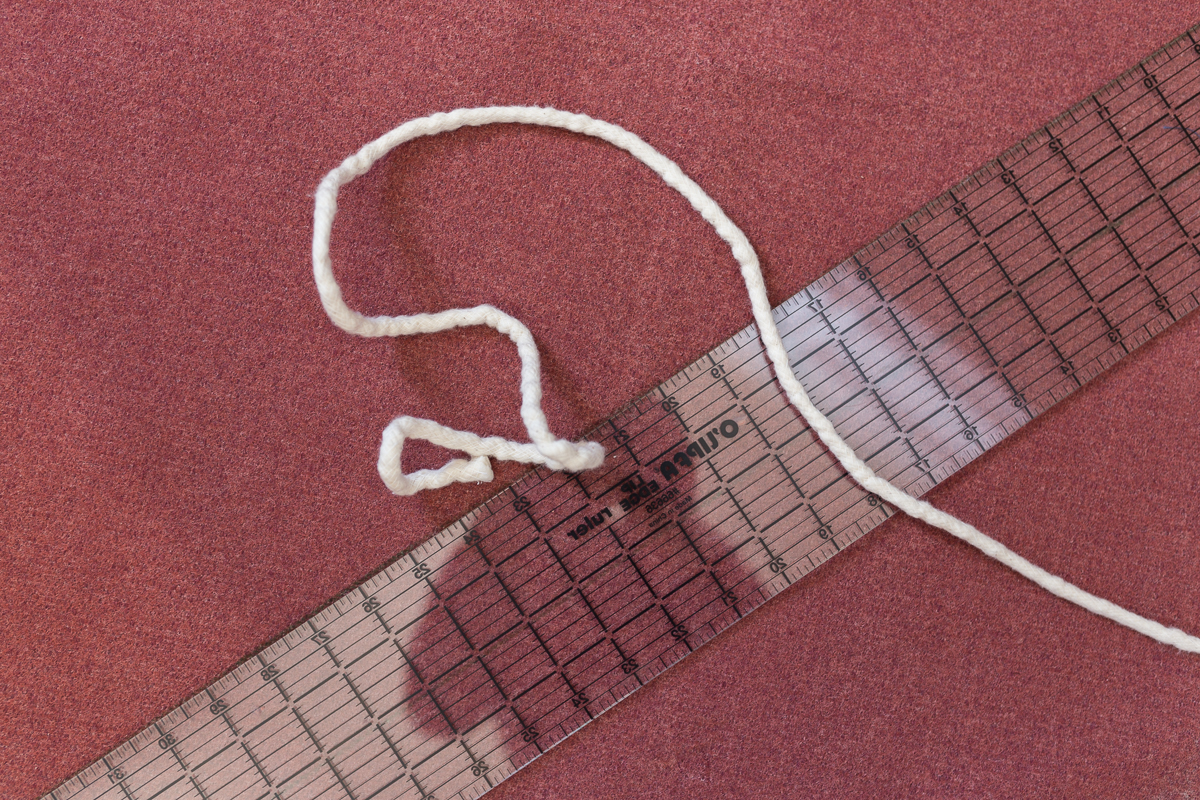
Use fabric of your choice to sew a double welt to cover your row of staples. If you dont want to sew or don’t have a sweing machine you can buy gimp to accomplish the same thing…though it looks less modern.
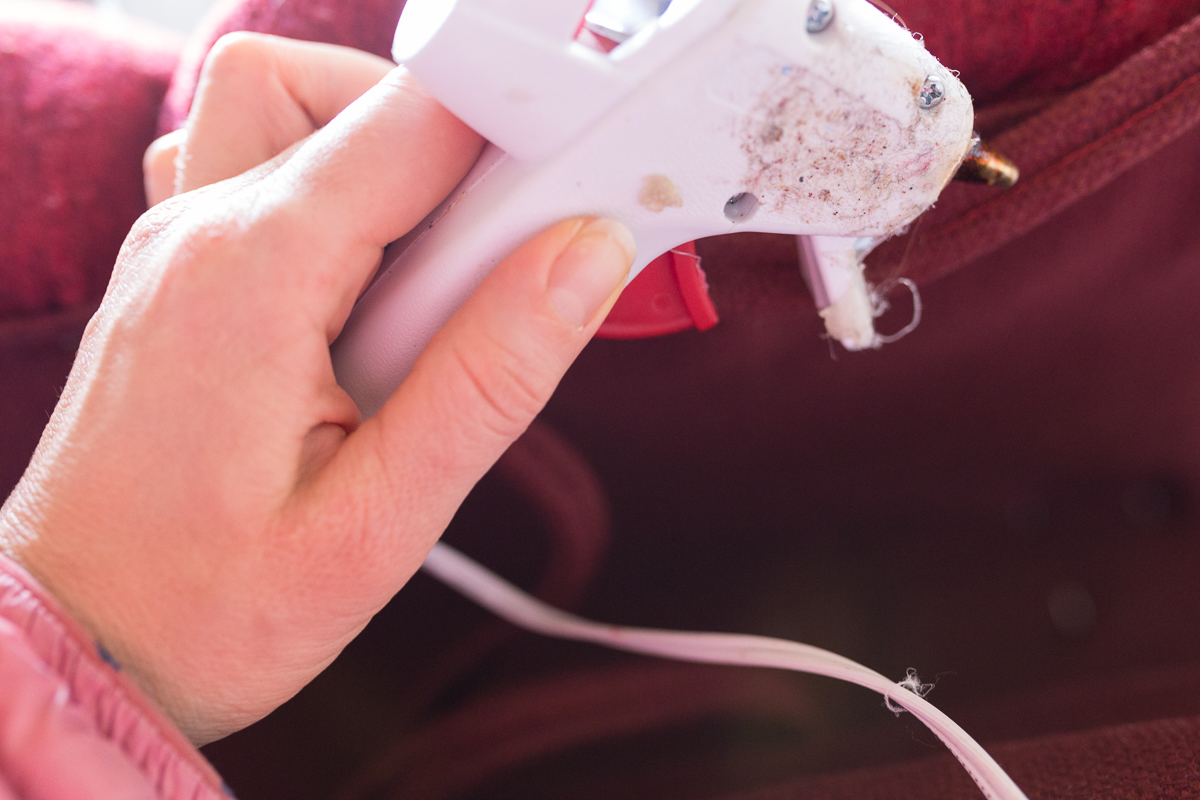
Use hot glue to attach the double welt, and then clean up your mess and you are done!
Thanks for joining me on the modern bench tutorial and I can’t wait show you the masculine room reveal next week!
PIN ME FOR LATER!



Looks very cool, such a fantastic design! Quick question: could you theoretically do a butt joint and avoid all of those miters? Would that affect the strength at all? Since it is covered, it seems like it would be easier to just have the top piece rest on the two legs and screw together through the top. Thoughts?
Hi Sara,
I think that is an excellent point. I’ll make note of it in the text. Thanks.
Absolutely incredible! Thank you for this! Takes the mystery and intimidation out of it! Your instructions are so well written! I think I will use this to make a bench for my foyer! I have a small awkward corner that isn’t suited for any furniture I’ve tried in there. When in doubt, make it yourself!
Looks amazing! You are so creative jewel!
Thanks so much Suzanne
Oh I can see this being great in a corner. I wonder if you would have to angle each of the 2×4’s? Maybe so?
This is incredible!! What sort of fabric did you use?
Thanks! I used a wool bouclé
I somehow missed this post in February, but I’m obsessed! Definitely making one soon. Thank you for sharing the amazing tutorial— your detailed instructions make it seem less intimidating to try!
Thanks so much Miranda. It was fun to make!