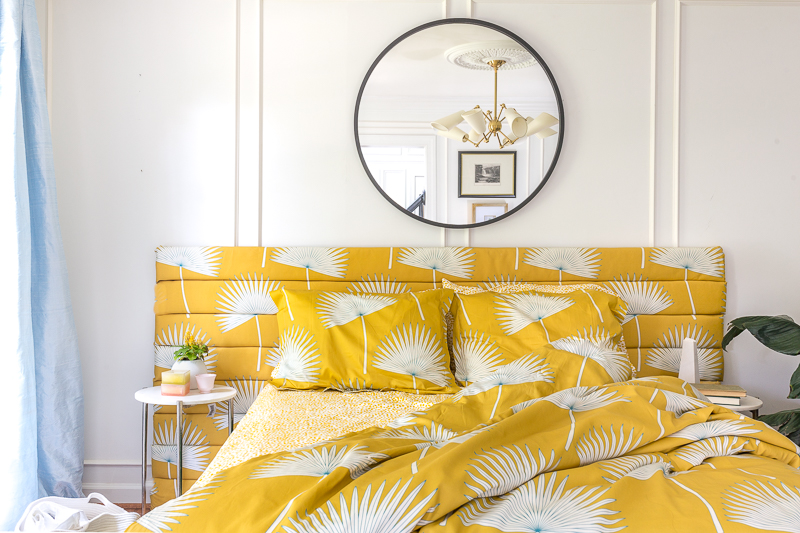
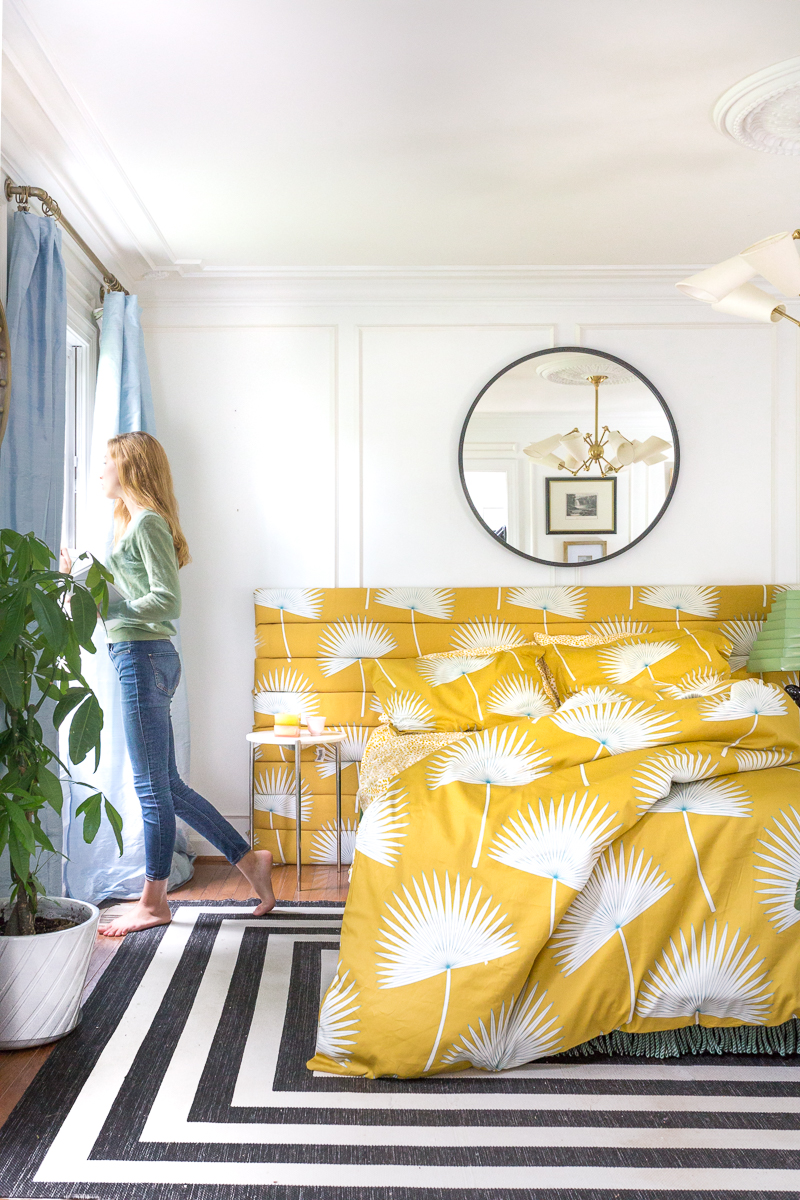
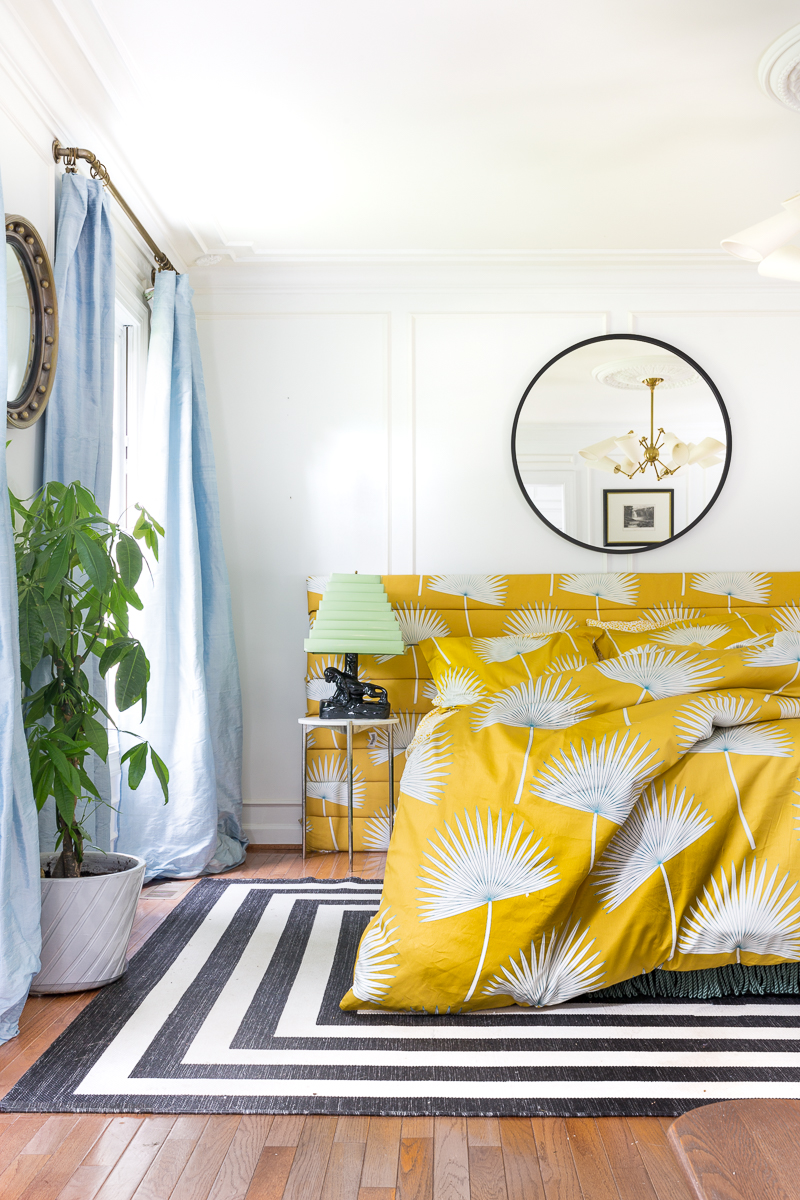
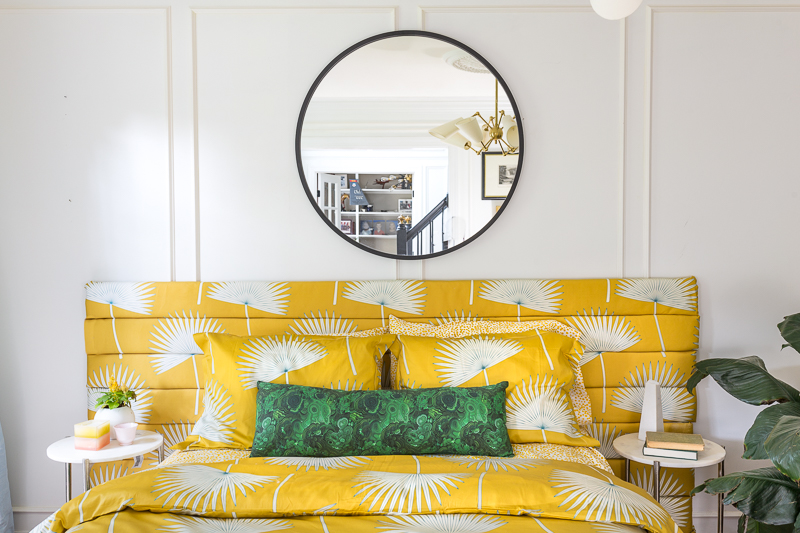
You know when you’ve had an idea in your head for months…a year even… and then you finally get a chance to create it? Now, with the help of Spoonflower fabric and their newly launched bedding line, I have been able to make this vision a reality….a very maximalist reality. In my opinion, maximalist realities are the the very best kind ;). So, without further ado, let me show you our new guest bed. What’s not to love about pattern-on-pattern bedding and a channel tufted headboard?!?
Note: The Spoonflower products mentioned in this post were all sponsored but the opinions and unique design concept were all mine.
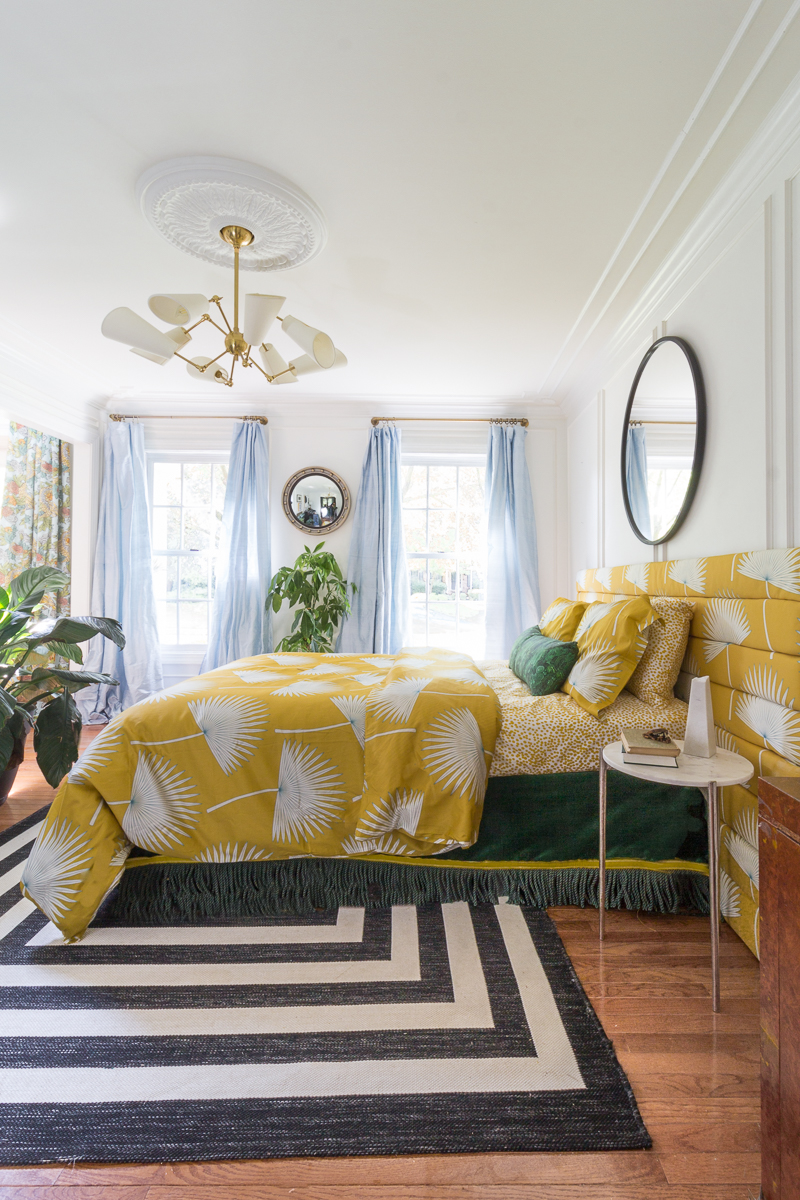
Note: Once I finish my bedroom downstairs, this beautiful horizontal channel tufted headboard will end up in its rightful home. However, for now, my most observant followers may notice that this is indeed my living room. LOL.
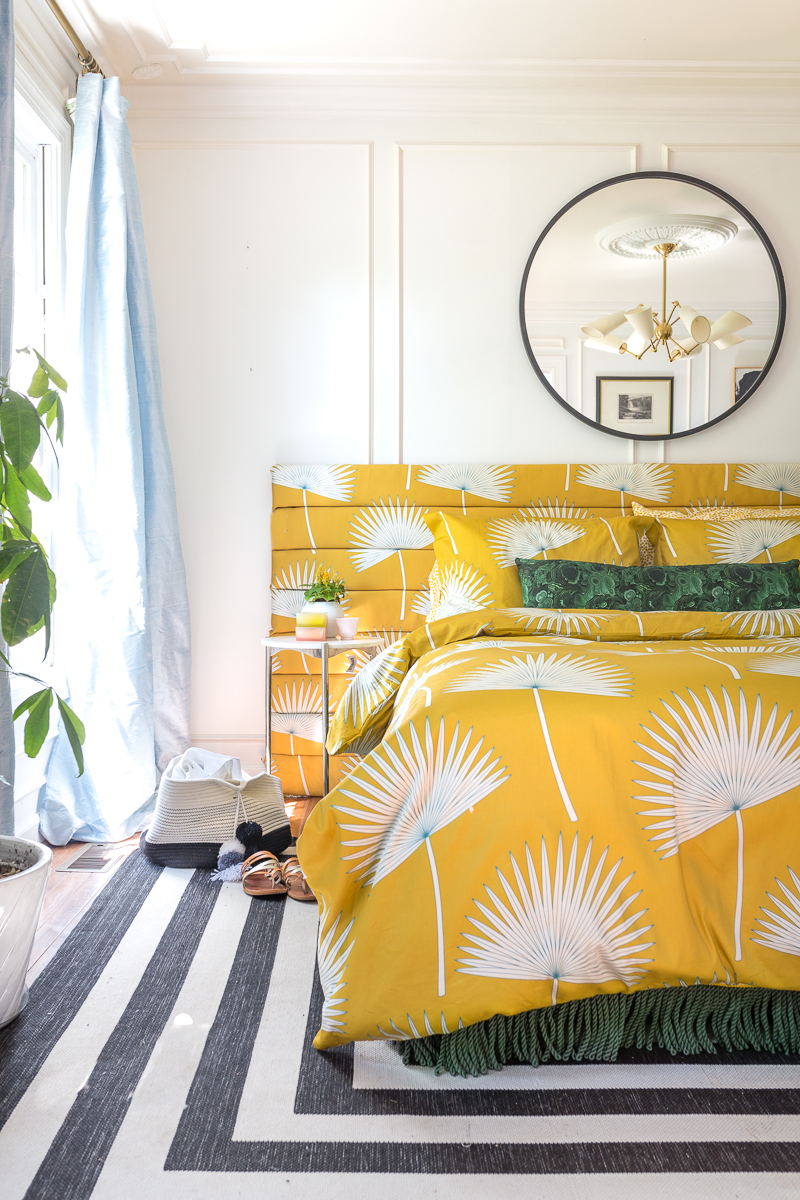
I’m certain that by now you realize that I love color and pattern. This love inspired a vision…a dream really. I’ve been dying to create a room where the pattern of the bed matched the pattern of another element of the room. Initially, this other element was going to be wallpaper, but then I came up with the patterned horizontal channel tufted headboard idea.
Spoonflower
I couldn’t have made this happen without the help of Spoonflower. Those of you that have been around for a while know that I love to pick a design or two from their 750,000 options and tweak it to match my design concept. I usually find a pattern that is close to what I want. Then I write the designer and kindly request a color or scale change. I love that ordering from Spoonflower is mutually beneficial. It supports my fabric control issues AND the independent artists who work hard to create beautiful designs :). Here are some of the other projects that I have used Spoonflower fabric to create custom looks.
Big Reveal-Girl’s bedroom FB
You have to see this amazing before and after transformation! Green, marble night stand, Emerald Headboard, Headboard Ideas, Custom headboard, upholstered headboard, color splash blog hop, Spoonflower fabric, striped walls, Roostery Sheets, Tempaper Mini stripes, Silk Curtains, Parisians bedroom, girl’s bedroom, Teenager bedroom, tween bedroom, girl’s room, palm leaf sheets, WYANDOTTE DUVET COVER, inky bits, Luxe Palm Leaf, Tropicana jaguar, lamps plus Possini, Euro, Andre, Victorian Mirror, Preppy
NYNR cover (1 of 1)-7
Yellow curtains, mustard curtains, DIY curtains, pink and yellow, Check out how I painted this dresser with zero sanding. Upholstered Bunk Bed, Girl’s Bedroom, Spoonflower Fabric, black and white rug, stripes, Art Deco, French, yellow curtains, roosters sheets, enchanted bunny prince, architectural Depot, ceiling medallion, fringe, Miles Redd, daughter’s bedroom, pink, Metrie Moulding, moulding, crown moulding, green desk, bookcase styling, meyer lemon tree
Now, let me show you how I tackled each of the steps of this horizontal channel tufted headboard design concept, with the help of Spoonflower and their newly launched bedding line.
The Headboard
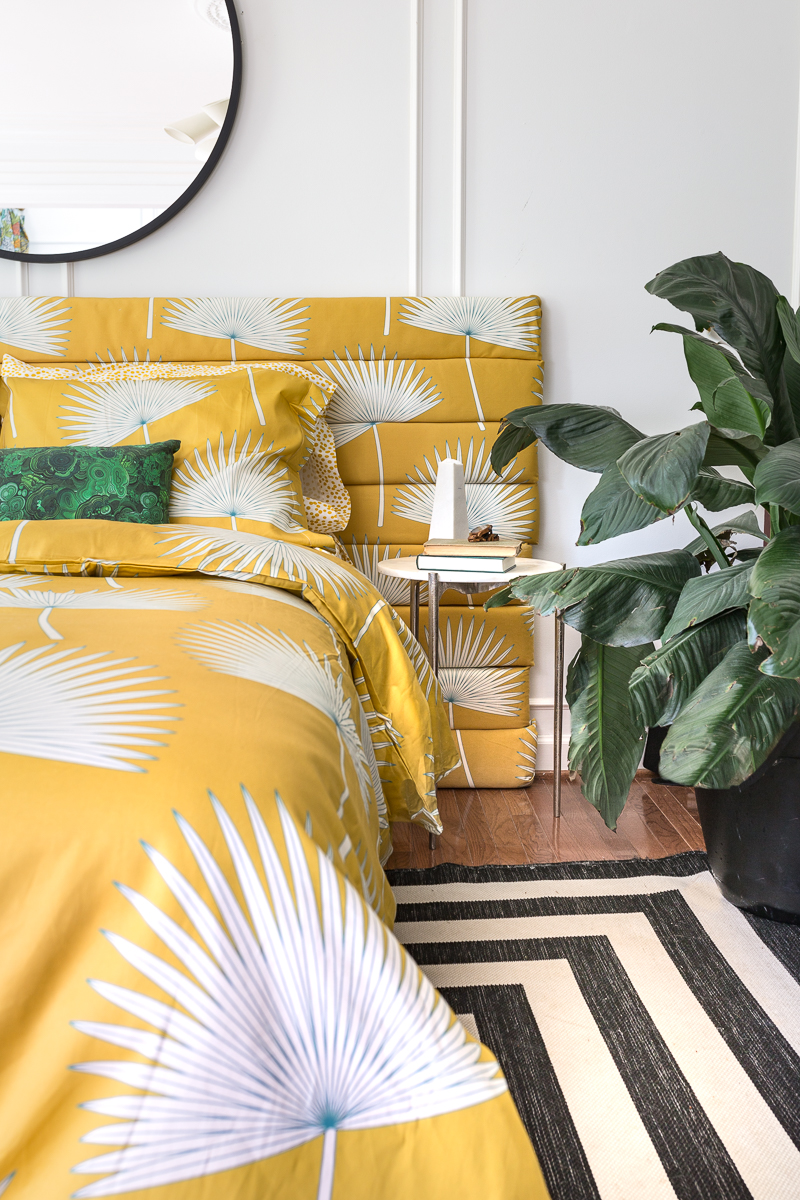
For the horizontal channel tufted headboard I used the same DIY technique that I employed for the red velvet channel tufted headboard in my master bedroom reveal. This time, however, it was a bit trickier because I had to line up the repeat.
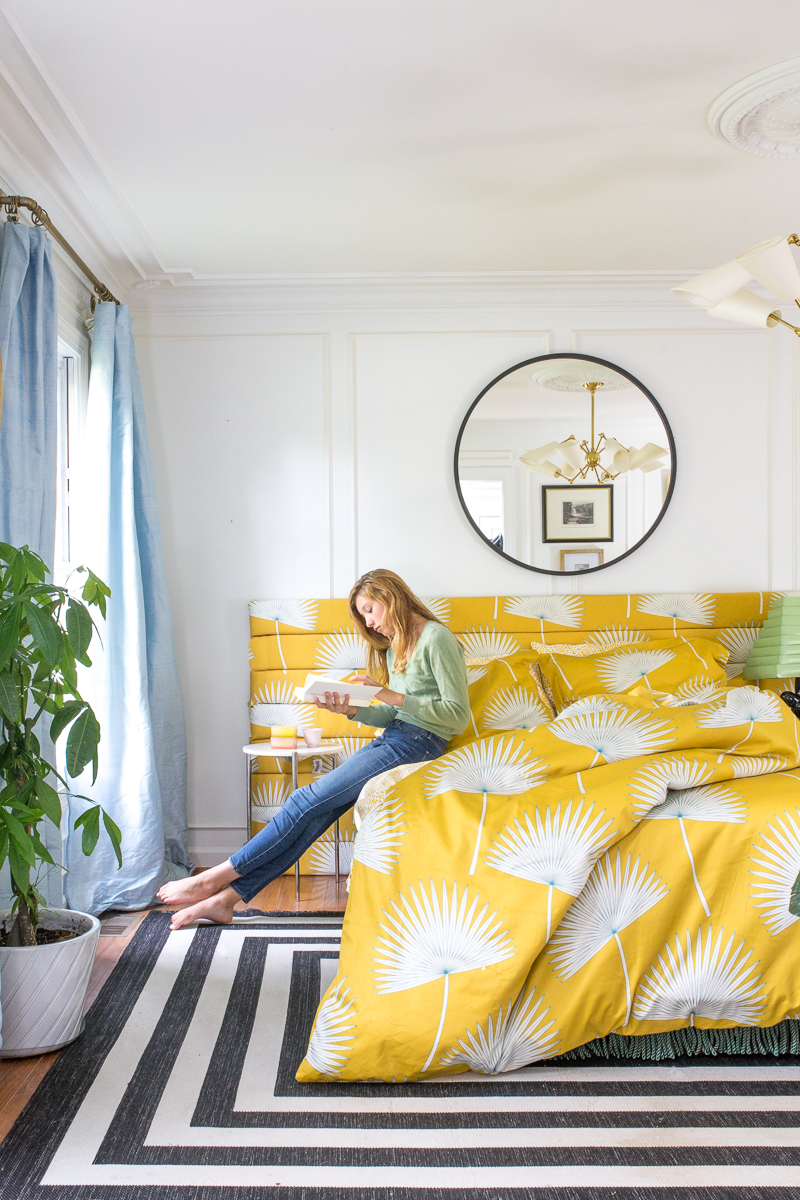
How I Constructed This Bed
- Used 5×8 boards and ran them horizontally. I upholstered them in batting.
- Reached out to Julia Schumacher, the designer who uploaded her pattern onto Spoonflower, and asked her to run the pattern the opposite direction (railroaded). This eliminated the need to sew seams to make it wide enough to reach across the 8 ft boards.
- Measured the desired height of the bed and doubled that number to determine how much fabric to order. Keep in mind that a smaller repeat would require less fabric, whereas a larger design would require more.
- Covered the boards in batting, just like I did for my other channel tufted headboard DIY
- Cut the fabric very thoughtfully and matched up the patterns on each board as I went. This is the hardest part.
- Used two tables to the prop the finished boards so that I could check the pattern-match as I screwed them together. See my other headboard DIY.
The Duvet
You may remember that I sewed my own duvet for my One Room Challenge master bedroom. While it was do-able, the bedding isn’t perfect. I didn’t attach a zipper and I’m interested to see if it falls apart in the wash. Plus, let’s be honest, it took so much time and fabric that sewing didn’t sound all that attractive or budget friendly this time around. Unless you are using very cheap fabric, the price of DIY’ing a duvet can add up to be comparable to buying a new one.
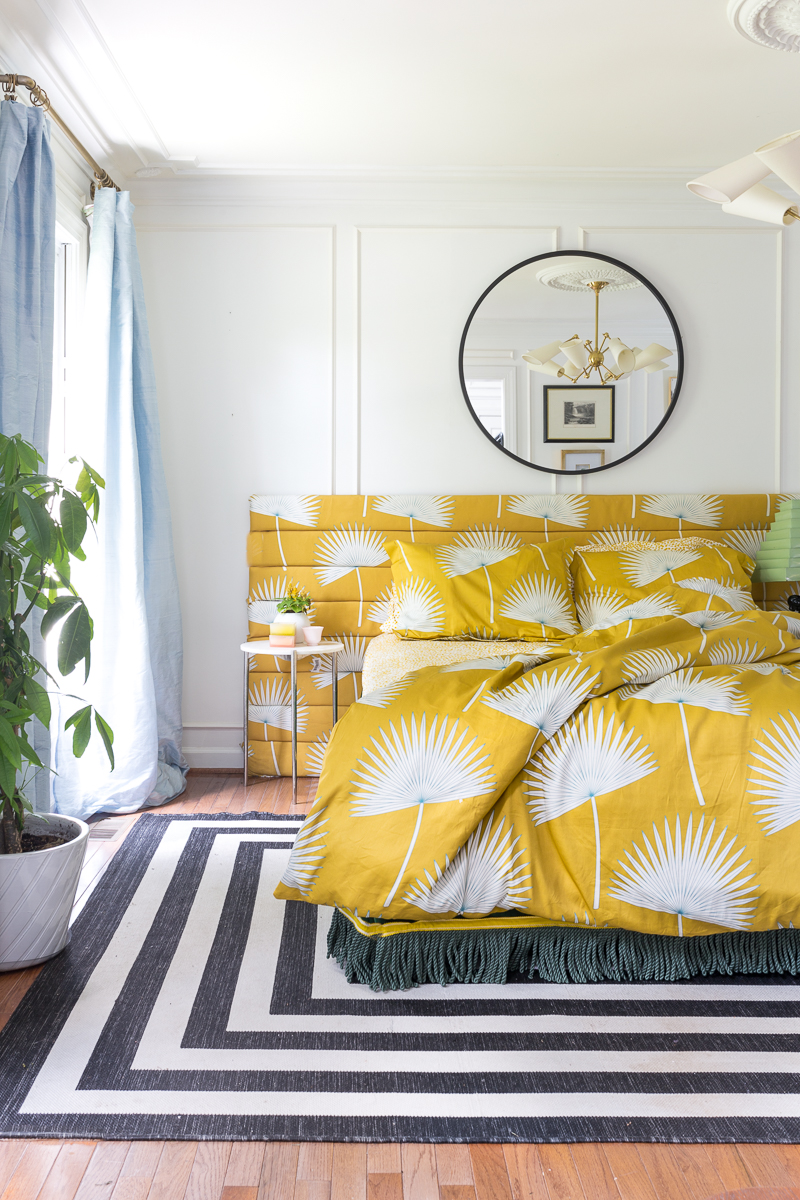
So, when Spoonflower invited me to be part of their new launch today, I was giddy. I knew the quality of their bedding would be outstanding, and I was right. I love their 100% natural cotton sateen and I really love the discrete zipper at the bottom. In the past I’ve had some duvet covers that skip the comfort ties inside each corner, but not these bad boys. They easily tie into my duvet.
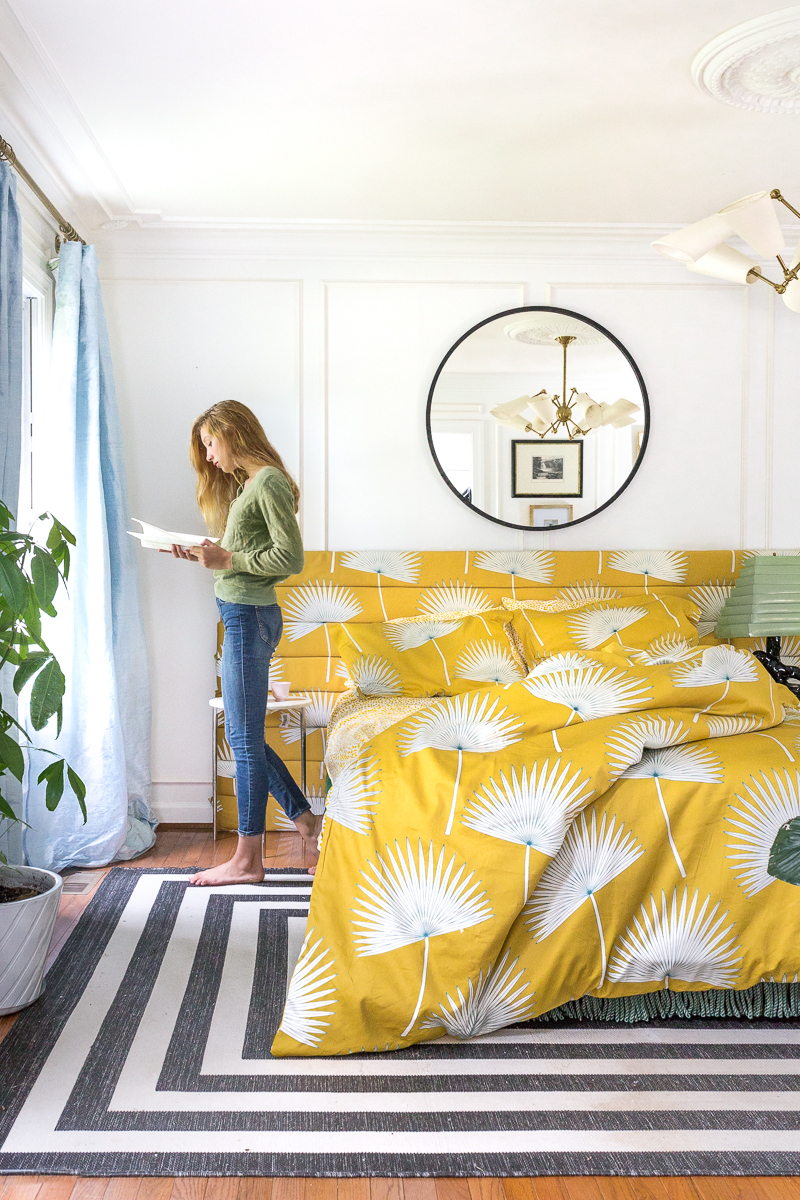
The price for a queen sized duvet is $189. That’s not bad considering the amount of fabric it takes to DIY one. Notice that the pattern is on both the top and bottom of the duvet cover. NIICCEEE!
It should be no surprise, however, that my favorite part of this bedding line is the power to customize the scale and color. That makes me a super hero when it comes to designing a room.
SHEETS
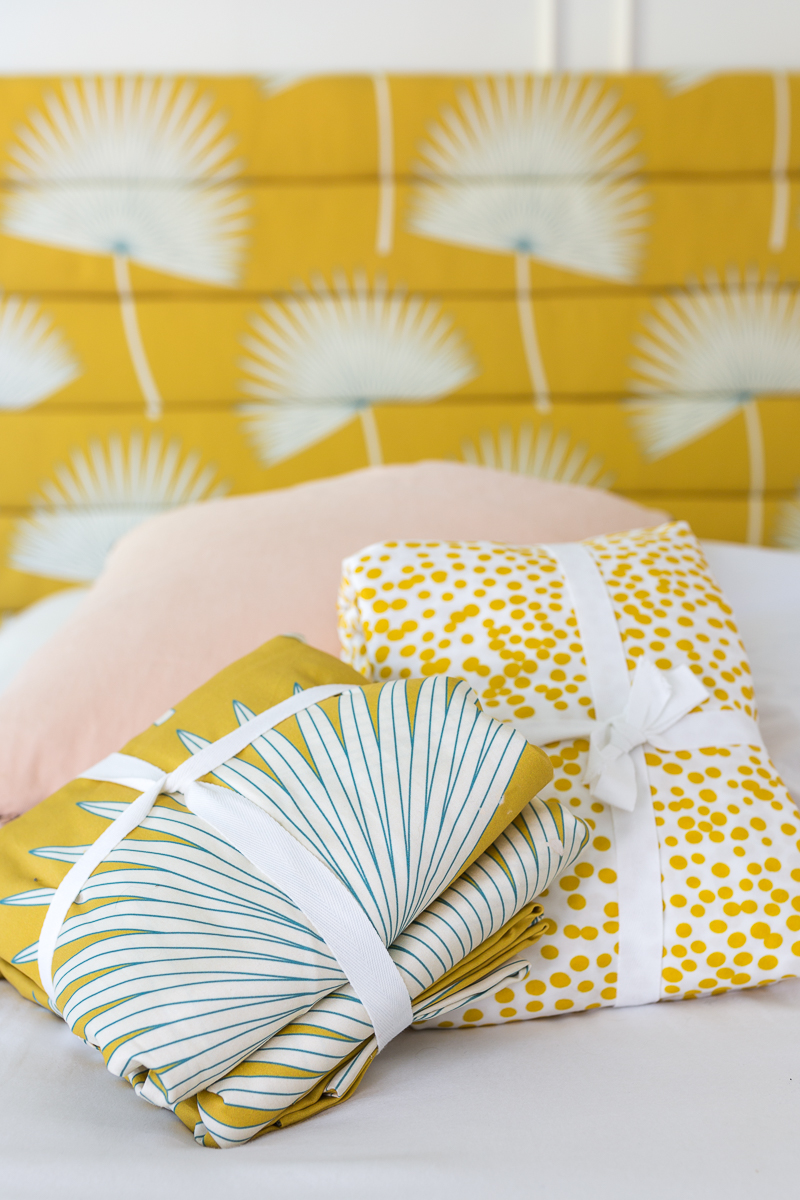
To add a pop of fun I ordered sheets in an almost-polka-dot style. I was able to reach out to Julia Schumacher again and ask her to custom color match this design to the duvet. Another great thing about this sheet set is that it is nice and deep. It would fit up to a 14″ mattress, and this makes it easier to make the bed.
Shams
I opted to go with the flanged pillow sham. I love that the pattern is on the front AND the back and the 2 inch flanged edge and sturdy envelope enclosure in the back makes for a fun detail in my design. Note: The pillow form is not included. This is the covers only.
Sources
Thanks for following along!
Stay tuned to see the progress on moulding in the downstairs bedroom. Things are starting to shape up!

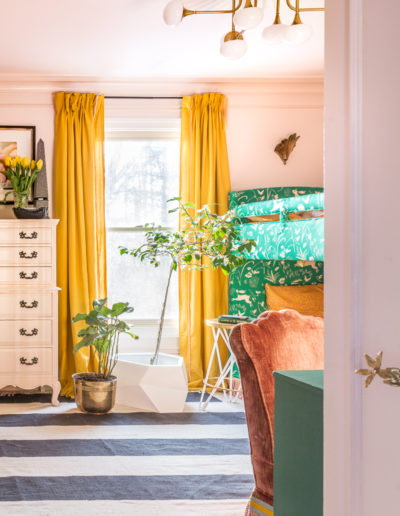
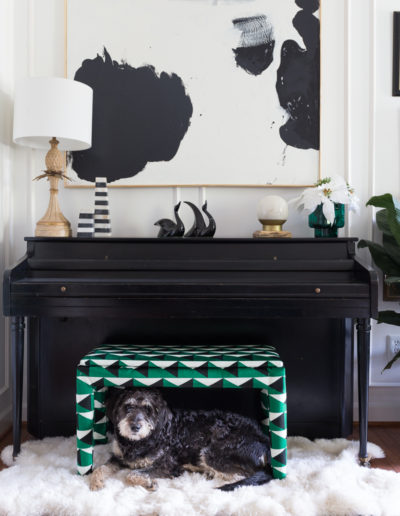
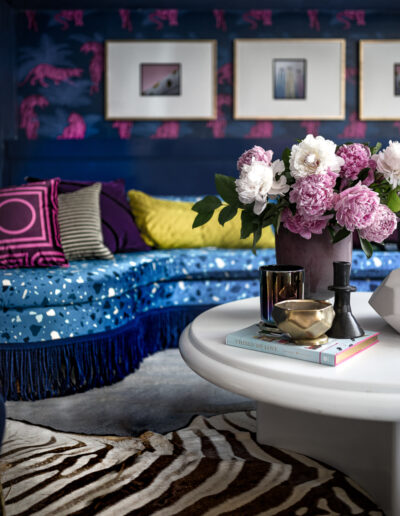


Every time I design a room I think, “what would Jewel do?” And I do that thing. This new looks SO good!! And with the molding too!! ?
What about the bullion “bedskirt”? What size is it and where did you find it? I love the idea!
Beautiful job, Jewel. Having to match the pattern on all those fans on the headboard would have driven me inside an Oreos bag. But you make it look so easy! Big kudos, girl! And congrats!!
This bed fits this faux space so perfectly! I can’t wait to see how it pops against that dusty pink! Loving the continuous pattern and I can’t wait to see it all together.
LOL. AN Oreo bag ???. Thanks Susie! I appreciate it!
Thanks Jess! I put it down there and it’s pretty cool bc it spans the entire wall and looks built in.
You are hilarious. I think it should be the other way around my friend. What would Racheal do? ❤️❤️❤️…Though I do hope to see a tangerine earring inspired mural in the near future?
Great question. I should have included that. I used 18 inches of velvet and 6 or 7 in bullion from my local fabric store. I broke three sewing needles in the process so get a hefty needle.