Wallpapered Cabinets- How to Tutorial
Week 3 of the Spring 2021 One Room Challenge, and I am upping my wallpapered cabinet game. I’ve written a tutorial explaining how I did it, step by step.
What is the ORC?
Thanks to Linda, from the One Room Challenge, for organizing this event. The ORC is an exciting interior design event with 20 Featured Designers and hundreds of other Guest Participants (like me). Each of us will have 8 weeks to transform the room of our choice. Also, a huge thank you to Better Homes and Gardens for being the media sponsor
Before Wallpapered Cabinets
I had my contractor install these ugly lower cabinets above my washer and dryer because we were in need of extra storage space on the main level. The storage is great but it was obviously a major eyesore. That’s ok, though, because I had a plan.
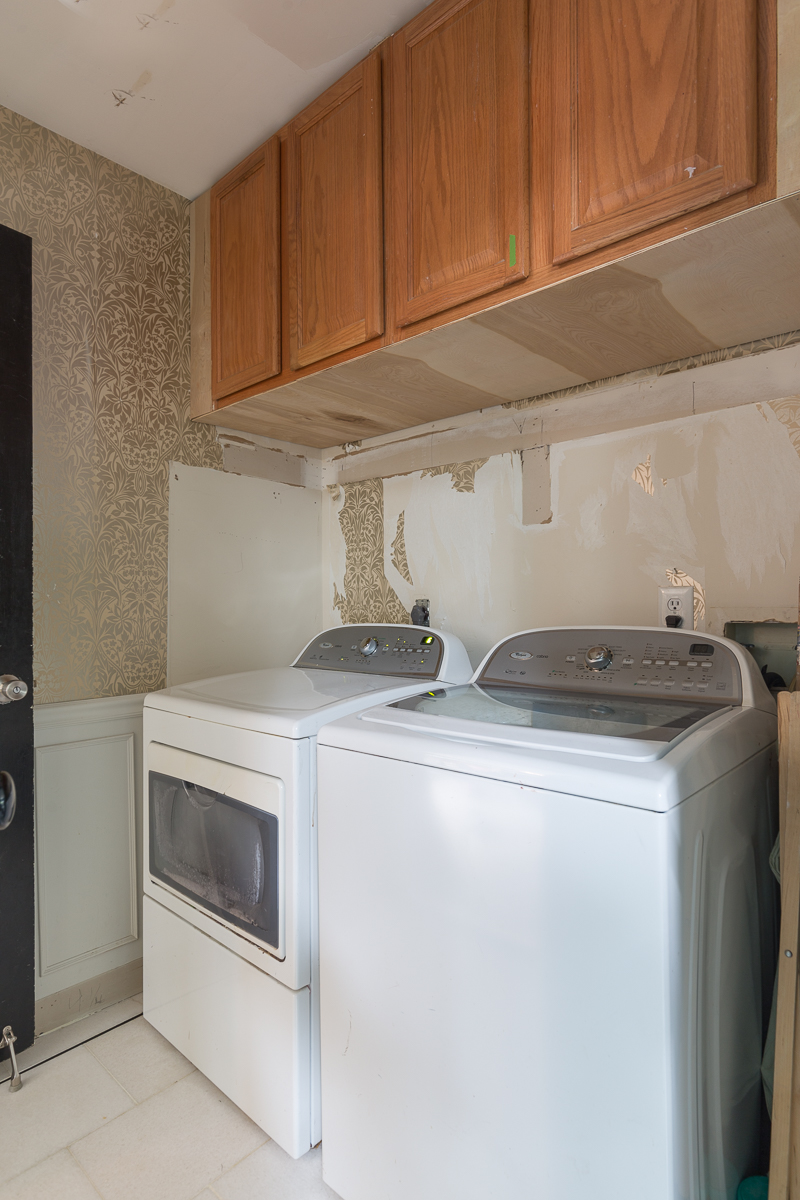
Now, I should caveat this with the fact that these are very low traffic cabinets and I don’t forsee them getting too much water or grime. I can’t guarentee how this would work on high traffic cabinets, unless you found some way to seal them.
AFTER Wallpapered Cabinets
Note: the wallpaper and paint are sponsored but the opinions are 100 percent my own.
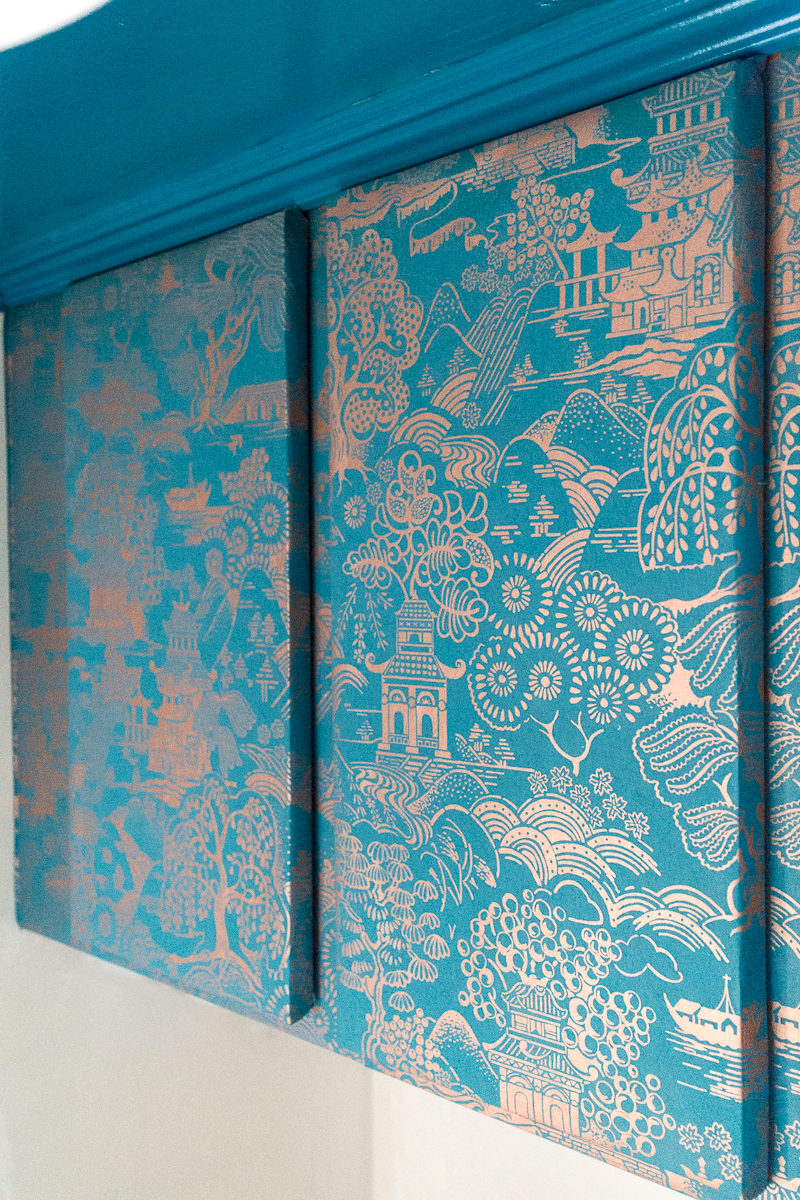
I used this wallpaper Graham and Brown | Basuto Teal Wallpaper and coordinating Graham and Brown Mykonos Harbour Paint and it is looking gorgeous darling. What I love about this wallpaper for this specific project it’s heavy weight. The thick substrate helps hide the lumps and imperfections of my woodworking skills. Would it work with lighter wallpaper? MAYBE???? but you would need more precise cuts, more caulking, and more sanding.
I have long loved Graham and Brown ever since we lived in England many years ago. I’m impressed with their amazing quality and large selection. Plus, their samples are HUGE! I order about 20 of them last summer and instantly fell in love with this particular pattern.
Supplies
Graham and Brown | Basuto Teal Wallpaper and coordinating Graham and Brown Mykonos Harbour Paint
Optional: 1/4 in plywood Wallpaper
Saw (use proper safety techniques)
Pancake compressor + Air gun
Staple gun
scissors
razor blade
level
caulk
sandpaper
Romans 880 wallpaper paste
brush or foam roller
screw driver
Optional: paint to match the base color of the wallapaper
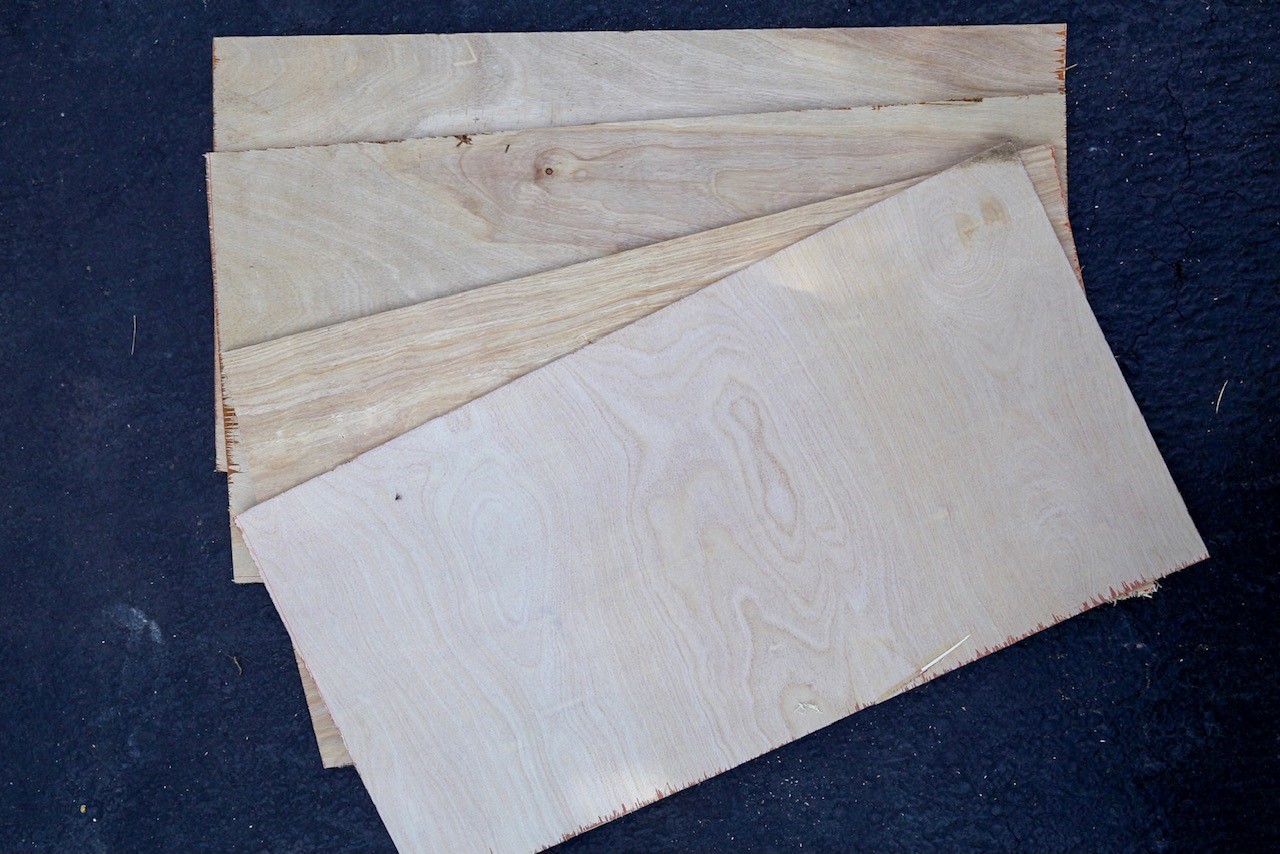
Cut 1/4 inch plywood
If your cabinets are beveled, you may find it easiest to cover them in 1/4 inch plywood. I don’t have a table saw, so I used a combination of jig and miter. While the results were less than professional, they did the trick.
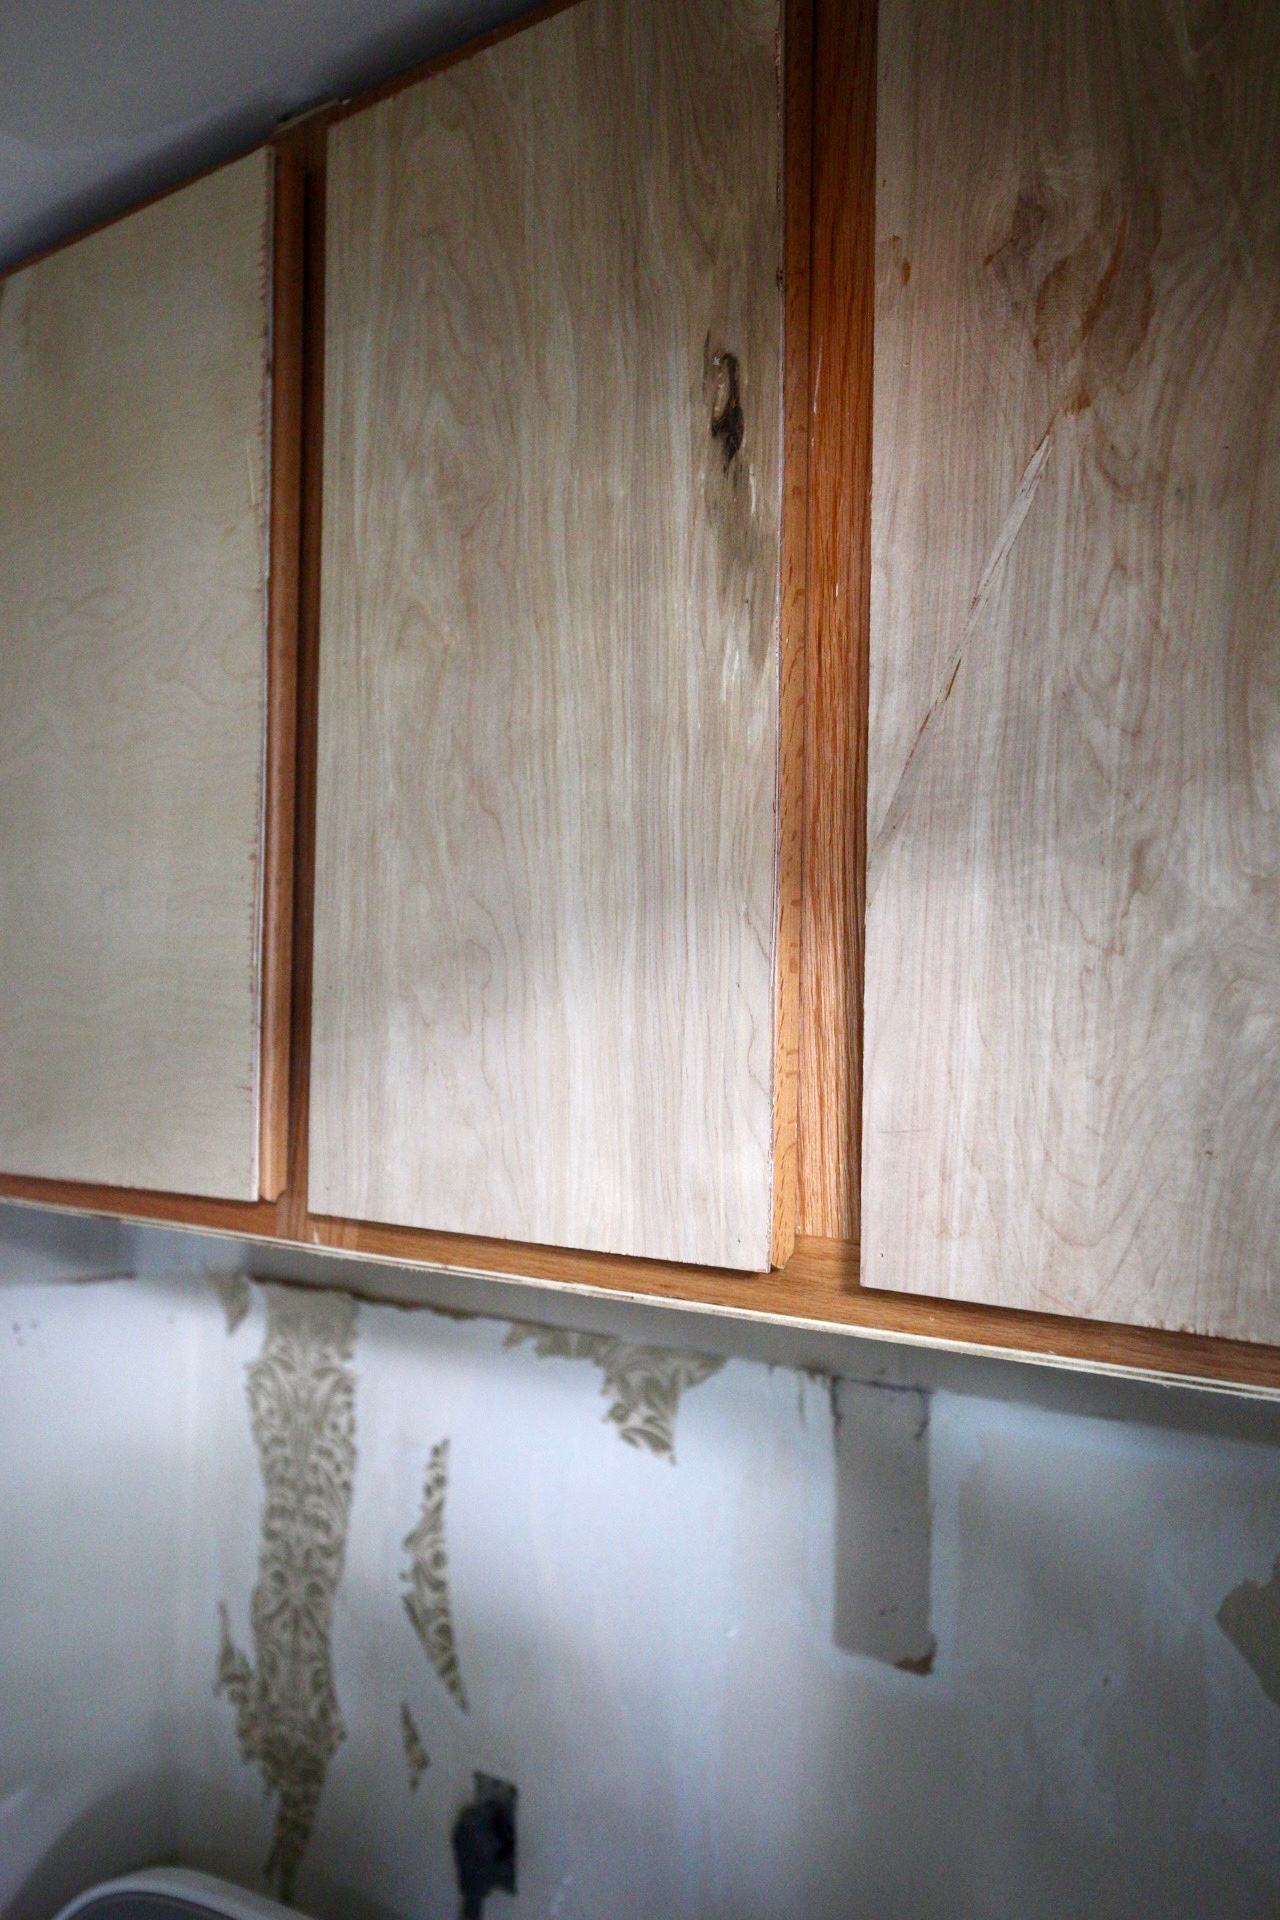
Attach 1/4 inch plywood
Also, as you go to nail your plywood to the front, make sure that your nails aren’t too long. I learned that lesson the hard way. I love using our pancake compressor for jobs like this.
Use a level to make sure that the wood is nice and straight.
Optionally, you could do this step when you remove the cabinet fronts and then check for level when reattaching them to the base.
Remove Cabinet Fronts
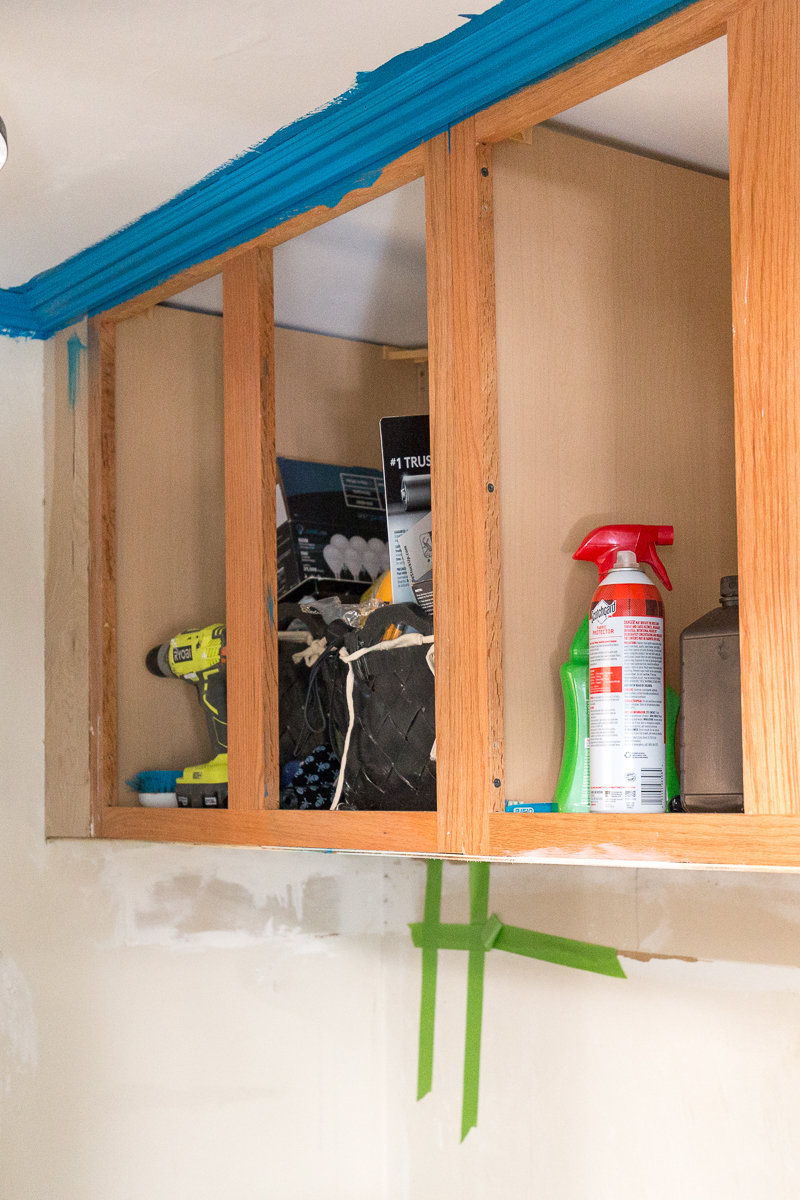
Remove the fronts and make sure not to misplace the screws. Also, it is easier to paint around the area BEFORE wallpapering.
Apply Wallpaper to Cabinet Base
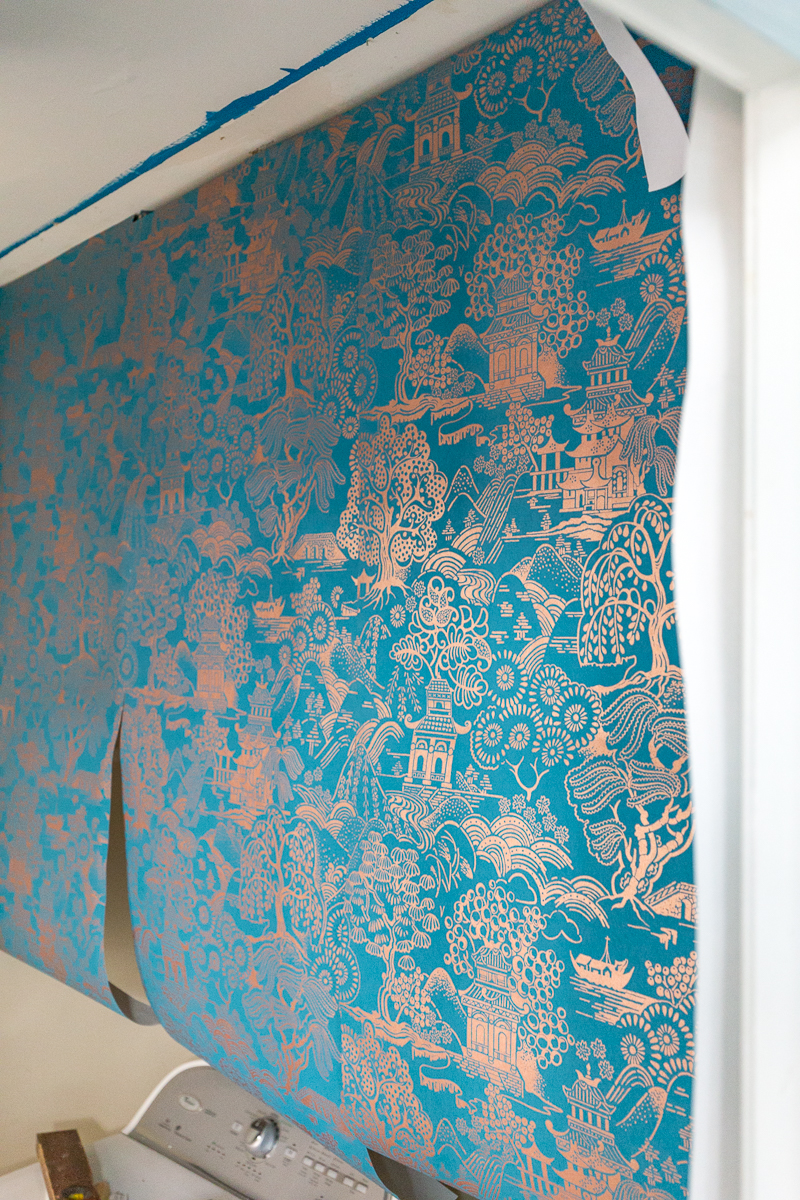
Using wallpaper paste, a roller, brush, and sometimes your hands (with rubber gloves) as needed, smooth the paste onto the base. Remember to check each section for level before moving onto the next step.
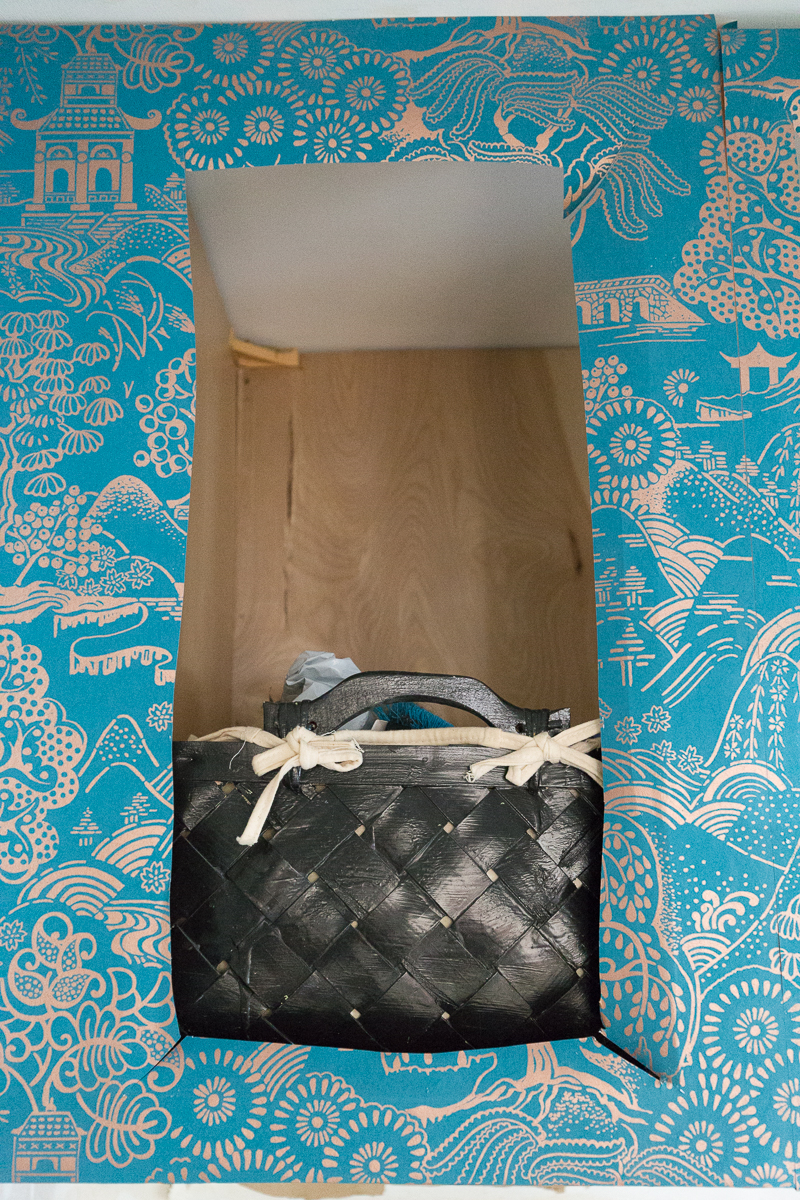
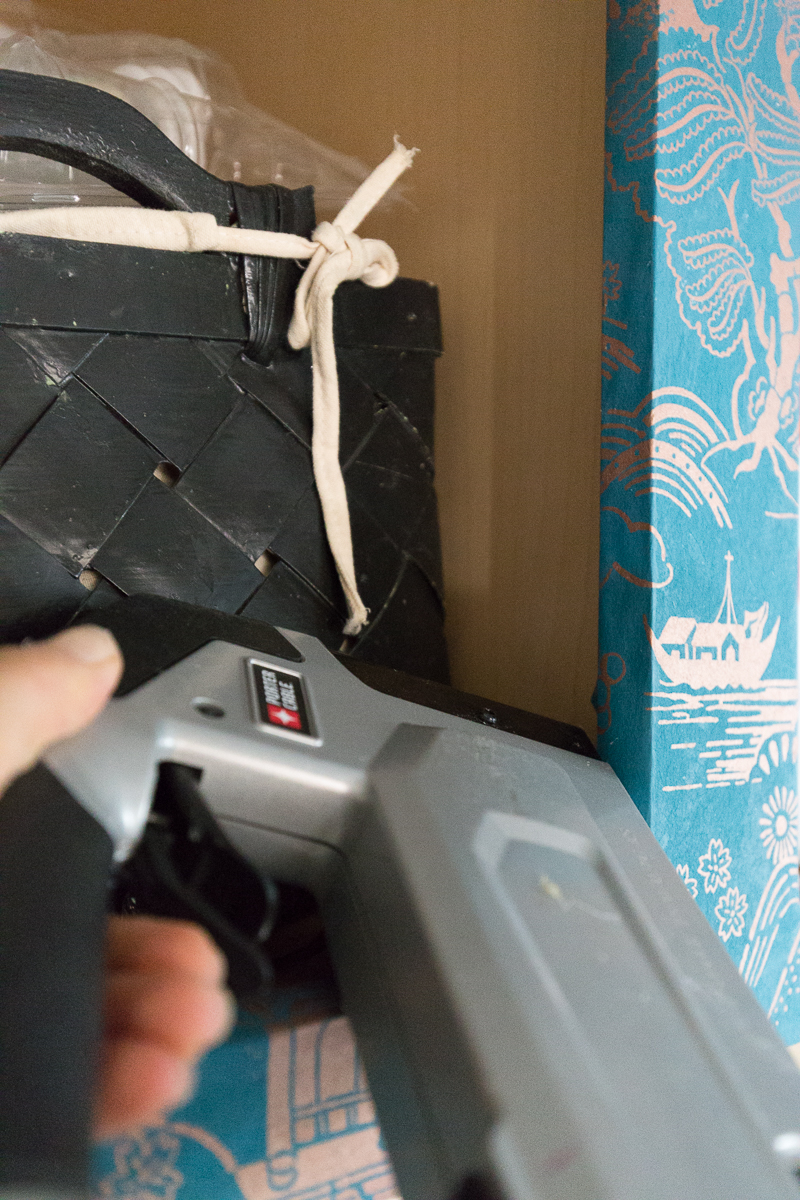
Once the base is dry, use an exacto knife or scissors to cut a hole inside each cabinet. Ensure that you leave enough wallpaper to wrap around to the back side. Next, use a combination of paste and staples to secure the wallpaper and staple behind (inside the cabinet whevever possible.
Reattach the cabinet fronts
You may be asking yourself, “why you would reattach the cabinets at this point? Wouldn’t you want to wallpaper first”?
Valid question, and there is some truth to it, but I did this step to make sure that my wallpaper on the drawer fronts matched up with the the wallpaper on the cabinet base. Then in the end I found myself taking out a screw or two to wrap around the backside.
Finally, follow the same process on the backside of the cabinet fronts that you did on base. Use a small roller brush to apply the paste, line up the pattern, and make sure to check for level. Then focus on wrapping the sides wth paste and staples on the backside.
A Tip to Wallpapered Cabinets
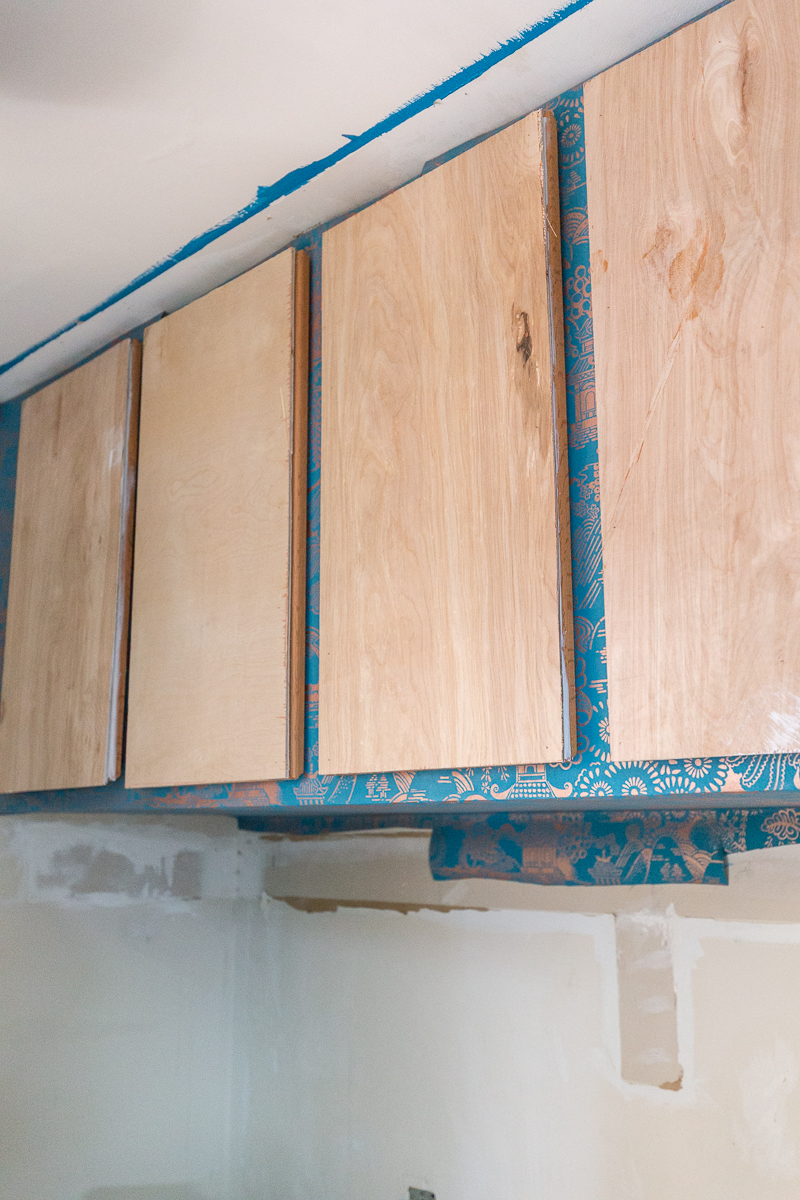
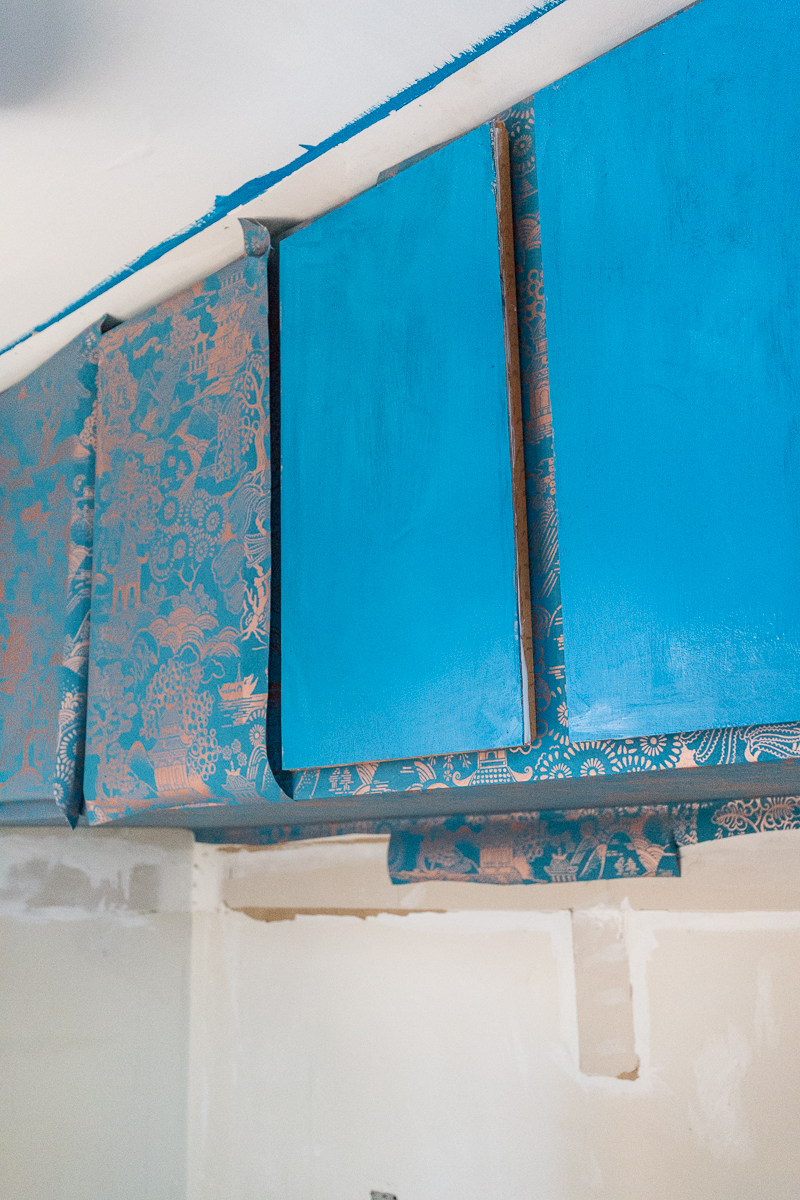
If you ever want to minimize a wallpaper seam, you can paint the cabinet a coordinating color. I debated what to do on these last two cabinets because they both line up with seams on the basec cabinet. Option 1 was to not match the base cabinet, and option two was to have a seam on each of these cabinet fronts. First I tried option 1, but the pattern clash was bugging me. I’m in the proccess of option 2, but have yet to finish. You will have to wait for the big reveal to see how I did 🙂
Enjoy Your Wallpapered Cabinets
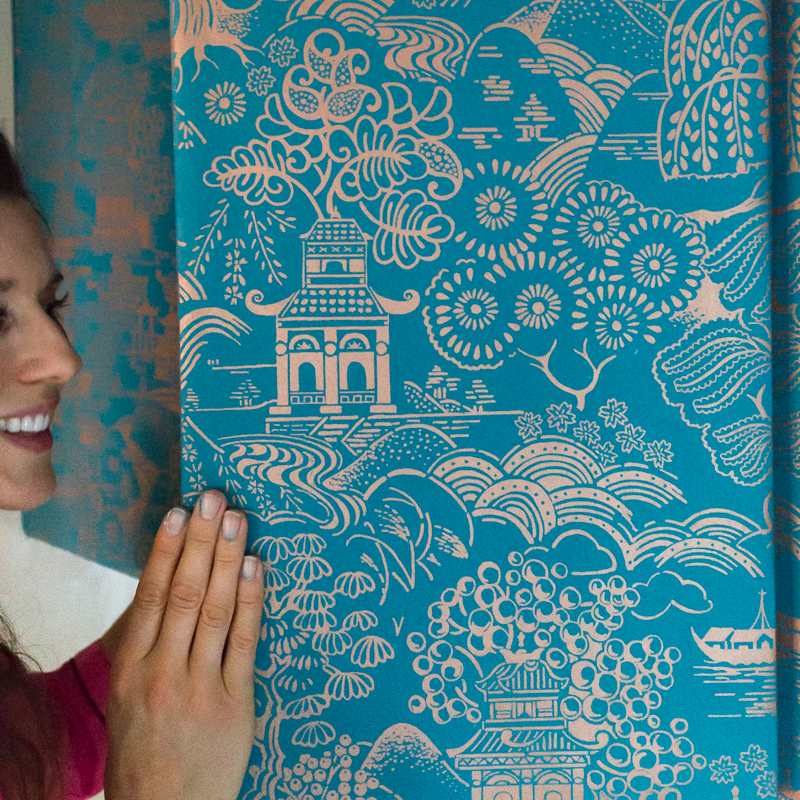
Eventually, I plan to install the most gorgeous hardware on these beautiful cabinets, but that is also a surprise for another day.
The Laundry Room Plan
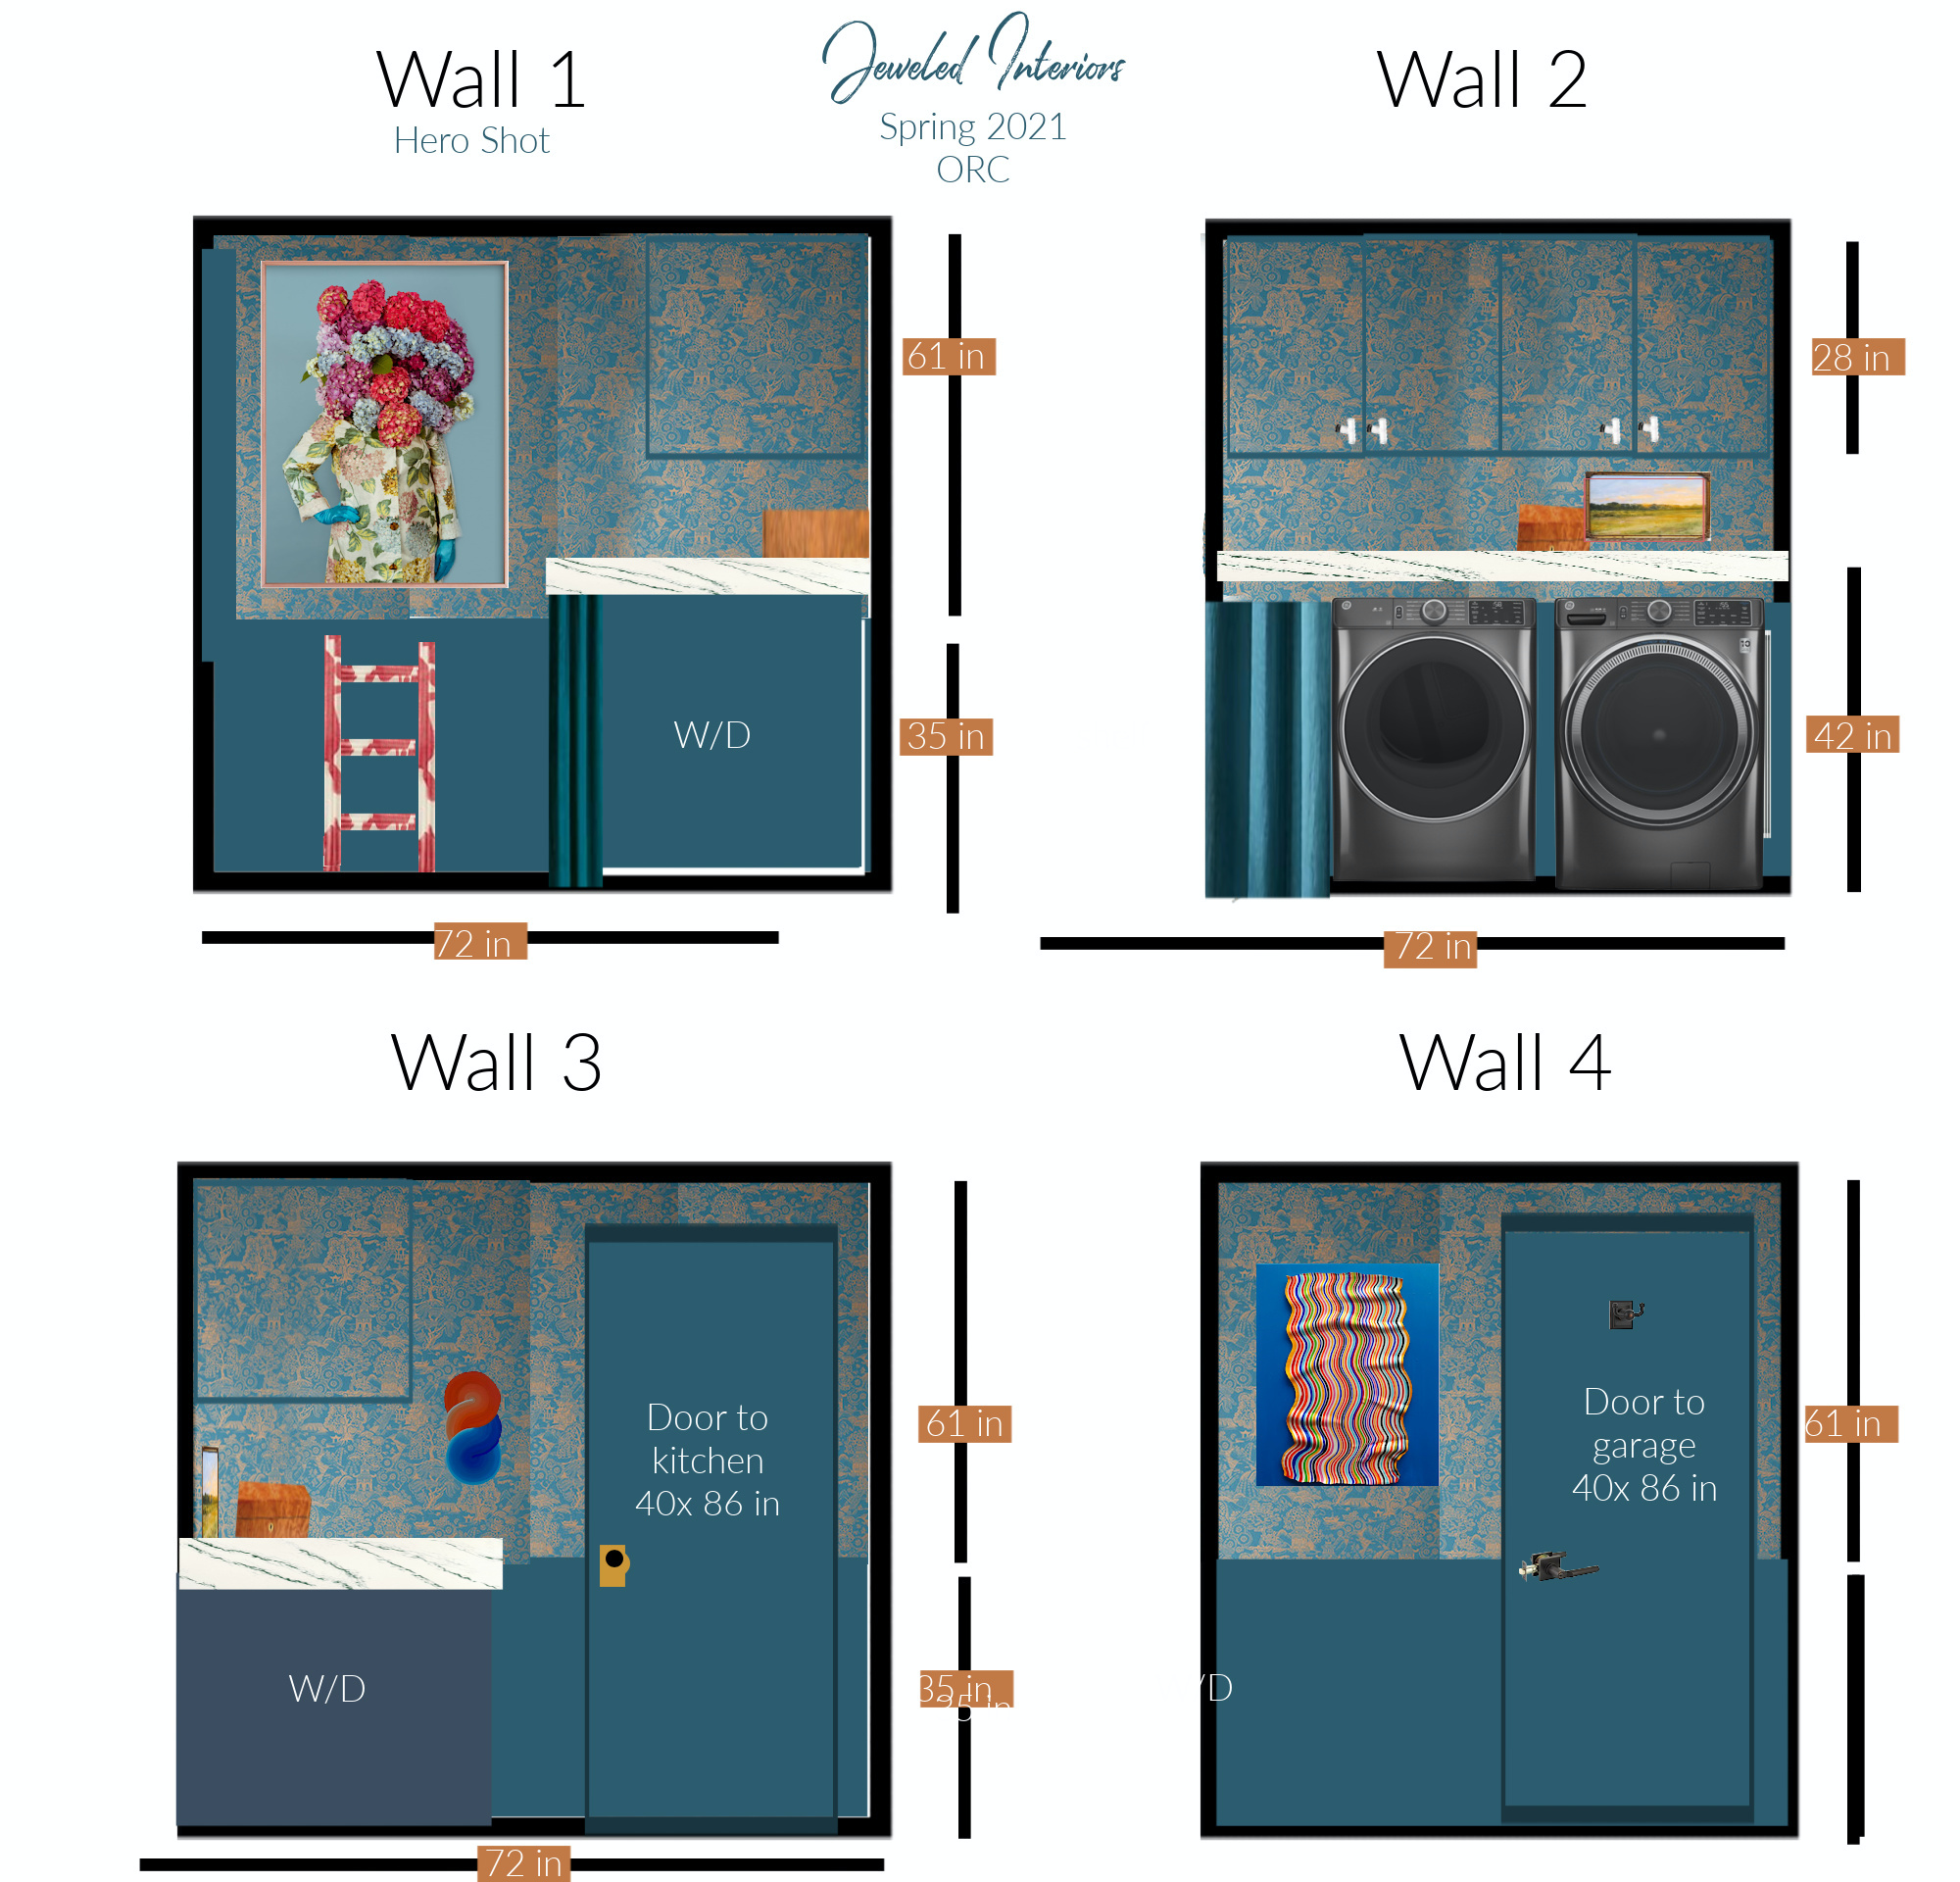
Jewel Box Laundry Room Sources
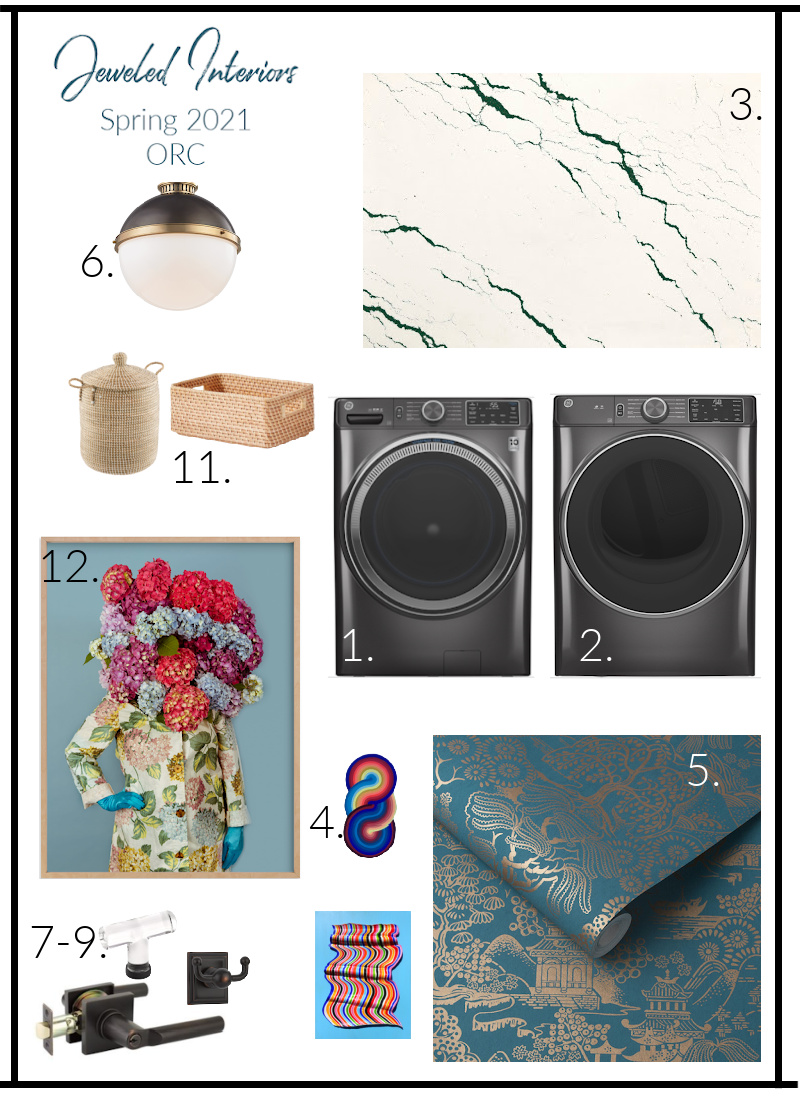
Sources
2. GE 7.8 cu ft. Capacity Smart Front Load Electric Dryer with Sanitize Cycle
4. Return on Art | Jessica Mortiz | Derick Smith Save 10% with Code JEWEL10 (some restrictions may apply)
5. Graham and Brown | Basuto Teal Wallpaper and coordinating Graham and Brown Mykono Paint
6. Hudson Valley Lighting- Latham Flush mount
7. Emtek Hanover Lever in Matte Black
9. Emtek bath hardware Double hook with Rosette
10. Local countertop installers (Granite and Marble Express in Chantilly, Virginia)
12. Minted- She’s Blooming Worth
13. Marble Floors
NOTE: Cabinetry will be installed by Richard Mendez-
Thank you so very much for joining me on the Jeweled Interiors Spring 2021 One Room Challenge. If you like what you see here don’t forget come back and poke around a bit after the link-up. Oh, and following me is fun too. Check back each Thursday as I transform this space into a colorful, soulful, and glamorous abode.




Love it Jewel ❤️ The wallpaper is beautiful and that blue is to die for. Can’t wait to see the finished room!
Thanks so much Linda! a long way to do still, but it’s fun to see it come together.
Yes! Why didn’t I think of this? I desperately want to wallpaper my laundry room, but I can’t justify the expense… One roll would definitely cover my cabinets! And my doors are flat, so winner!! Thanks Jewel for your non-stop design bravery!!
Oh Fun Peggi! Good luck on your project.
I’m loving this gorgeous wallpaper Jewel! I am so excited to see your beautiful Hardware on it.
Thanks! ME TOOOOO!!!!